Javier Fregoso-Duenas
AEROPONICS: MIST TO HARVEST
ABSTRACT
The role water plays in a living system can take shape through multiple methods. This includes a form of hydroponics termed aeroponics. Aeroponics pertains to the practice of growing plants in an air/mist environment without the use of any substrate. In other words, plants are not engrossed in fluid media, rather they absorb nutrients from aerosol fogging/
misting technology. The method is predominantly used for the production of food such as leafy vegetables and potatoes. However, regardless of whether or not our scaffoldings will produce food, this method can prove to create a successful and desired outcome. If one were to use aeroponics for their scaffolding assembly, I would recommend using a similar method
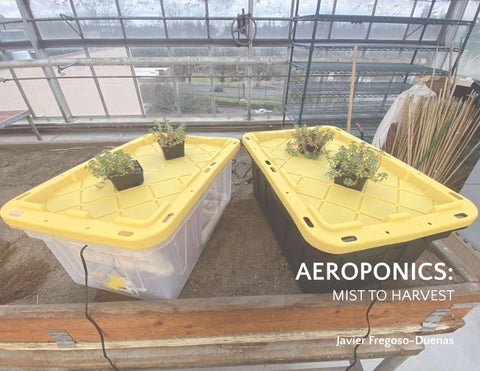
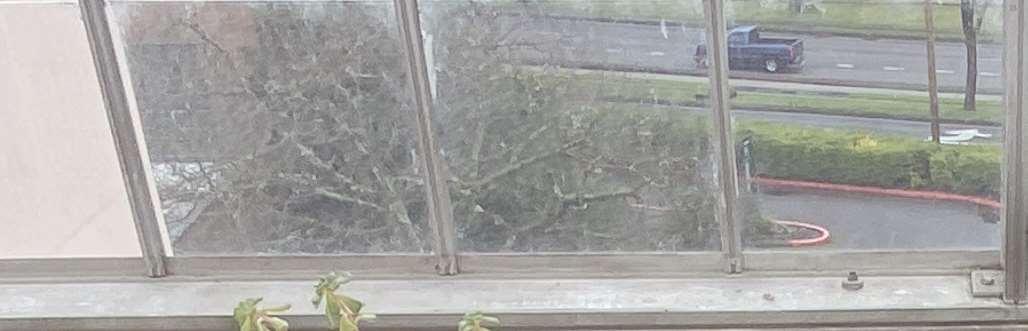
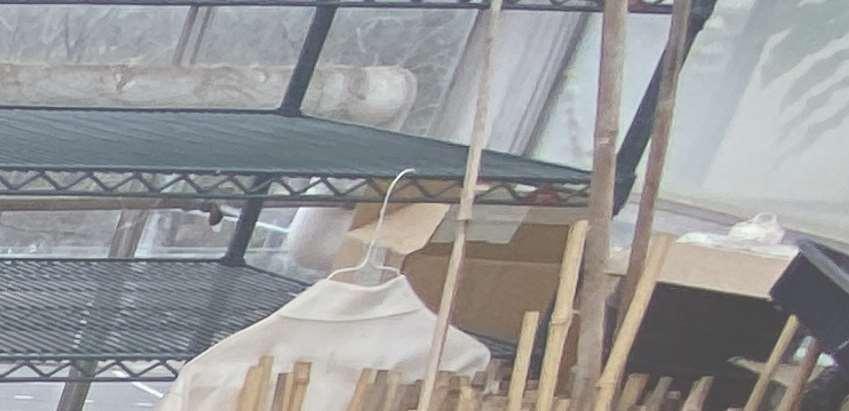
as used in a previous project (shown in next page). For testing, the plants can be suspended and held up by foam sheets with cutouts in them for the roots to grow. Underneath would be a tub and sprayers/ misters spraying the plant from the bottom. Aeroponics is an important factor regarding water in scaffold productions because it serves as a strong alternative to the traditional
plant, soil, and water relationship. In the aeroponics method, nutrients and water are provided for the roots of the plants as they are exposed to greenhouse air (most times the plant roots are suspended in a dark enclousre). In this environment, the water droplets are suspended in the air for a longer period of time which leads to an increased evaporative rate and drier plant canopies.
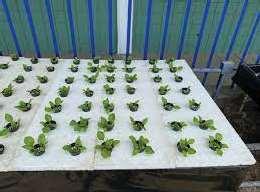
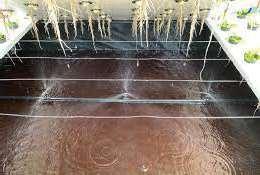
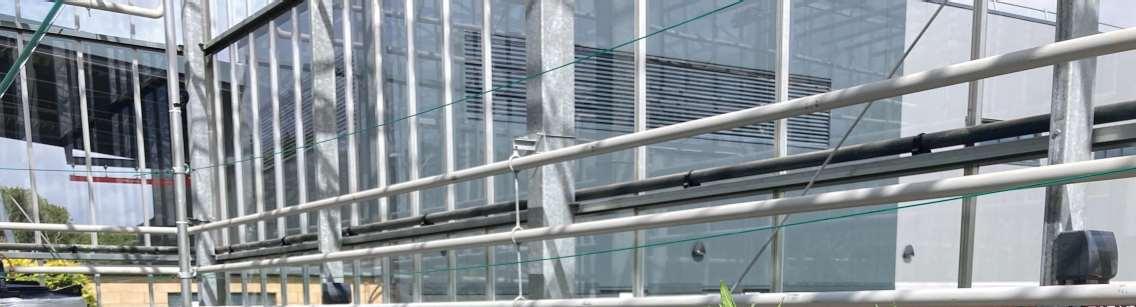
HYDROPONICS RESEARCH CENTER OF LA MOLINA
NATIONAL AGRARIAN UNIVERSITY
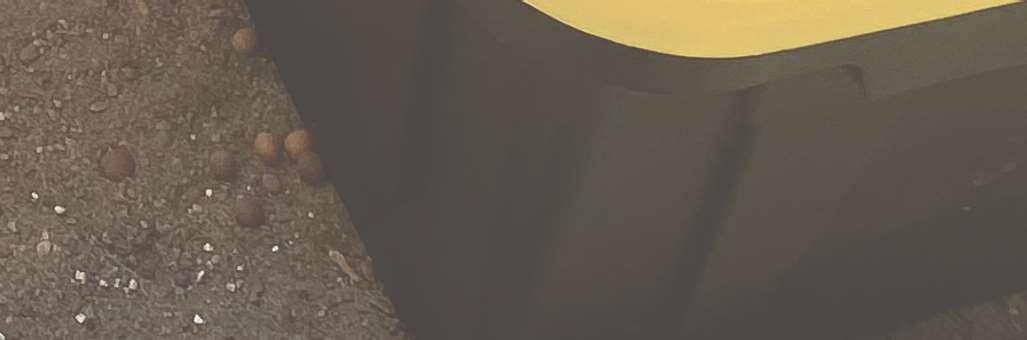
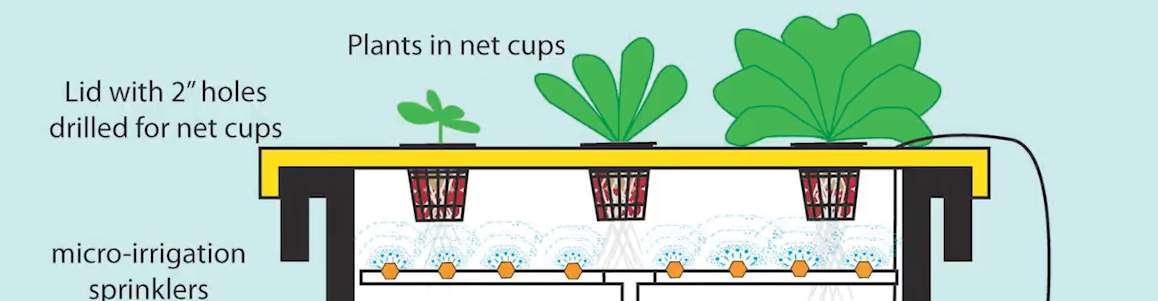
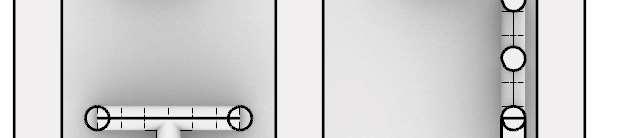
A simple aeroponic system was designed to grow baby spinach and other leafy vegetables. Styrofoam plates, supported on the edges of the container and on galvanized cables creates the container. A 16mm-diameter drip hose and 34-L per hour micronebulizers are placed inside the container. The system is closed, and the nutrient solution returns to the tank. The pump turns on automatically every 30 min for a time of 10min.
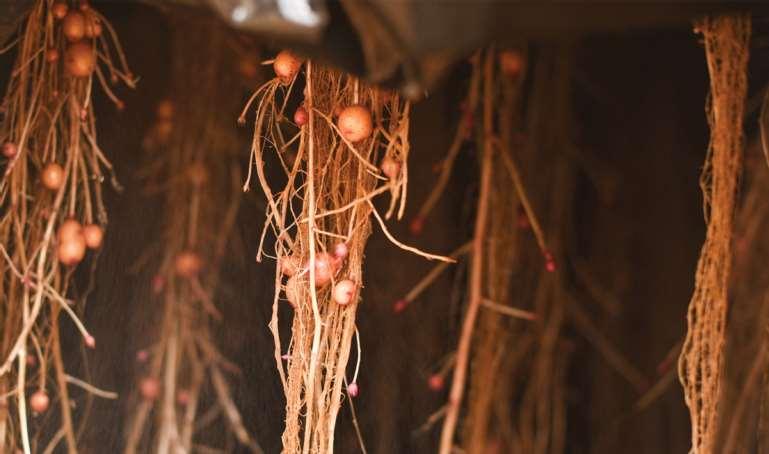
In Peru, this system is used mainly to produce prebasic potato seed at the International Potato Center in Lima, Peru. Inside the containers, mini potato tubers grow and develop, which are used as prebasic seed, free of viruses. Then the prebasic seed is sown to generate the basic seed and finally, the commercial seed to be sold to potato growers.
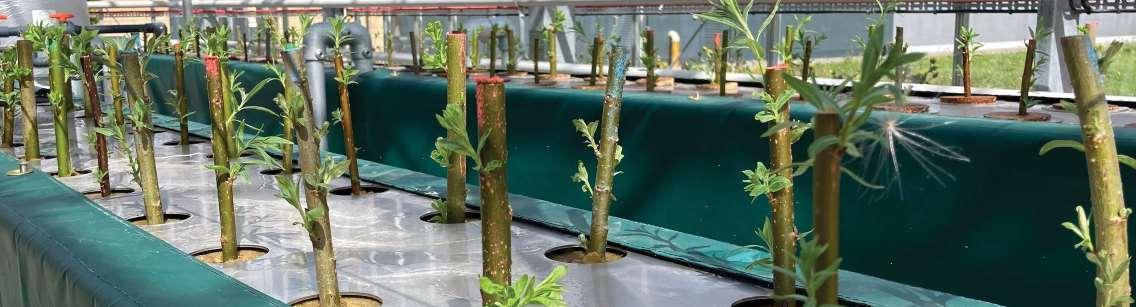
Developed an aeroponic greenhouse system for the propagation of willow trees. Aimed to explore how innovative agricultural technology could be used more efficiently. They have successfully been propagating willow using aeroponics in their new polytunnel and greenhouse location in Surrey. Growing within these environments allows for greater control of the cultivation conditions (temperature and light levels).
INTERNATIONAL POTATO CENTER LIMA, PERULETTUS GROW & UNIVERSITY OF SURREY (TAEDA TECH)
METHODOLOGY: 5
AIM & FABRICATION PROCESS
In terms of research, I would like to study how different geometries/ angles impact the effectiveness of using aeroponics. For instance, experimenting from where the plant receives the nutrient solution could be an interesting factor in regards to the success of a scaffold assembly. In addtion to the factor of nutrient location, I would like to experiment with the factor of light accessibility.
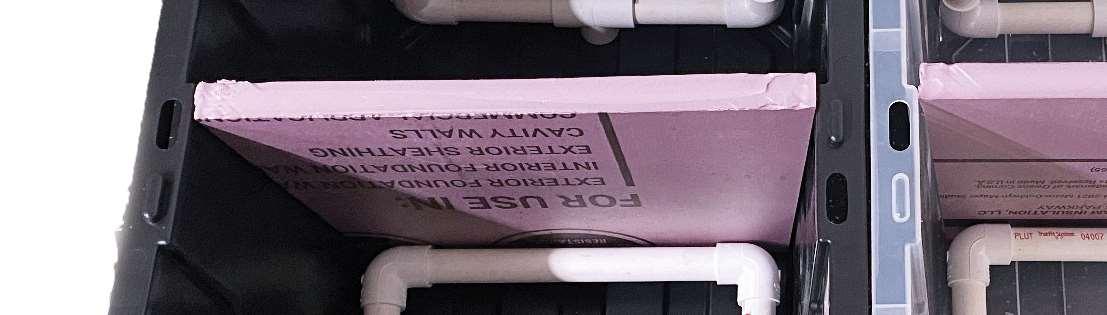
To develop this experiment, I will construct 2 tubs with a total of 4 different variable conditions (Tub 1: closed off from light with both side and bottom misters, Tub 2: open to light with both side and bottom misters). Within the tub would be a polystyrene insulation board wall separating the side and bottom mister conditions, so there would be two variables in one tub.
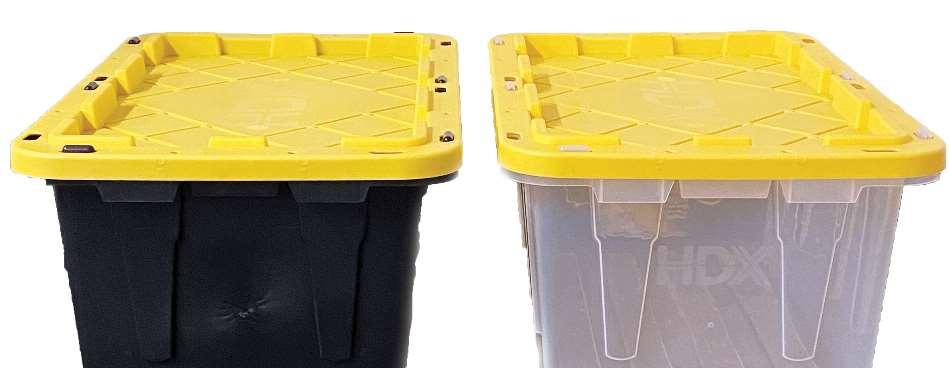
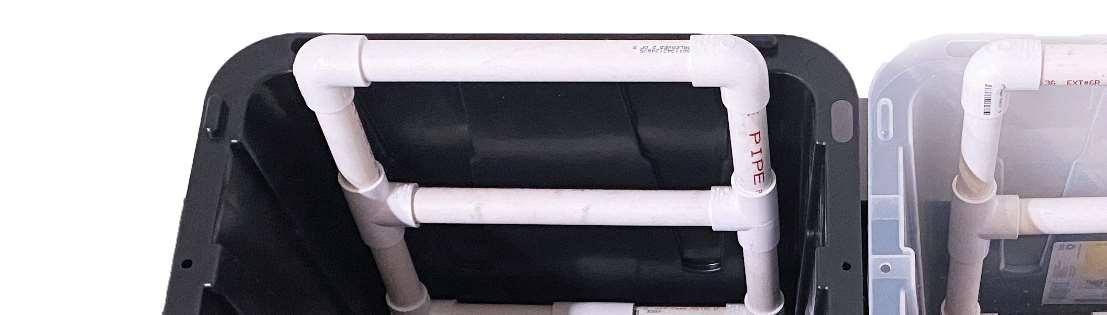
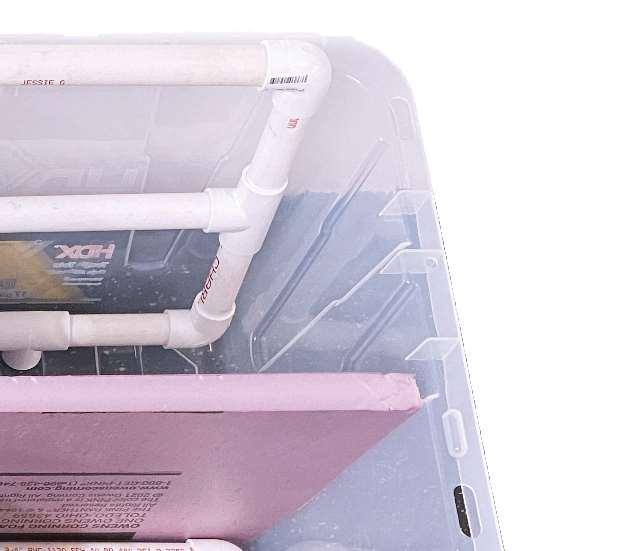
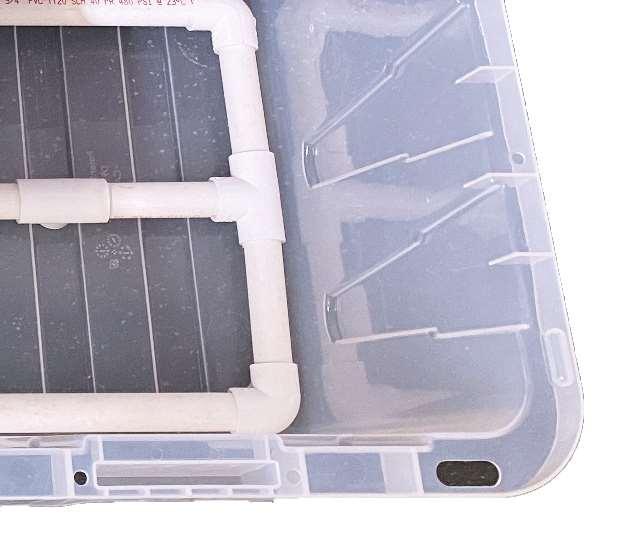
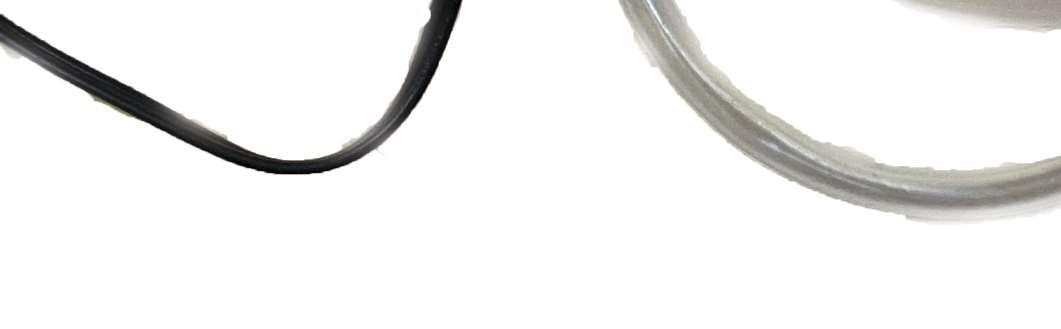
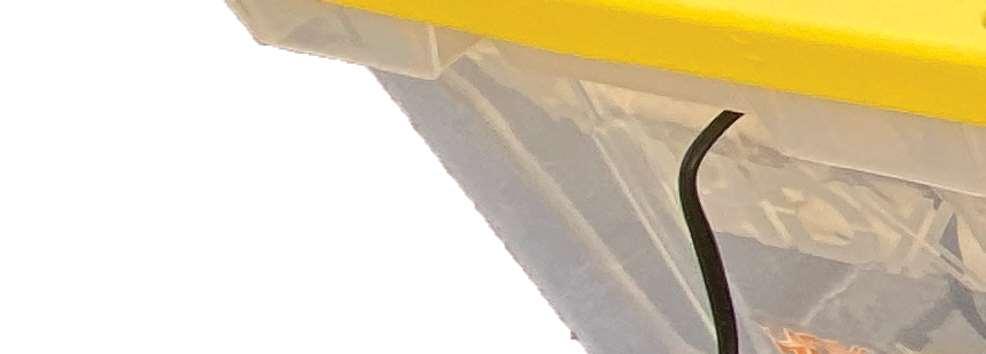
The tubs will be made out of tote containers (1 clear, 1 black) with modified lids to hold up plant pots. They will have cutouts for the plants to rest on. The water/nutrient solution will run through pvc tubing with the help of a water pump, and it will shoot out through misters.
As a result of this testing, I will be able to deduce which component geometry and nutrient solution angle is the best for supporting an aeroponics based scaffold assembly, as well as how lighting will impact the system. Traditionally aeroponics is conducted in dark environments and misted from the bottom, however is it possible to change up the process for scaffold design?
BOTTOM & SIDE MISTING
POLYSTYRENE BOARDS
(PROVIDED)
MATERIALS
$34.58
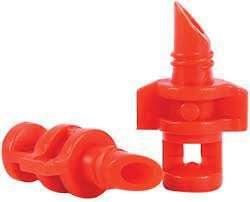
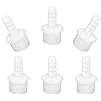
AEROPONIC RED PLASTIC 360° MISTERS (50-PACK)
$21.08
AEROGARDEN LIQUID NUTRIENT SOLUTION
$34.98
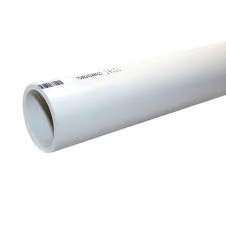
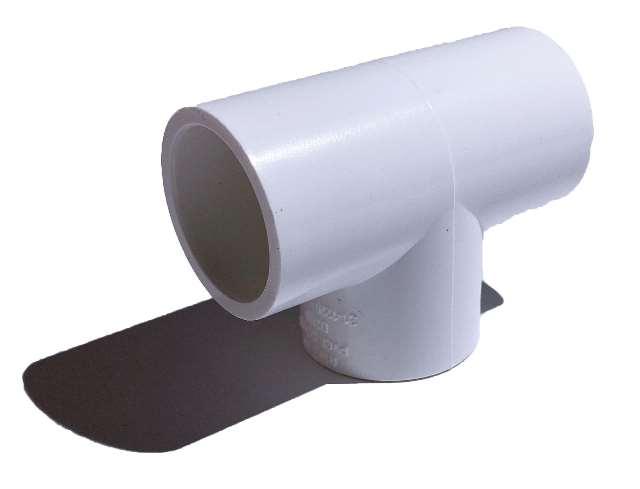
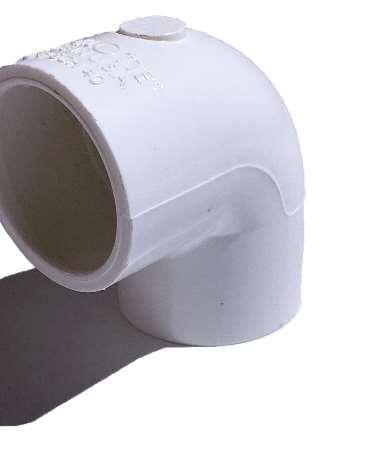
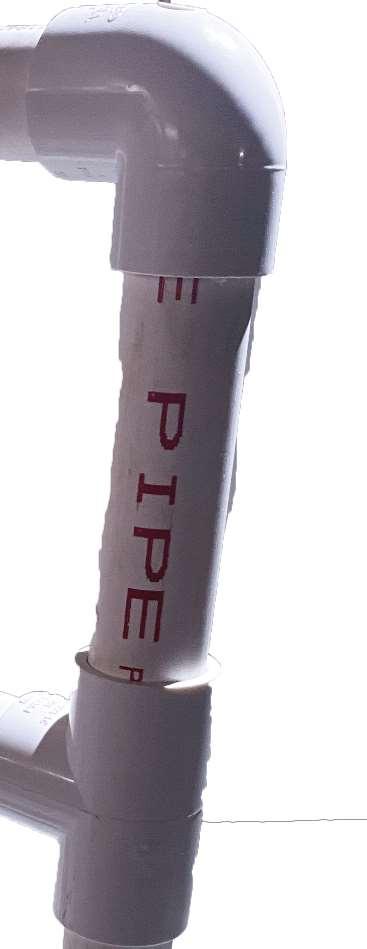
PIPES (PROVIDED)
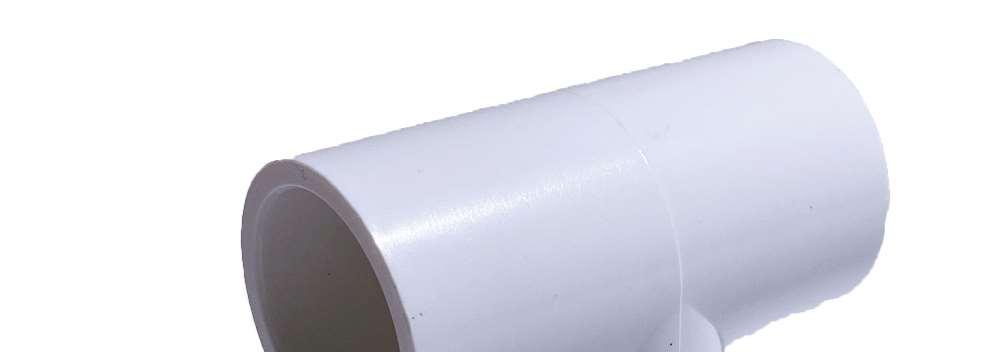
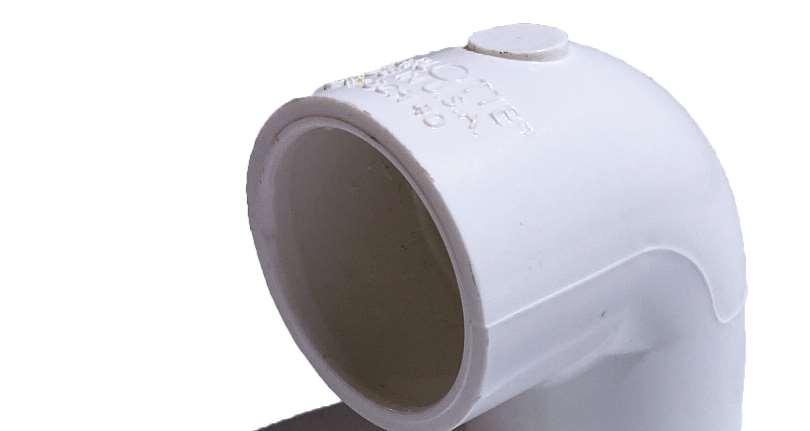
“T” AND “L” CONNECTORS (JERRY”S)
BARB FITTINGS
$11.99
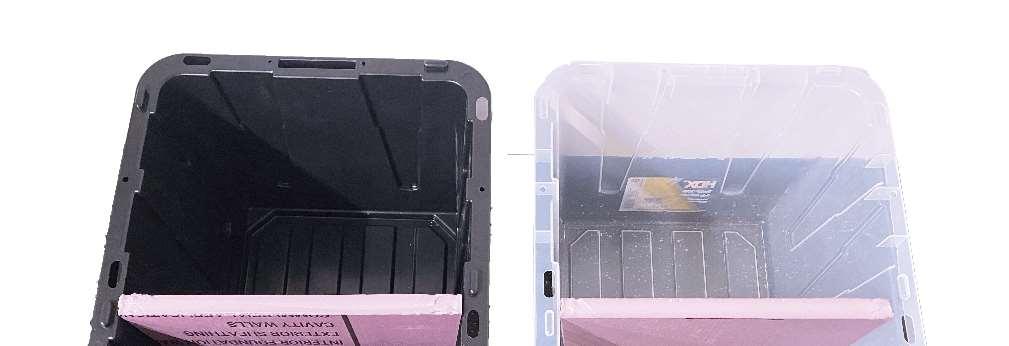
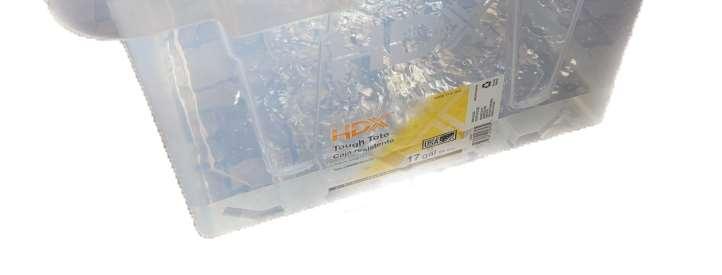
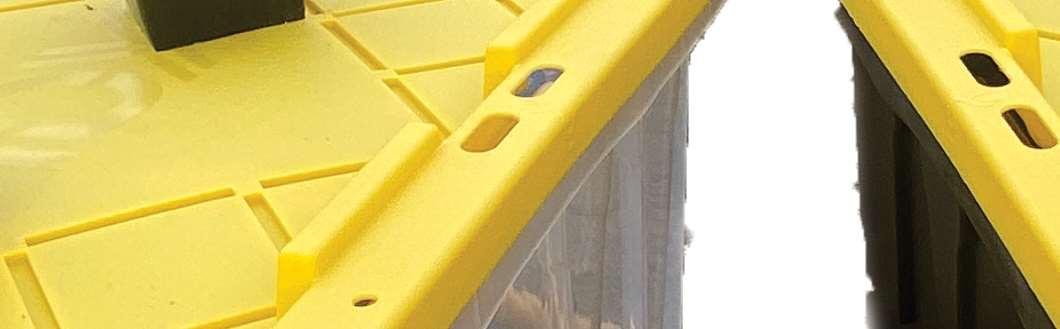
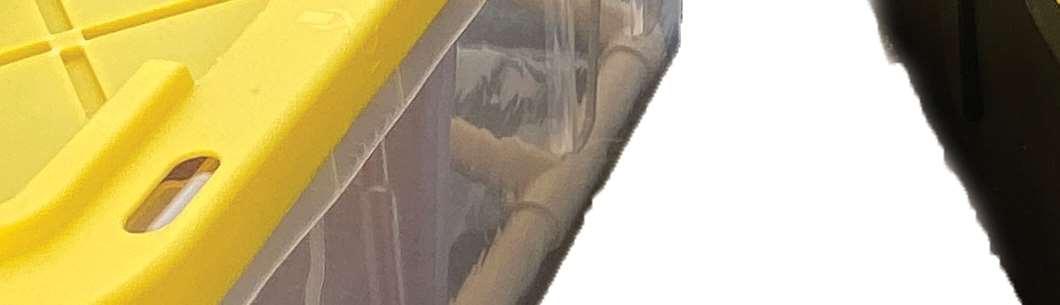
HDX 17 GAL. STORAGE TOTS (1 DARK, 1 CLEAR) $25.00
STEPS OF ASSEMBLY:
1) Create pvc pipe grid manifold
2) Drill holes for misters
3) Grab container and divide the inside space evenly with a polystyrene board wall for each condtion
4) Attach pvc manifolds with the misters to water pumps and place in the container
5) Add plant nutrient solution to container
6) Cut holes in lid for plant pots and place on top of container
7) Add pots to system with desired plant and growing media
8) Turn on pumps, mist, and harvest
PROJECT TIMELINE
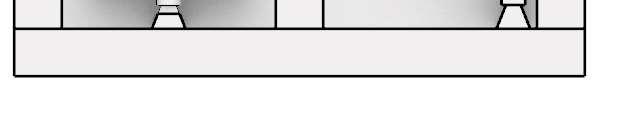
My goals for this module was to understand the basics of aeroponics and discover how the process works. Through multiple different examples, I was able to see what has been done before with aeroponics, what worked, what did not work, and it led me to deciding on a question for my experiment and my study for this course. Predominantly the plants were misted from the bottom and in dark environments, so I wanted to challenge the form in which aeroponics is conducted.
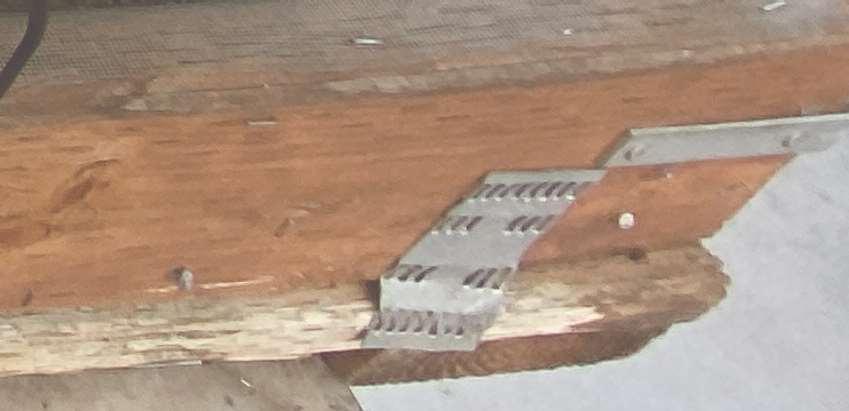
In the Model Module, my goal was to determine how I would actually physically create my desired design for this experiment. There were a lot of factors such as gathering the required materials, diagramming how those materials would connect, and calculating how many pieces I would need, as well as measuring how much of each material I would need. Physically putting the pvc tubing together was my favorite part - it was like putting pieces of a puzzle together.
Unfortunately I was not as successful in the Fabrication Module as I was in the other modules. Due to timing issues and parts of my design not working properly, I was unable to gather and analyze data regarding my experimental question. This is further discussed in future pages, however my exhibition and reporting of my work (though failed) is successfully shown.
METHODOLOGY:
PARTS & ASSEMBLY
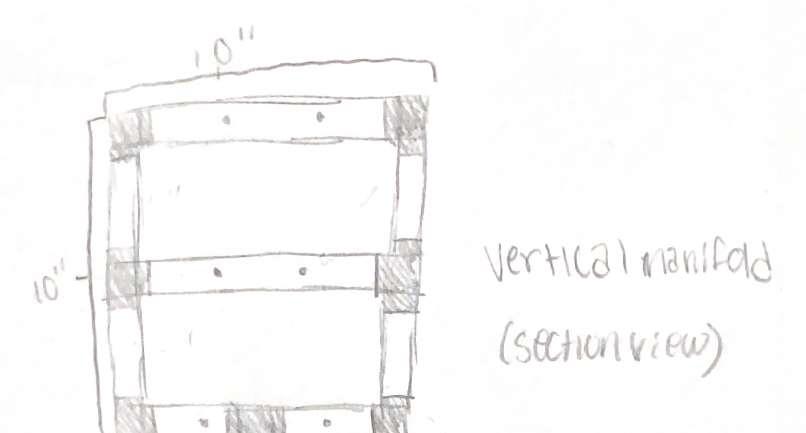
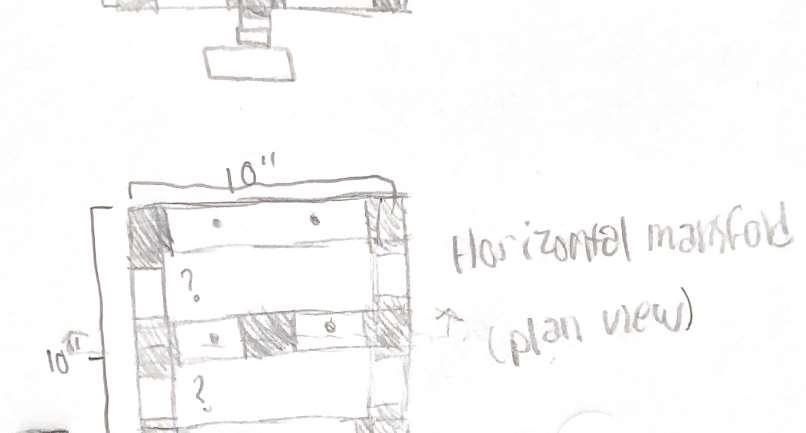
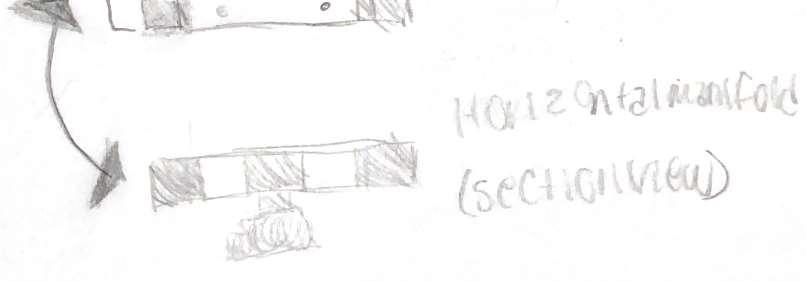
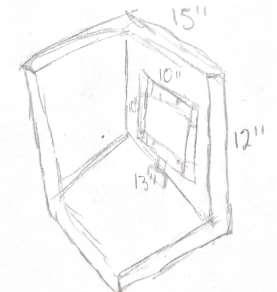
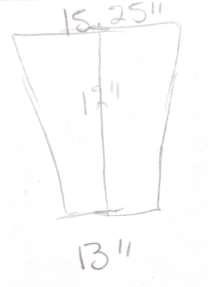
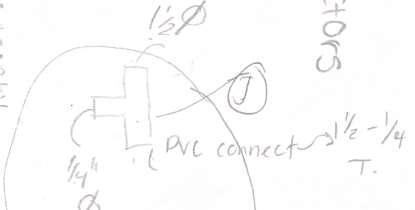
Here are some preliminary sketches I had done to see how I would put the components of my experiment together. As can be seen above, I intend to make the pvc manifolds with dimensions of 10 inches by 10 inches in order to fit within the tote containers they will be placed in. Ideally the pvc pipes that are not 10 inches due to the “T” connectors inbetween would be 5 inches each
to total out the 10 inches, however the connectors themselves would also add some length which is why there are question marks on those portions to account for the unknown length at this time. In the top right of this page I show a sketch for an alternative vertical pvc manifold that would use less piping, however I do not think I will continue with the design because it is not a design I
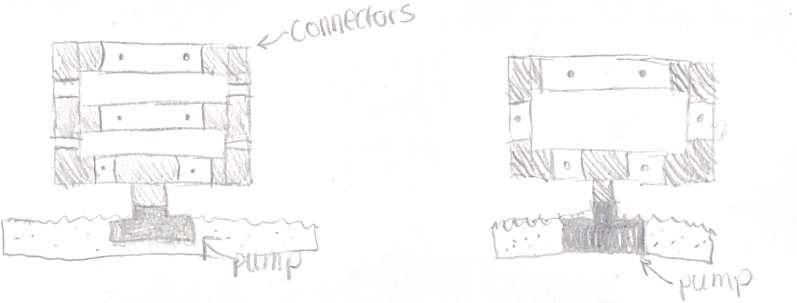
would be able to utilize in the horizontal condition. The remaining sketches illustrate the dimensions for the polystyrene board wall in the container, as well as pvc connector annotations, and how I intend on connecting the pvc to my water pumps.
DESIGN DEVELOPMENT
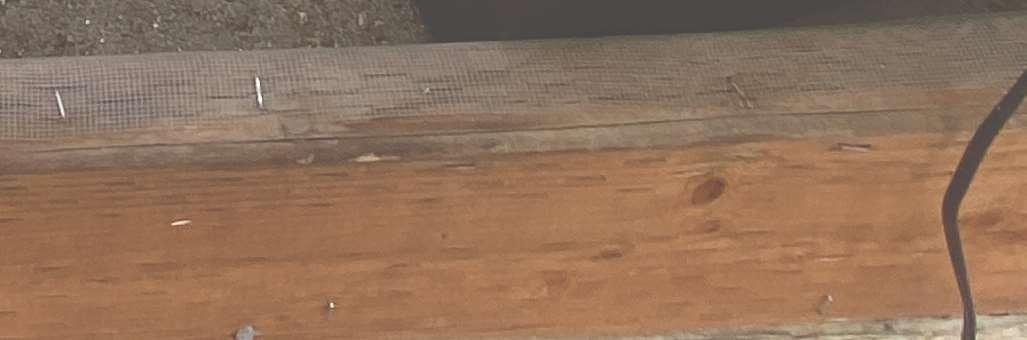
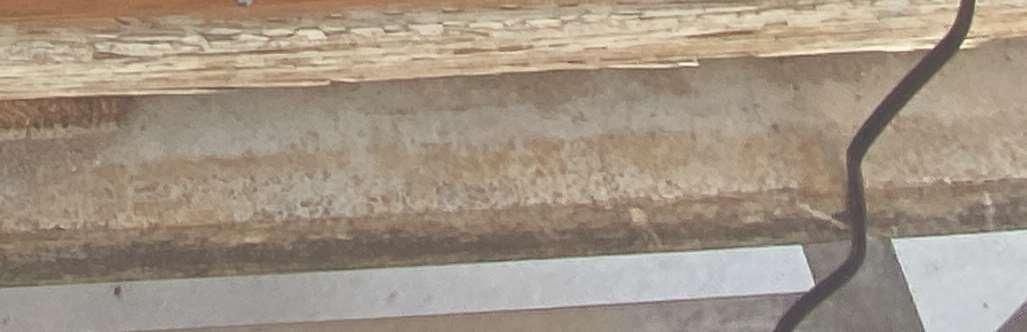
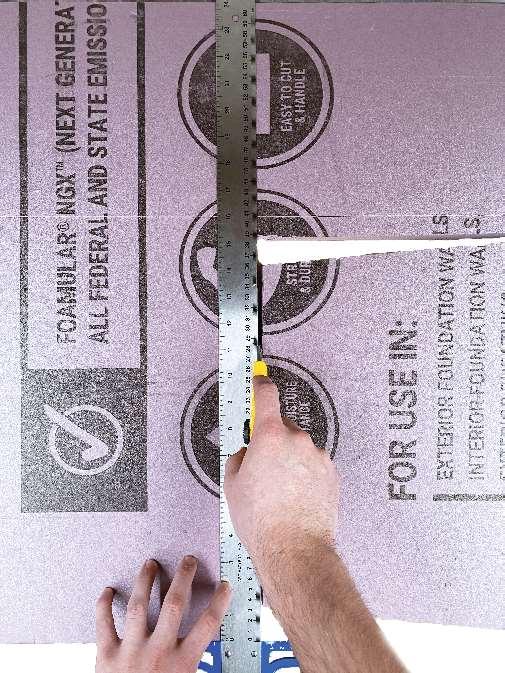
In terms of my design development, I have not necessarily aligned and followed the steps of assembly as illustrated on pages 6 and 7 due to materials arriving at different times. My first step was to get containers (one dark and one clear), and then I cut the polystyrene board walls (2 total) to fit within the containers. Following this I gathered my materials for constructing the pvc
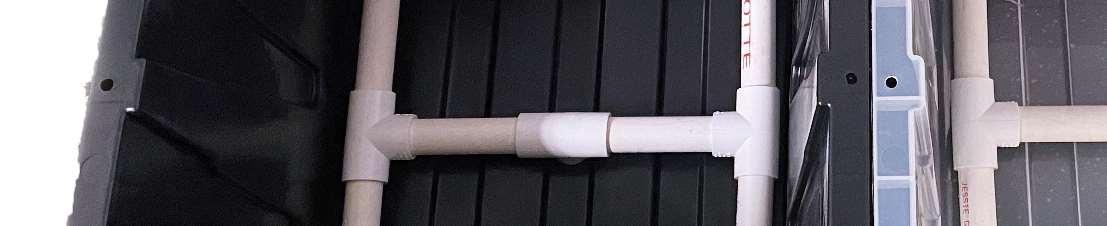
manifolds which includes 188 inches (15’8”) of pvc tubing, 12 “T” shape connectors, and 16 “L” shape/elbow connectors. Throughout this project the pvc tubing amount was reduced, however the 188 inches is what I started out with.
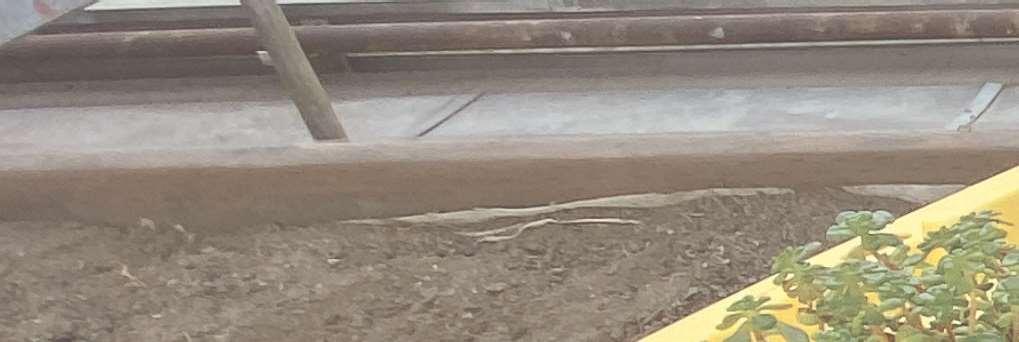
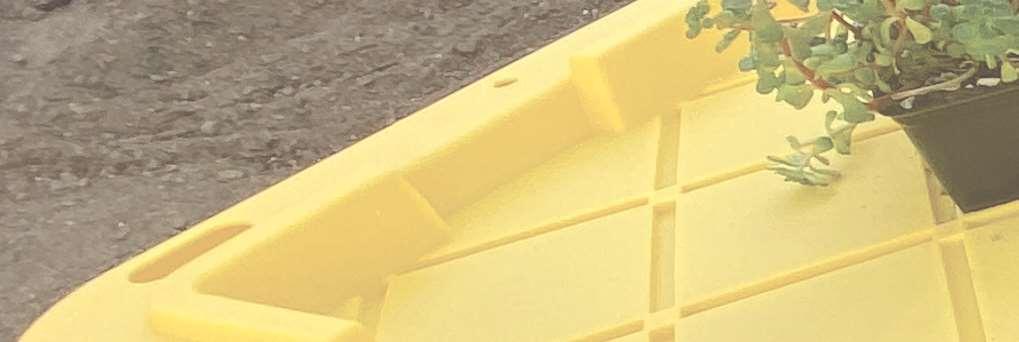
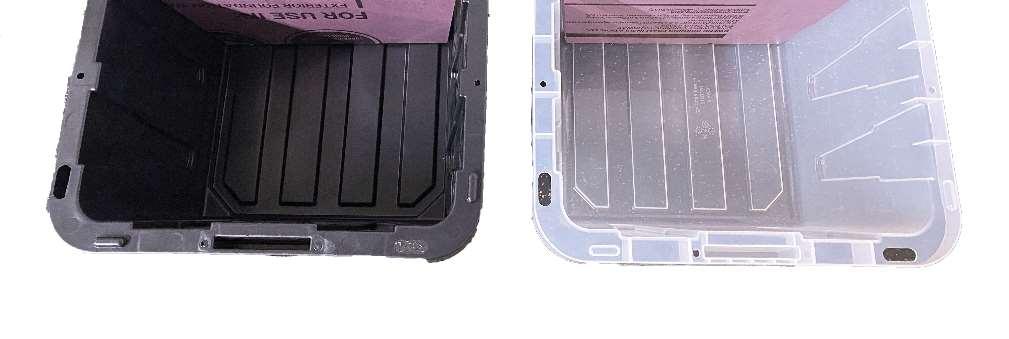
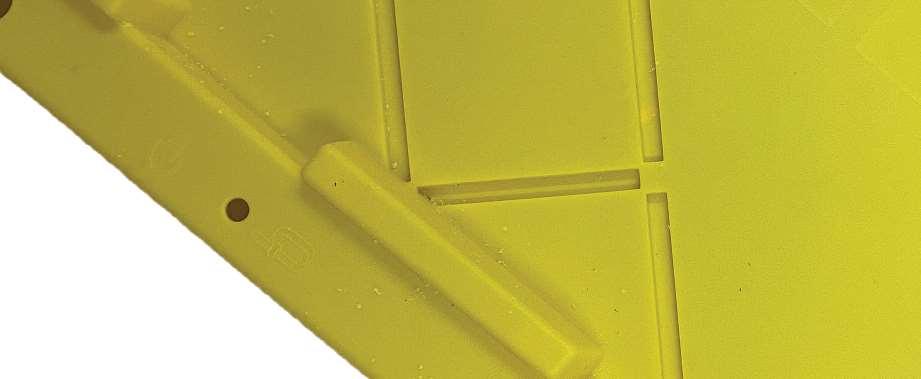
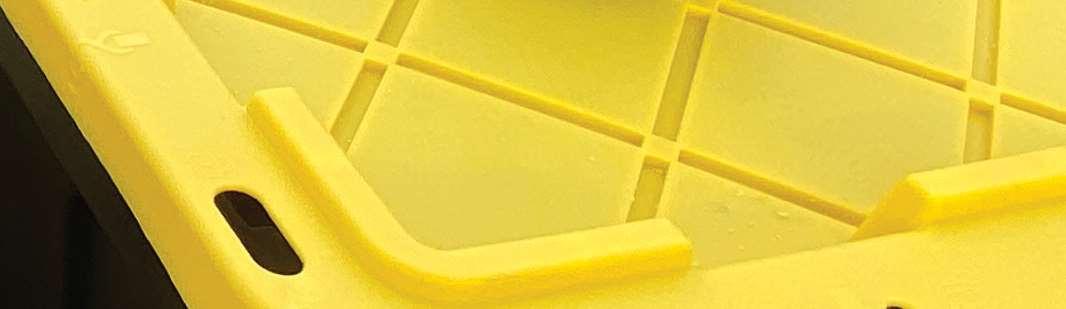
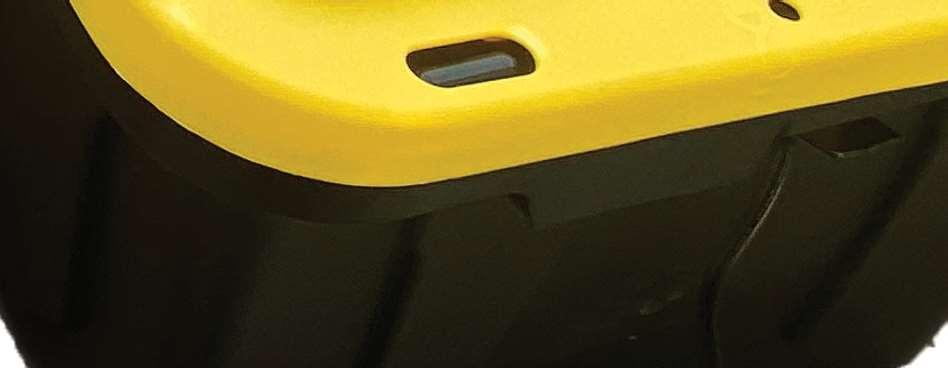
1_ Containers
2_ Polystyrene Board Walls
3_ Placement
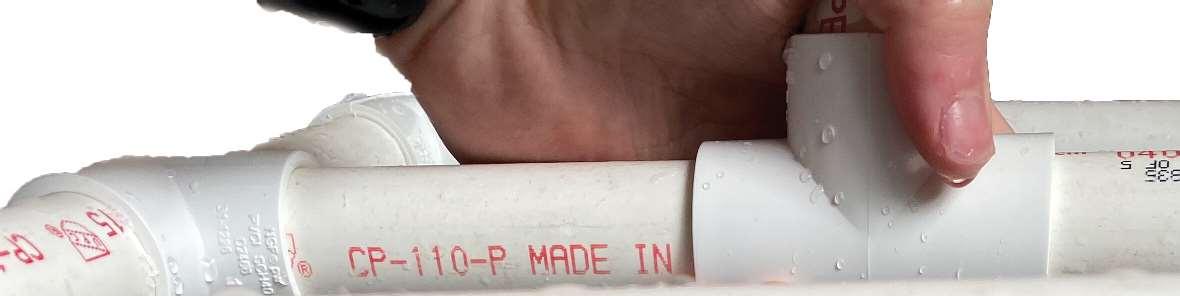
4_ “T” Connector
5_ “L”/Elbow Connector
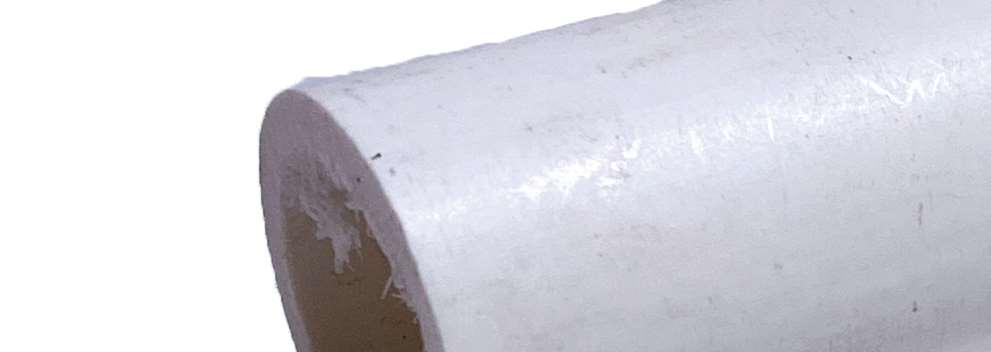
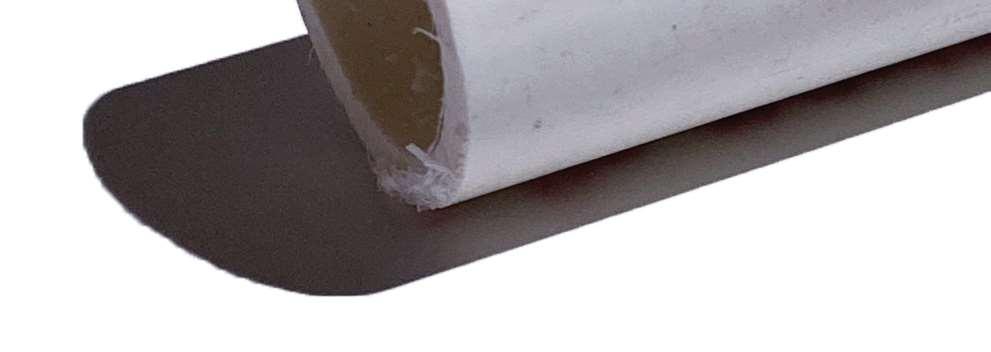
6_ PVC Tube
DESIGN DEVELOPMENT
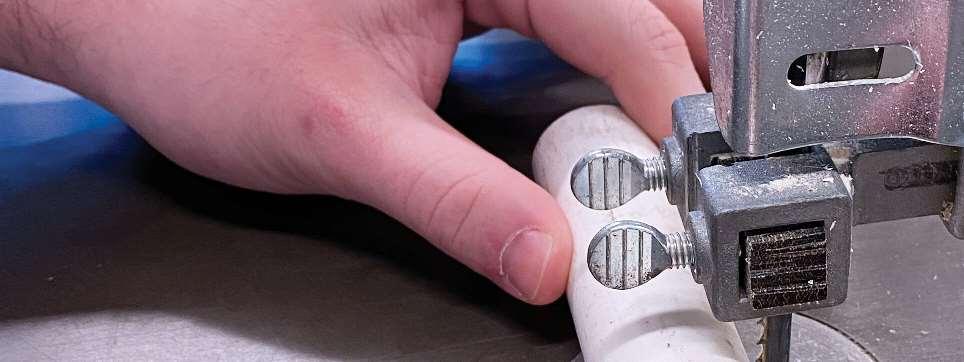
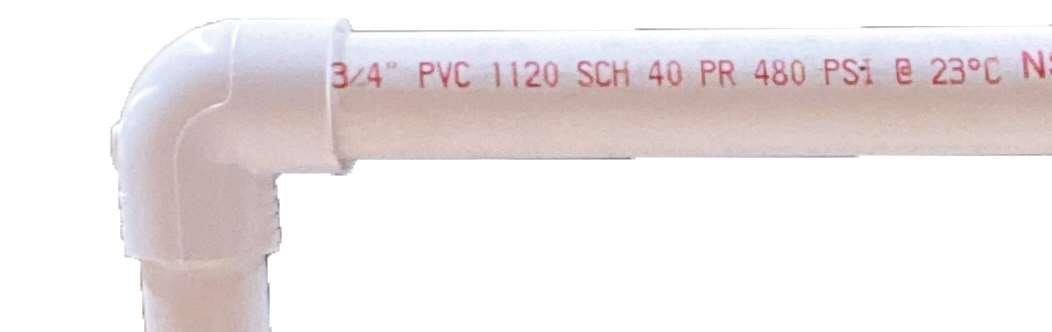
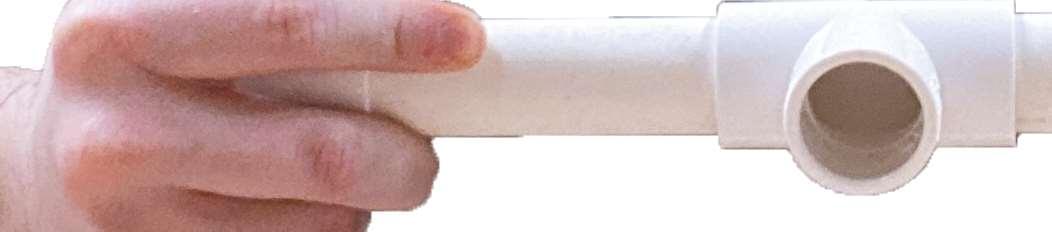
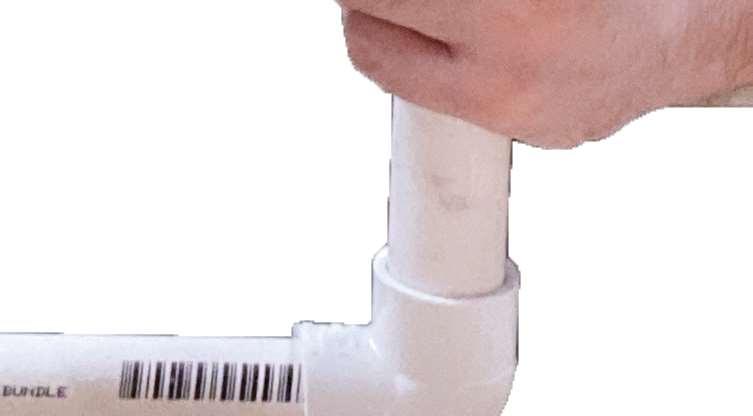
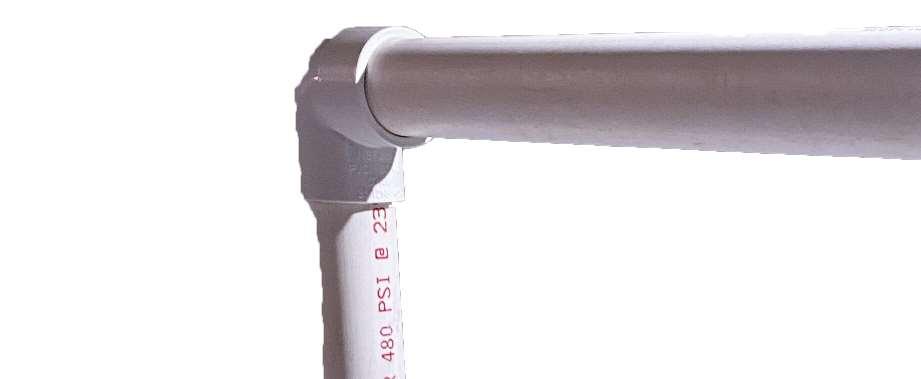
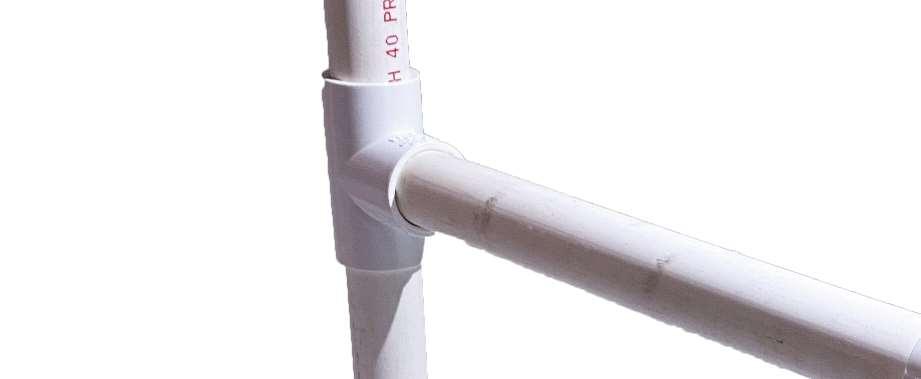
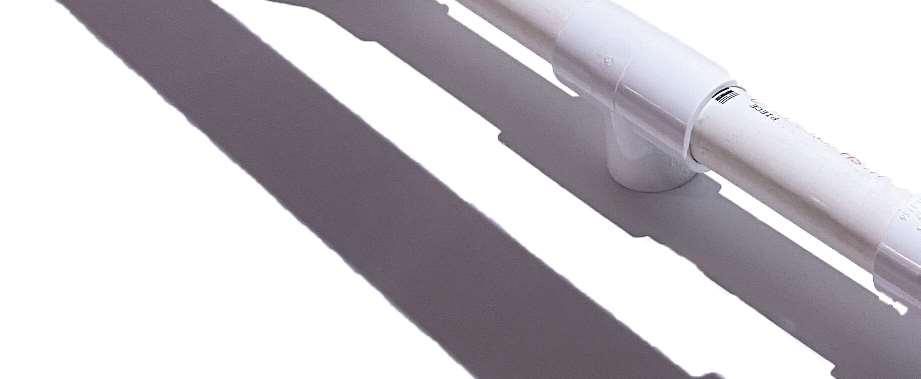
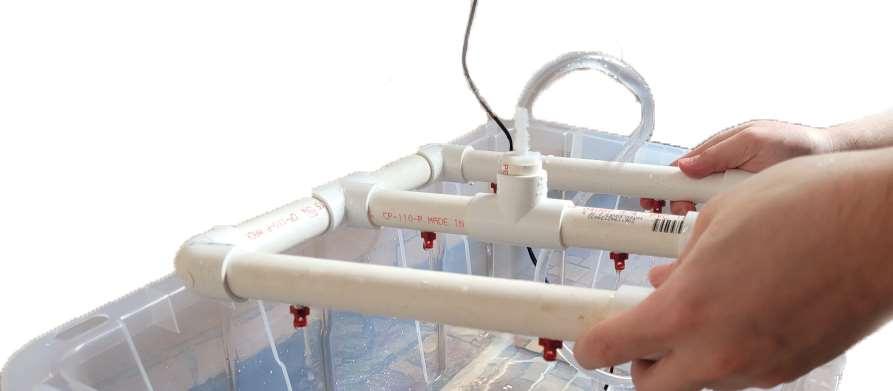
To cut the PVC into the size I wanted, I used a band saw. The dimensions I used for the longer pieces of pvc was 10 inches, whereas the shorter pieces that were used intermittenly with the “T” shaped connectors were sized at 4.5 inches. Each manifold has two 10 inch pieces, and six 4.5 inch pieces. With four manifolds, that resulted in eight big pieces, and twenty-four
shorter pieces. The images shown here illustrate my process of assembling the manifolds, and the resulting design can be seen in the following pages.
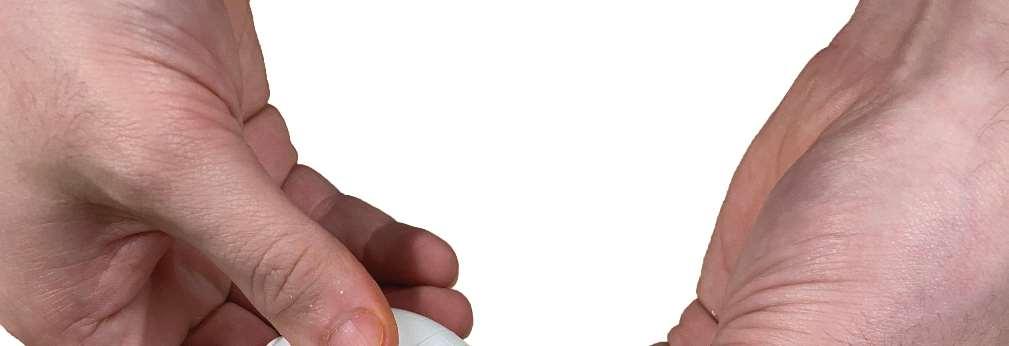
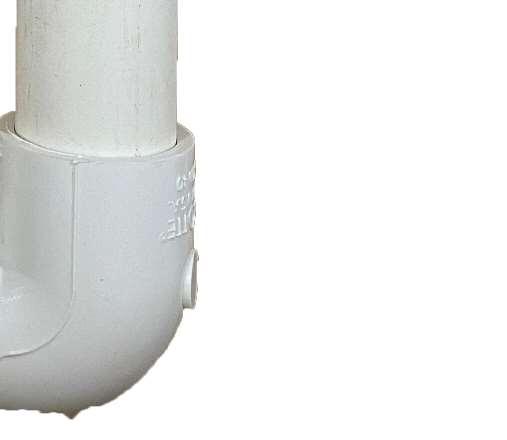
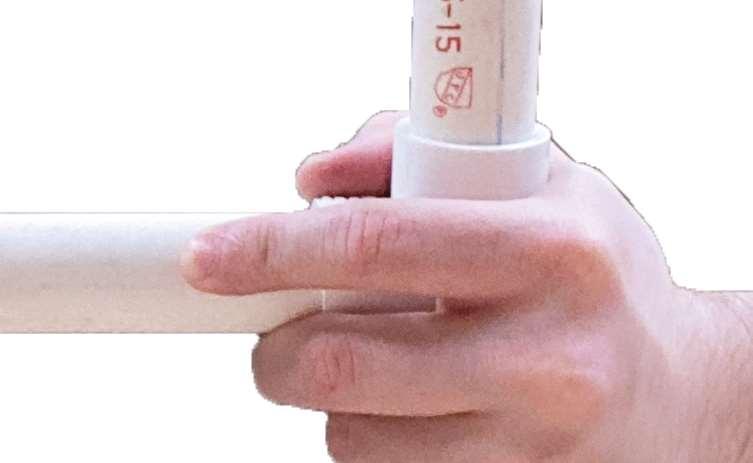
1_ Cutting PVC
2_ Connecting “L”
3_ Connecting “T”
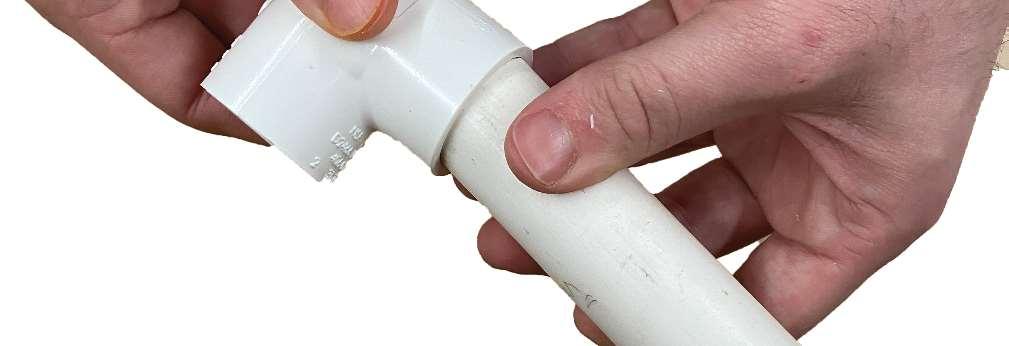
1_Putting Pieces Together
2_Tightening & Pressing
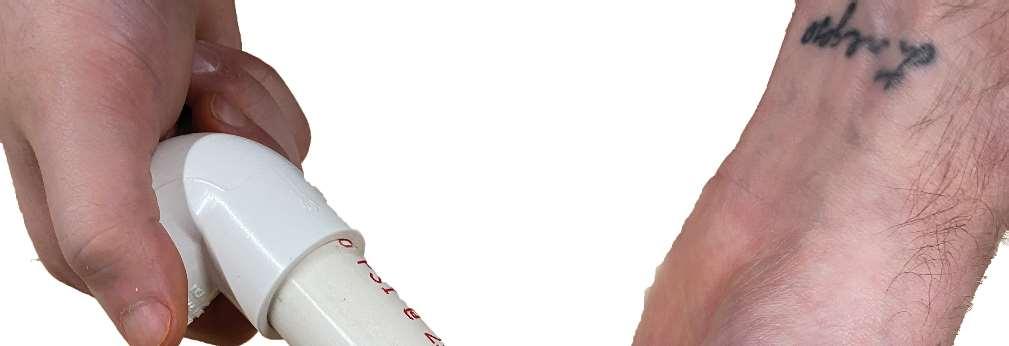
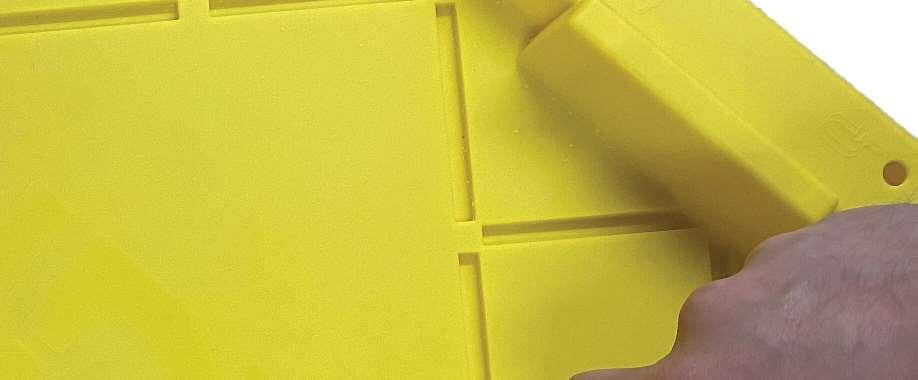
This is the latest step in my development of my design. The next steps I intend to complete are to drill holes within my manifolds in order to place the misters which will spray the plants in the future. In addition to this, I need to attach each manifold to its own water pump at the bottom of the container, and then cut holes for potted plants to rest at the top of the assembly. I may
need to trim down the height of the manifolds as well. I believe I may have underestimated how much length the connectors would add. Making the manifolds shorter will help securely close the assembly.
1_ Vertical Condition
Horizontal Condition
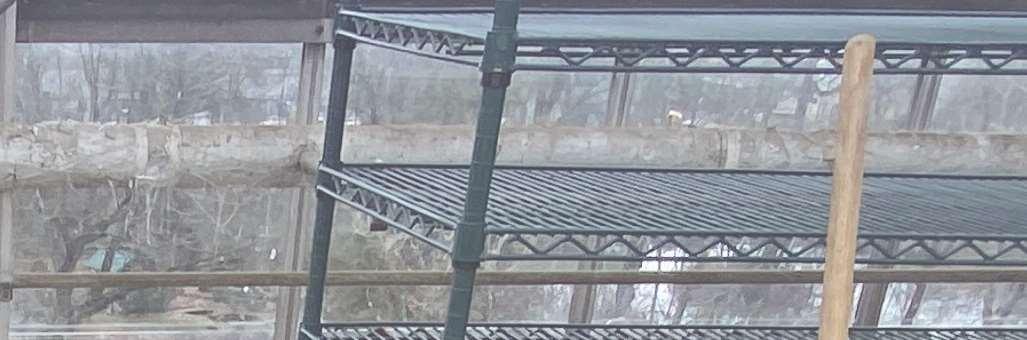
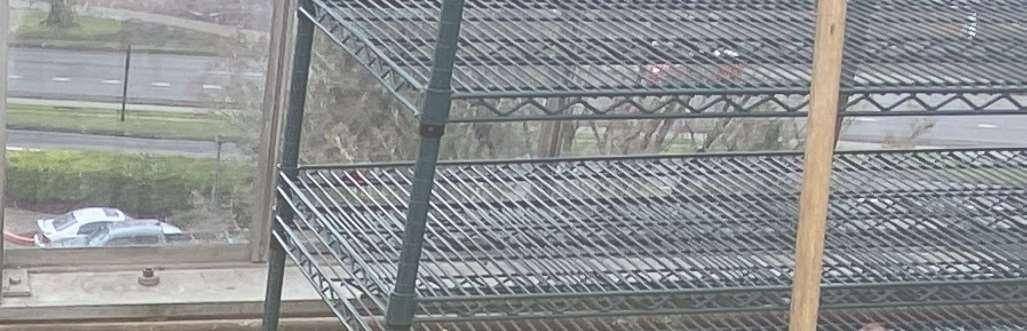
Containers with Manifolds
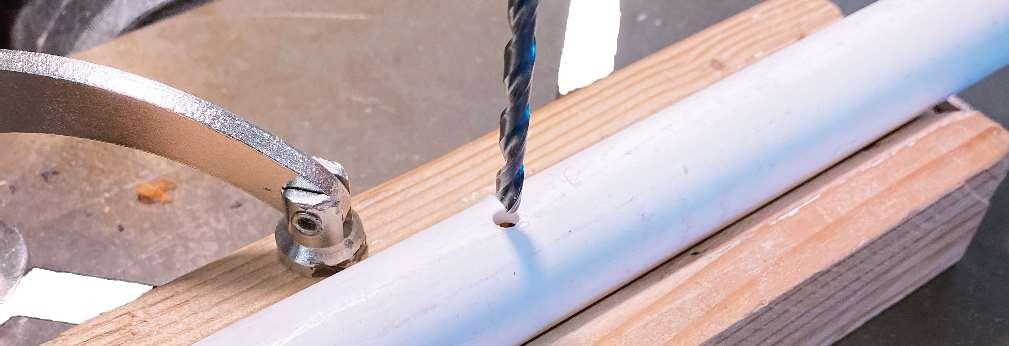
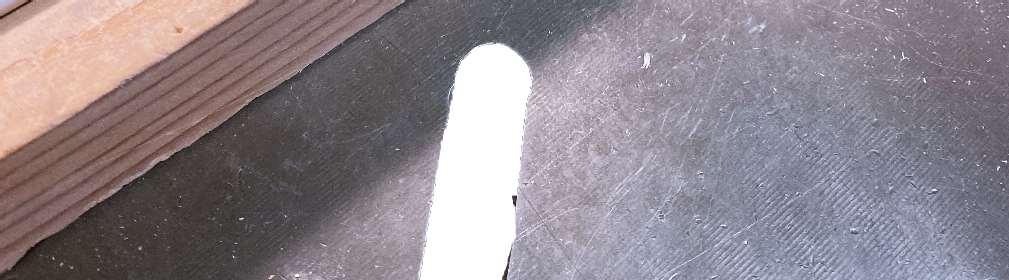
These images show the practice drill cuts I have conducted. The material pieces shown will not be included in my assembly, they simply serve as a draft exectution. In order to fit the misters into the pvc, I needed to have the drillbit dimension of 3/16” cut through one side of the pipe. As I mentioned in the previous page, I still need to drill into the manifolds I have created, but now I know the
dimensions I need for drilling in the misters. Each manifold will have six misters, which means I will insert a total of twenty-four misters.
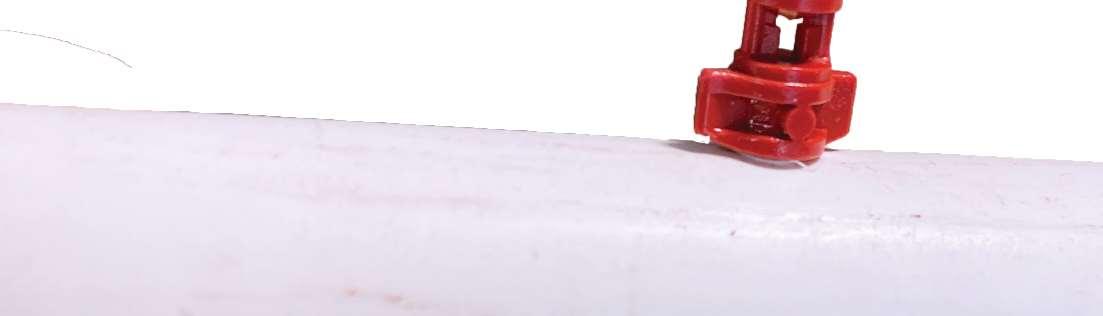
1_ Drilling Holes
2_ Inserting Mister
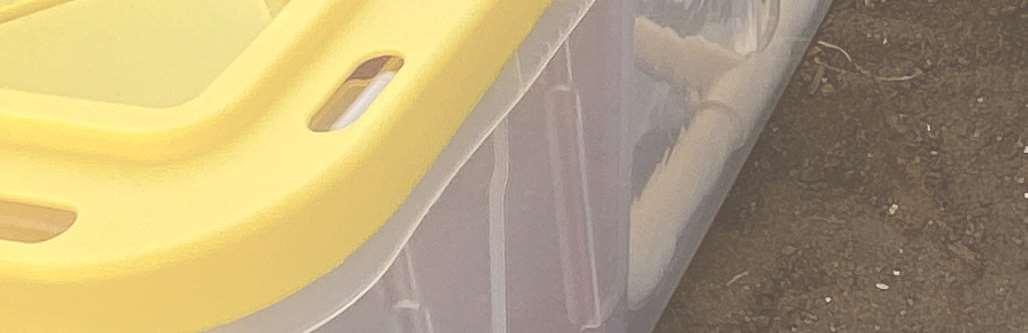
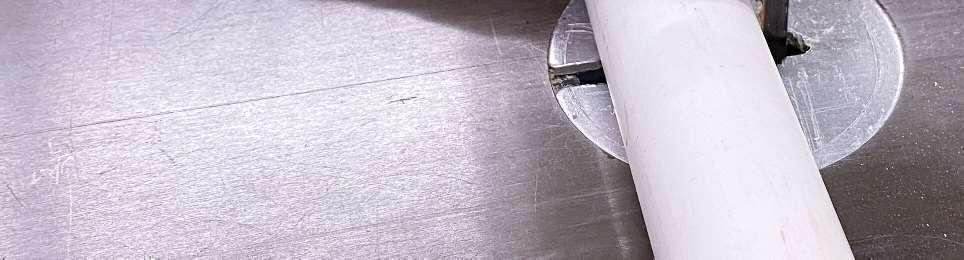
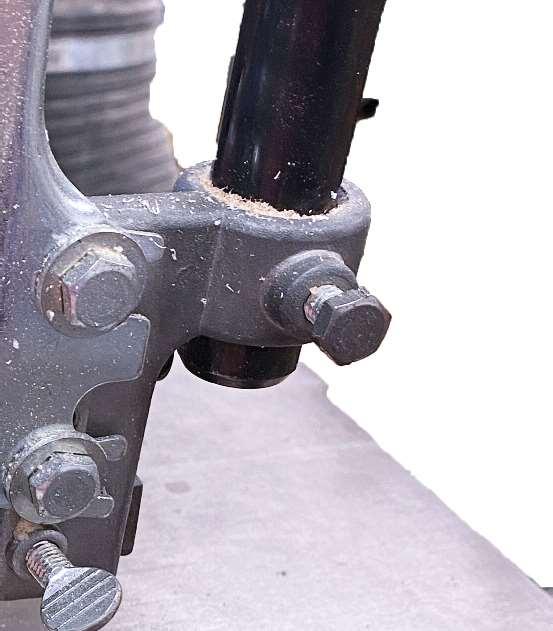
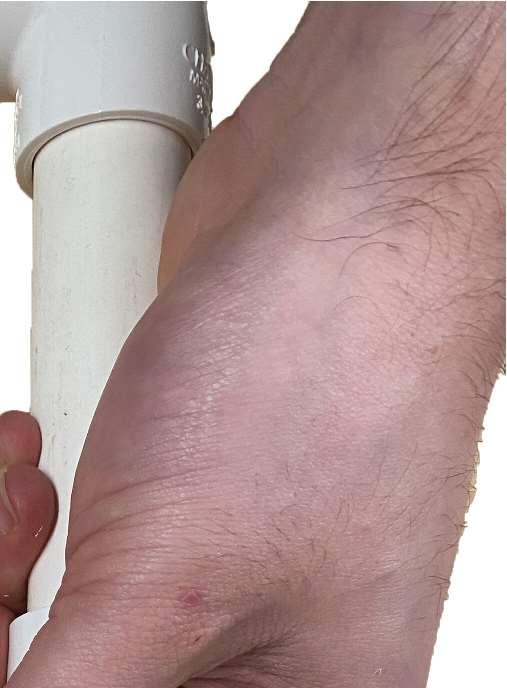
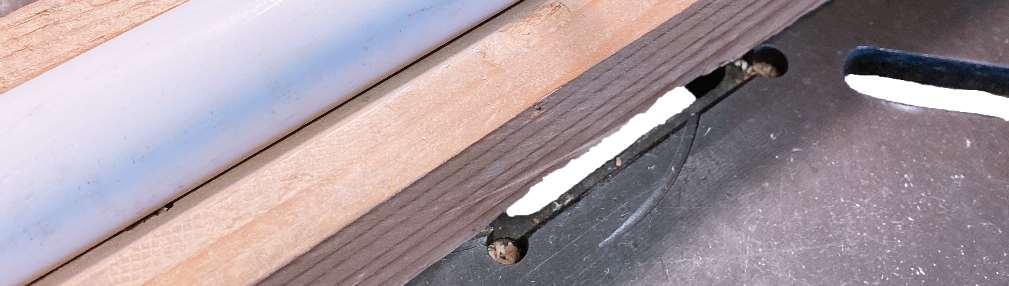
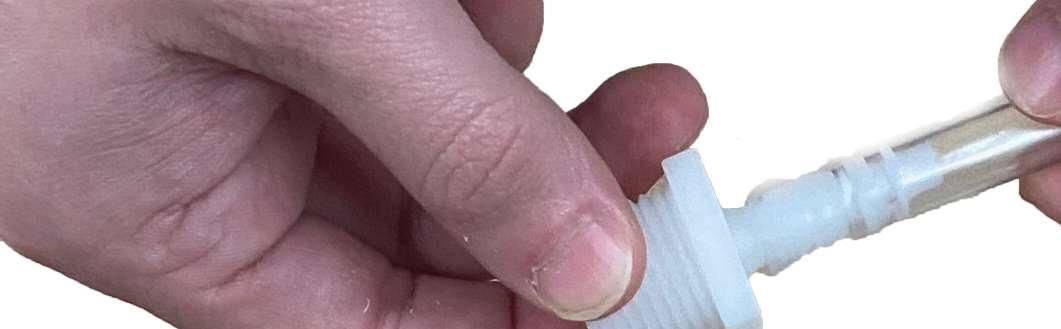
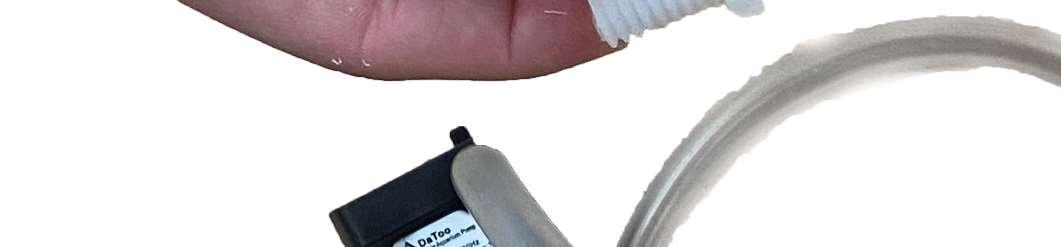
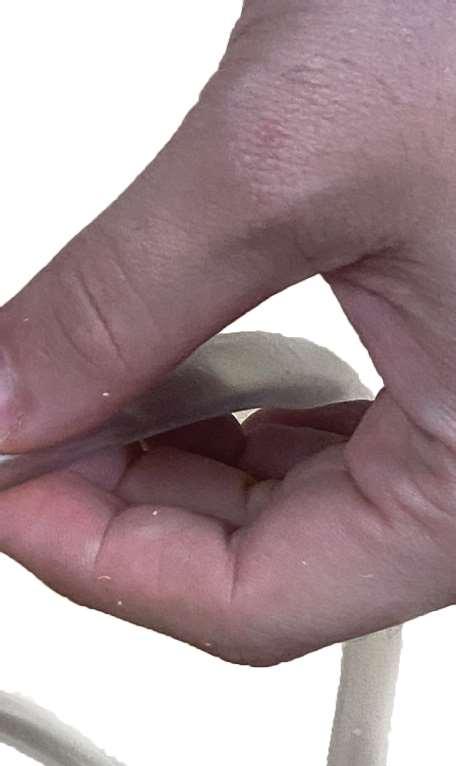
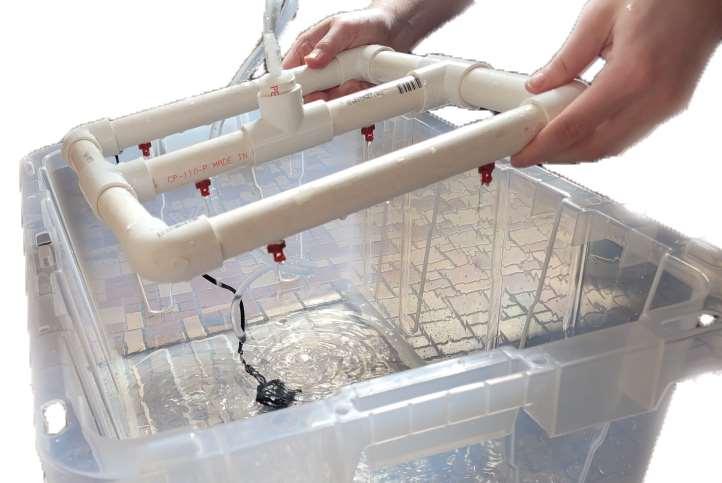
After drilling the holes into my pvc manifolds for the misters, I attatched them to my water pumps using the barb fittings. Without the barb fittings, this connection would not be possible due to the differently sized opennings. After attatching the pvc manifolds to the pumps, I realized I had to shorten the member sizes of the vertical pvc pieces. Unfortunately, after placing
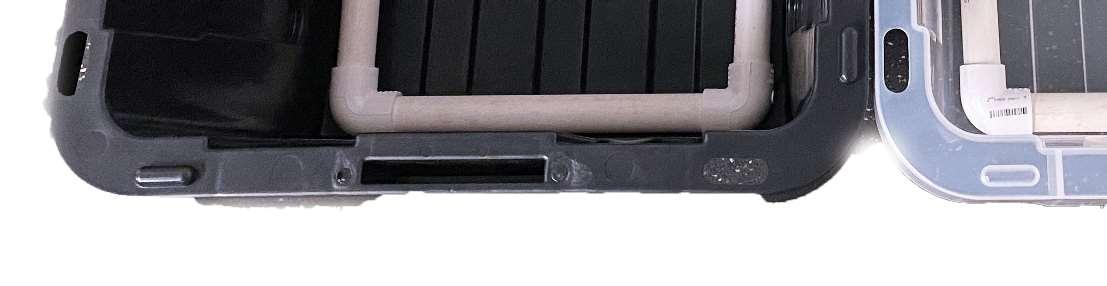
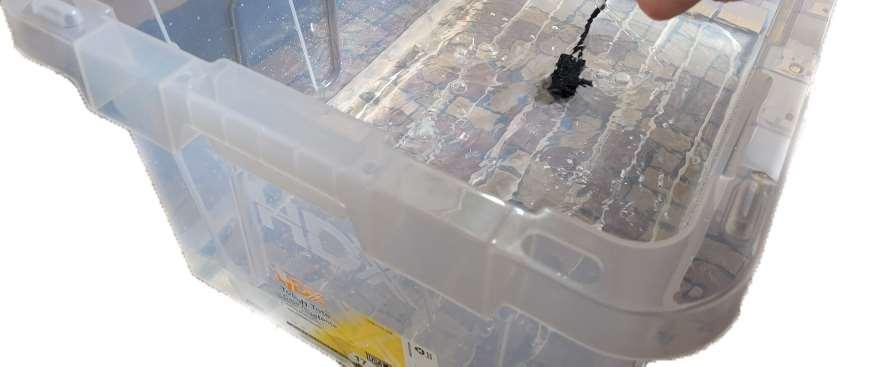
the pipes on the pumps, the height of the units were too tall to fit within the enclosed tote container. The new dimension for the vertical pieces are three inches, but the horizontal pieces stayed the same size. After this, I cut two holes (one on either side of each of the the container walls) in order for the pump outlet cords to fit and pass through.
1_ Fitting to PVC
2_ Fitting to Pump
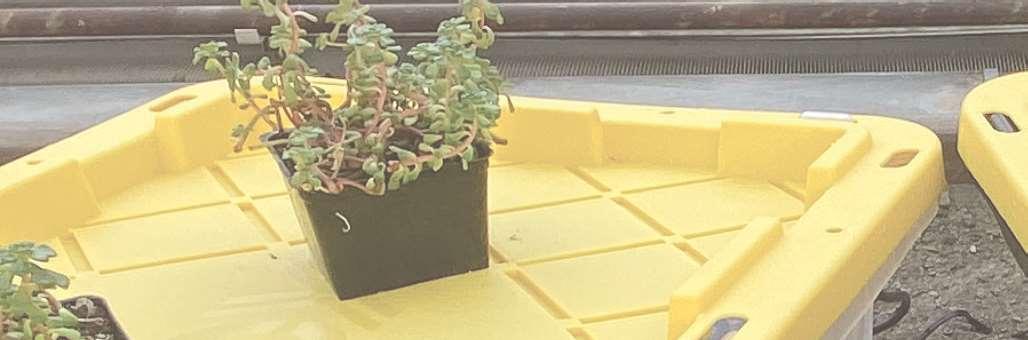
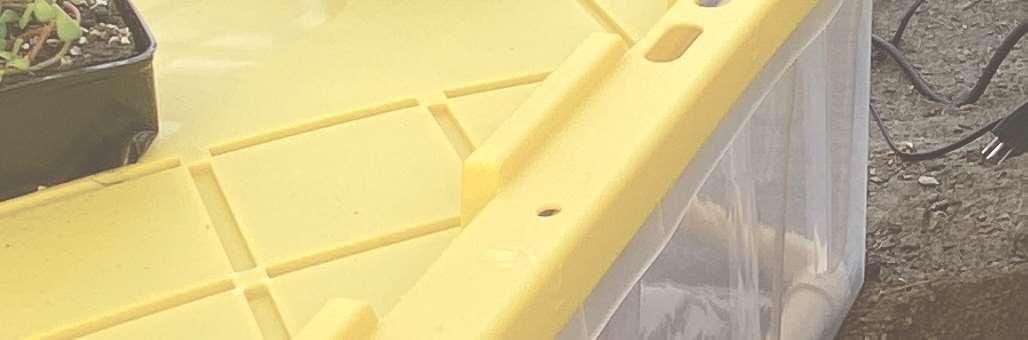
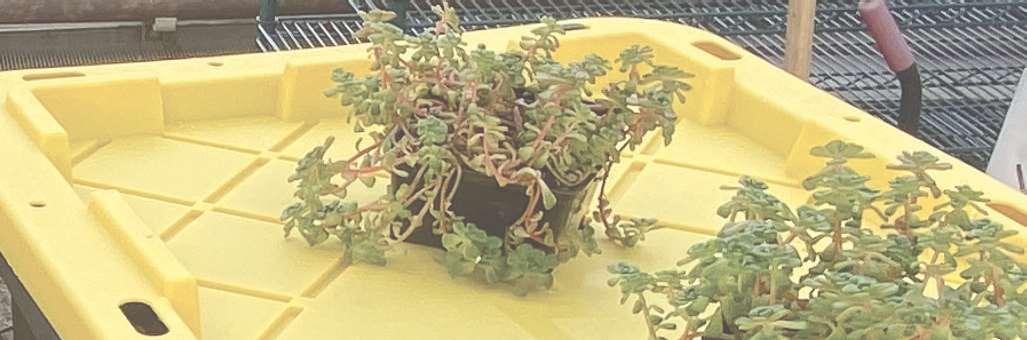
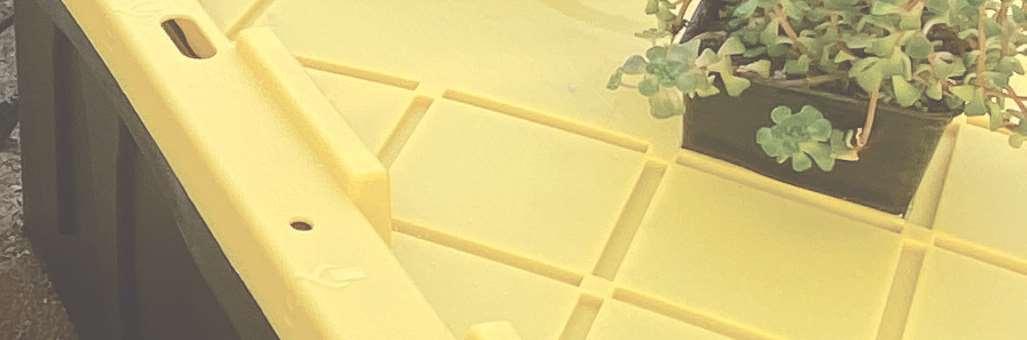
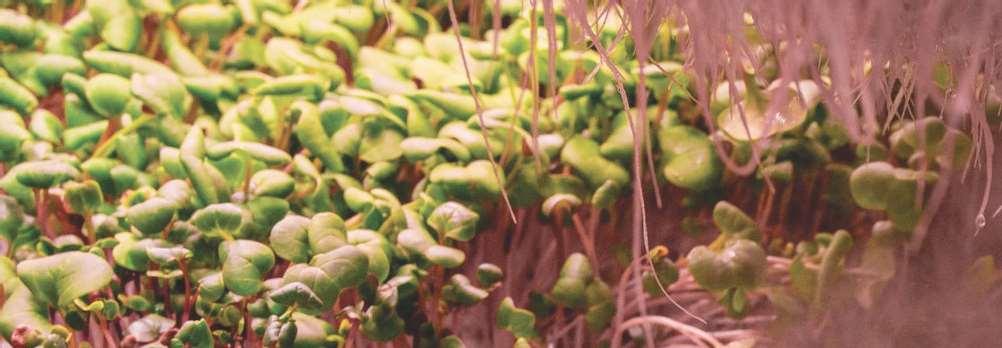
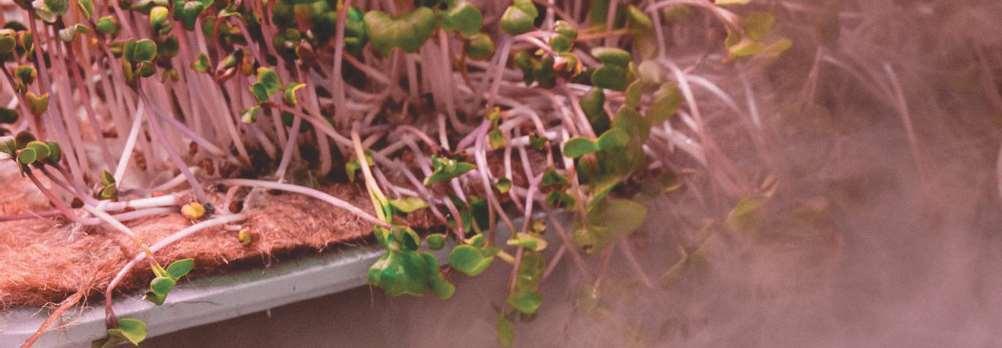
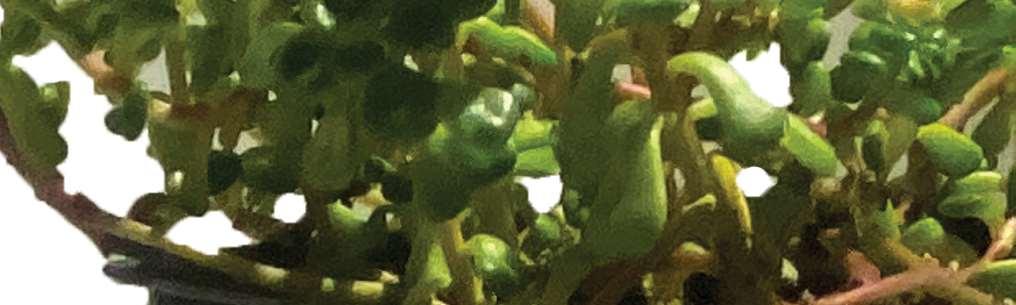
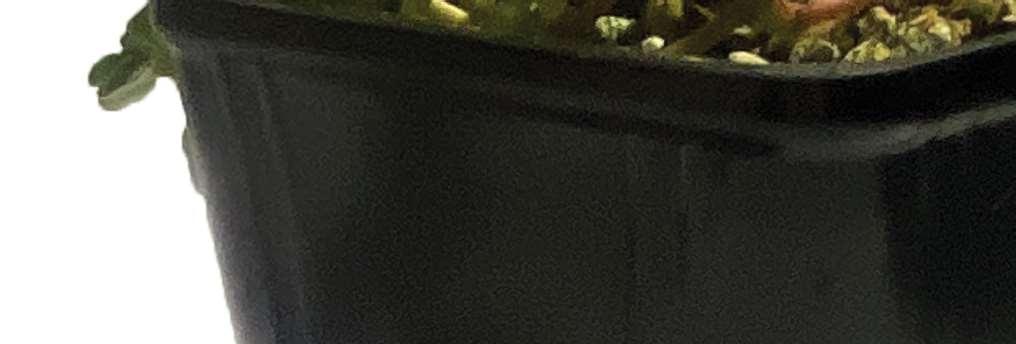
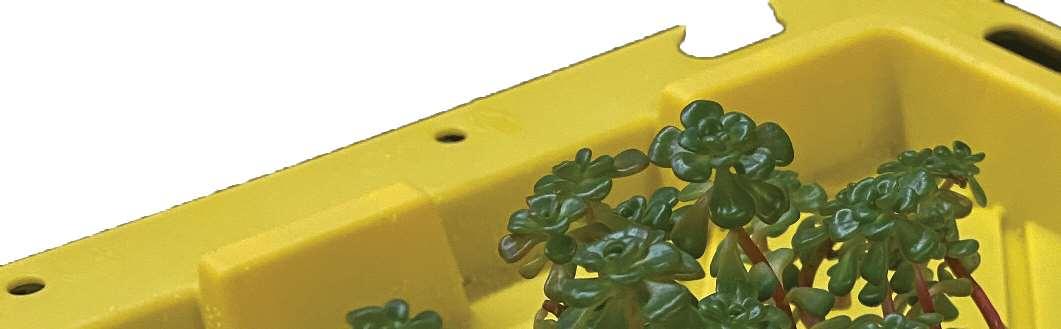
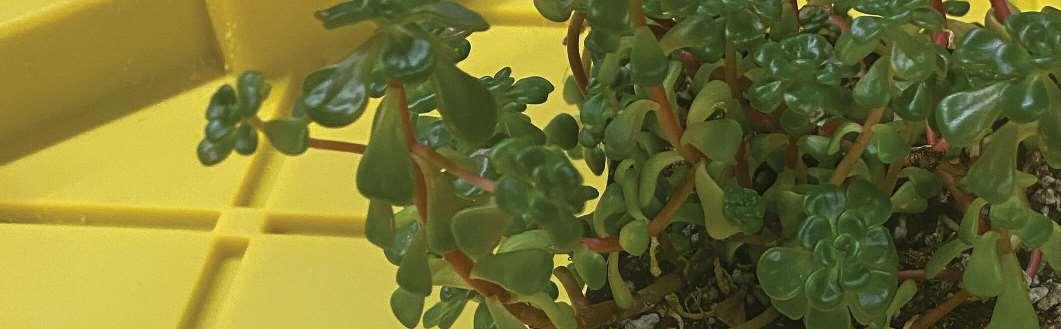
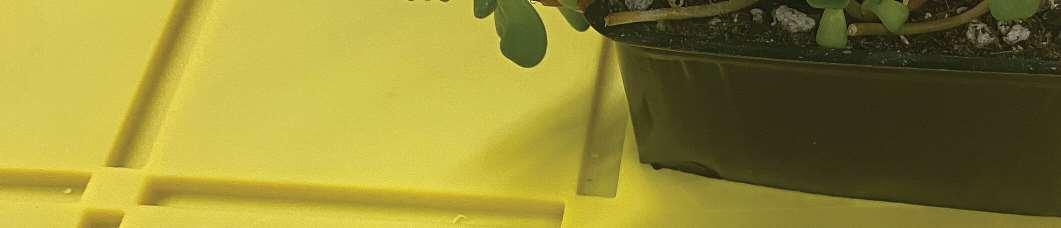
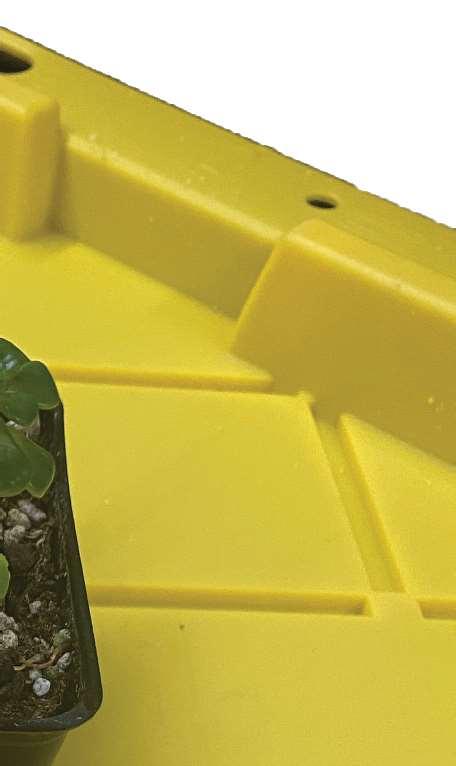
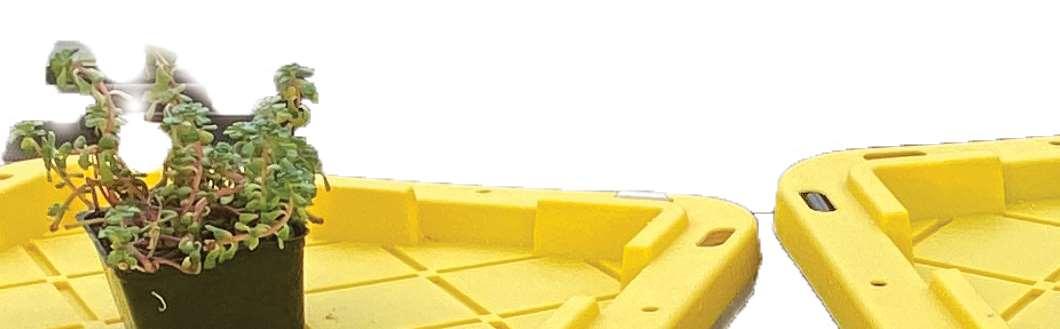
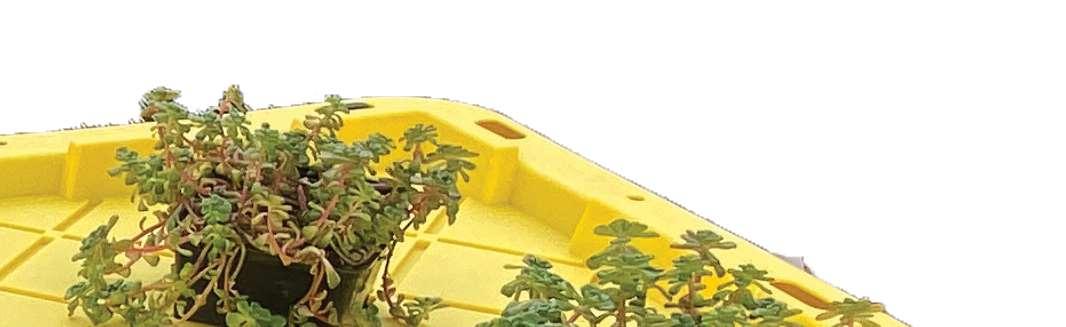
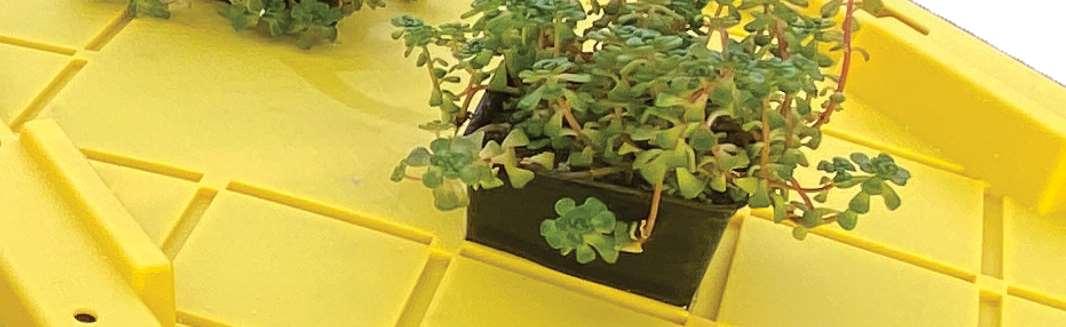
For the final steps of completing the assembly, I cut holes in the lids of my containers sized for planting pots to partially slide into my container and rest at the top of the units. For the purpose of my experiment I used a plant called Oregon Stonecrop which was researched by one of my peers from this class, Morgan Law. She researched species and decided to go with this
plant. Fortunately, she had extra plants, and she graciously provided me with four of them for my experiment. The plant is similar to a succulent, so it does not need as much water as other plants. For example, Morgan has decided to water her plants once a week, so using my aeroponics system would have a similar watering/nutrient feeding regiment.
1_ Oregon Stonecrop Plant
2_ Cutting Lid Holes
3_ Plant Placement
LESSONS LEARNED
Unfortunately, due to some unforeseen factors, I was unable to accomplish the level of success I thought I was going to achieve by the end of this course. This had to do with an ice storm taking away one of our weeks worth of research and production, shipping delays, lack of accurate material sizes, and materials that were over our individual budgets. Ideally, I had
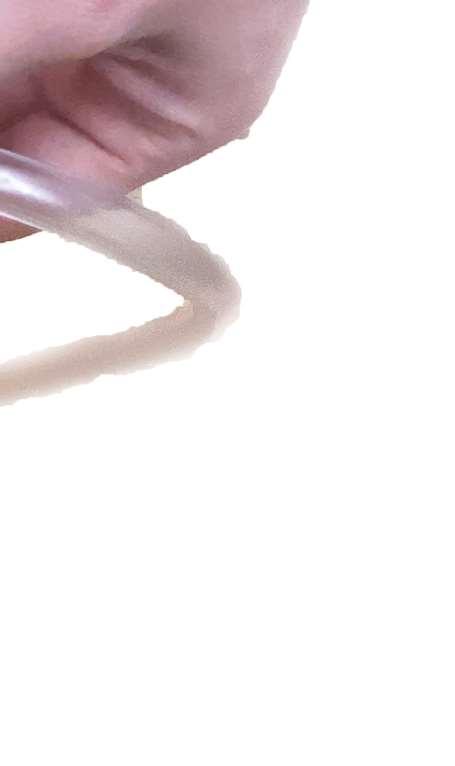
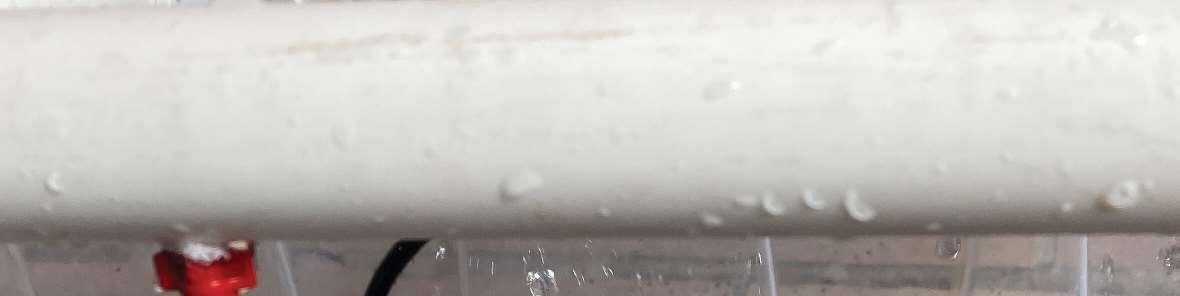
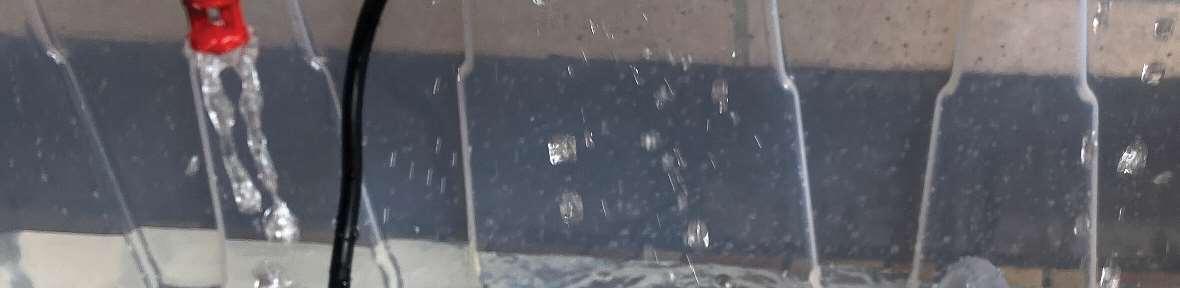
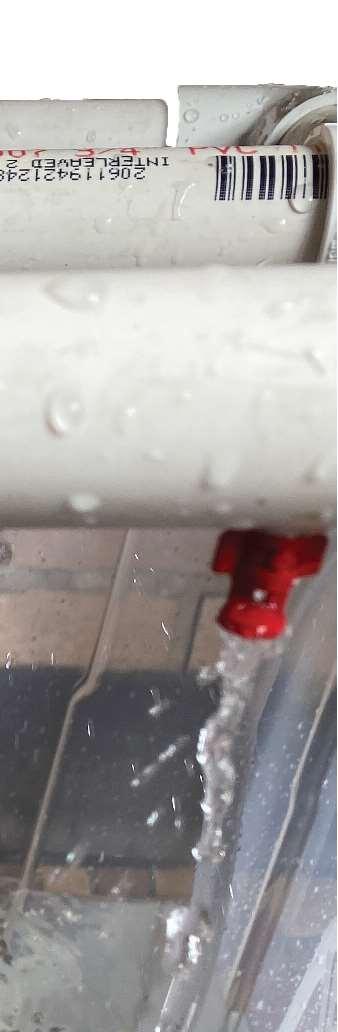
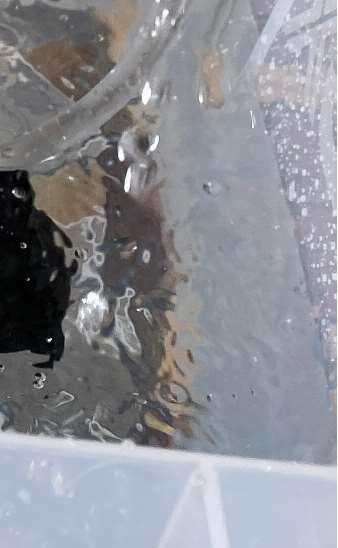
everything I needed to make the experiment work, yet the specificities were not exactly what I needed for success. When I assembled my materials together, the water flowed through the pvc fine, but when it came out the misters, the water dripped out rather than the desired mist effect. I believe the reason for this could be due to the specific pumps used
were not powerful enough. They were better in terms of budget criteria, however not strong enough to create enough water pressure to mist. The misters, themselves could potentially be a failure factor as well. Perhaps they were not of high quality to make proper misting effect. Additionally, the barb fittings do not connect super tight, so that could cause some loss of pressure.
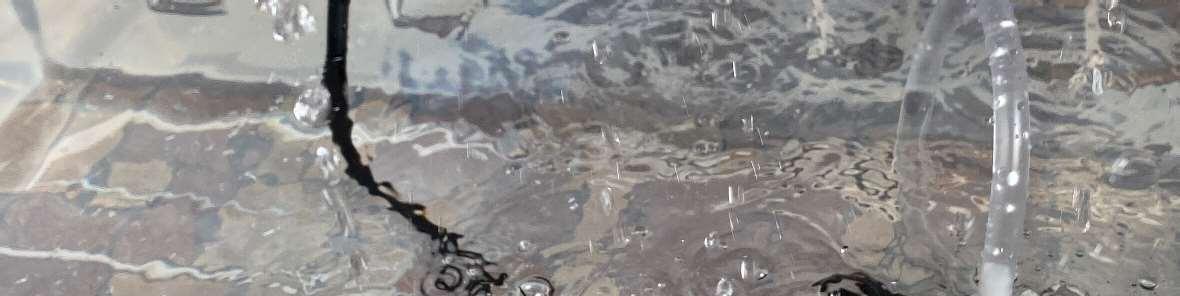
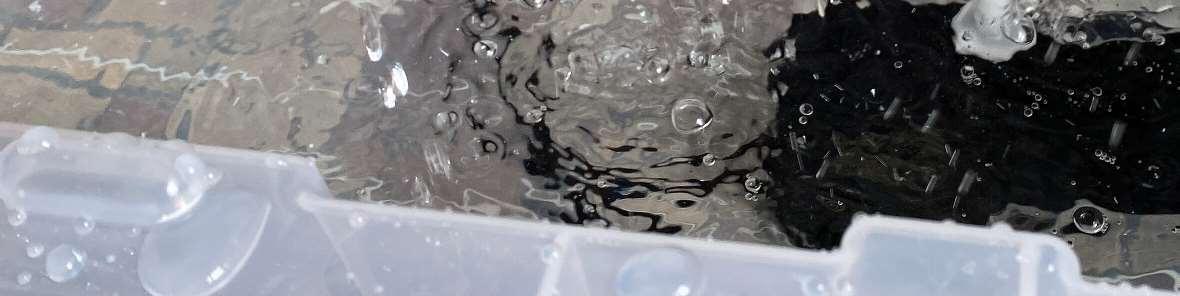
Water Flow Testing 2_ Water Flow Testing Continued...
FUTURE DEVELOPMENTS
RESULTS CONTINUED...
Before we had ordered the four mini pumps, I had ordered one bigger 396 GPH pump to test my pressure failure theory. However even with the stronger pump the misting effect was not created so other factors may be at play affecting my results. Although I was not able to create analyzable data through this experiment and determine an answer to my question, I did learn
some valuable insights regarding water, plants, and different materials. Before this course, I had never worked with water pumps, certain tools in the wood shop, or pvc tubing like how I did here. I think in the future, an experiment like mine may require more time, and stronger materials
1_ Big Pump Horizontal Placement
2_ Big Pump Upside Down Placement
MATERIAL LIST LINKS:
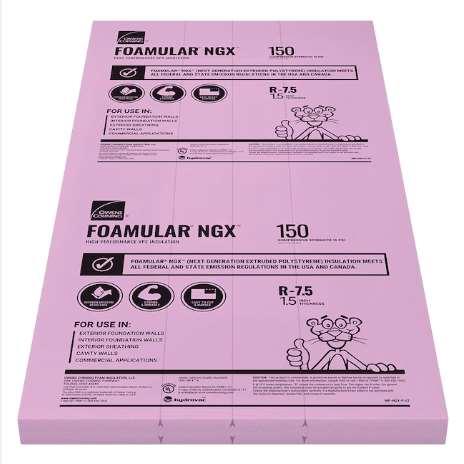
POLYSTYRENE BOARD
https://www.lowes.com/pd/ Owens-Corning-FOAMULARNGX-F-150-1-in-x-48-in-x96-in-Scored-Square-EdgeXPS-Rigid-Foam-BoardInsulation/5005553193?cm_ mmc=shp-_-b-_-prd-_-bdm_-ggl-_-LIA_BDM_000_PRO_-5005553193-_-local-_-0-_0&gad_source=1&gclid=Cj0KCQi Ah8OtBhCQARIsAIkWb6_-c3O9 uFChuu2uFraIP9IpvTBfFvWOW7C irZhsWVvorcR9Czix2O8aAjhqEA Lw_wcB&gclsrc=aw.ds
TOTE CONTAINER BLACK
https://www.homedepot.com/p/ HDX-17-Gal-Tough-StorageTote-in-Black-with-Yellow-LidSH17GTOUGHTLDBY/205808350
TOTE CONTAINER CLEAR
https://www.homedepot.com/p/ HDX-17-Gal-Storage-Tote-in-Clearwith-Yellow-Lid-206232/318056373
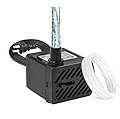
WATER PUMP
https://www.amazon.com/DaTooSubmersible-Fountain-AquariumHydroponics/dp/B0B6PQG9HV/ ref=sr_1_44?crid=11DR4U0ANJD5A&k
NUTRIENT SOLUTION
https://www.amazon.com/
AeroGarden-Liquid-Nutrients-1Liter/dp/B004M5NGJG/ref=asc_df_ B004M5NGJG/?tag=hyprod-20&link Code=df0&hvadid=193142362025&h vpos=&hvnetw=g&hvrand=107181116 05973759183&hvpone=&hvptwo=& hvqmt=&hvdev=c&hvdvcmdl=&hvlo cint=&hvlocphy=9033026&hvtargid =pla-313111594976&mcid=63d9e91b 04de321f925e04c077cbd826&gclid =Cj0KCQiAh8OtBhCQARIsAIkWb6u4eHRUZvn9OECbDcIITaHS9lbQnENPl3tCvmdoGQZzsuwYoDbre4aAlx
MISTERS
https://www.homedepot.com/p/ EZ-Clone-Aeroponic-RedPlastic-360-Misters-50-PackEZMIST-360-50/305111050
BARB FITTINGS
https://www.amazon.com/ JoyTube-Plastic-Fittings-AdapterConnector/dp/B08G182S8R?pd_ rd_w=X0B05&content-id=amzn1. sym.80b2efcb-1985-4e3ab8e5-050c8b58b7cf&pf_rd_ p=80b2efcb-1985-4e3ab8e5-050c8b58b7cf&pf_rd_ r=2BEQWRF088CT6C833PPA&pd_ rd_wg=95H0C&pd_rd_r=4a9ac74e87de-4220-a1f6-ff419fe6909a&pd_ rd_i=B08G182S8R&ref_=pd_bap_d_ grid_rp_0_1_ec_pd_nav_hcs_rp_2
IMAGE SOURCES
1) https://www.lettusgrow.com/ blog/aeroponics-ultrasonicsindoor-farming
2) https://www.sciencedirect.com/ topics/agricultural-and-biologicalsciences/aeroponics
3) https://cipotato.org/blog/scalingout-aeroponics-technologyrwanda/ https://cipotato.org/potato/thesustainability-of-aeroponics-2/
4) https://www.lettusgrow.com/ blog/growing-willow-withaeroponics
5) https://www.youtube.com/ watch?v=edtYDsMthC4