CLAAS LINER 3000 Operator’s Manual - PDF DOWNLOAD

Page 44

8 Hitching/unhitching the machine 8.2 Unhitching and parking the machine

Attention! To prevent damage to the machine: – Before driving away, make sure that the bottom links are completely free of the hitch pins.

• Drive the tractor away carefully. 8.2.1 Parking the machine at sub-zero temperatures Attention! At sub-zero temperatures, any water that has entered the tine arm mounts can freeze, and thus cause damage to the machine. If there is a risk of freezing: – remove the upper tine arms, and – seal the ends of the mounting tubes. – Carry out the work described below. After the machine has been washed or has been driven through the rain, the following work should be carried out before the machine is parked:

• Lower the rotors into the working position. • Run the machine for a short time, to remove any water that might have entered.

• Raise the rotors into the transport position. If the machine cannot be parked in a dry, weatherproof building:

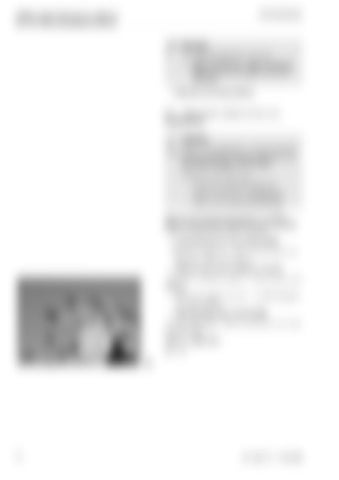
• Remove the upper tine arms – see Removing the tine arms, page 54.

• Seal the ends of the mounting tubes. Up to Serial No. 605 0 1857 the protection cap (1) can be used for this. Order no.: 0956 476.3 1 68068

44

(Fig. 34) 34

BA LINER 3000 - 0293 133.6


Turn static files into dynamic content formats.

Create a flipbook

Articles inside

Checking/adjusting the track

1min
pages 168-169

Assembling/dismantling the universal drive shaft protection

2min
pages 156-159

Universal drive shaft

1min
page 155

Angle drives

1min
page 154

15.2. Maintenance schedule

1min
page 146

15.3. Lubricants chart

1min
page 147

swather with ISOBUS Terminal

1min
pages 142-143

14.1. General faults

2min
pages 140-141

Height adjustment of rotors (rake height

1min
pages 136-137

Changing the swath width

1min
page 135

Using the machine with the control terminal

3min
pages 130-134

Initialization completed

1min
page 119

Using the machine with ISOBUS Terminal

4min
pages 125-129

12.6. Manual operation of hydraulic system

1min
pages 121-122

13.1. Using the swather

1min
pages 123-124

Start initialization

2min
pages 116-118

12.4. Basic setting (initialisation

1min
page 115

Raising/lowering the rotors

1min
page 113

Running gear

1min
page 112

Activating manual control

1min
pages 110-111

11.5. Manual operation of hydraulic system

1min
pages 98-99

Indicator light

1min
page 102

Basic headland settings

1min
page 97

11.4. Basic setting (initialisation

1min
page 95

Running gear

1min
page 92

Starting the initialization process

1min
page 96

Activating manual control

2min
pages 90-91

Query of saved “Headland values”

1min
page 83

Switching on/off the CLAAS Communicator

1min
page 68

Software management

1min
page 73

Menu bar

1min
page 75

9.6. Working position with ISOBUS Terminal

2min
pages 58-60

Swing lighting bracket upwards

1min
page 55

9.5. Before lowering into the working position

1min
pages 56-57

9.7. Working position with operating terminal

1min
pages 61-62

9.3. Transport position with operating terminal

2min
pages 52-53

Parking the machine at sub-zero temperatures

1min
page 44

Prop stand

1min
page 33

Transport on public roads

2min
pages 46-48

7. Check every time before operation

1min
page 28

9.2. Transport position with ISOBUS Terminal

2min
pages 49-51

8.1. Hitching the machine

1min
page 29

Rear outrigger

1min
page 27

Connecting the hydraulics Opening the shut-off valve for the rear rotors

1min
page 34
Issuu converts static files into: digital portfolios, online yearbooks, online catalogs, digital photo albums and more. Sign up and create your flipbook.