2 minute read
5. Checking the belt guides

from CLAAS COMBINE VARIANT 260 VARIANT280 ADJUSTING THE ENDLESS BELTS Assembly instructions Manual_DE_EN_

5. CHECKING THE BELT GUIDES
Note!
Check each of the following points before performing the step "6. Adjustment - closed tailgate".
5.1Close the tailgate
Unlock securing lever (M). Run the engine with low speed (300-350 rpm) to close the tailgate. Then allow the engine to run another 2 minutes with low speed (300-350 rpm). Shut down the machine.
Danger!
Always shut the engine down and pull the ignition key out before working or performing adjustment work on the tailgate and in the baling chamber.
Note!
The following tests must only be conducted with the engine shut down!
15
16
17 5.2 Checking roller 3
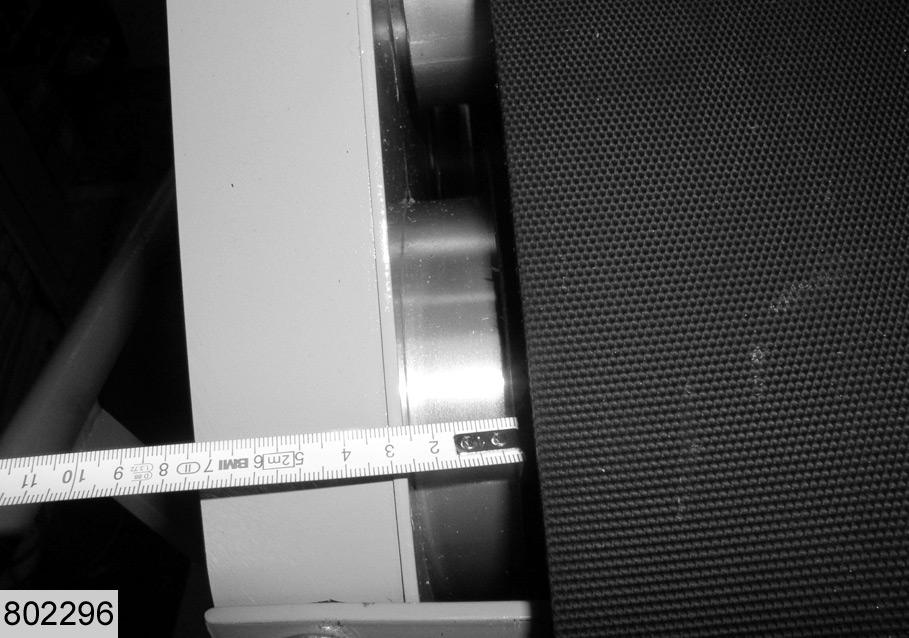
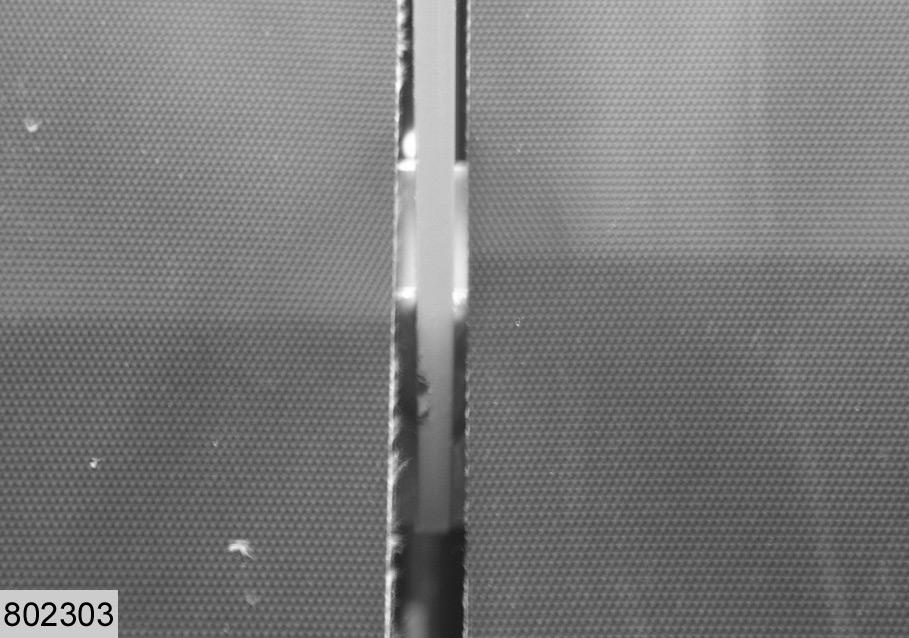
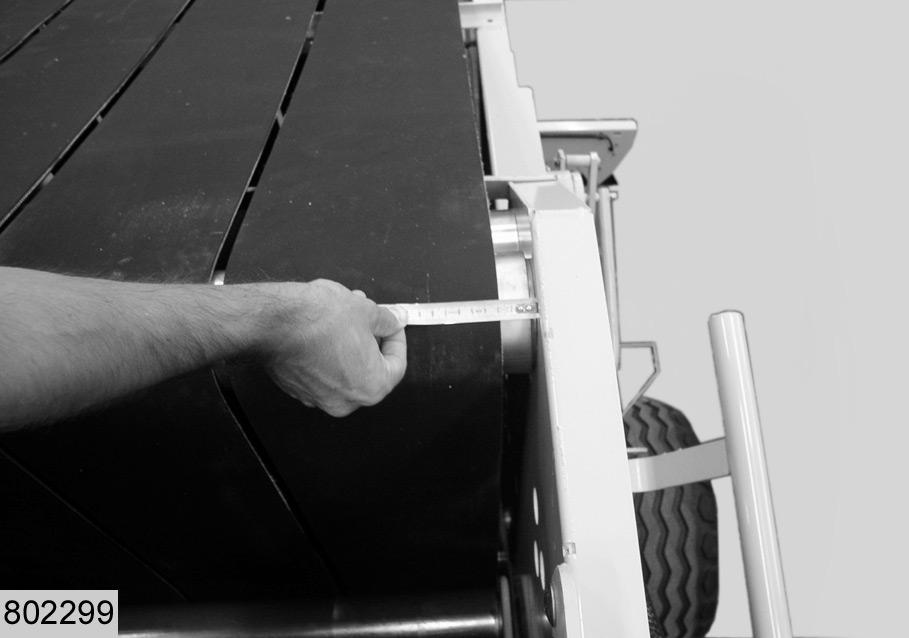
Measure the clearance between wall and outer belt on right and left hand side. Compare the measurements taken on both sides. –If the difference between the measurements taken on left and right hand side is less than 15 mm the adjustment is correct. (Fig.15,16)
Note!
Check the guide wear on the scraper for roller 3. Replace the scraper if the guides are worn: Variant 260: Scraper 842 816.1 Variant 280: Scraper 827 628.3 See spare parts list.
(Fig.17)


18
19
20
L
21 5.3 Checking roller 5
Measure the clearance between wall and outer belt on right and left hand side. Compare the measurements taken on both sides. –If the difference between the measurements taken on left and right hand side is less than 15 mm the adjustment is correct. (Fig.18,19)
5.4 Checking roller 6
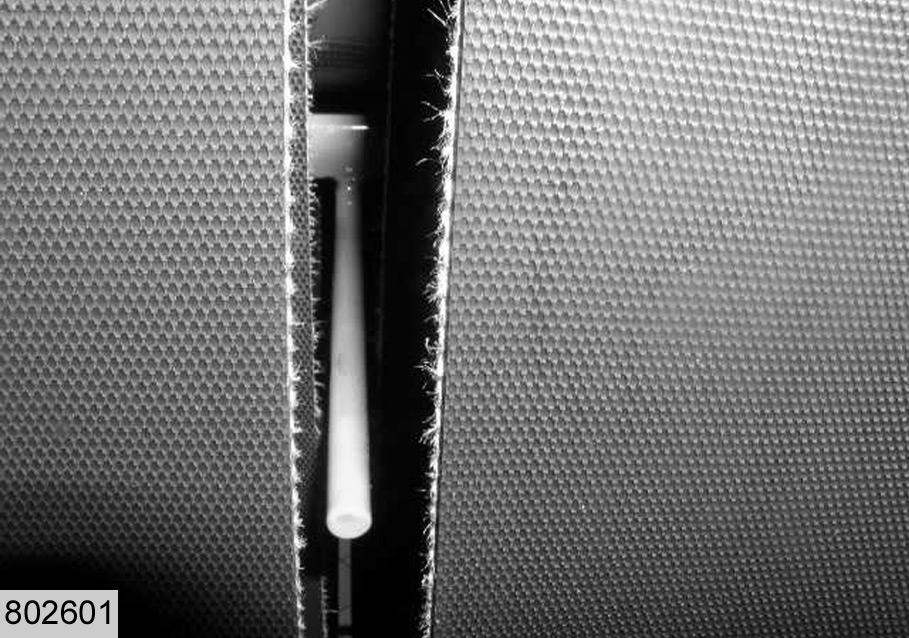
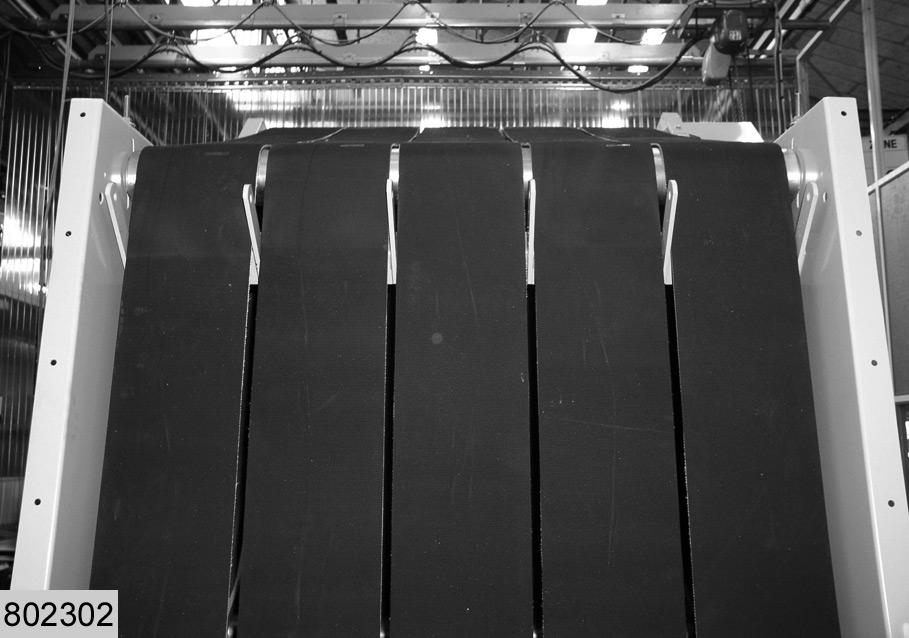
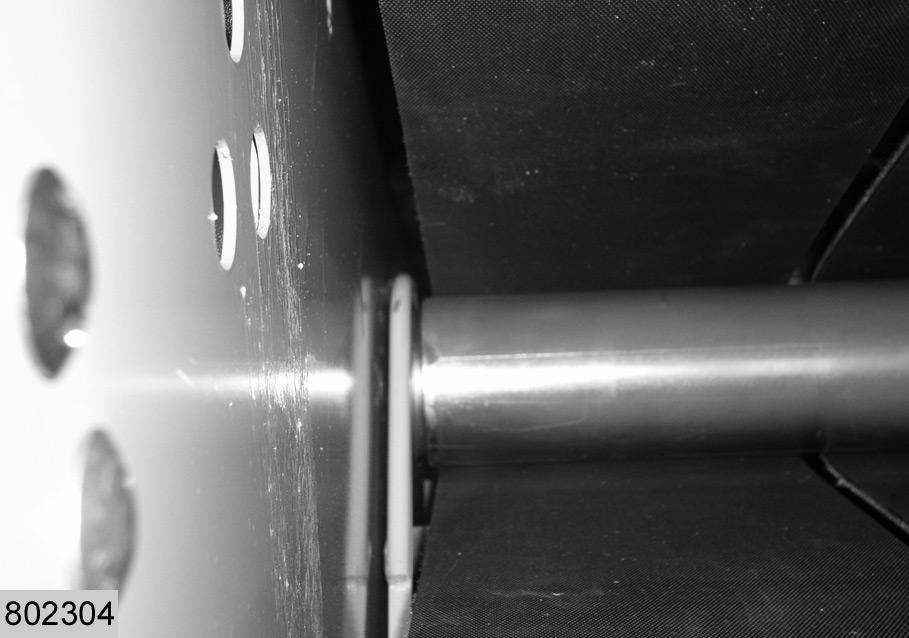
Make sure the belts do not run onto the guides (L). –Contact between belts and guides is possible. (Fig.20,21)
Note!
Check the wear on guides for roller 6. If the guides are worn down, replace with: - Boilted guides 842 689.0 - Welded guides 836 243.0 See spare parts list.
22
L 5.5 Checking roller 7
Make sure the belts do not run onto the guides (L). –Contact between belts and guides is possible. (Fig.22,23)
Note!
Check the wear on guides for roller 7. If the guides are worn down, replace them with guides 836 243.0 to be welded on. See spare parts list.
5.6 Checking roller 8
Measure the clearance between wall and outer belt on right and left hand side. Compare the measurements taken on both sides. –If the difference between the measurements taken on left and right hand side is less than 15 mm the adjustment is correct. (Fig.24,25)

23
24
25
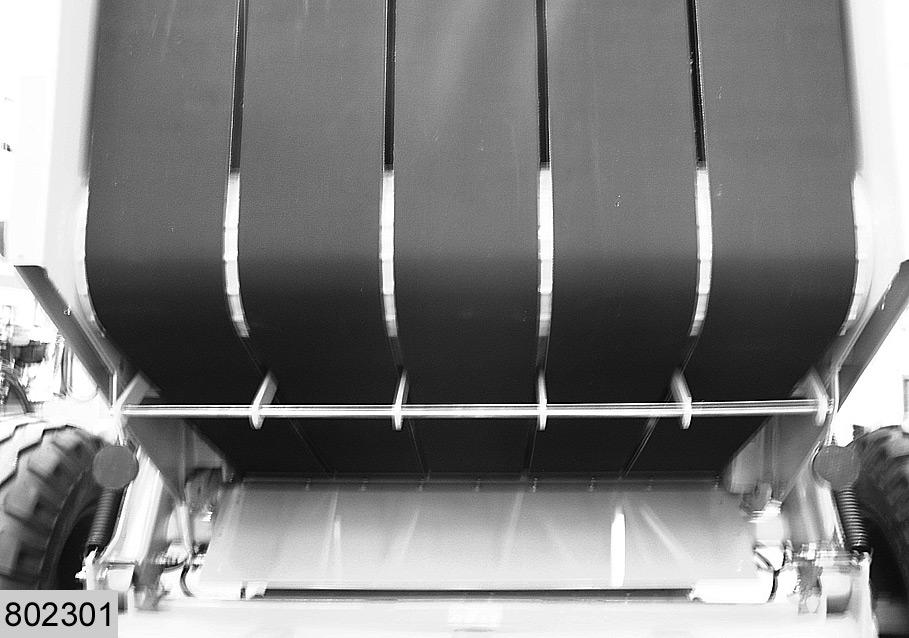
26 5.7 Checking roller 9
Make sure that upper arm and outer belt do not touch each other. (Fig.26)