1 minute read
2.3 Removing and installing charge pressure sender GX26


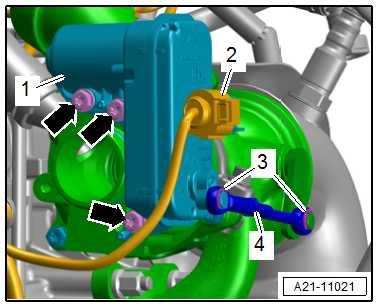
– Disconnect connector -2-, and remove charge pressure posi‐tioner - V465- -1-.
– Pull off securing clips -3-, and remove operating lever -4-. – Remove bolts -arrows-.
Installing Installation is carried out in the reverse order. When installing, note the following:
Note
Renew O-rings after removal.
– Connect ⇒ Vehicle diagnostic tester. – Switch on ignition and select and run the following menu item at ⇒ Vehicle diagnostic tester:
♦ 0001 - Adaption charge pressure positioner V465
Specified torques ♦ ⇒ “1.1 Assembly overview - turbocharger”, page 351 ♦ ⇒ “2.1 Assembly overview - coolant pump, thermostat”, page 278 ♦ ⇒ “3.1 Assembly overview - air filter housing”, page 393
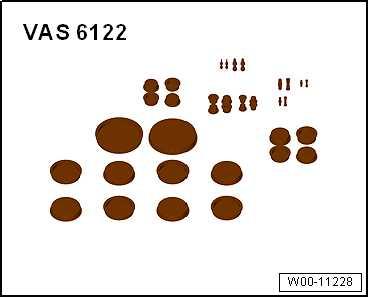
1.4 Removing and installing connection for Protected by copyright. Copying for private or commercial purposes, in part or in whole, is not permitted unless authorised by SEAT S.A. SEAT S.A does not guarantee or accept any liability with turbocharger respect to the correctness of information in this document. Copyright by SEAT S.A. Special tools and workshop equipment required ♦ Engine bung set - VAS 6122-

♦ Torx screw insert T 30 - T10405-


