
3 minute read
1.4 Removing and installing connection for turbocharger


♦ Hose clip pliers - VAS 6362-
♦ Torx screw insert T 30 - T10405-
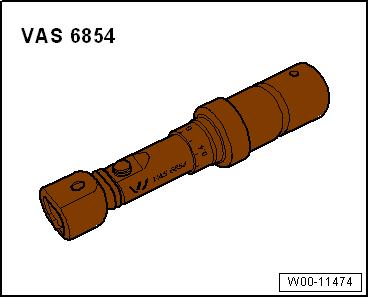
♦ Torque wrench - VAS 6854-
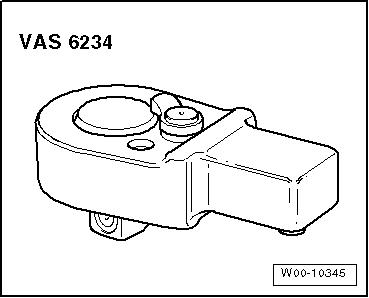
♦ Ratchet insert 1/4" - VAS 6234-

Protected by copyright. Copying for private or commercial purposes, in part or in whole, is not permitted unless authorised by SEAT S.A. SEAT S.A does not guarantee or accept any liability with respect to the correctness of information in this document. Copyright by SEAT S.A.

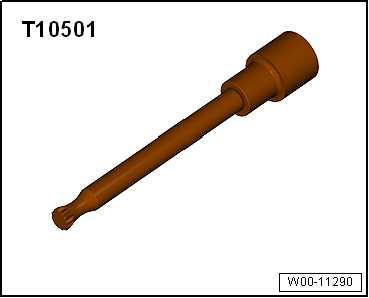
♦ Bit XZN 10 - T10501-
Removing
Note
♦ Attach all heat-shielding sleeves in the same places when in‐stalling. ♦ If a mechanical fault is discovered on the turbocharger (e.g. a destroyed compressor impeller), it is not sufficient to just re‐new the turbocharger. To avoid subsequent damage, the fol‐lowing work must be carried out: ♦ Check air filter housing, air filter element and air inlet hoses for contamination.
♦ Check the whole charge air path and charge air cooler for for‐eign objects. ♦ If foreign objects are discovered in the charge air system, clean the charge air path and, if necessary, renew the charge air cooler.
– Remove air filter housing ⇒ “3.2 Removing and installing air filter housing”, page 397 . – Remove air intake pipe ⇒ “2.5 Removing and installing air pipe ”, page 368 – Remove connection for turbocharger ⇒ page 360 . Toledo 2016, Ibiza 2016
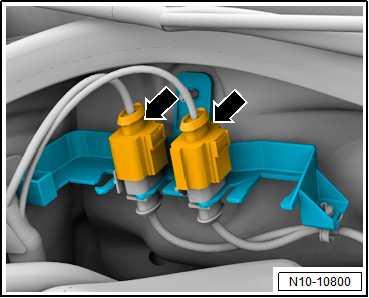
– Disconnect connectors of lambda probe 1 after catalytic con‐verter - GX7- and lambda probe 1 before catalytic converter GX10- -arrows-.
Protected by copyright. Copying for private or commercial purposes, in part or in whole, is not permitted unless authorised by SEAT S.A. SEAT S.A does not guarantee or accept any liability with respect to the correctness of information in this document. Copyright by SEAT S.A.
Continued for all vehicles
– Unplug corresponding connector. 1 - For Lambda probe 1 after catalytic converter - GX7- . 2 - For Lambda probe 1 before catalytic converter - GX10- .
Note
♦ Do not allow the decoupling element to kink by more than 10°. It could become damaged. ♦ Install decoupling element so that it is not under tension. ♦ Take care not to damage wire mesh on decoupling element. ♦ Do not remove protective packaging from replacement part until you are ready to fit the flexible joint

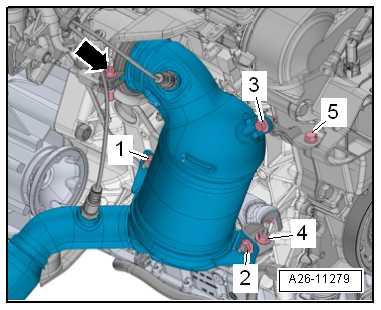
– Open screw-type clip -arrow- and position it on intake funnel of catalytic converter. – Remove bolt -3-.
– Unscrew nuts -1- and -2- and tie up catalytic converter.
Note
-Items 4 and 5- can be disregarded.
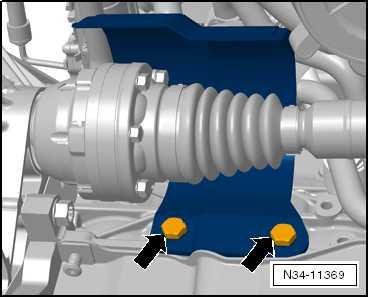
– Remove bolts -arrows-. Remove heat shield for right drive shaft.
– Open heat-shield sleeve of the connector -2- of the thermostat - G62- and remove.
– Release electrical connector -2- and pull off.
Protected by copyright. Copying for private or commercial purposes, in part or in whole, is not permitted unless authorised by SEAT S.A. SEAT S.A does not guarantee or accept any liability with respect to the correctness of information in this document. Copyright by SEAT S.A.


