3 minute read
ME12002HYDRAULICSYSTEM


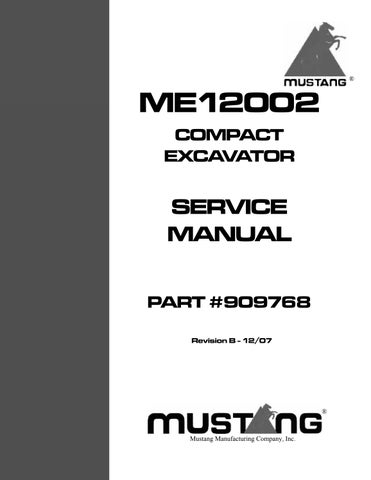
PortConnection-DozerBladePedal
DisassemblingthePilotControlPedal
1.Rinse the remote control valve in an alkanebased kerosene oil (or similar cleaning fluid).
2.Place blind plugs into all ports.
3.Secure the remote control valve into a vice.
4.Remove bellows (501) from cover (201) as shown. See Figure 3-218.
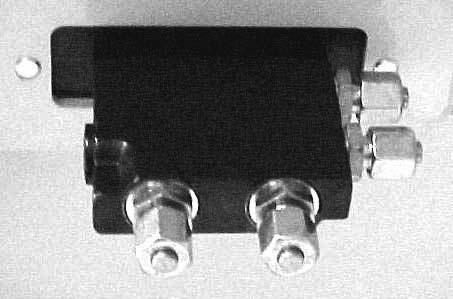
PortConnection-AuxiliaryHydraulics
NOTICE:Adhesive (Loctite #241 or equivalent) has been applied and the loosening torque is high. The loosening torque varies depending upon how the loctite cleaves.
6.Apply a round rod (0.3” [7 mm] or smaller) to one end of camshaft (413) and tap lightly with a hammer to remove. See Figure 3-220.
9.Loosen hexagon socket bolt (271) using an Allen wrench. See Figure 3-222.
7.Remove block (420). Only remove block (420) and steel ball (471) assembled (do not disassemble). See Figure 3-221.
8.Write down block (420) and cover (201) positions. See Figure 3-221.
Warning
ITEMSUNDERTENSION:Besurepushrod (214)doesnotlaunchfromtheunit,because thismaycausedamageand/orseriousinjury.
10.Remove cover (201). See Figure 3-223.
11.Write down the positions of cover (201) and casing (shock absorber) (102) (O-ring friction retains the plug in the casing).
12.Remove upper casing assembly and install it into the vice. See Figure 3-224 and Figure 3225.
Me12002hydraulicsystem
13.Write down the positions of casing (shock absorber) (102) and casing (101).
IMPORTANT:The surface of push rod (214) can be damaged because of mishandling. Do not damage the surface of the push rod during removal.
17.Write down the plug (202) and casing (102) positions.
14.Remove push rod (214) from plug (202). See Figure 3-225.
15.Write down the positions of the plug and push rod. Do not damage the surface of the pushrod.
Warning
ITEMSUNDERTENSION:Whentheplugis removed,besurepiston(224)doesnotlaunch fromspring(336),becausethismaycause damageand/orseriousinjury.
18.Remove piston (224). See Figure 3-227.
19.Write down the positions of piston (224) and casing opening.
16.Remove plug (202) with grease cap (203), packing (210) and O-ring (212) attached.
20.Remove spring (336) from casing (102) as shown. See Figure 3-228.
21.Write down the positions of spring (336) and casing opening.
22.Remove and retain spring washer (218) from casing (102) using tweezers as shown. See Figure 3-229.
23.Write down the positions of spring washer (218) and casing opening.
25.Secure the lower casing assembly into a vice and remove O-rings (211, 213) from casing (101). See Figure 3-231.
24.Remove and retain steel ball (225) from casing (102) using a magnet as shown. See Figure 3230.
IMPORTANT:Do not lose the steel ball.
26.Remove pressure reduction valve assembly and return spring (335) from casing (101) as shown. See Figure 3-232.
27.Write down the positions of spring (335) and casing opening.
28.Place cover (201) onto a level work surface. See Figure 3-233.
29.Apply socket onto bushing (414) and tap with a hammer to remove bushing (414) as shown. See Figure 3-233.
30.Complete the following steps to disassemble the pressure reduction valve: a.Pressing in spring washer (311). See Figure 3-234. b.Sliding spring washer (311) sideways. See Figure 3-234. c.Bending secondary pressure spring (324). See Figure 3-234. d.Removing spool (301) from the larger hole of spring washer (311) as shown. See Figure 3-234. e.Retaining parts removed during steps a-d until re-assembly. See Figure 3-234. depending upon the spool assembly. In some cases, no washer is used.
31.Disassemble spool (301), secondary pressure setting spring (324), shim (217) and washer (313) as shown. Retain these parts until reassembly. See Figure 3-235.
NOTICE:Washer (313) sets the secondary pressure spring, and thicknesses vary spring washer downward more than 0.2” (4 mm).
32.Remove grease cap (203) from plug (202) as shown. See Figure 3-236.
33.Using a small, straight screwdriver, remove packing (210) from plug (202). See Figure 3237.
IMPORTANT:Do not damage the inner surface of the plug.
34.Remove O-ring (212) from plug (202). See Figure
AssemblingthePilo
5.Push spool (301) through the larger hole of spring washer (311). Assemble by sliding the spring washer sideways while bending the secondary pressure setting spring (324). See Figure 3-240.
NOTICE:Steps 1-4 must be installed in order.
1.Install washer (313) onto spool (301). See Figure 3-239.
2.Install shim (217) onto spool (301). See Figure 3-239.
3.Install secondary pressure setting spring (324) onto spool (301). See Figure 3-239.
4.Install spring washer onto spool (301). See Figure 3-239.
NOTICE:Washer (313) sets the secondary pressure spring, and thicknesses vary depending upon the spool assembly. In some cases, no washer is used.
IMPORTANT:The surface of spool (301) can be damaged by mishandling. Do not damage the surface of spool (301). Do not push the
6.Install casing (101) into a vice. Install return spring (335) into casing (101), in the same order as written down during step 27 of “Disassembling the Pilot Control Pedal” on page171. See Figure 3-241.