1 minute read
ing / Front CoverHow to Assemble Clutch Hous

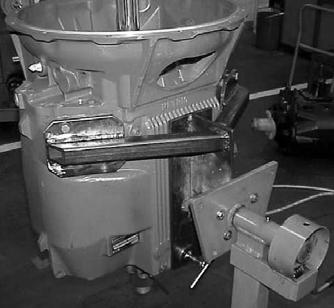
How to Assemble Clutch Housing / Front Cover
Special Instructions
None
Special Tools
• Typical Service Tools • Bearing Driver (Tool ref. ID T10)
Procedure -
1. Thoroughly clean and remove all traces of old hardened sealant and debris from the front cover, main transmission sealing surfaces and oil passages, prior to beginning the reassembly process.
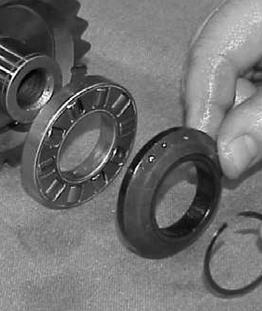
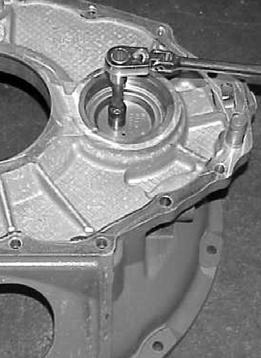
2. Install the oil dam plate and retaining capscrew inside the bearing bores, tighten capscrew to 20-23 lb-ft (27-31 Nm).
3. Install the oil trough and two retaining capscrews. Tighten to 20-23 lb-ft (27-31 Nm).
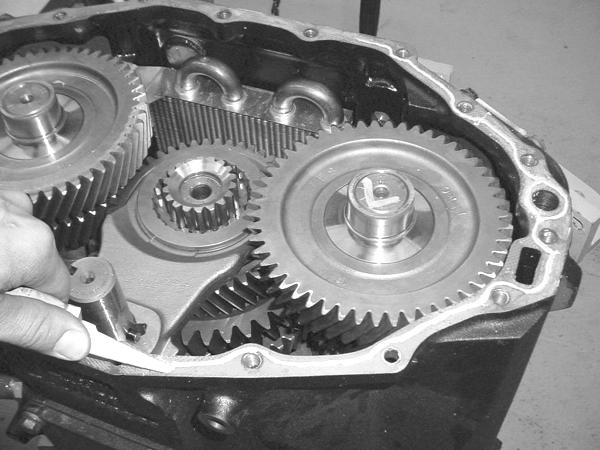
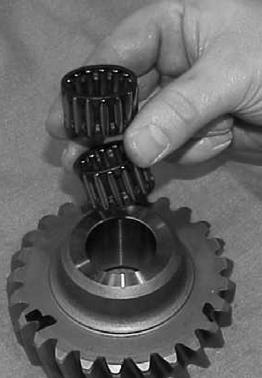
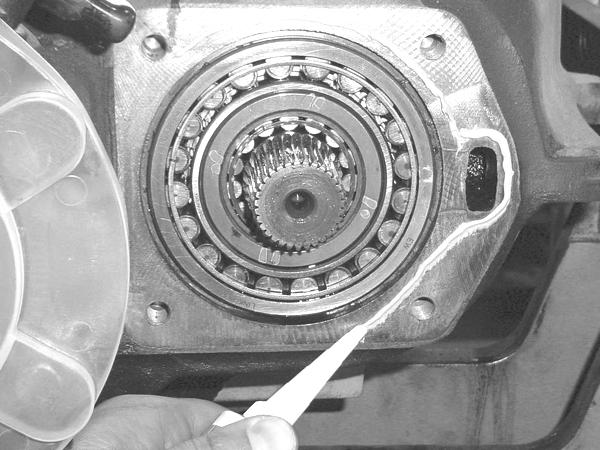
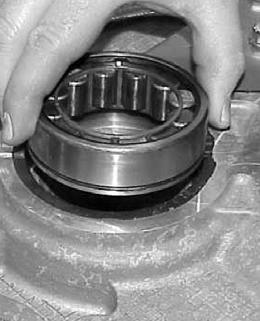
4. Coat the bearing rollers with transmission lube.
Note: The orientation of the snap ring groove should be facing downward.
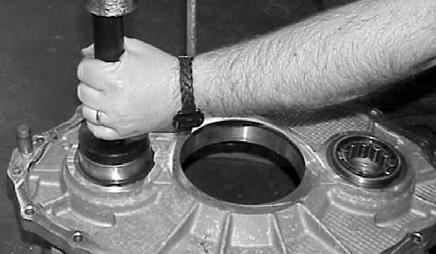
5. Install the front countershaft bearings into the bearing bores using bearing driver (Tool Ref. ID T10).
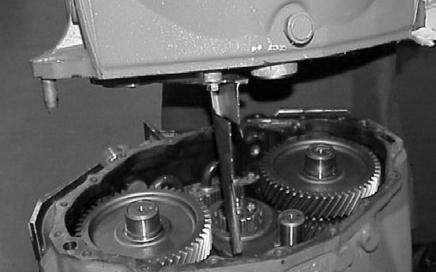
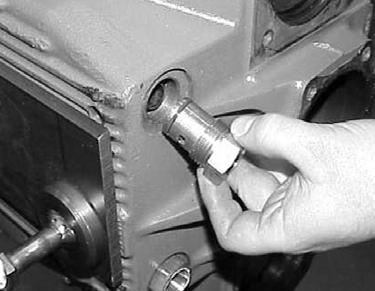
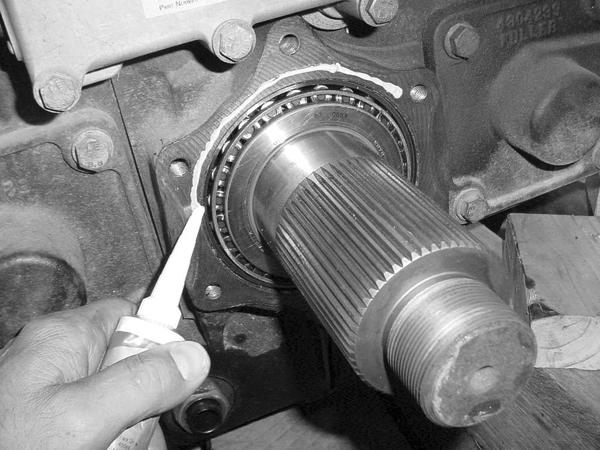
6. Apply sealant to the transmission main case front mounting surface as shown.
Note: RTV sealant must be applied around the inside of the capscrew holes, the outside of the lube hole and around the circumfrence of both alignment pins.
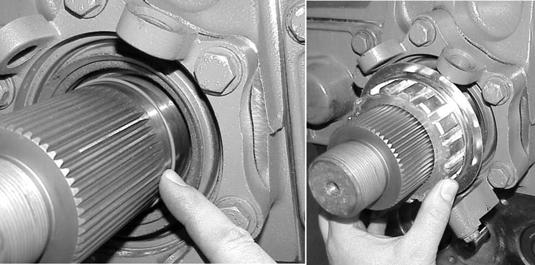
7. Line up the dowel pins and install the front cover onto the main transmission case. Make sure the front cover is fully seated against the main case.
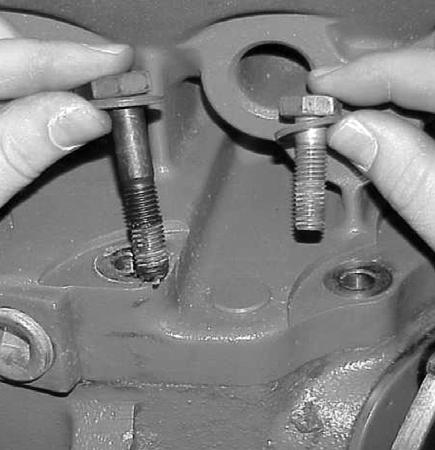
8. Install sixteen (16) capscrews and tighten to 47-52 lb-ft (6370 Nm).
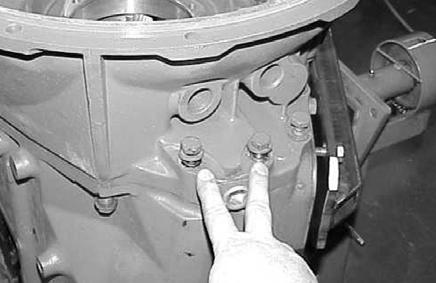
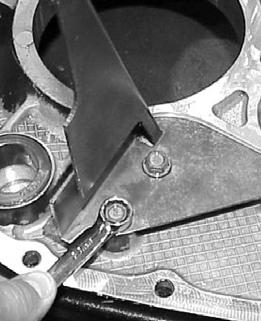
9. Note location of bolts on right side of case.
Note: One (1) of the capscrews at the right side of the front cover is longer than the other and must be installed in the proper location.