1 minute read
9. MUFFLER REMOVAL

• Ether-based starting fluids should not be used, and may void engine warranties if their use is detected.
9. MUFFLER REMOVAL
NOTE: There are a variety of mufflers on this series of tractor depending on the year and engine of the unit. this chapter will cover a few different mufflers to give you the basics of muf fler removal on this series.
NOTE: For all tractors, remove the bumper first.
• On units with side panels:
9.1. Remove the hood, side panels and grill. NOTE: Make sure to disconnect the headlight harness when you remove the grill and side pan els.
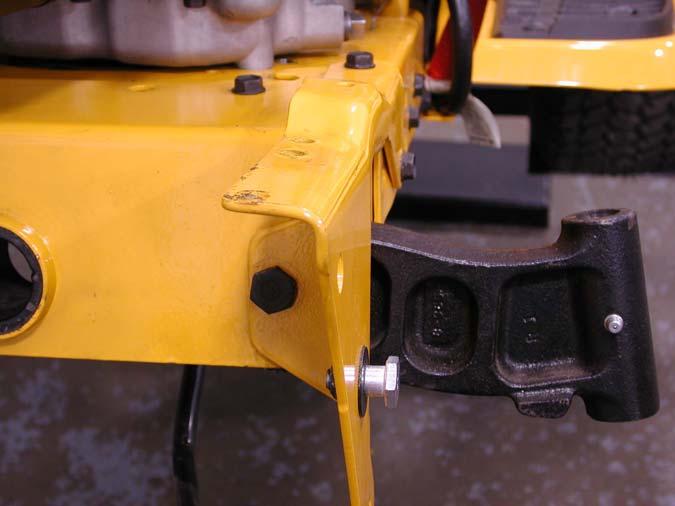
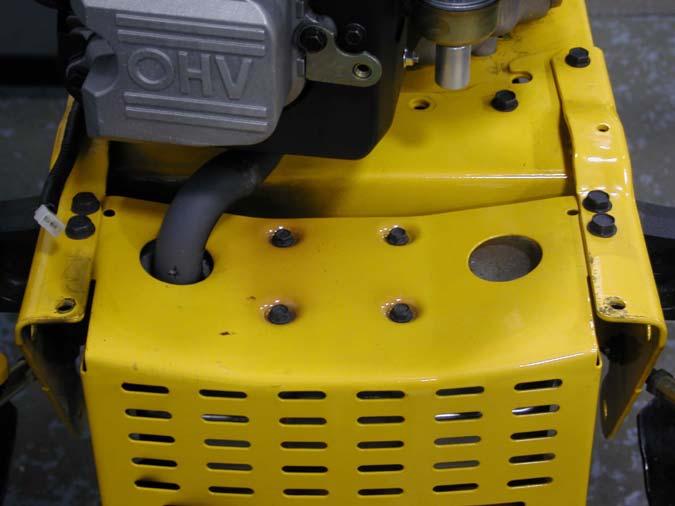
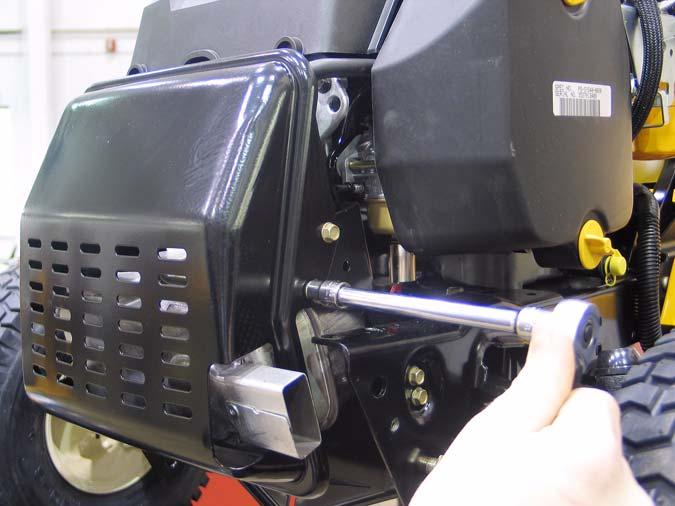
9.2. Remove the self tapping hex cap screws securing the front frame assembly to the muffler shield and muffler using a 1/2" socket. See Figure 9.2. Hex Cap Screws Frame Muffler Shield
Figure 9.2
9.3. Remove the muffler and guard. NOTE: Muffler slides off of the exhaust pipe. It is NOT fastened to the pipe. 9.4. Remove the four screws in the top of the muffler guard. the muffler and muffler guard will now separate. 9.5. Reassemble in reverse order.
• 1000 Series with one piece hood.
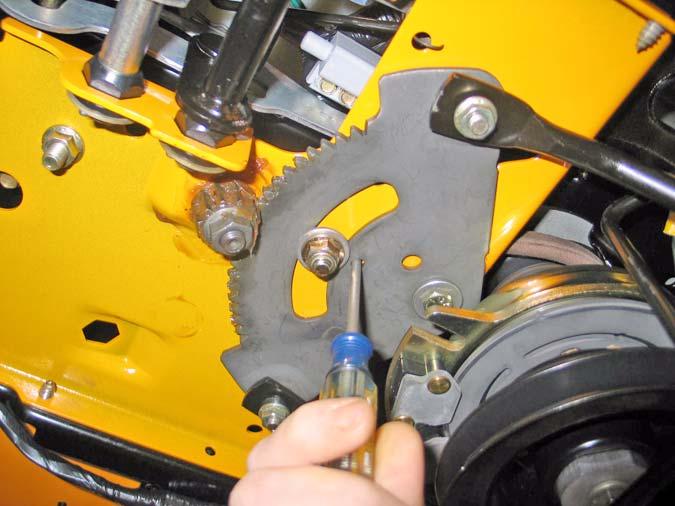
9.6. Remove hood as shown in section 2. 9.7. Remove both hinge brackets. See Figure 9.7. Hinge Bracket
Figure 9.7
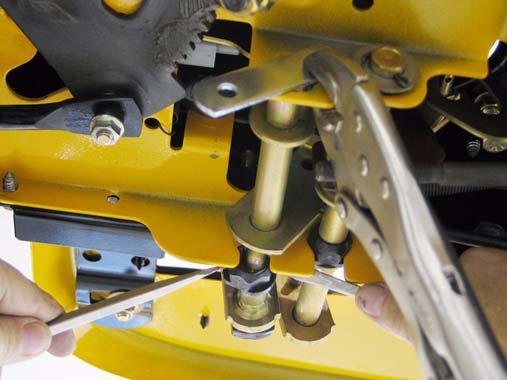
9.8. Remove the four screws in the sides of the muffler guard. Slide the muffler and muffler guard off of the exhaust pipe(s). See Figure 9.8.
Muffler Guard
Figure 9.8
NOTE: You may have the tail pipe sticking out of the left side. If so slide the guard off of it first.