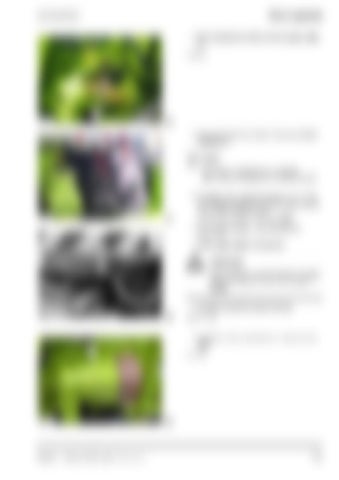
Prior to operation • Pull universal drive shaft (2), for this press safety pin. (Fig. 66)
2 66
• Disconnect hydraulic hoses to the quick-release
3
4
couplings (3). NOTE! Lay out the hydraulic hoses so that the quick-release couplings are not contaminated.
• If needed, pull out electrical plugs (4, 5, 6, 7) for 67
extra lighting “road travel” and for forager add-on unit, CLAAS Autopilot and/or CLAAS Auto-Contour from the forager.
• Unlock maize header – see Unlocking on page 7.19. 5
6
• Lower maize header to the ground.
7
ATTENTION! Ensure that the coupling hooks do not catch on the coupling pins when reversing the forager.
• Carefully reverse the forage harvester. 68
(Fig. 67, 68)
• Install cover (8) for protecting the universal drive shaft. 8
(Fig. 69)
69
0293 623.0 - ABA/BA RU 600 Contour / Auto-Contour
7.28


