1 minute read
7.3 Drive Shaft Installation


SECTION 7 – SERVICE
Bleeding of Hydraulics
P00177
7.3 DRIVE SHAFT INSTALLATION
Installing the drive shaft requires the following steps:
WARNING: DO NOT begin to perform any service procedure until combine is lowered to the ground or feed house locks are engaged, combine is shut off, the key is removed and all moving parts have stopped.
The drive shaft is to be installed after the header/pickup is attached to combine.
a) Engage the feeder house lock or lower the header completely down.
b) Shut off engine and remove the key from the ignition.
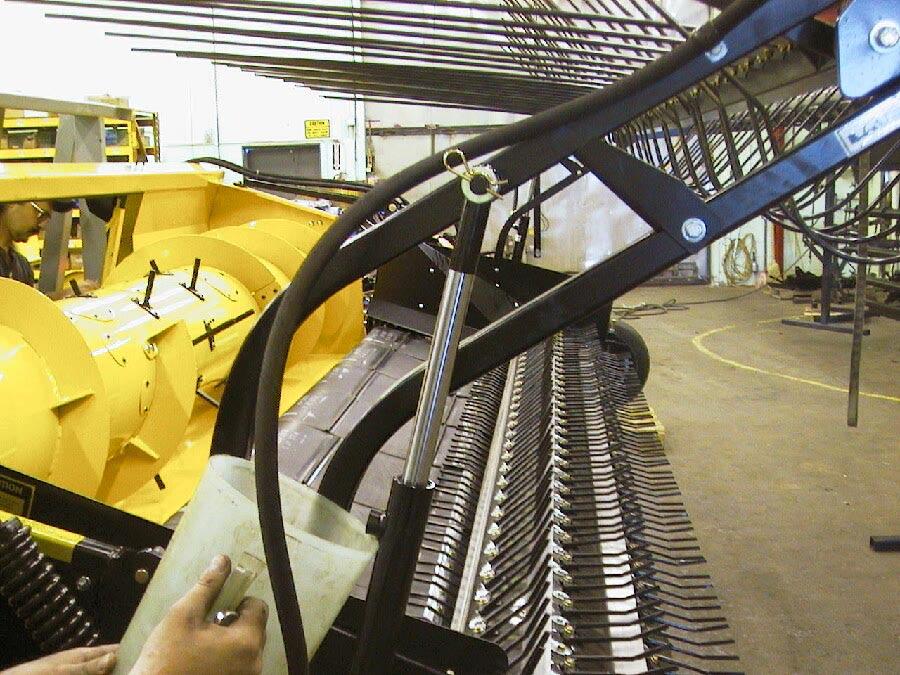
c) Take the clutch end of the drive shaft, pull back the locking plate and slide it onto the drive shaft of the header
d) Release the locking plate and continue sliding it on to the header shaft until it clicks into place. Pull back to ensure that drive shaft is locked into place.
P00047
Drive Shaft to Header Installation
(Illustration May Differ)
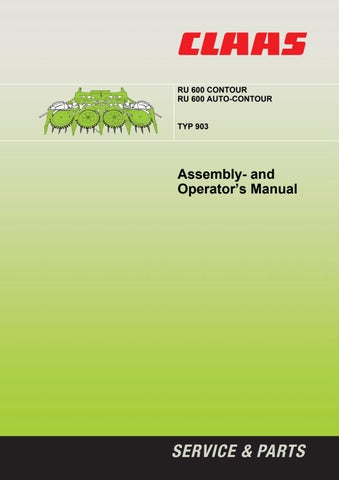
e) Take the opposite end of the drive shaft, pull on the quick disconnect slide collar and slide it onto the shaft of the combine.
f) Release the collar and continue sliding it onto the combine shaft until the yoke locks into place. Pull back to ensure that drive shaft is locked.
P00048
Drive Shaft to Header Installation
(Illustration May Differ)
g) Attach both drive shield chains together.
h) Take the single chain clip and attach to back of header.
42