
1 minute read
CASE HYDRAULIC ATTACHMENT COUPLER


(If Equipped)
Installing a Bucket or Attachment
IMPORTANT: Before installing a bucket or attachment, make sure the mounting area of the bucket, attachment and Case hydraulic attachment coupler are clean. 2.Tilt the attachment coupler forward and approach the attachment. 3.Engage the attachment upper mounting brackets. 4.Lift and push the hydraulic coupler switch forward to the ENGAGE position. IMPORTANT: Never leave the machine with the coupler switch in the OFF (rearward) position.
BP97N053
NOTE: Consult the instructional decal located on the loader arm crosstube.
1.Lift and pull the hydraulic coupler switch rearward to retract the lock pins. Lift and rotate the attachment back.
1
2
1
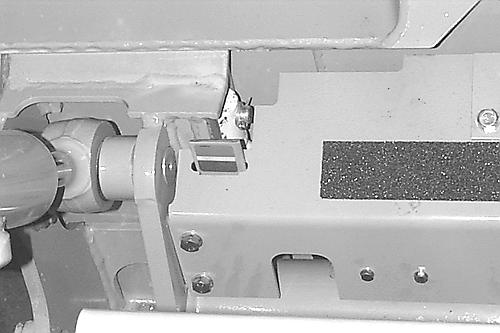
1.HYDRAULIC COUPLER SWITCH

BP97D002 1.LOCK PIN GREEN INDICATOR 2.LOCK PIN RED INDICATOR
BP97D238
5.If the lock pin indicator is RED, actuate another loader circuit (auxiliary hydraulics, or loader down pressure) to increase the engagement pressure.

BD02E005
6.Before operating the machine, always inspect the coupler latch pin engagement by raising the loader arms high enough to view the latch pin engagement from the operators seat.
IMPORTANT: The lock pin indicator must show green. Raise and dump the bucket. Make sure both lock pins are completely engaged.
Removing the Bucket
1.Raise the bucket or attachment 25 to 50 mm (1 to 2 in) above the ground. 2.Lift and pull the hydraulic coupler switch rearward until the lock pin indicator shows red.
3.If the lock pin indicator is GREEN, actuate another loader circuit (auxiliary hydraulics, or loader down pressure) to increase the engagement pressure. 4.In one movement, rotate the bucket forward and back out of the bucket or attachment.


