1 minute read
TRANSMISSION - DISASSEMBLY, SERVICE AND ASSEMBLY


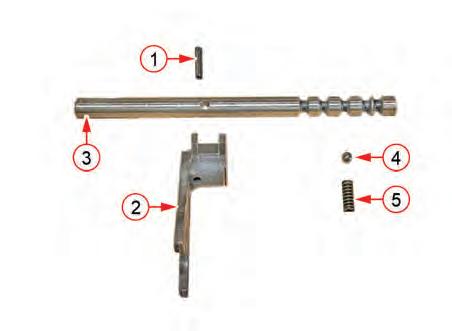
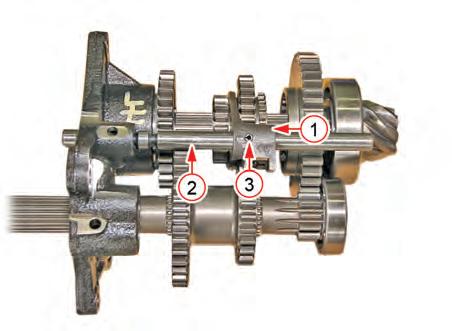
11. Pull out the mounting spring pin (1) of range shift fork and remove the range shift fork (2), range shift fork rod (3), steel ball (4), spring (5).
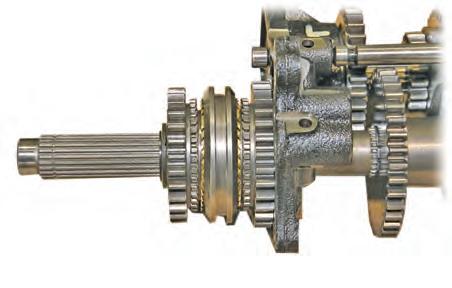
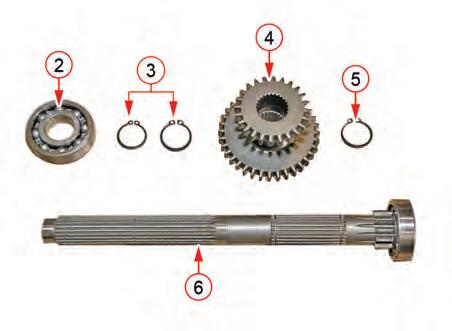
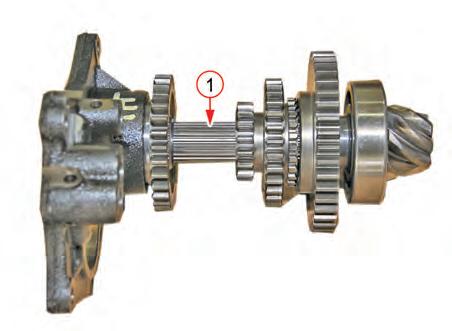
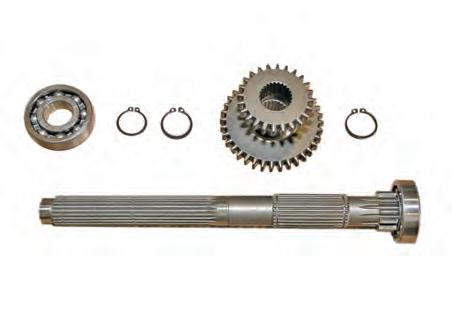
12. Remove the 11 gear shaft assembly (1), ball bearing (2), snap ring (3), 24x36 (22x34) gear shaft (4), snap ring (5) from the 11 gear shaft (6) in order.

TRANSMISSION - DISASSEMBLY, SERVICE AND ASSEMBLY
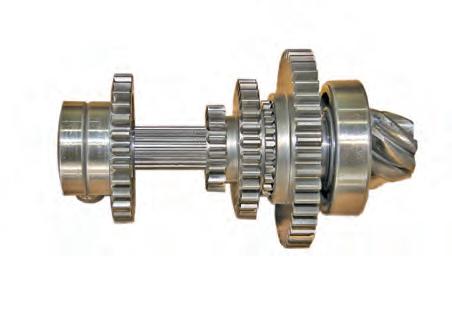
13. Remove the spiral bevel pinion assembly (1), ball bearing (2), 30 gear (27 gear) (3), snap ring (4), 29x17 gear (31x19 gear) (5), snap ring (6), thrust spacer (7), 42 gear needle bearing (8) from the spiral bevel pinion (9).

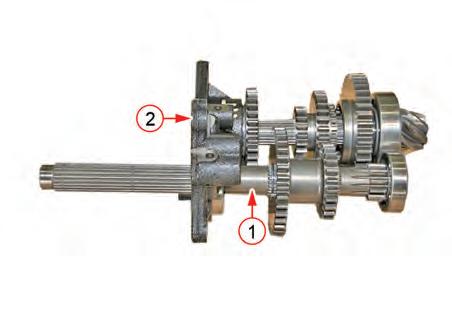
1. Undo the stopper (1) of front wheel drive arm from the left lower section of the transmission case and pull out the front wheel drive arm (2).
2. Undo the stopper (3) from the transmission case and pull out the plug (4) and snap ring (5).
3. Remove the fork rod (6) in the transmission case by tapping outside direction. And then, remove the shift fork (7), steel ball (8) and spring (9).
4. Pull out the oil seal (10) from the front wheel drive shaft and remove the snap ring (11).
5. Remove the front wheel drive shaft (12) in the transmission case by tapping outside direction to pull out the ball bearing (13). Then, lift the 38 gear (40 gear) (14) to remove it.


TRANSMISSION - DISASSEMBLY, SERVICE AND ASSEMBLY

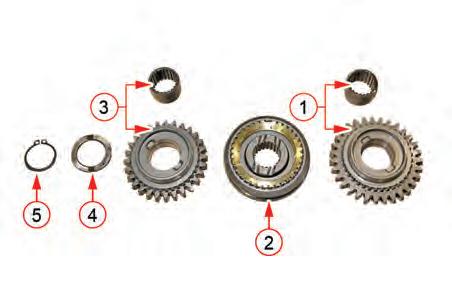
4. Install the 31 gear inner ring (1), shifter (2), 28 gear inner ring (3), thrust spacer (4), snap ring (5) to the 11 gear shaft.
MEASURE THE CLEARANCE OF SYNCHRONIZER RING
• Contact the synchronizer ring with the tapered cone of the opposite gear and measure the clearance between the synchronizer ring and gear cone using a feeler gauge.
• If the measured clearance is out of the allowable limit, replace the synchronizer ring and its related parts.
• - Allowable clearance limit: replace if it is 0.5 mm or less (0.02 in or less)