7 minute read
How to trade EXNESS in INR: Exness Update 2026

Exness is one of the most popular forex brokers around the world, providing traders with a variety of trading opportunities. If you’re located in India and are interested in trading forex, CFDs, or other financial instruments with Exness, you might be wondering how to trade Exness in INR. This guide will walk you through everything you need to know to start trading with Exness in Indian Rupees (INR), from account setup to making your first trade.
Why Trade with Exness in INR?

Start Exness Trade: Open Exness Account and Visit site
Before we dive into the specifics, let's first understand why Exness is a good choice for Indian traders looking to trade in INR. Exness offers several benefits that are particularly useful for Indian traders:
Indian Rupee (INR) Account: Exness allows traders in India to deposit, withdraw, and trade directly in INR. This eliminates the need for currency conversions and helps you save on conversion fees.
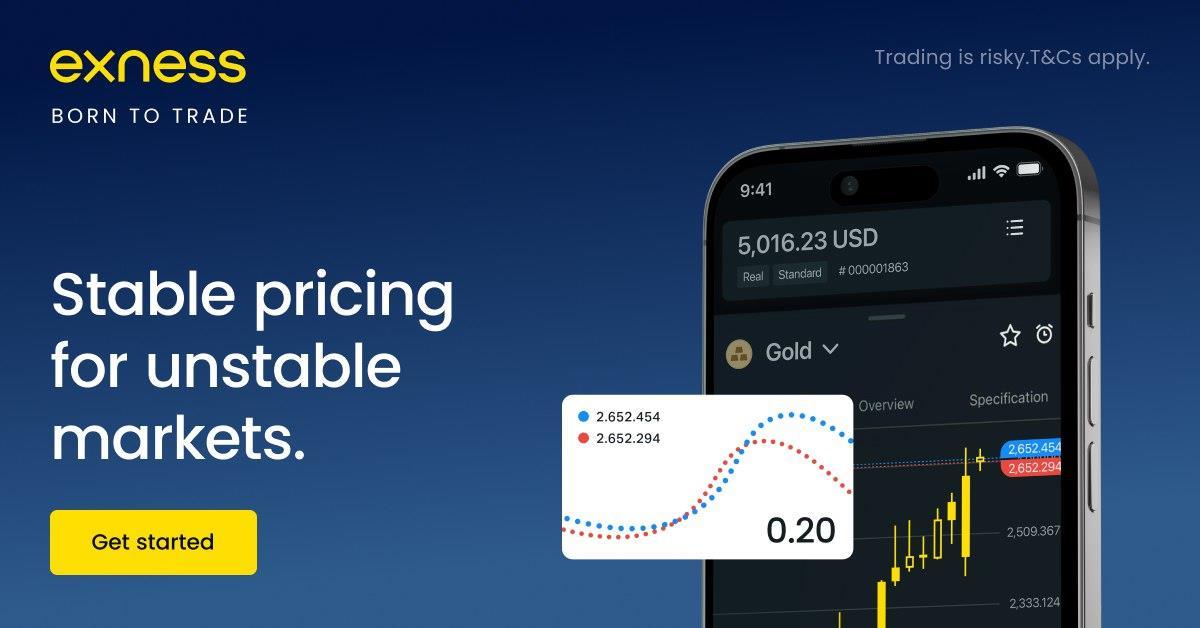
Low Spreads and Competitive Leverage: Exness provides some of the lowest spreads in the industry, especially for major forex pairs like EUR/USD, along with competitive leverage to maximize trading opportunities.
Regulated Broker: Exness is regulated by several authorities, including the Financial Conduct Authority (FCA) in the UK and the Cyprus Securities and Exchange Commission (CySEC), providing a safe trading environment for Indian traders.
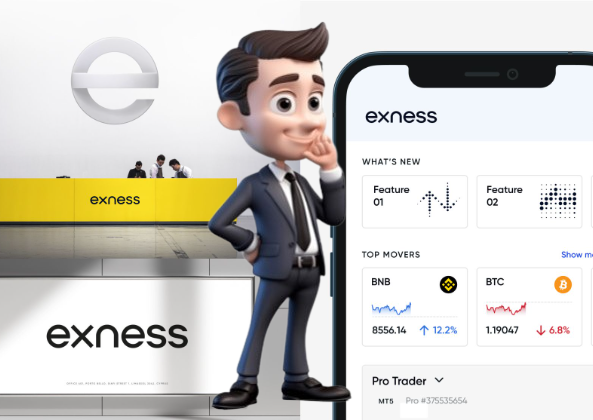
User-Friendly Platforms: Exness offers both the MetaTrader 4 and MetaTrader 5 platforms, which are widely used by forex traders for their ease of use, powerful charting tools, and advanced order types.
Now, let’s dive into the step-by-step process of how to trade Exness in INR.
Step 1: Open an Exness Account
The first step to start trading with Exness in INR is to open a trading account. Here’s how:
Visit the Exness Website: Go to the official Exness website and click on "Sign Up" to create your account.
Choose Your Exness Account Type: Exness offers different account types, including Standard, Pro, and Zero accounts. Choose the one that best suits your trading needs. For beginners, the Standard account is usually a good starting point.
Select INR as Your Currency: During the account registration process, you’ll be asked to select the account currency. Choose INR (Indian Rupees) as the currency to avoid the hassle of currency conversion when depositing or withdrawing funds.
Complete the Verification: You will need to verify your identity and address by submitting the required documents, such as a government-issued ID and a utility bill with your name and address on it.
See more: how to create an account with exness
Start Exness Trade: Open Exness Account and Visit site
Step 2: Fund Your Exness Account
After your account is created and verified, the next step is to fund your account so that you can start trading with Exness in INR. Exness offers several deposit methods for Indian traders:
Bank Transfer: You can transfer INR from your Indian bank account to your Exness account. Exness supports local bank transfers in India, making it easy to fund your account directly in INR.
E-wallets: Exness supports various e-wallets like Skrill, Neteller, and WebMoney, which can be used to fund your account in INR. These methods offer faster deposits compared to bank transfers.
Cryptocurrencies: Exness also accepts cryptocurrency deposits, such as Bitcoin, Ethereum, and Litecoin, which can be converted into INR once deposited.
Step 3: Install the Trading Platform
Exness offers the popular MetaTrader 4 (MT4) and MetaTrader 5 (MT5) platforms. Here’s how to install the platform and get started with trading:
Download the Platform: After logging into your Exness account, navigate to the “Trading Platforms” section and download either MT4 or MT5.
Install the Platform: Follow the on-screen instructions to install the platform on your computer or mobile device. Both platforms are available for Windows, macOS, Android, and iOS.
Log in to Your Account: Once installed, open the platform and log in using the credentials you created during the account setup process. You’ll now be able to see your Exness account balance, including your INR deposit.

Start Exness Trade: Open Exness Account and Visit site
Step 4: Learn About Market Conditions and Instruments
Before placing your first trade, it’s essential to understand the market conditions and financial instruments you’ll be trading. Exness offers a variety of instruments, including:
Forex Pairs: Exness provides a wide range of currency pairs for trading, such as EUR/USD, GBP/INR, and USD/INR.
Commodities: Trade commodities like gold, silver, and oil with low spreads and high liquidity.
Stocks and Indices: You can also trade CFDs on popular stocks and indices like Apple, Tesla, and the S&P 500.
Make sure to do your research and familiarize yourself with the assets you plan to trade to make informed decisions.
Step 5: Place Your First Trade
Once your account is funded, and you’re familiar with the instruments available, it’s time to place your first trade. Here’s a simple guide to placing a trade in Exness:
Choose Your Trading Instrument: In the MetaTrader platform, go to the "Market Watch" section, search for the currency pair or asset you want to trade (such as USD/INR).
Open a Trade: Right-click on the asset and select “New Order” to open a trade. You’ll need to set the trade details, such as the order size, stop-loss (SL), take-profit (TP), and leverage.
Set the Leverage: Exness allows you to choose your leverage. Depending on your risk tolerance, you can set leverage between 1:1 and 1:2000.
Monitor Your Trade: Once the trade is placed, you can monitor its progress on the chart. Keep an eye on market conditions, news events, and technical indicators to manage your position effectively.
Step 6: Manage Risk with Stop-Loss and Take-Profit Orders
One of the most important aspects of successful trading is managing your risk. Exness allows you to use Stop-Loss (SL) and Take-Profit (TP) orders to manage your trades:
Stop-Loss (SL): This is an order that automatically closes your trade if the market moves against you by a certain amount, limiting your losses.
Take-Profit (TP): This is an order that automatically closes your trade when the market moves in your favor, locking in your profits.
Step 7: Withdraw Your Funds
When you’re ready to take profits or withdraw your initial deposit, Exness makes it easy to do so. Here’s how you can withdraw your funds:
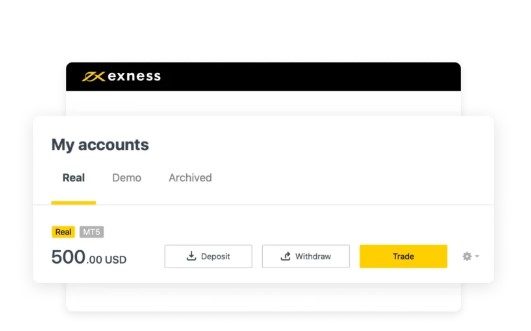
Go to the Withdraw Section: Log into your Exness account and navigate to the withdrawal section.
Choose Your Withdrawal Method: Exness supports bank transfers, e-wallets, and cryptocurrencies for withdrawals. Choose the method that works best for you.
Enter Withdrawal Amount: Enter the amount you want to withdraw, and confirm the transaction. Your funds will be transferred in INR if you selected INR as your base currency.
Start Exness Trade: Open Exness Account and Visit site
Final Thoughts
Trading with Exness in INR is a straightforward process that allows Indian traders to access global financial markets easily and efficiently. By following the steps outlined in this guide, you can open an account, fund it, trade, and withdraw funds seamlessly in Indian Rupees.
Always ensure to practice good risk management and use the tools available to safeguard your investments. Whether you're a beginner or an experienced trader, Exness provides a reliable and regulated platform for trading in INR.
By starting with a small deposit, gaining experience, and continuing to educate yourself, you can make the most of your trading journey with Exness in INR.
See more:
Is EXNESS legit or scam? EXNESS broker review 2026