Step-by-step
Step-by-step How to create seamless joins in Apollo Slab Tech Supplied by Sheridan, Apollo Slab Tech is a full-bodied solid surface material, which is selfsupporting in 20mm or 30mm thicknesses. Like other solid surface materials, it is non-porous, hygienic, easy to maintain, and capable of seamless joins. What sets it apart is that Apollo Slab Tech is not backed by a chipboard core. This means installers can create cutouts, edge details, and curves on-site without the need for edging strips.
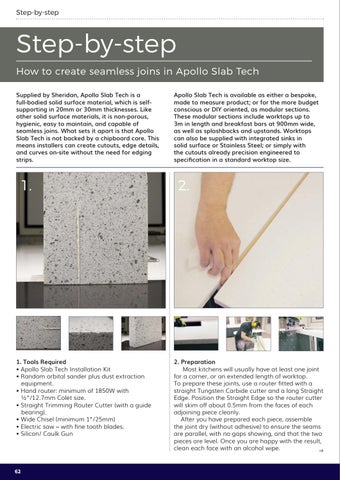
1.
1. Tools Required • Apollo Slab Tech Installation Kit • Random orbital sander plus dust extraction equipment. • Hand router: minimum of 1850W with ½”/12.7mm Colet size. • Straight Trimming Router Cutter (with a guide bearing). • Wide Chisel (minimum 1”/25mm) • Electric saw – with fine tooth blades. • Silicon/ Caulk Gun
62
Apollo Slab Tech is available as either a bespoke, made to measure product; or for the more budget conscious or DIY oriented, as modular sections. These modular sections include worktops up to 3m in length and breakfast bars at 900mm wide, as well as splashbacks and upstands. Worktops can also be supplied with integrated sinks in solid surface or Stainless Steel; or simply with the cutouts already precision engineered to specification in a standard worktop size.
2.
2. Preparation Most kitchens will usually have at least one joint for a corner, or an extended length of worktop. To prepare these joints, use a router fitted with a straight Tungsten Carbide cutter and a long Straight Edge. Position the Straight Edge so the router cutter will skim off about 0.5mm from the faces of each adjoining piece cleanly. After you have prepared each piece, assemble the joint dry (without adhesive) to ensure the seams are parallel, with no gaps showing, and that the two pieces are level. Once you are happy with the result, clean each face with an alcohol wipe.


