COGNITO 2 LIGHTING CONSOLE
How to setup / Use the lights v. 1.2022
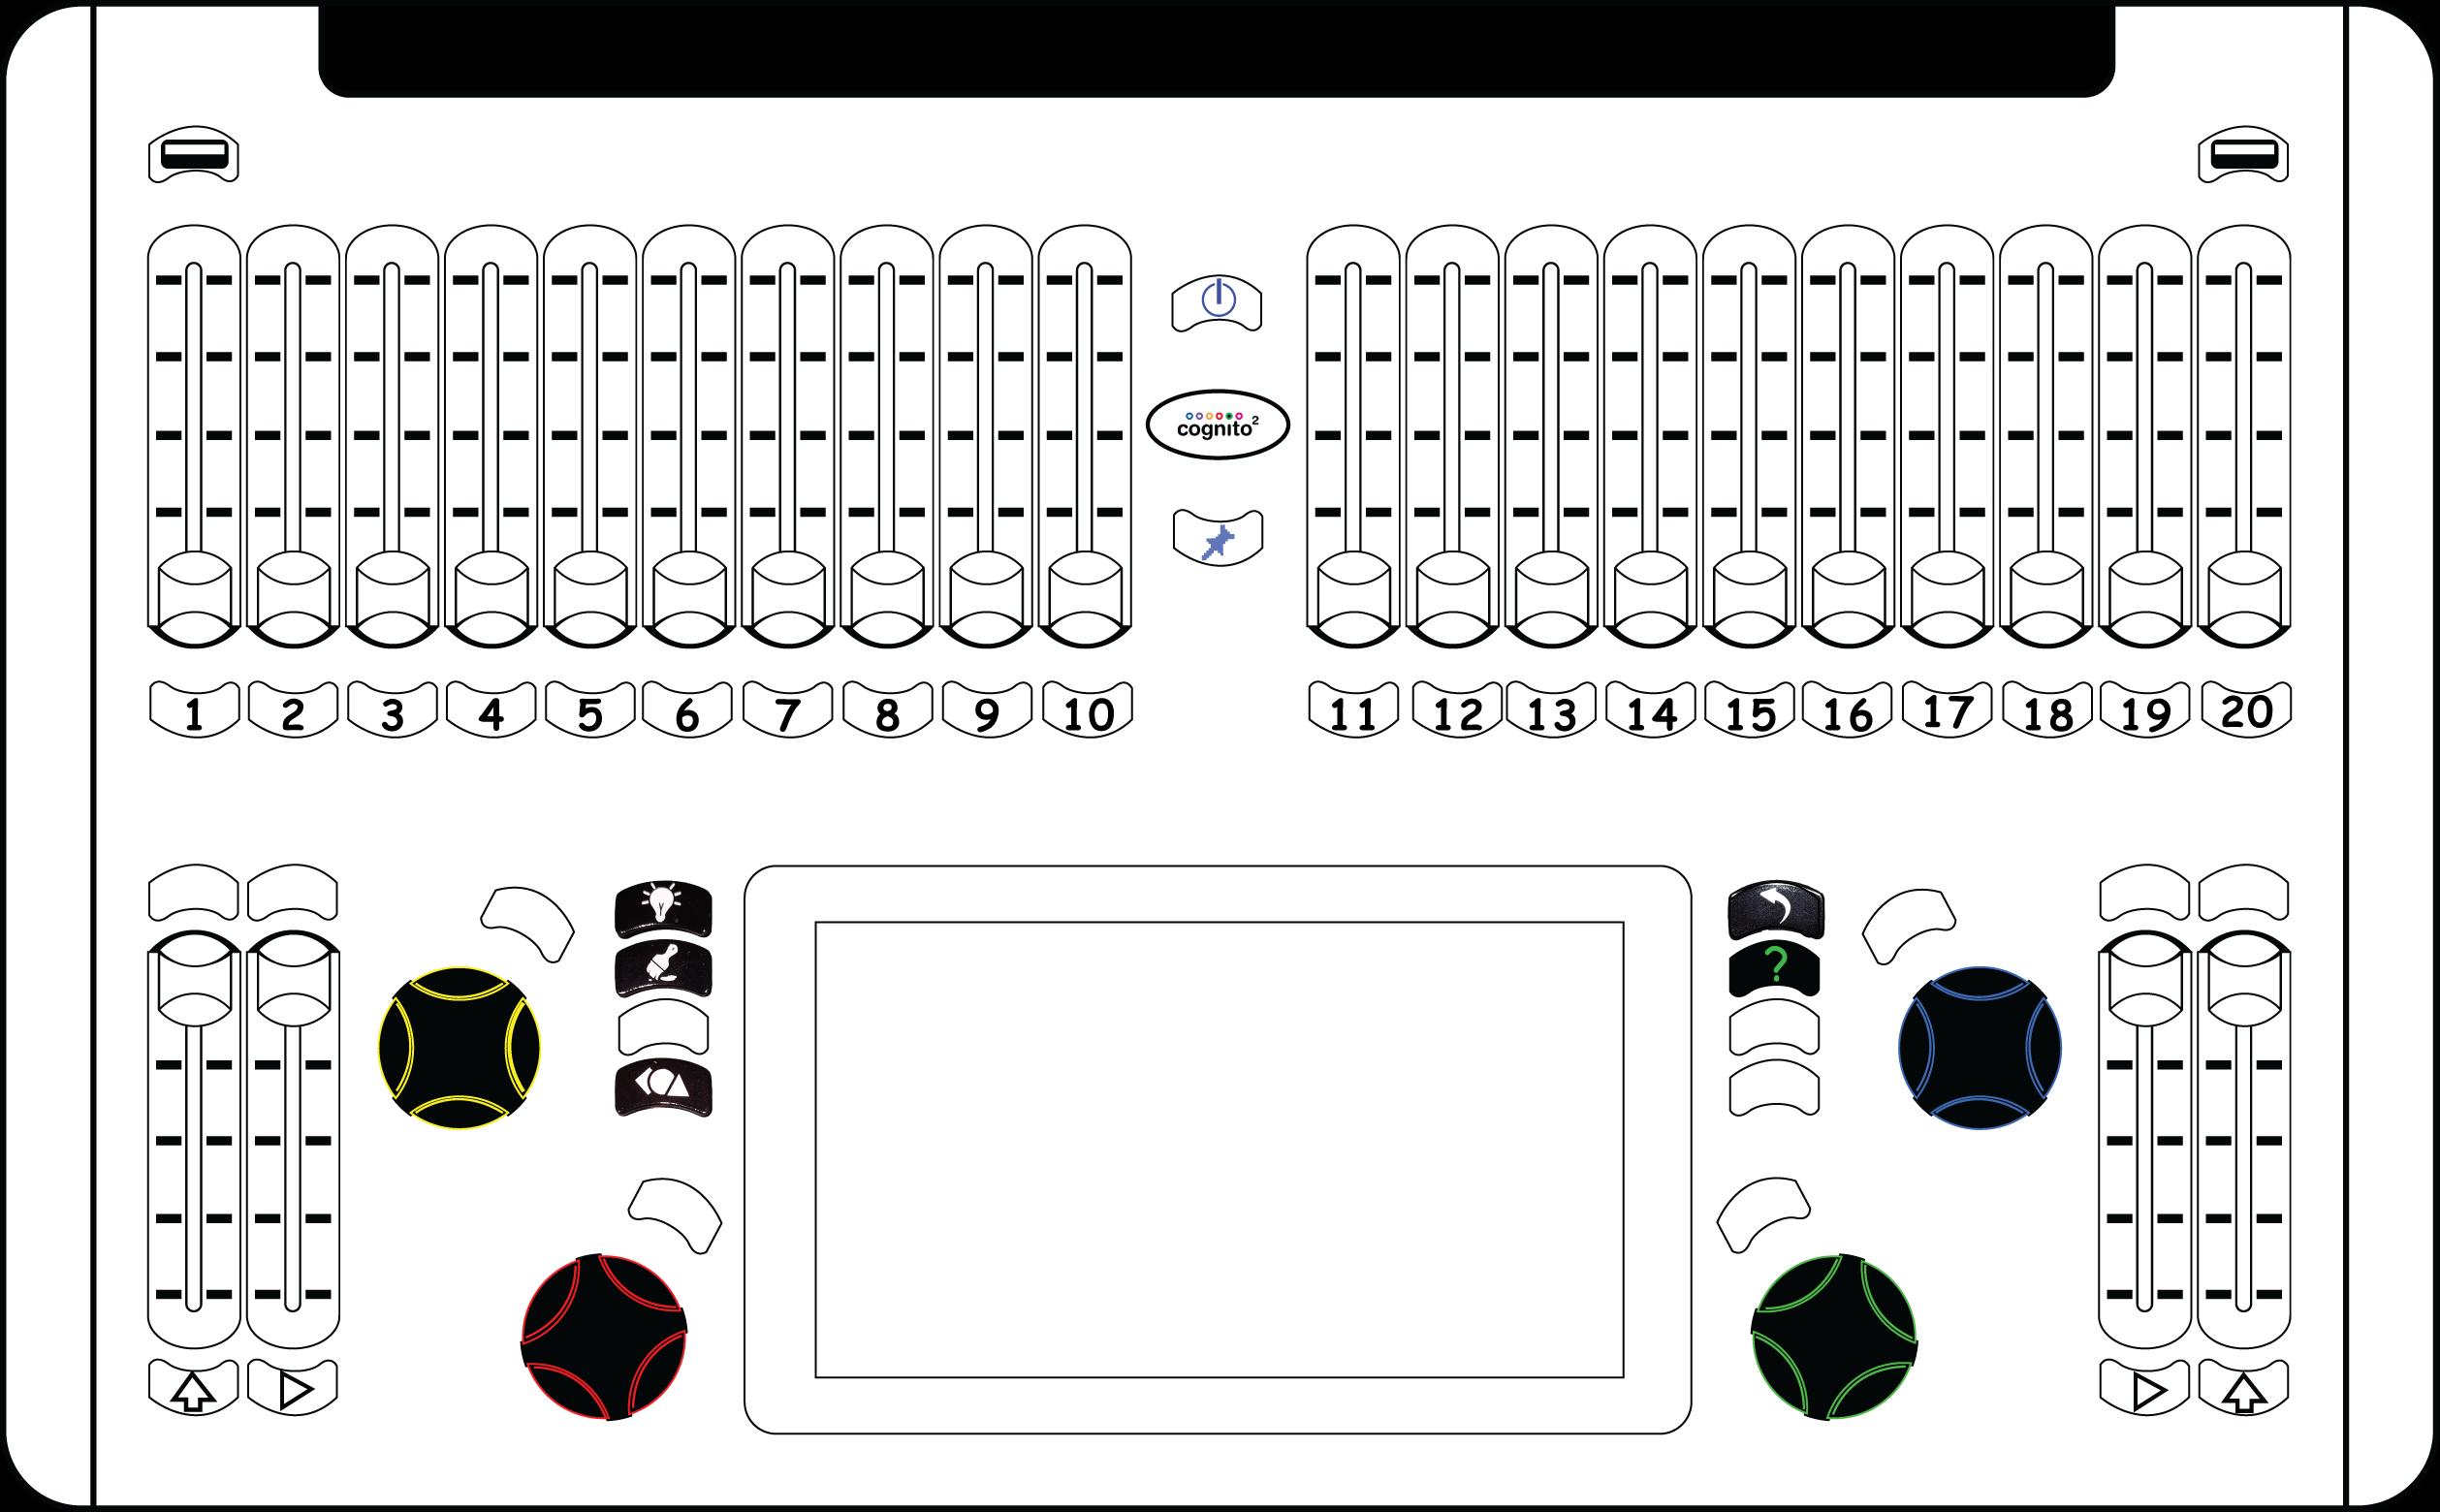
The Pathway COGNITO 2 Lighting Board (Studio A and B)
In a typical studio production, there are a number of lights that could be in use at any given time. Being able to control all these lights, switch them on and off, dim them to the required settings etc. can be daunting.
To assist our members our studio A and B lighting console have available set presets.
Studio A Lighting console presents:
• News set
• Kitchen set
• Kitchen set with table
Studio B Lighting console presents (check console for latest info) – subject to change
• Interview
• Standup
• Part front blue
• Part front ember etc….
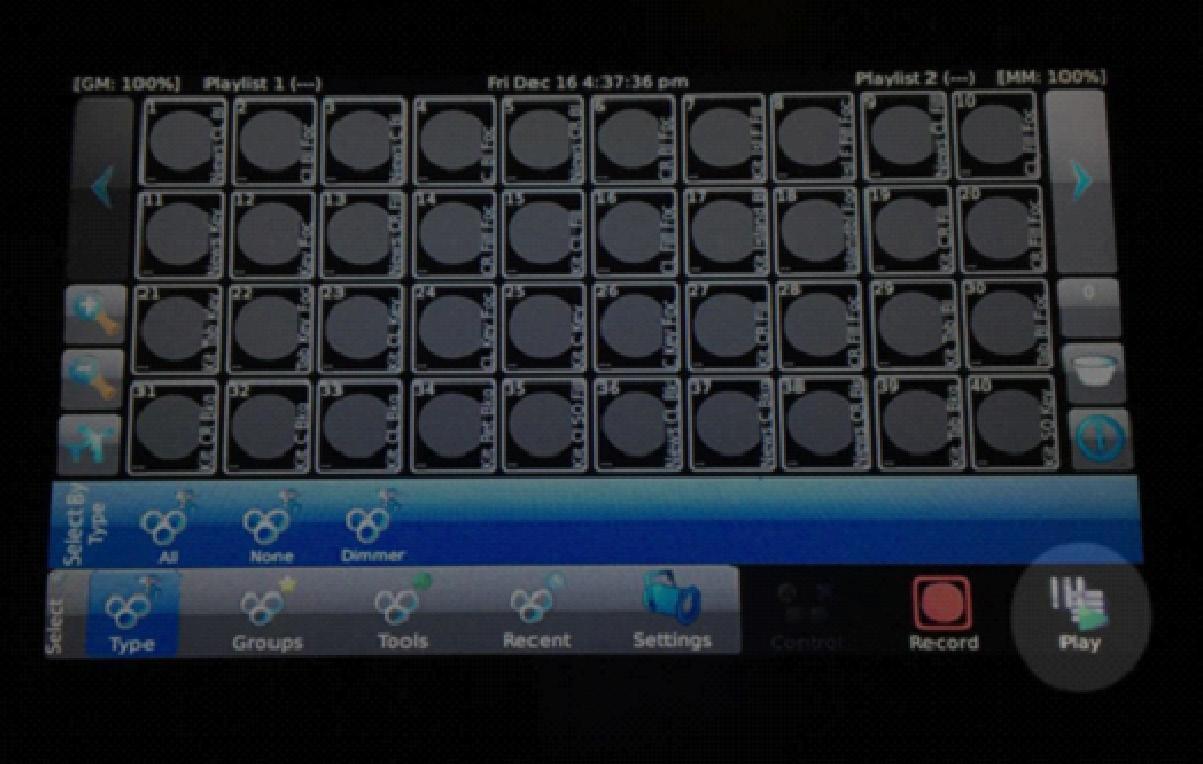
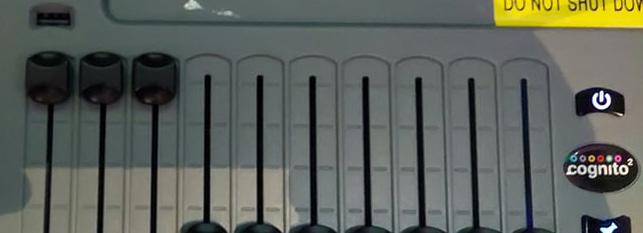
*On the touch screen use the blue left / right arrow to select different presets then select the proper physical fader and move it up.
FPA Studio A / B Lighting system
Remember :
Lights in studio A are not to be altered/moved Lights in studio A can be dimmed using the lighting console Lights in studio B can be altered and additional lights can be checked-out from the Equipment Room.
Fairfax Public Access
QUICK REFERENCE GUIDE and Studio A/B Lighting Cheat Sheet

COGNITO 2 LIGHTING CONSOLE
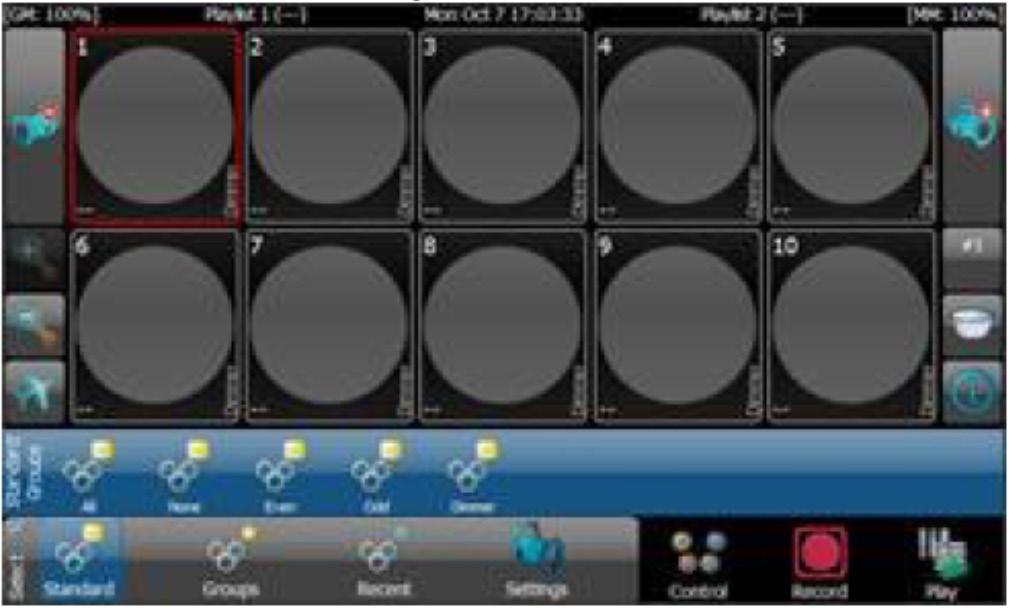
To turn on the lights using the console 1. Tap the touchscreen panel to wake it up Click Play 1 2
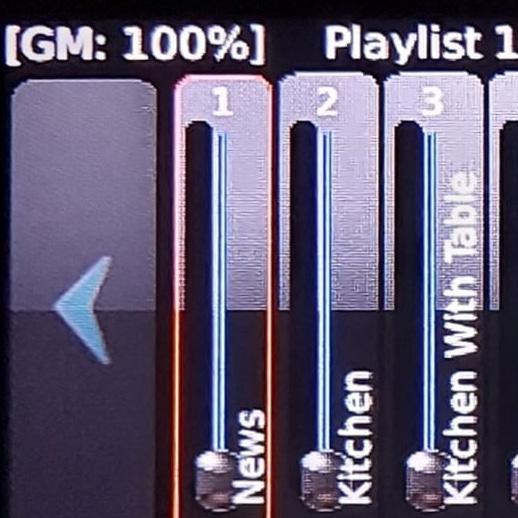
In the studio A console (see picture): In the top left hand corner, you’ll see three prefilled scenes

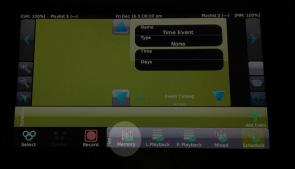
If you are already in the Play menu, click Memory
3 4
In Studio A:
• If using the news set, bring up the physical slider #1
• If using the kitchen set, bring up the physical slider #2
• If using the kitchen set with the dining room table, bring up slider #3
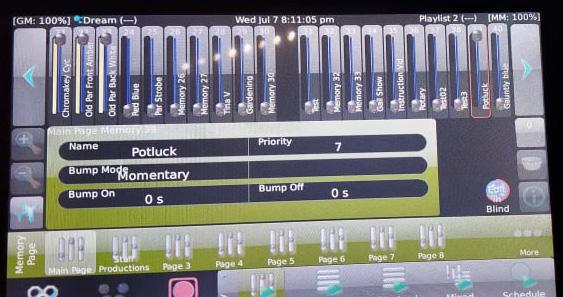
In the Studio B console: You’ll see multiple staff prefilled scenes and scenes saved by producers for their shows.
When done, to turn off the lights, bring all the physical sliders down
NOTE: Never hit the power button. The board should always be on!
STUDIO
LIGHTING GRID
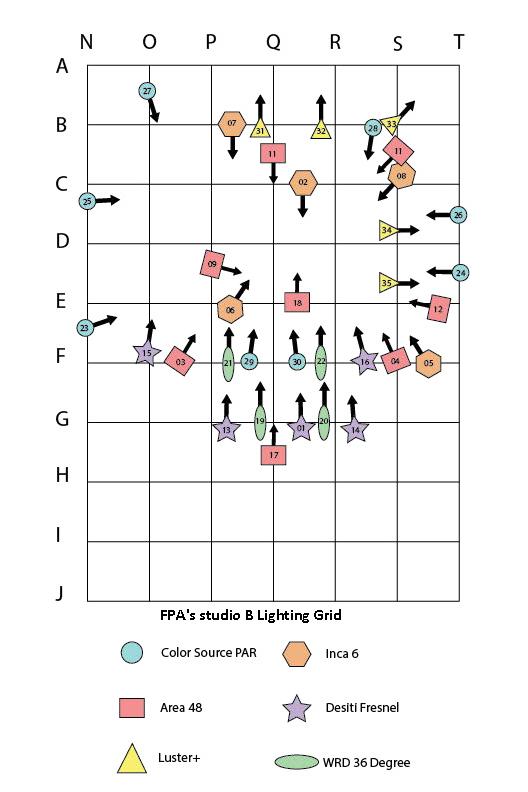
B
Studio
for
Color Source Par Lights

Cheat
Package: Lighting
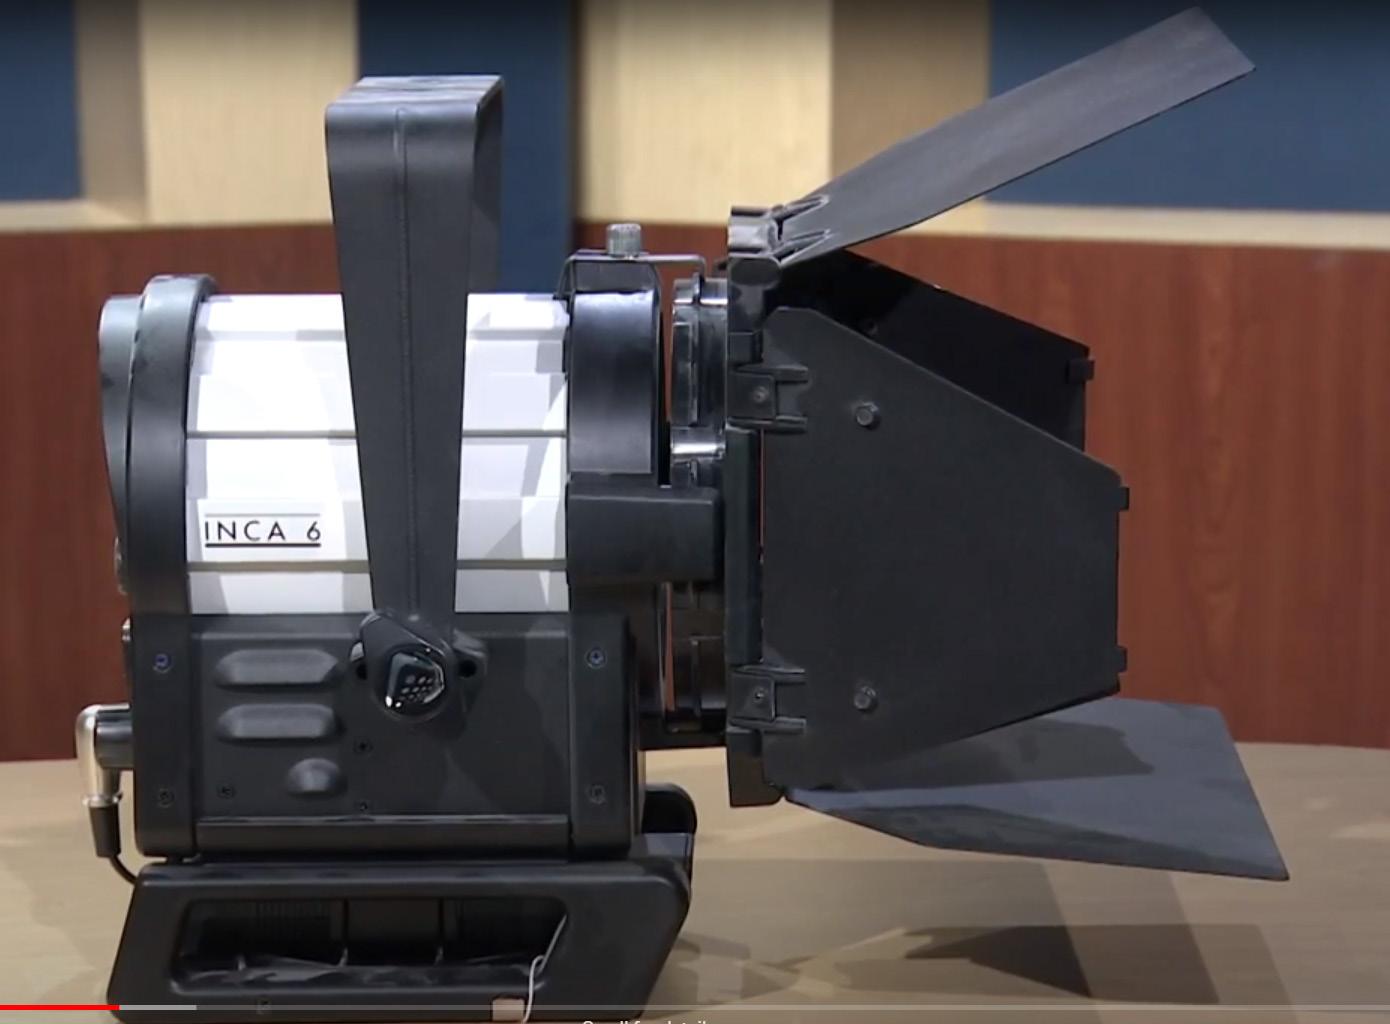
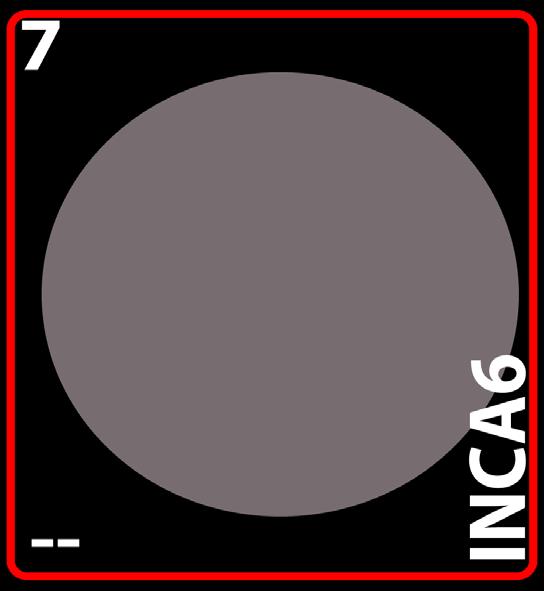
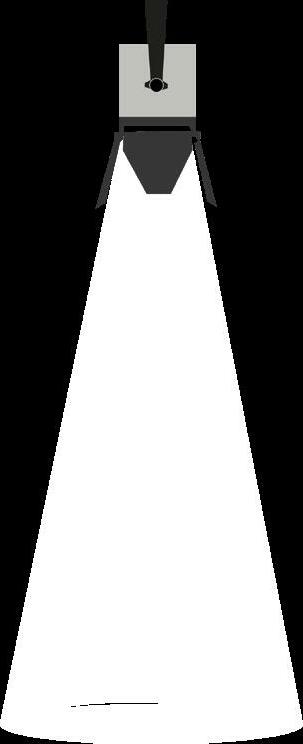
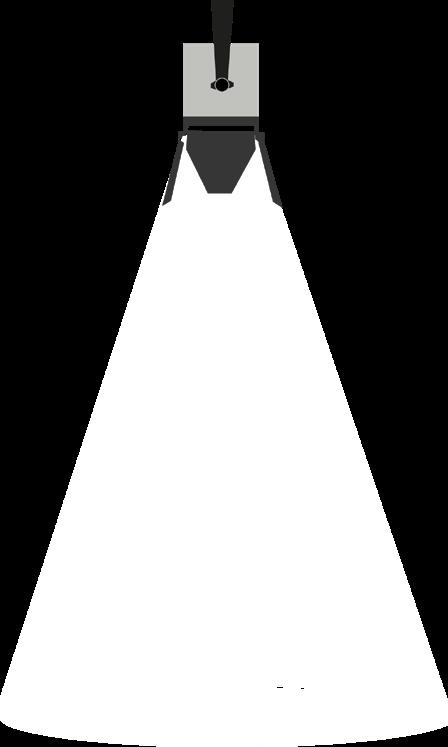
Sheet (Studio B) Studio B lights available 6 different kinds 38 total lights that membership can access throught the Cognito 2 Lighting Board Inca 6 • Used for Key lighting and Back lighting • 5 in Studio B • Gray Body • Black Barn Doors • Can adjust the range of its cast 1 2 3 Area 48 • Used
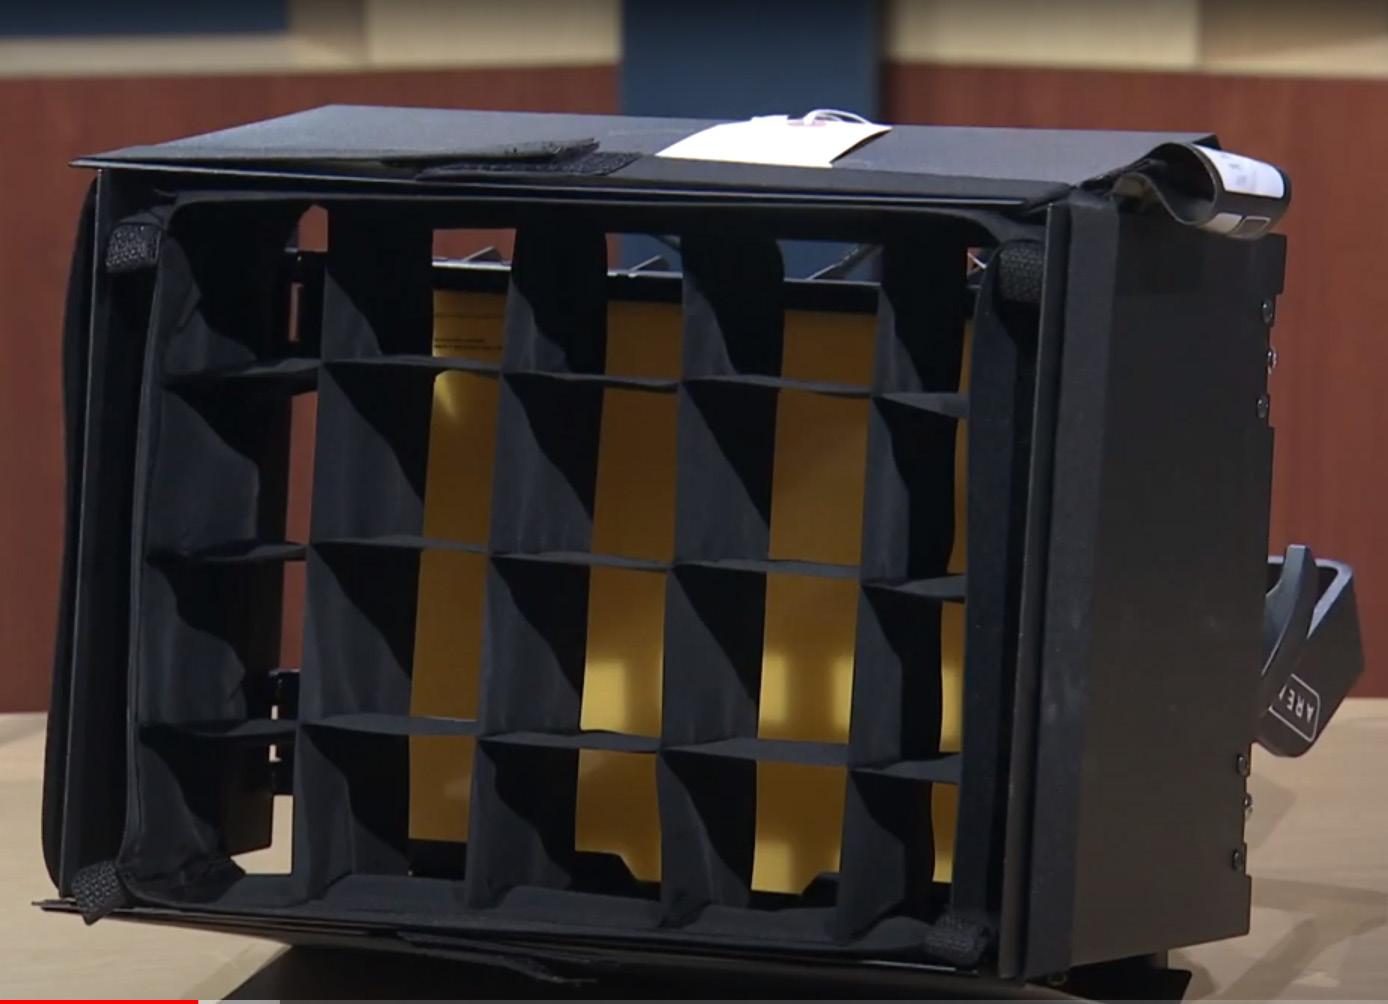
Fill lighting • 8 in studio • Square shape • 6 have focusing scrims - a device used in the film and television industries, as well as by photographers, to modify properties of light • Used to focus light into an area • 2 are “safety” lights
• 8 in Studio B • round shape • 8 LED clusters when lit • can change color by accessing the color menu on Cognito 2 Light Board by using: - Color picker - Color library 1 2 3 4 5 6 7 8
Studio Package: Lighting Cheat Sheet
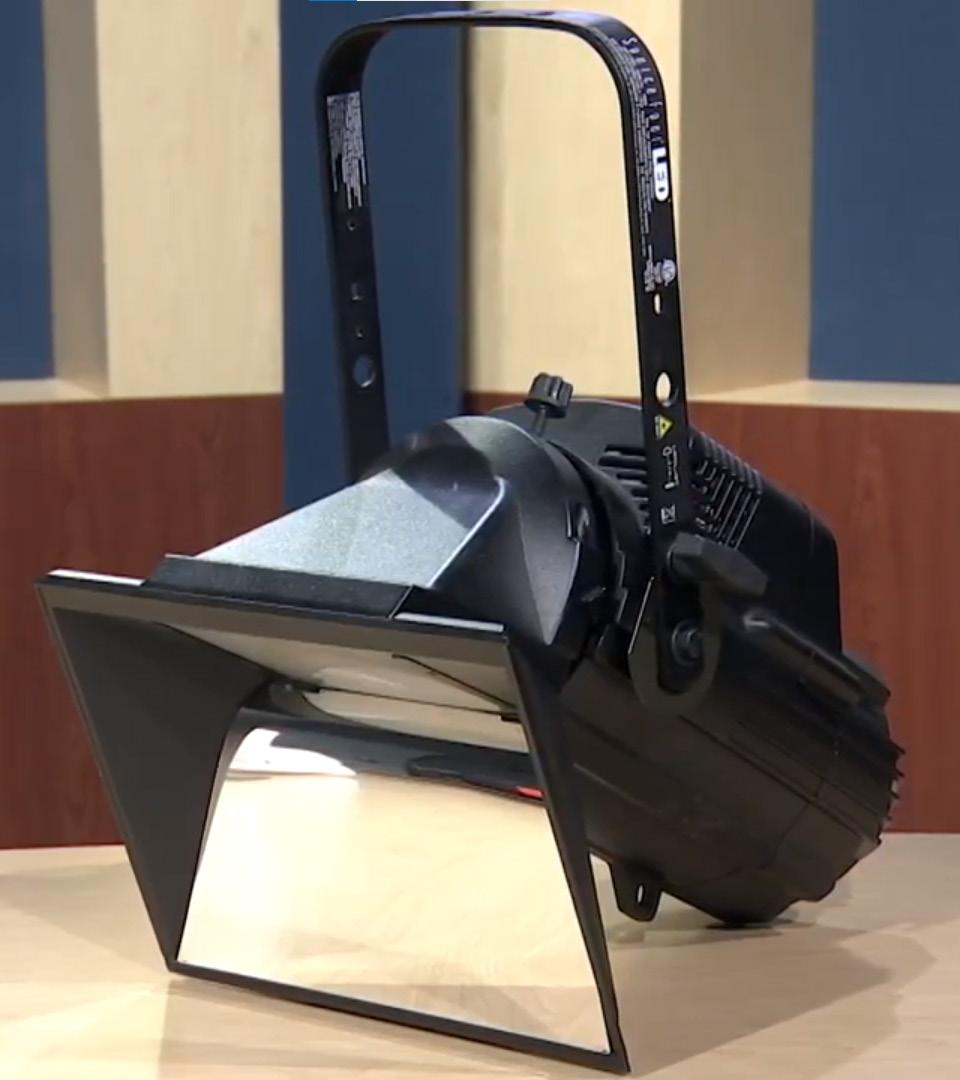
Luster Plus Lights
Specifically designed to light background of set
8 in Studio B
Oblong shape
Face away from set
Can change color by accessing the color menu on Cognito 2 Light Board by using:
Color picker
Color library
used for Chroma Key
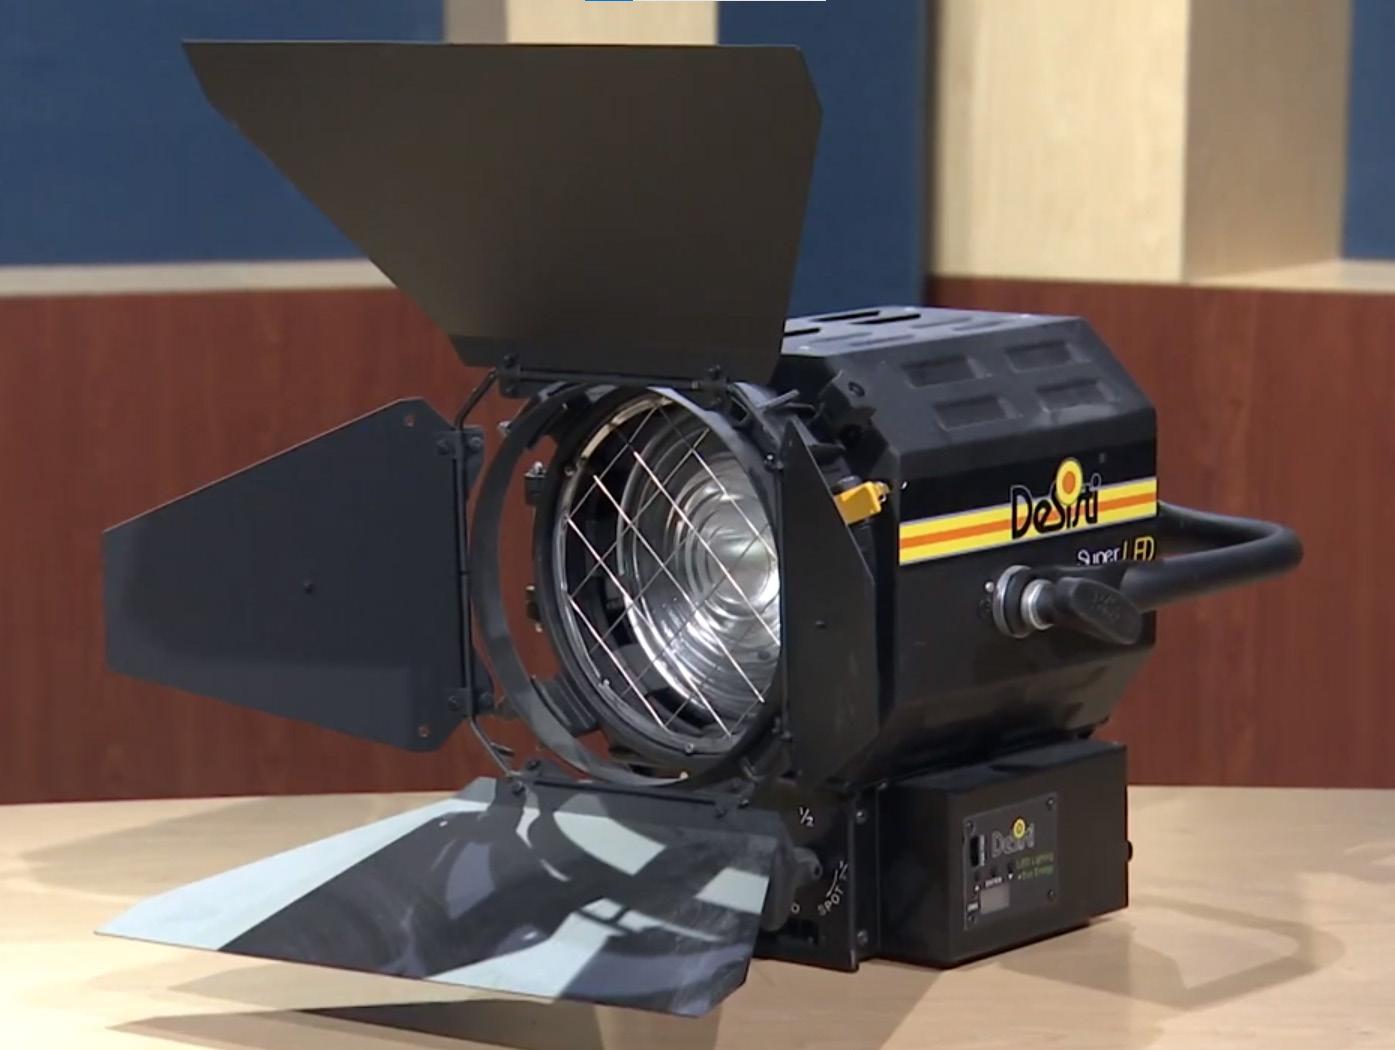
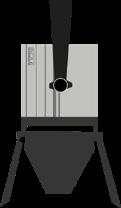
Desisti Lights
Full stage lighting
bands or large gatherings
Black body with steel crossing scrims
Can only change intensity on Cognito 2 Light Board
•
•
•
•
•
-
-
•
4
•
-
•
•
5
Studio Package: Lighting Cheat Sheet
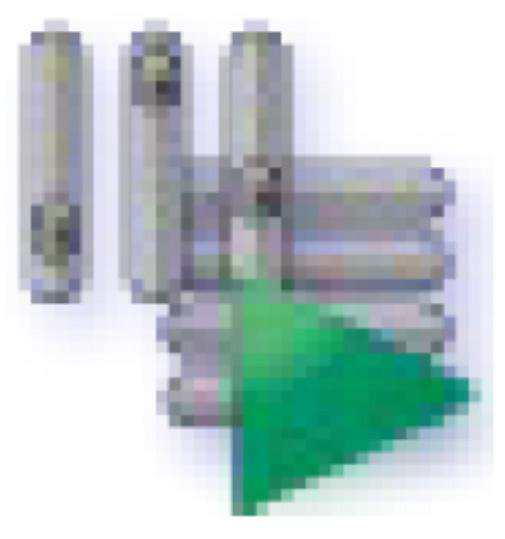
WRD 36° Lights
AKA Green Tape Lights
Used for spotlights
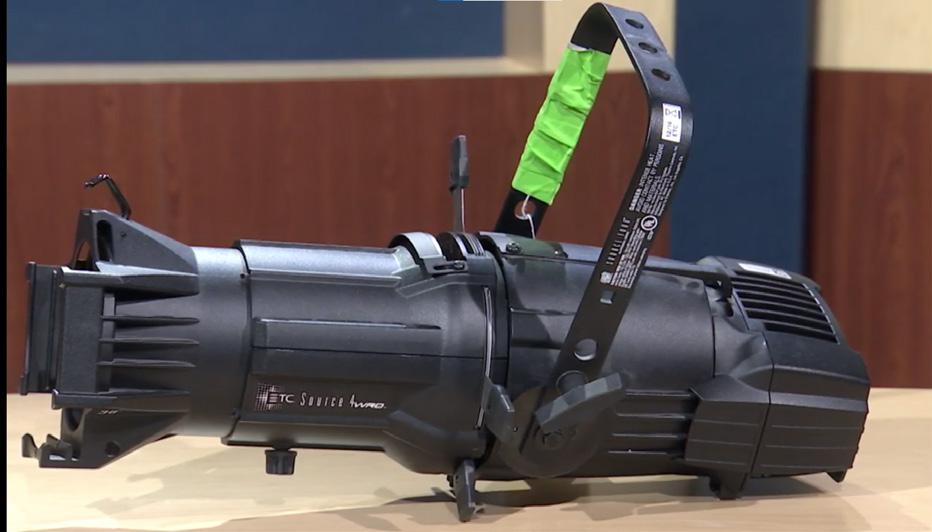
Used for Gobos
an object placed inside or in front of a light source to control the shape of the emitted light and its shadow
4 in Studio B
Cylindrical in shape with a stripe of green tape on the bottom of the light
Only lights in the studio that can be repointed (not moved)
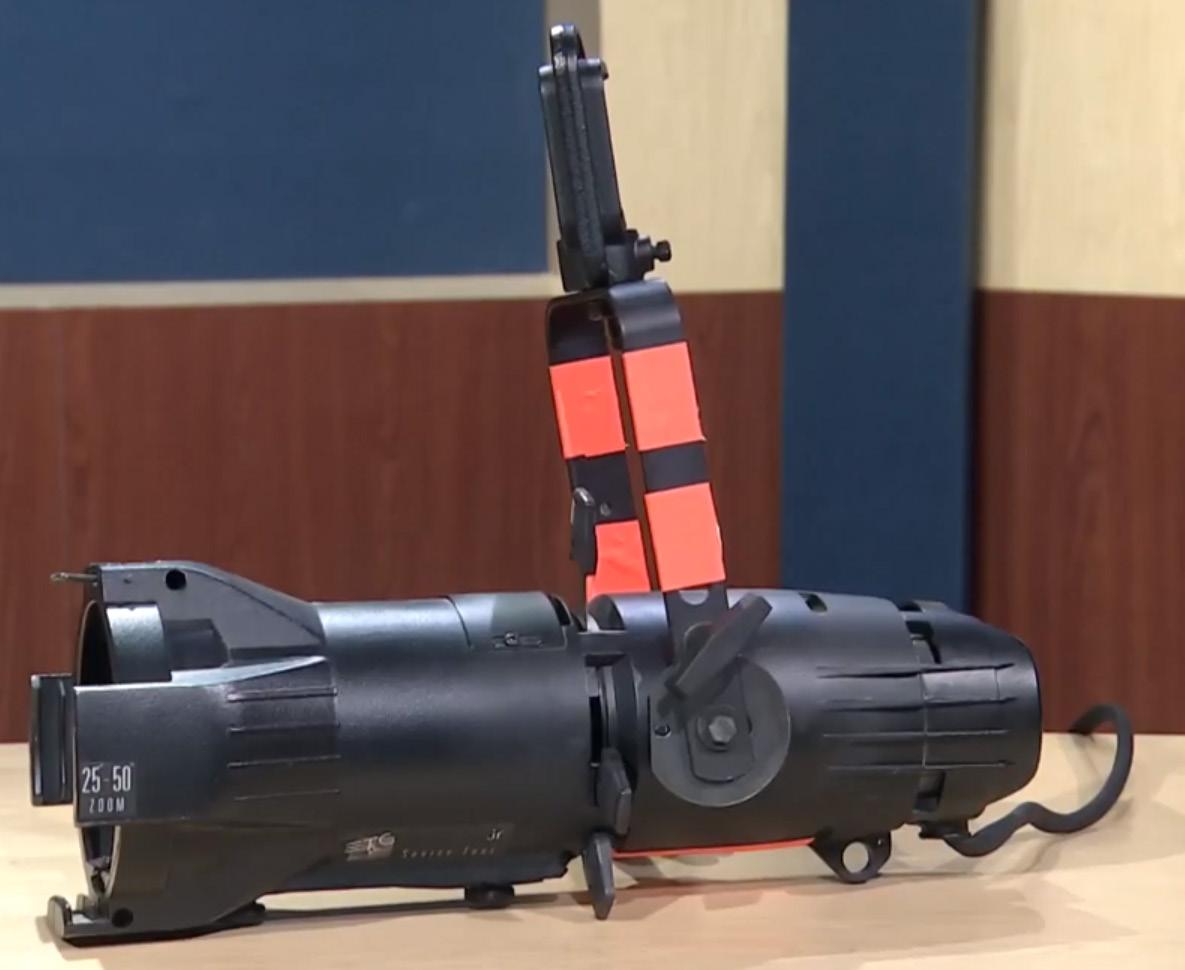
Fresnel Light
AKA Orange Tape Lights
Added to the grid by request of a member
Not connected to the Cognito 2 Light Board
Powered by “floating bricks”
Can be added and taken down by members
Needs a safety chain
provided by Equipment Room staff at checkout
REFERENCE MATERIALS
A full copy of the Cognito2 user guide for studio A and B lighting console is available at: https://tinyurl.com/FPACognito2guide
Online Cognito2 training videos can be viewed at: https://tinyurl.com/FPACognitoInstVideos https://tinyurl.com/FPACognitoTrainingVideos
Reference Articles
https://www.pathwayconnect.com/index.php/support/reference-articles
•
•
•
•
•
•
-
7
•
•
•
-
•
•
•
6
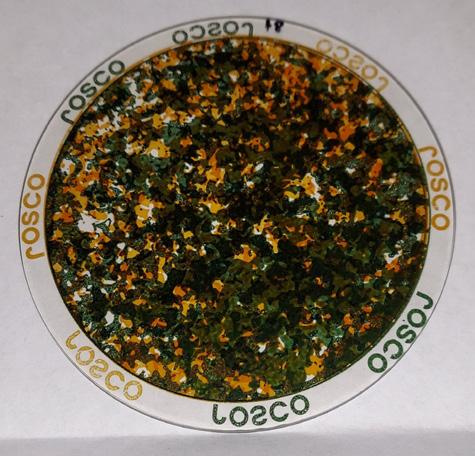
Studio Package: Gobos
Gobos are like stencils for lighting fixtures, allowing light to shine through certain areas and project a pattern. The color of the projected image can be changed by adding a sheet of lighting gel. By sliding the lens forward or backward you can increase the clarity of the projected image.
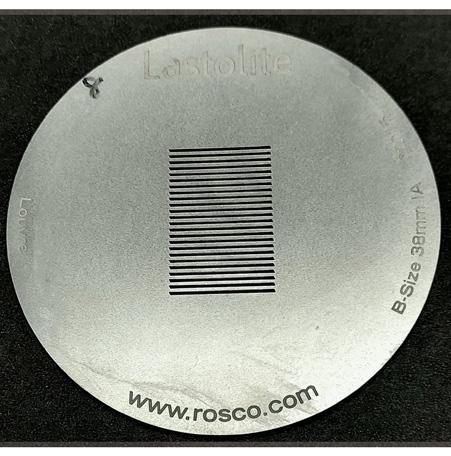
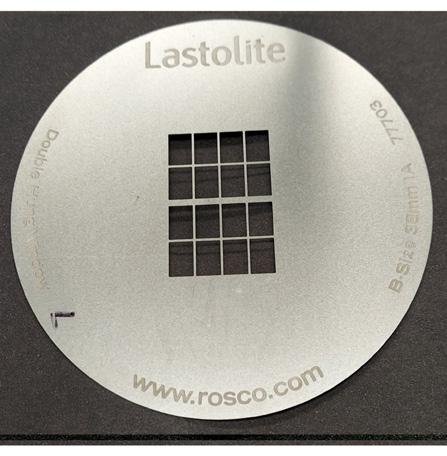
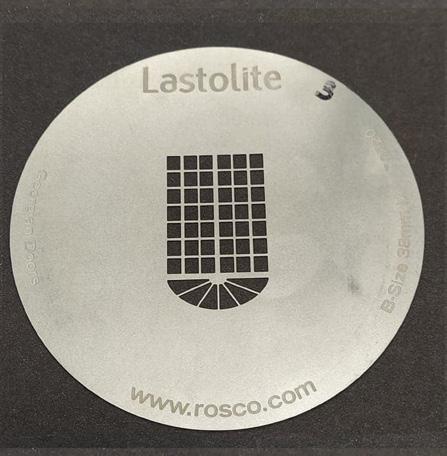
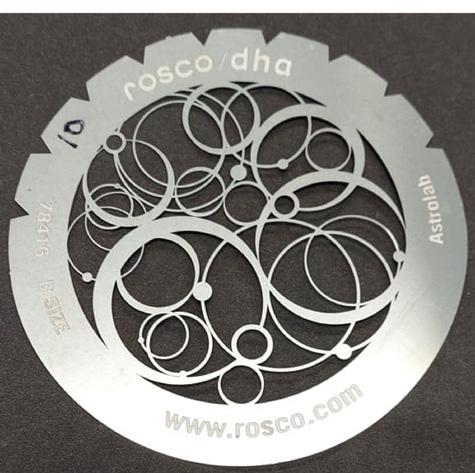
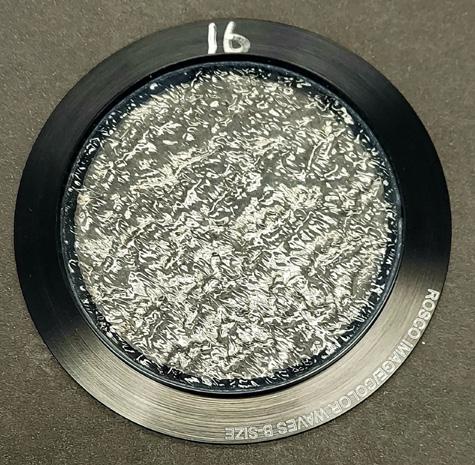

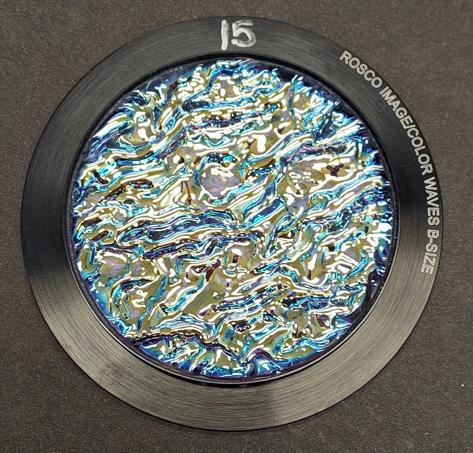
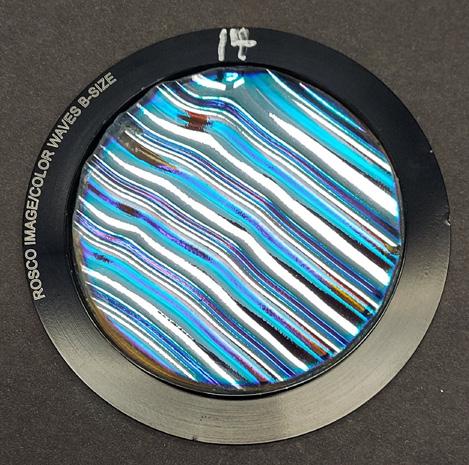
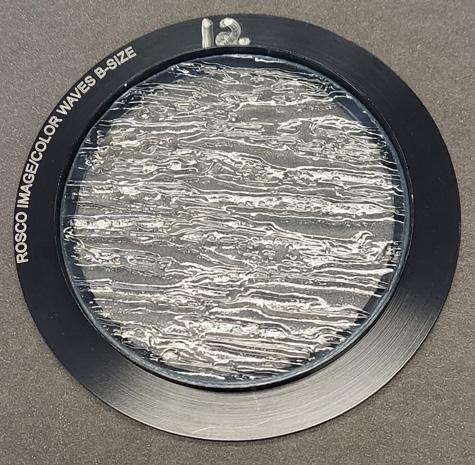
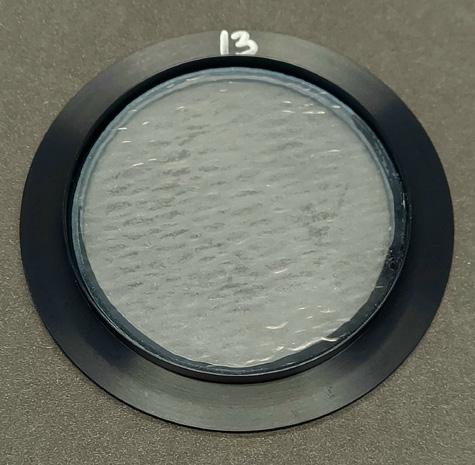
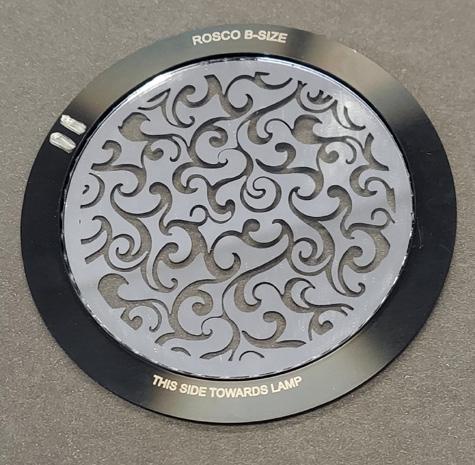

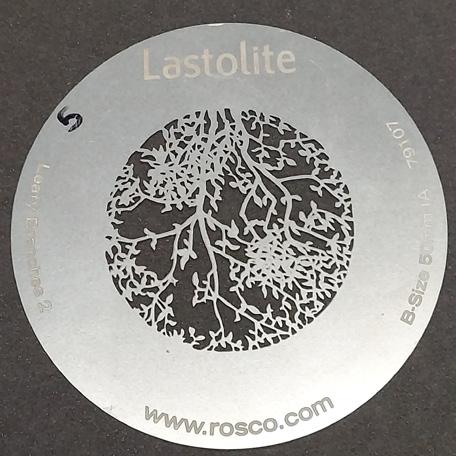
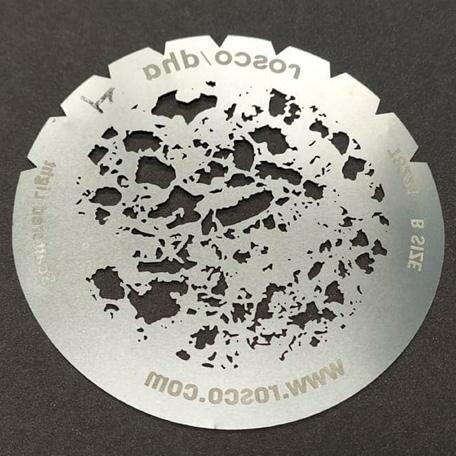
different gobos are available for use with the

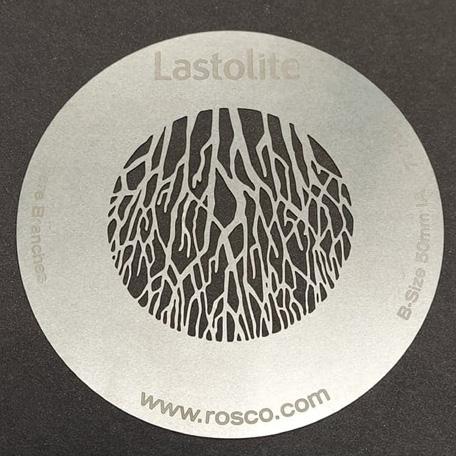
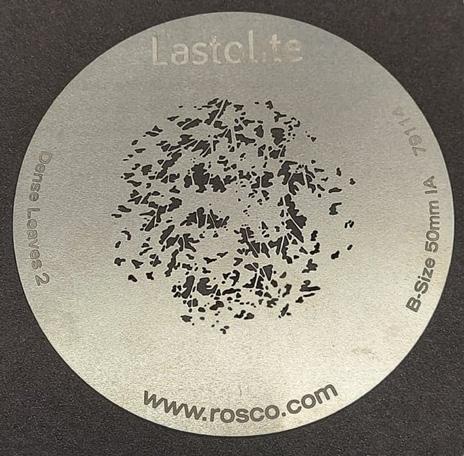
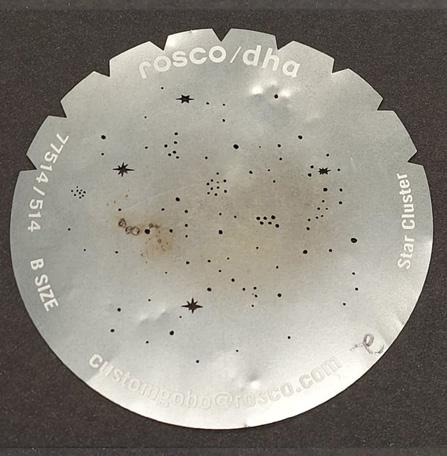
18
4 WRD 36º Lights (AKA - Green Tape Lights): 10 Steel 8 Glass Scan the QR code to take a virtual tour of the Gobos FPA has available!
Studio Package: Adjusting lights
Adjusting lights using COGNITO2 LIGHTING CONSOLE
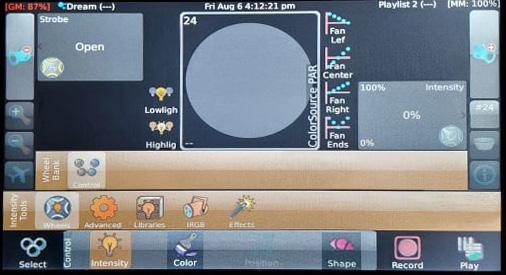
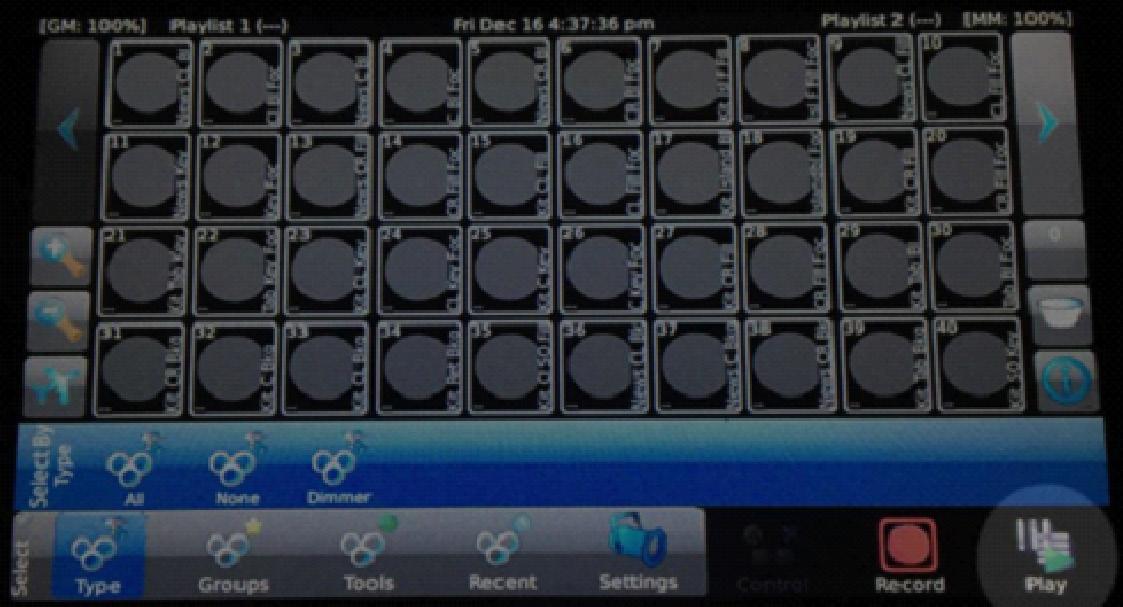
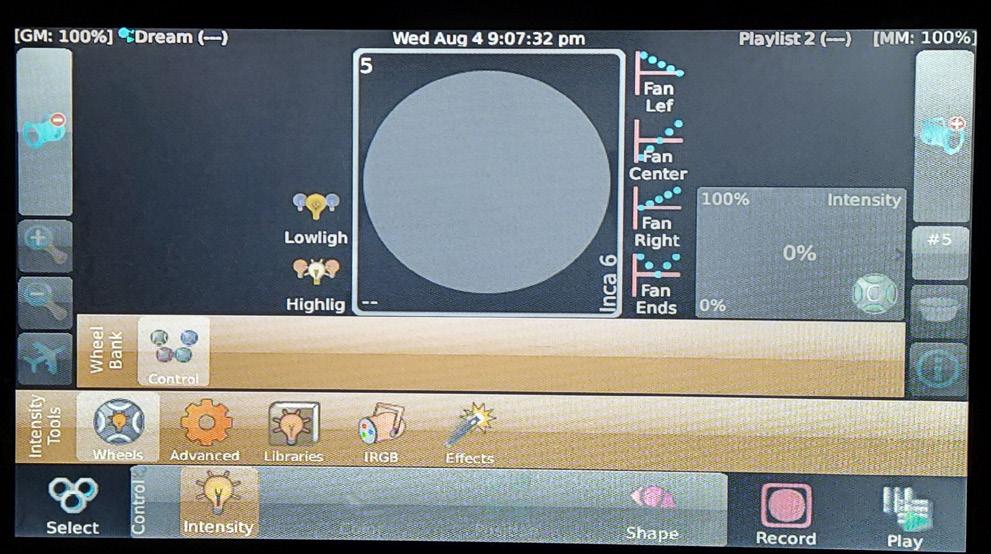
Basic operation is done through four (4) screens 1. Select screen - Select individual lights by pressing the corresponding cells 2. Control screen - Made available when pressing the Control button at the bottom of the - Made available when pressing the Control button at the bottom of the Touch Screen *control screen version depends on the properties you can adjust for the selected light
Studio Package: Adjusting lights
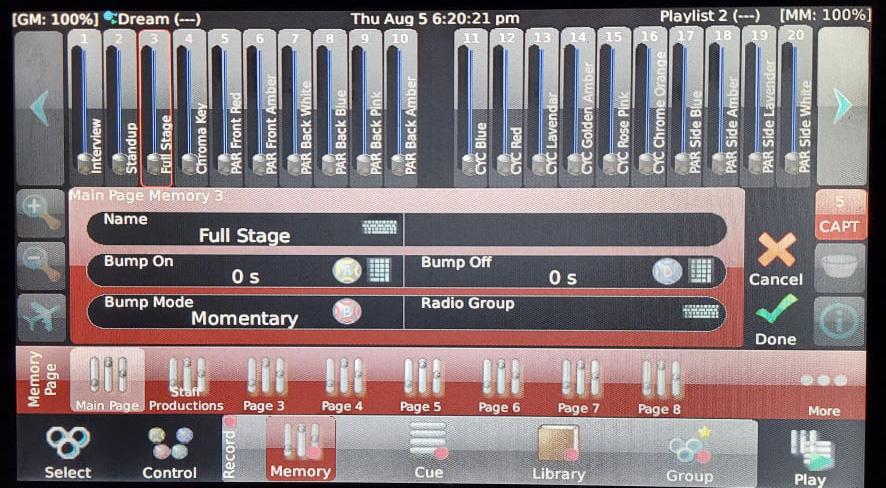
3. Record Screen
- Accessed by pressing the RED record button at the bottom of the Touch Screen or Record Button on the right side of the lighting board
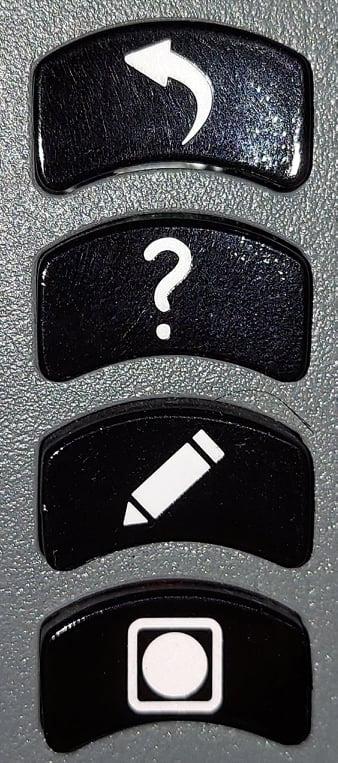
4. Play Screen
- Accessed by pressing the GREEN Play Icon at the bottom of the Touch Screen
Studio Package: Adjusting lights
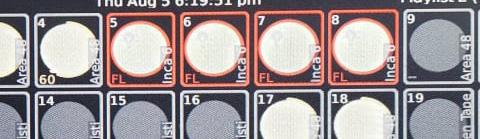
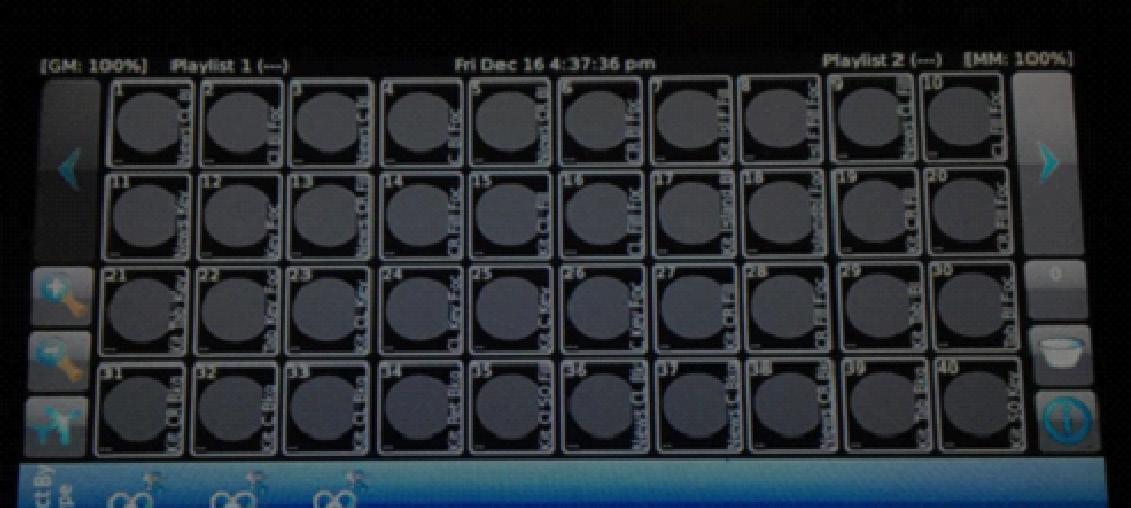
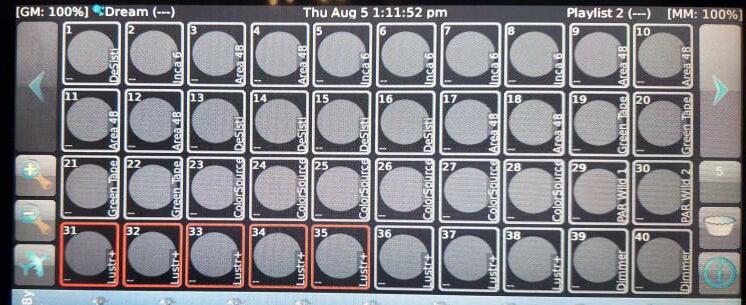
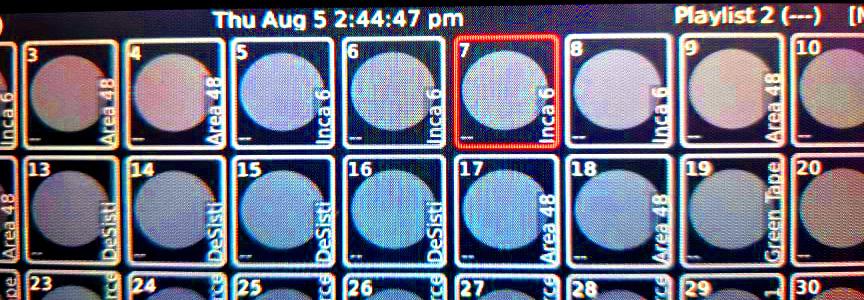
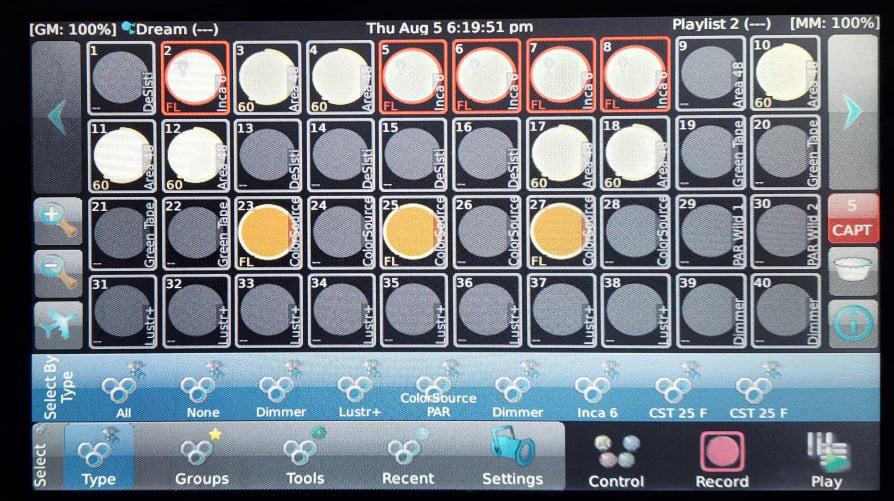
Select Screen
-Each cell corresponds to individual light on the grid
• Can be selected by touch - Shows a RED BORDER
• Kind of light is written vertically on the right side of the cell
• Double tapping cell brings the intensity of the selected light to 100%
• Selecting multiple lights at once allows you to change the properties of all of them at the same time
Studio Package: Adjusting lights
Light Properties (3)
1.Intensity
- Select the desired light cell
- Select the light bulb symbol to make adjustments to the lights’ intensity
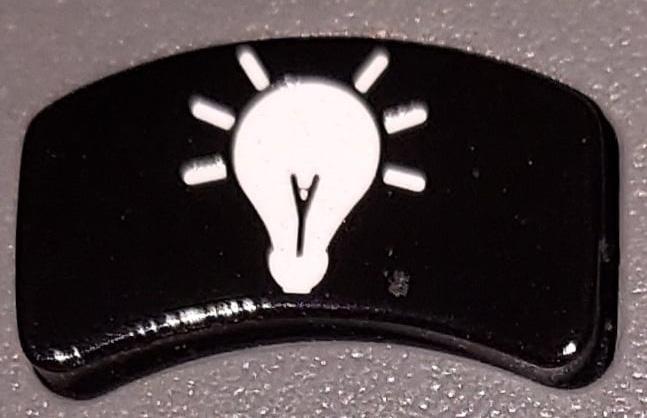
• Pressing it will change the Touch Screen to the Control Screen
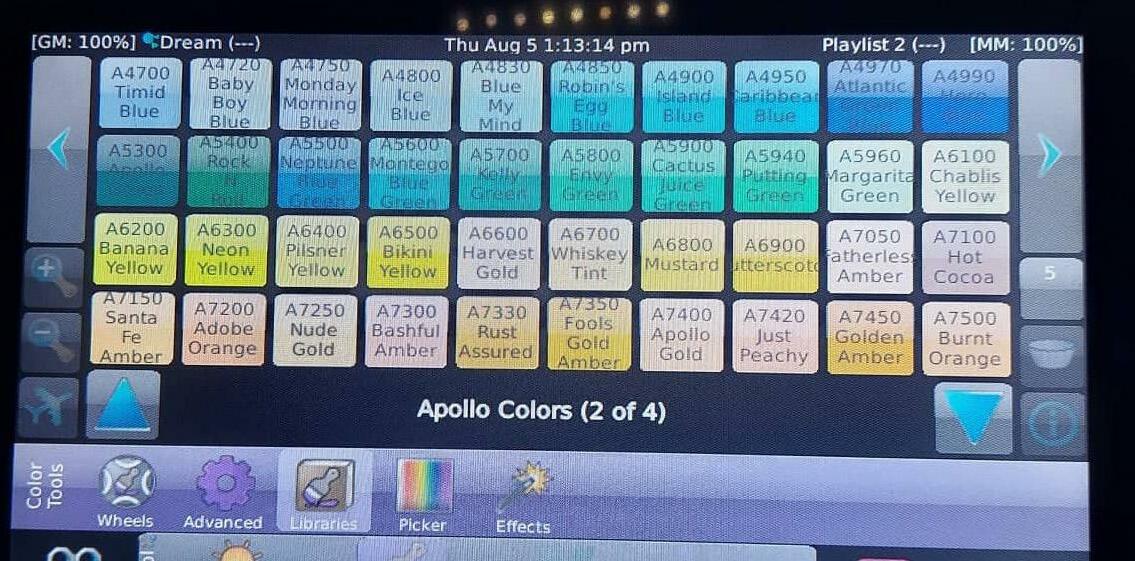
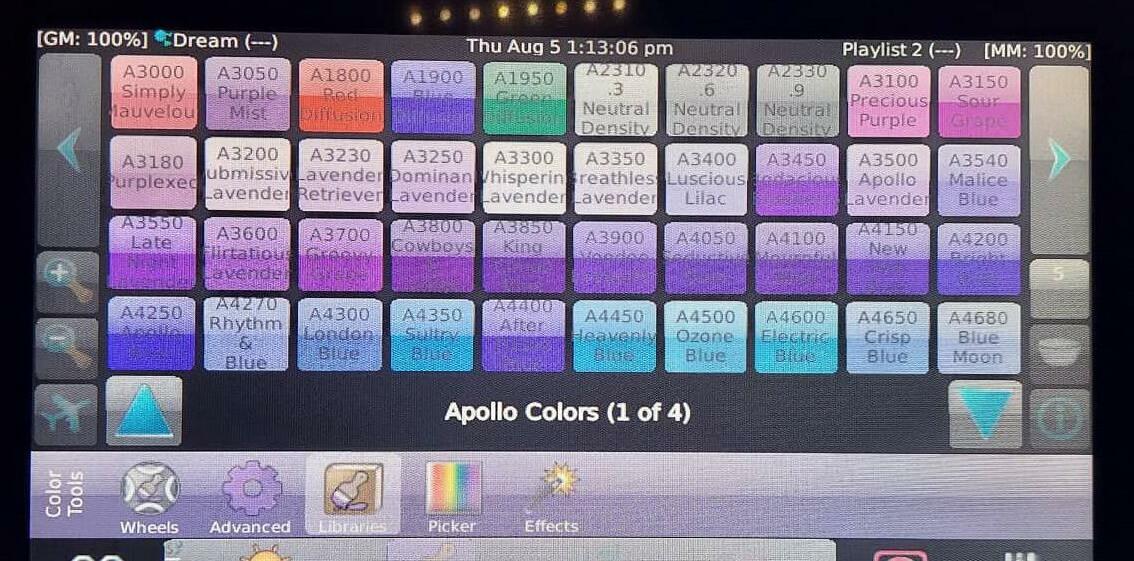
2. Color
- Select the lights you wish to change in the Select Screen
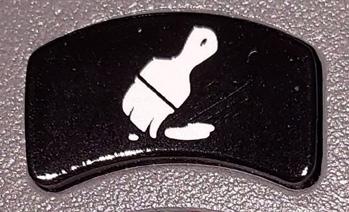
- Press the Paintbrush Button to open the Color Control screen
• Use either the Color Picker or the Color Library (Libraries) to adjust the color of the light(s) you have selected

has o
OR OR
has over 400
to choose from.
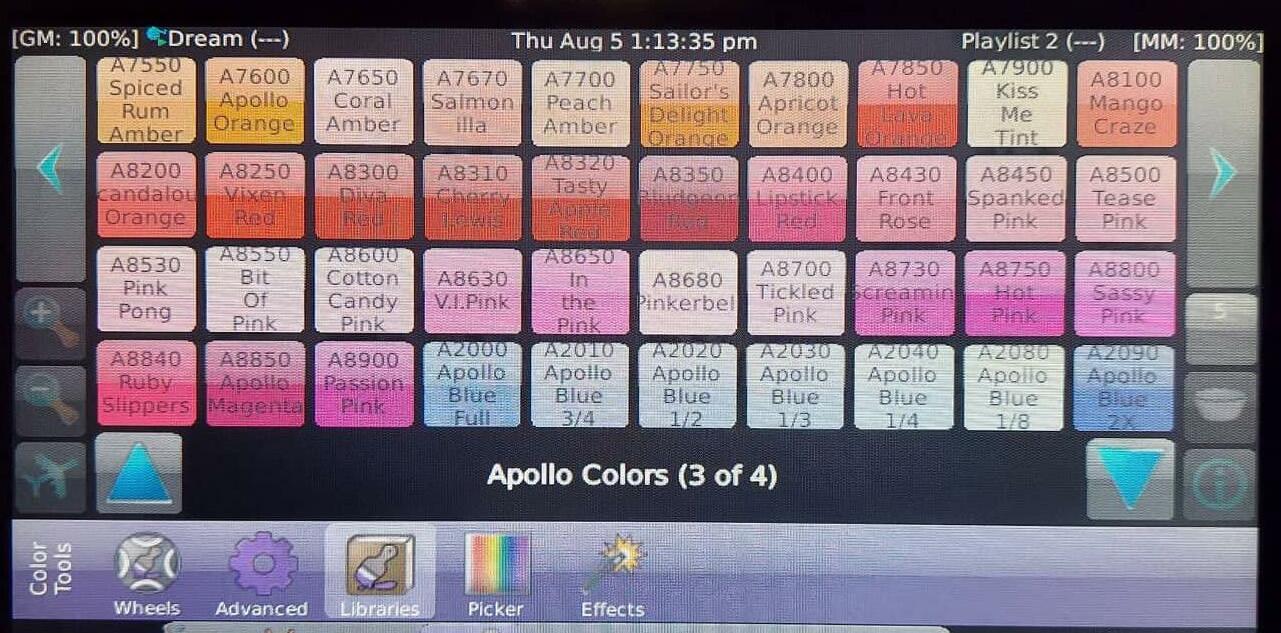
Color library
Color library
specific colors available
Studio Package: Adjusting lights
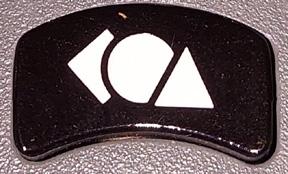
3.Shape
- Changing the shape of the cast (only for the Inca6 lights)
• The cast is the size of the spread of light
- Select the individual Inca6 light
- Press the Shape Button to open the Shape Control Window
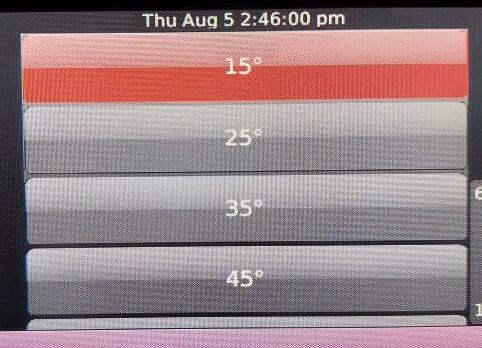
Tap the light gray box with the degrees in it to adjust the radius of the cast.
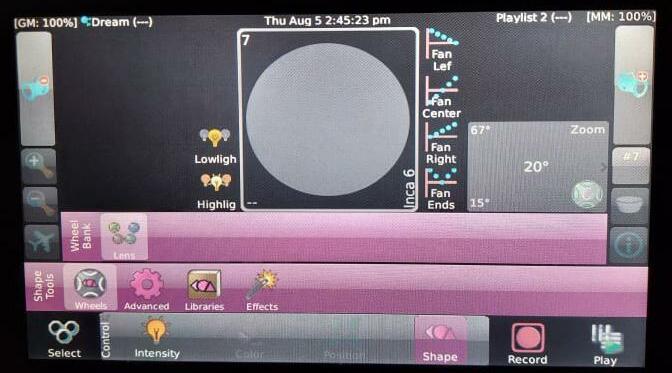
A new window will open with degree increments for you to choose from.
Studio Package: Adjusting lights
Recording and recalling a lighting set Recording a set
- Set up all the lights you wish to record
•Color •Intensity •Shape
- Activate the Record Screen by pressing the RED Record icon at the bottom of the touch screen
- Use the arrow keys on either side to navigate to an empty slot in the current page
• If page is full you can choose from one of the other pages listed at the bottom of the record screen
- IF those are all full, you can create a NEW PAGE
• Click on the More Menu (…)
• Press the Add Page button in the upper right of the screen
Studio Package: Adjusting lights
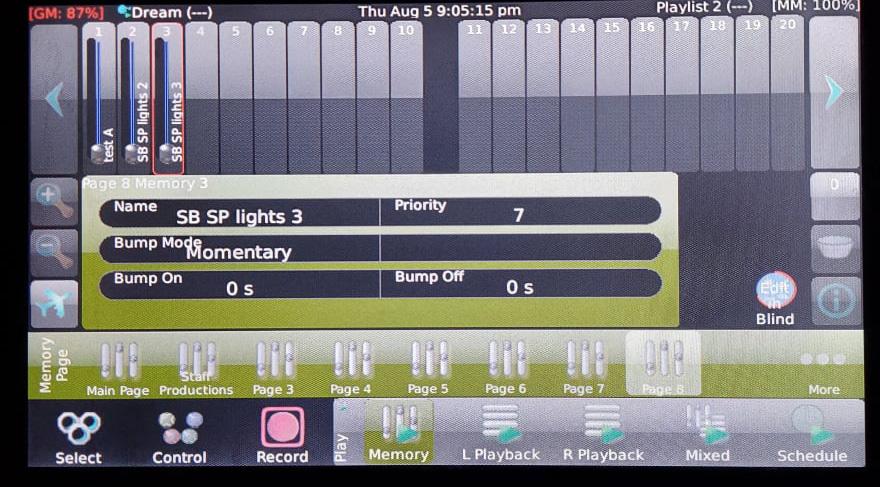
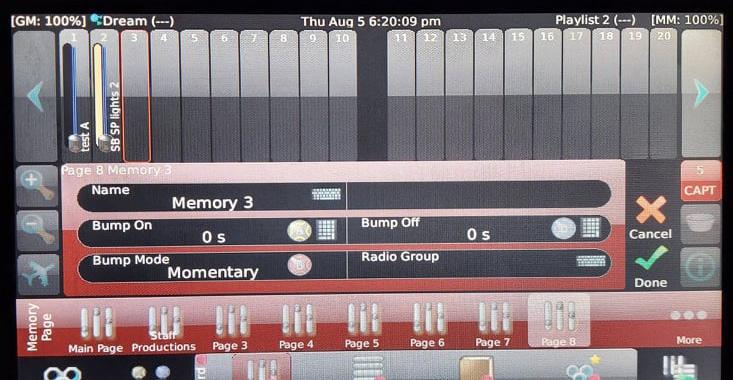
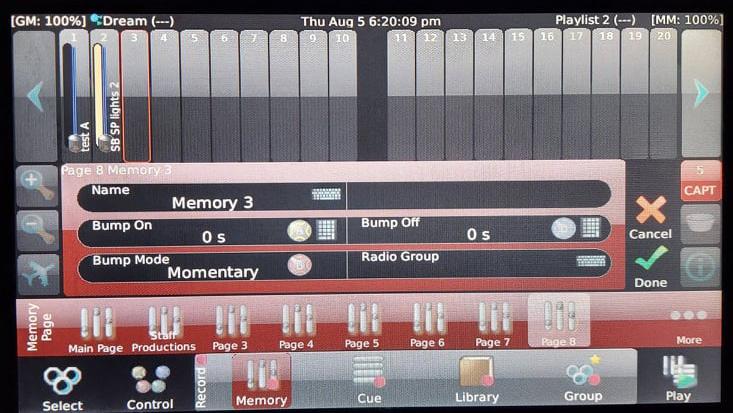
- Select an empty slider slot on the page
Use the left and right arrow keys to navigate through the slot list (if needed)
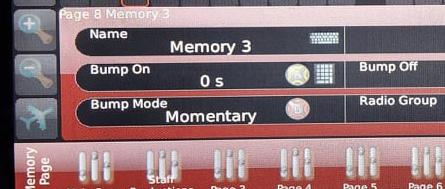
• Click on the keyboard icon in the name area of the selected slider slot to rename it
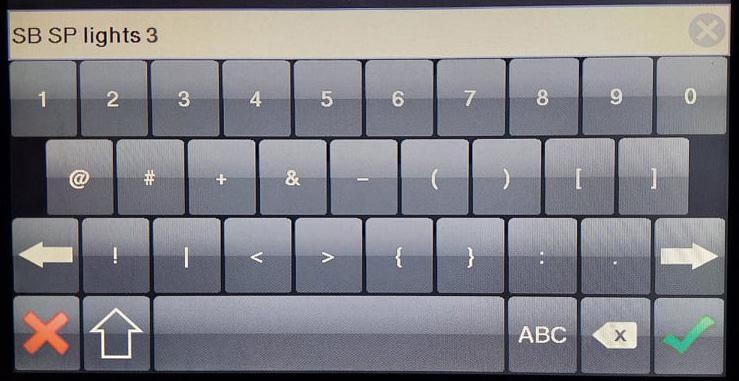
• Use the virtual keyboard icon to change the name to whatever you want and then click the GREEN CHECKMARK when done
-
Studio Package: Adjusting lights
• Click on the DONE icon (another GREEN checkmark) to save the new set

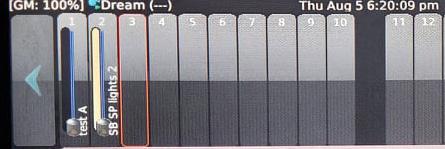
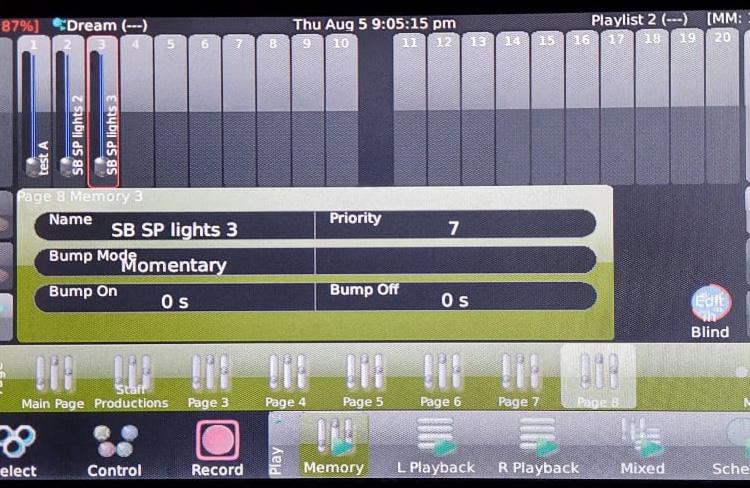
Recalling
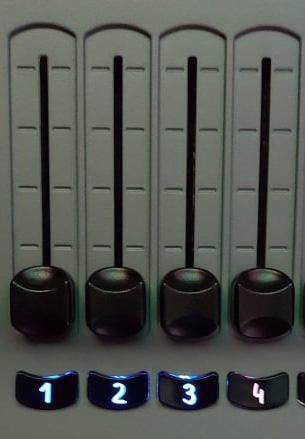
• Click on the PLAY icon to bring up the playlist on the current page - Use the Physical Slider that corresponds to the slot number you just renamed to raise and lower the lights in the set you just saved
BLUE lit numbers under the physical sliders correspond to the occupied slots on this page (PAGE 8)
Studio Package: Three Point Lighting
What Is Three-Point Lighting?
Three-point lighting is a traditional method for illuminating a subject (talent) with light sources from three distinct positions. The three types of lights are key light, fill light, and backlight
Back Light (INCA 6)
Lights an subject from behind
Separates subject from the background
TALENT
Key Light (INCA 6)
primary source of light on the subject
placed at a 45° angle
Fill Light (Area 48)
fills in the shadows created by the key light
placed in opposition to the key light at a 45° angle


.
•
•
•
•
•
•
CAMERA
45° 45°
Studio Package: Chroma Key
Light Set Up
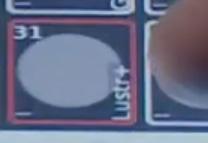
In the Selection Window of Cognito 2 Lighting Console, select the Luster Plus Lights

Lights 31 - 35
Change the color of the lights to Cyan
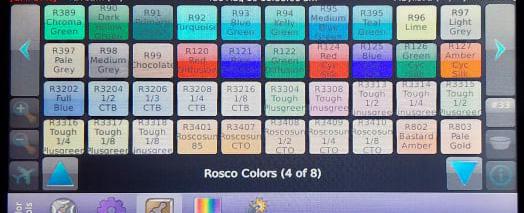
Go to the 4th (Fourth) page of the Color Library and select the Chroma Green R389 color
Change the lights intensities to 100%
Doing this will ensure that the proper amount of colored light is on the white wall in Studio B OR
on next page)
•
•
•
•
•
•
(continued
Studio Package: Chroma Key
• You can also choose the Chroma Key preset from the Play Menu
• Slider #4 of Page #1
Camera and Shot Set Up
• Staff recommends only shooting with a SINGLE camera when using the Chroma Key
• Staff reccommends a shot no wider than a Medium Shot (MS)
• Approx. an inch to two inches above the head for Head Room to approx. four inches above the belt line
• Light color falls off the closer you come to the studio floor
• Shoot the talent as far away from the white wall in Studio B as possible
- This will avoid any of the color from the Chroma Key lights spilling onto your talent
distance of talent from wall use a SINGLE camera
Head Room
Medium Shot (MS)
slightly above the belt line
•
