BASIC AUDIO NOTES

The image above shows the equipment we will be working with over the next four weeks. The gear on the table is as follows (TL to LR)*:
We will be using this gear to record interviews and ambient sound, add some basic audio effects to recordings, recording testimonials in “the field”, and more.
*not pictured Hindenburg Pro Audio Editing Software (app)

A microphones (mic) sensitivity to various sounds and the direction from which the sound is coming is called its pickup pattern.
Omnidirectoinal
Omnidirectional Pickup Pattern
Cardioid


Hypercardioid
Sound is picked up equally from all directions. The sound is picked up in a circular pattern so that the front, back, and sides of the microphone can pick up sound clearly.

Unidirectional Pickup Pattern
Unidirectional microphones pick up sound from one predominant area. They pick up audio only from the direction that the barrel of the microphone is pointing.
Cardioid Microphones
•slightly omnidirectional microphone
•has a pickup pattern that is heart-shaped
•capture audio mostly from the front of the microphone
•excellent general use microphone
•capture everything in front and block everything else
•front-focused pattern
• ideal for live performance and other situations where noise reduction and feedback suppression are needed
Hypercardioid Microphones
• unidirectional microphone related to the cardioid, but with a more exaggerated front-end pickup pattern
• this type eliminates almost all sound from the sides and back
• Most often, these pickup patterns are used while recording instrumental audio
• typically long and thin
• sometimes called shotgun mics
• typically used for recording dialogue on set due to their ability to accept audio directly on axis with the microphone while still cancelling sound on the sides
Dynamic VS Condenser Mics
Dynamic mics reliably capture sound and can do so even at high sound pressure levels. That said, you can use them for recording loud sound sources like bass and guitar amplifiers, and even drum kits without worrying about unwanted distortion or damage. They also work well in quieter settings.
Example of a Dynamic Mic
The Shure SM58 Microphone is a dynamic microphone with a cardioid pickup pattern

Use this mic when recording vocals, primarily in a studio setting. However, you can use this mic in the field and still generate desireable audio.
Condenser mics have a thin conductive diaphragm that sits close to a metal backplate. This configuration improves fidelity and sound quality, making these mics ideal for precision recording in the studio.
Note:
These type of mics require power, so you’ll need a mixer or direct box with phantom power (except in cases where batteries are used).
Also, remember to handle them with care as they are not as sturdy as dynamic mics.
Example of a Condenser Mic
The Sony ECM-44B Microphone is a condenser mic that has an omnidirectional pickup pattern.
Use this mic when recording vocals, primarily in a studio setting.

Hypercardioid Pickup Pattern
Hypercardioid patterns are similar to cardioid patterns in that the primary sensitivity is in the front of the microphone. They differ, however, in that the point of least sensitivity is at the 150 – 160 and 200 – 210 degree positions (as opposed to directly behind the microphone in a cardioid pattern).
Hypercardioid microphones are considered even more directional than cardioid microphones because they have less sensitivity at their sides and only slightly more directly behind.
Example of a Condenser Mic with a Hypercardioid Pickup Pattern
The Audio-Technica AT897 Shotgun Microphone is a condenser microphone with a hypercardioid pickup pattern

Use this mic when recording ambient noise, primarily in a outdoor setting. wind screen

XLR cable is used for connecting mics to mixers (such as the R0DECaster Pro II), preamps, audio interfaces and recorders (such as the Zoom H5 Handy Recorder)


• XLR stands for EXternal Line Return

• identify an XLR cable by its circular design with 3 pins • one for positive polarity, another for negative polarity, and a third as a chassis ground (cable shield)


Phantom Power - a term given to the process of delivering electric power to microphones to drive active circuitry. Condenser microphones all have active circuitry and require phantom power or some outside power source to run them (such as batteries or a DC power supply).
Phantom power sends a DC current from a preamp or mixer, through the XLR cable, and to the condenser microphone to power the internal active circuitry.

You can also power a condenser microphone with batteries.


AKG C214 Large-diaphragm Condenser Studio Microphone is used in AIM’s Audio Production Studio.


The mic kit consists of:

Other components for use with the C214 include:
• Table Mic Stand
•


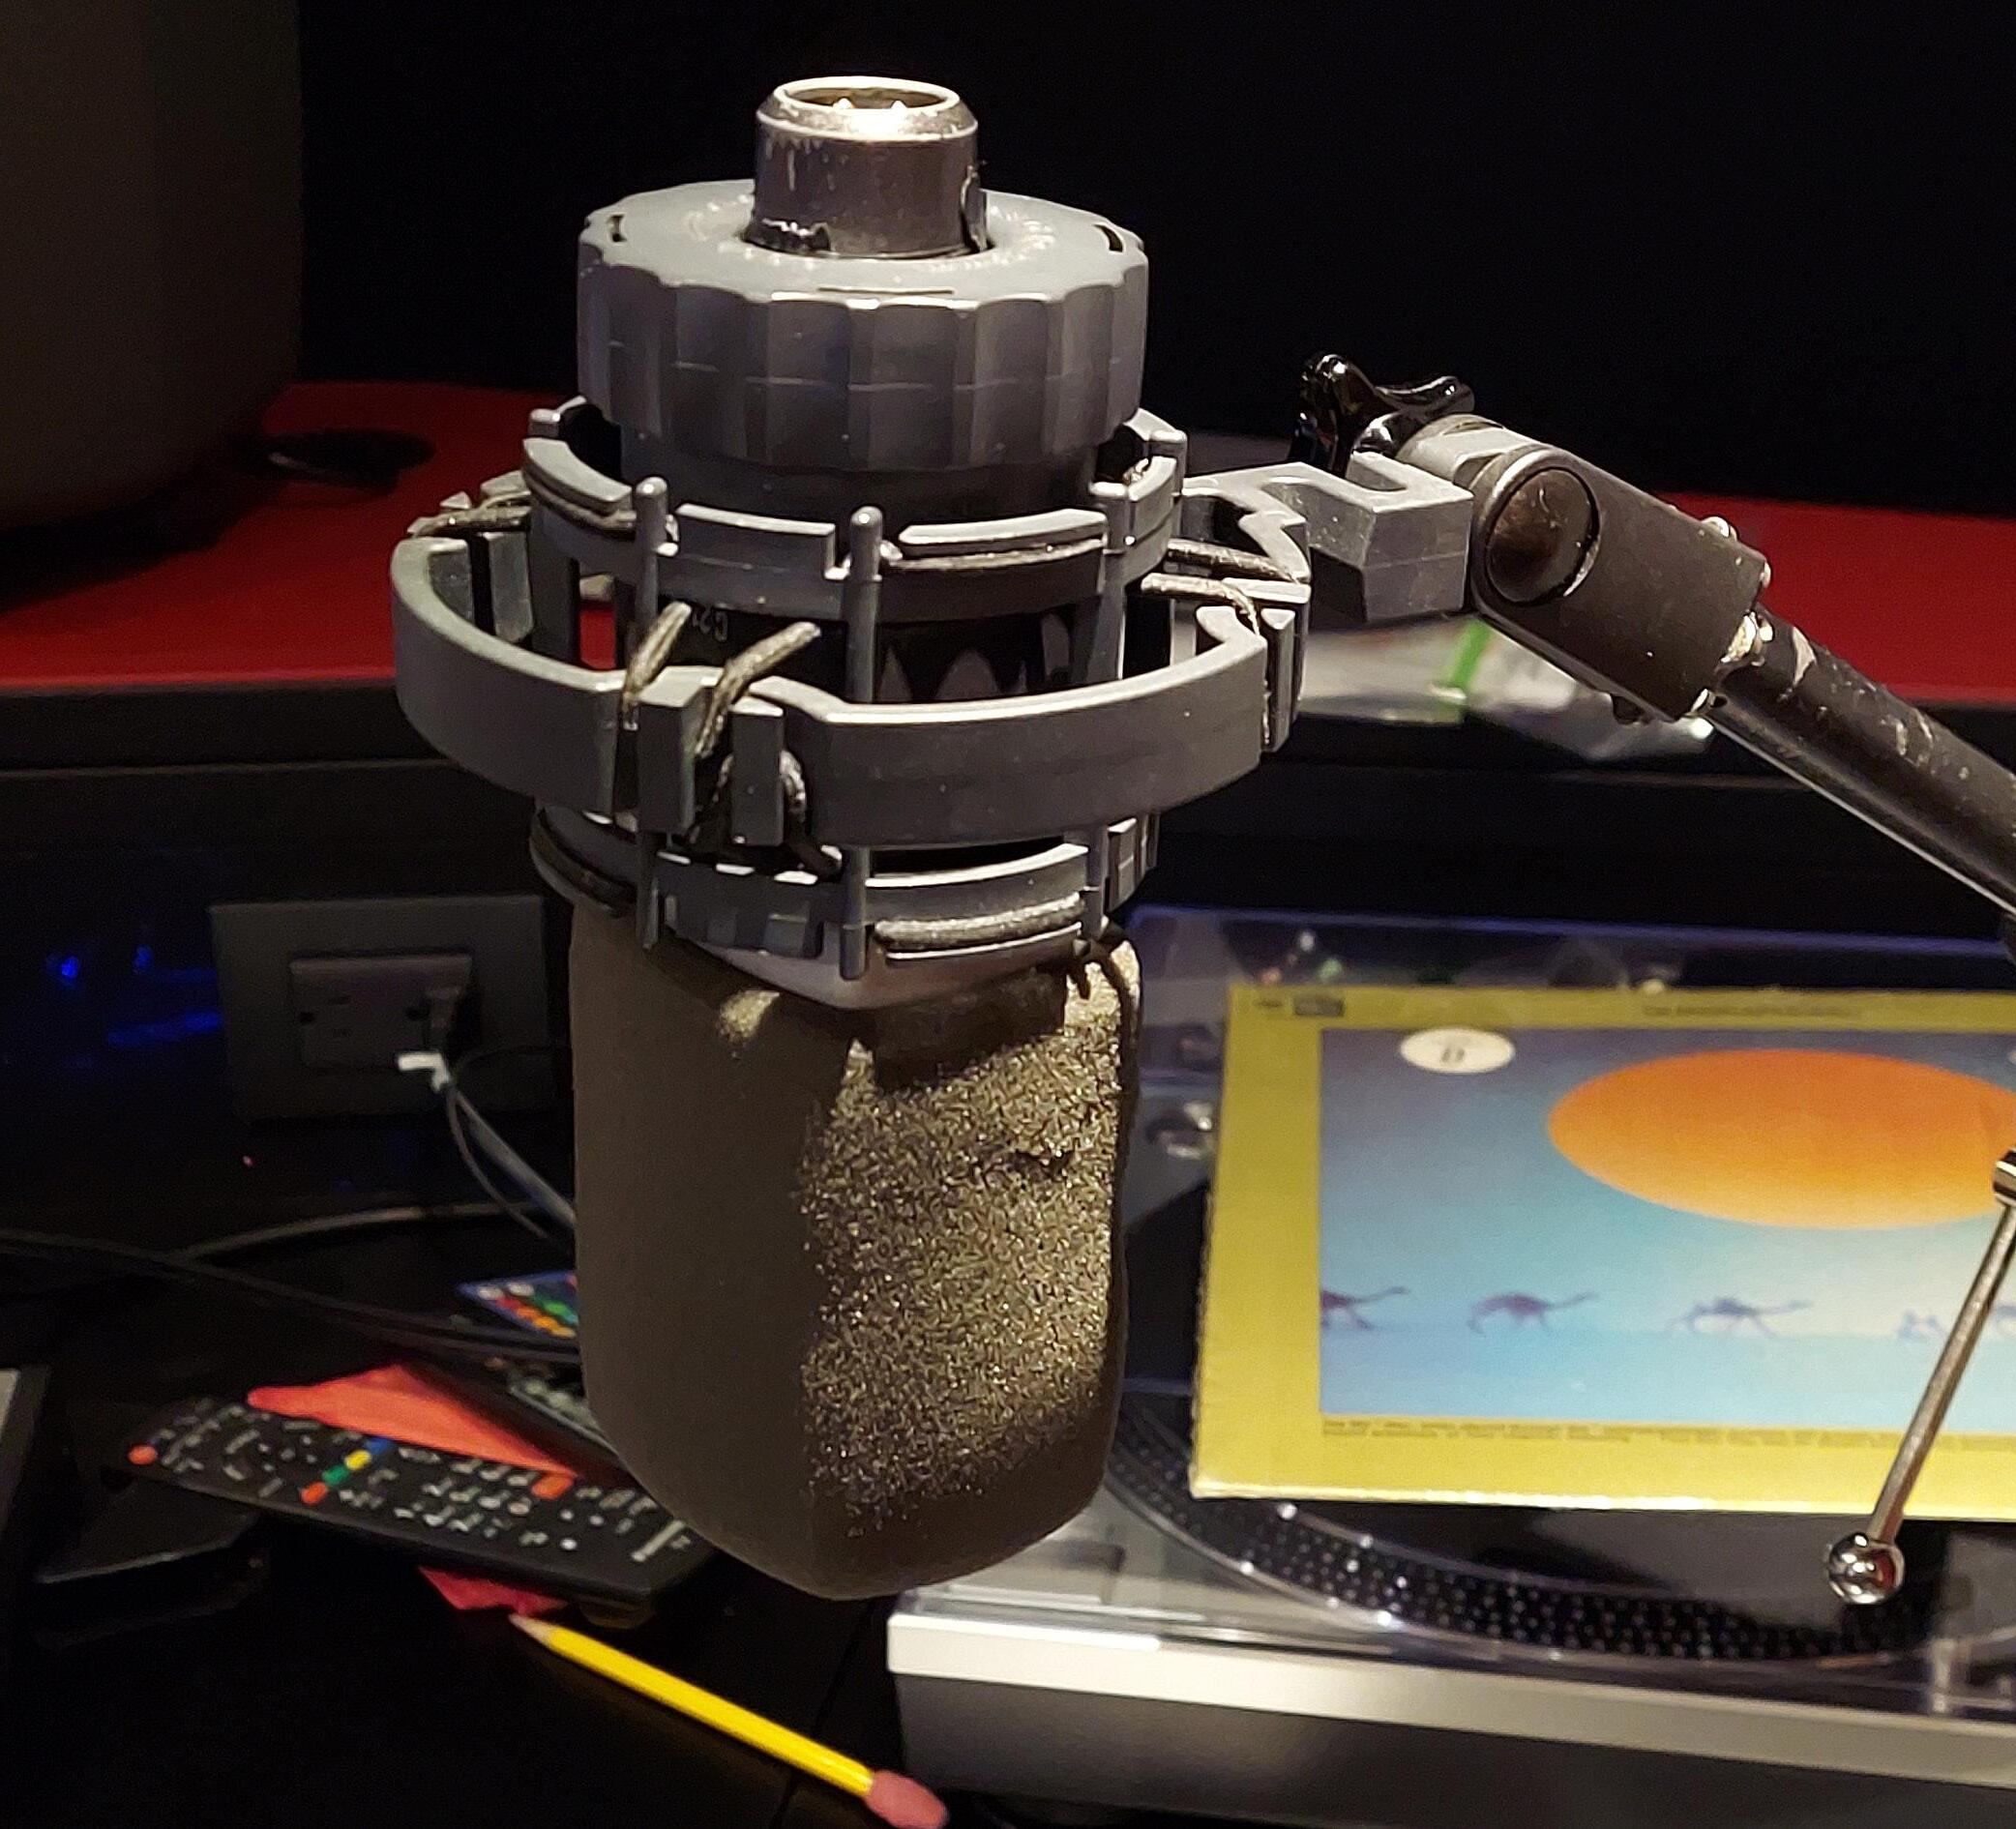


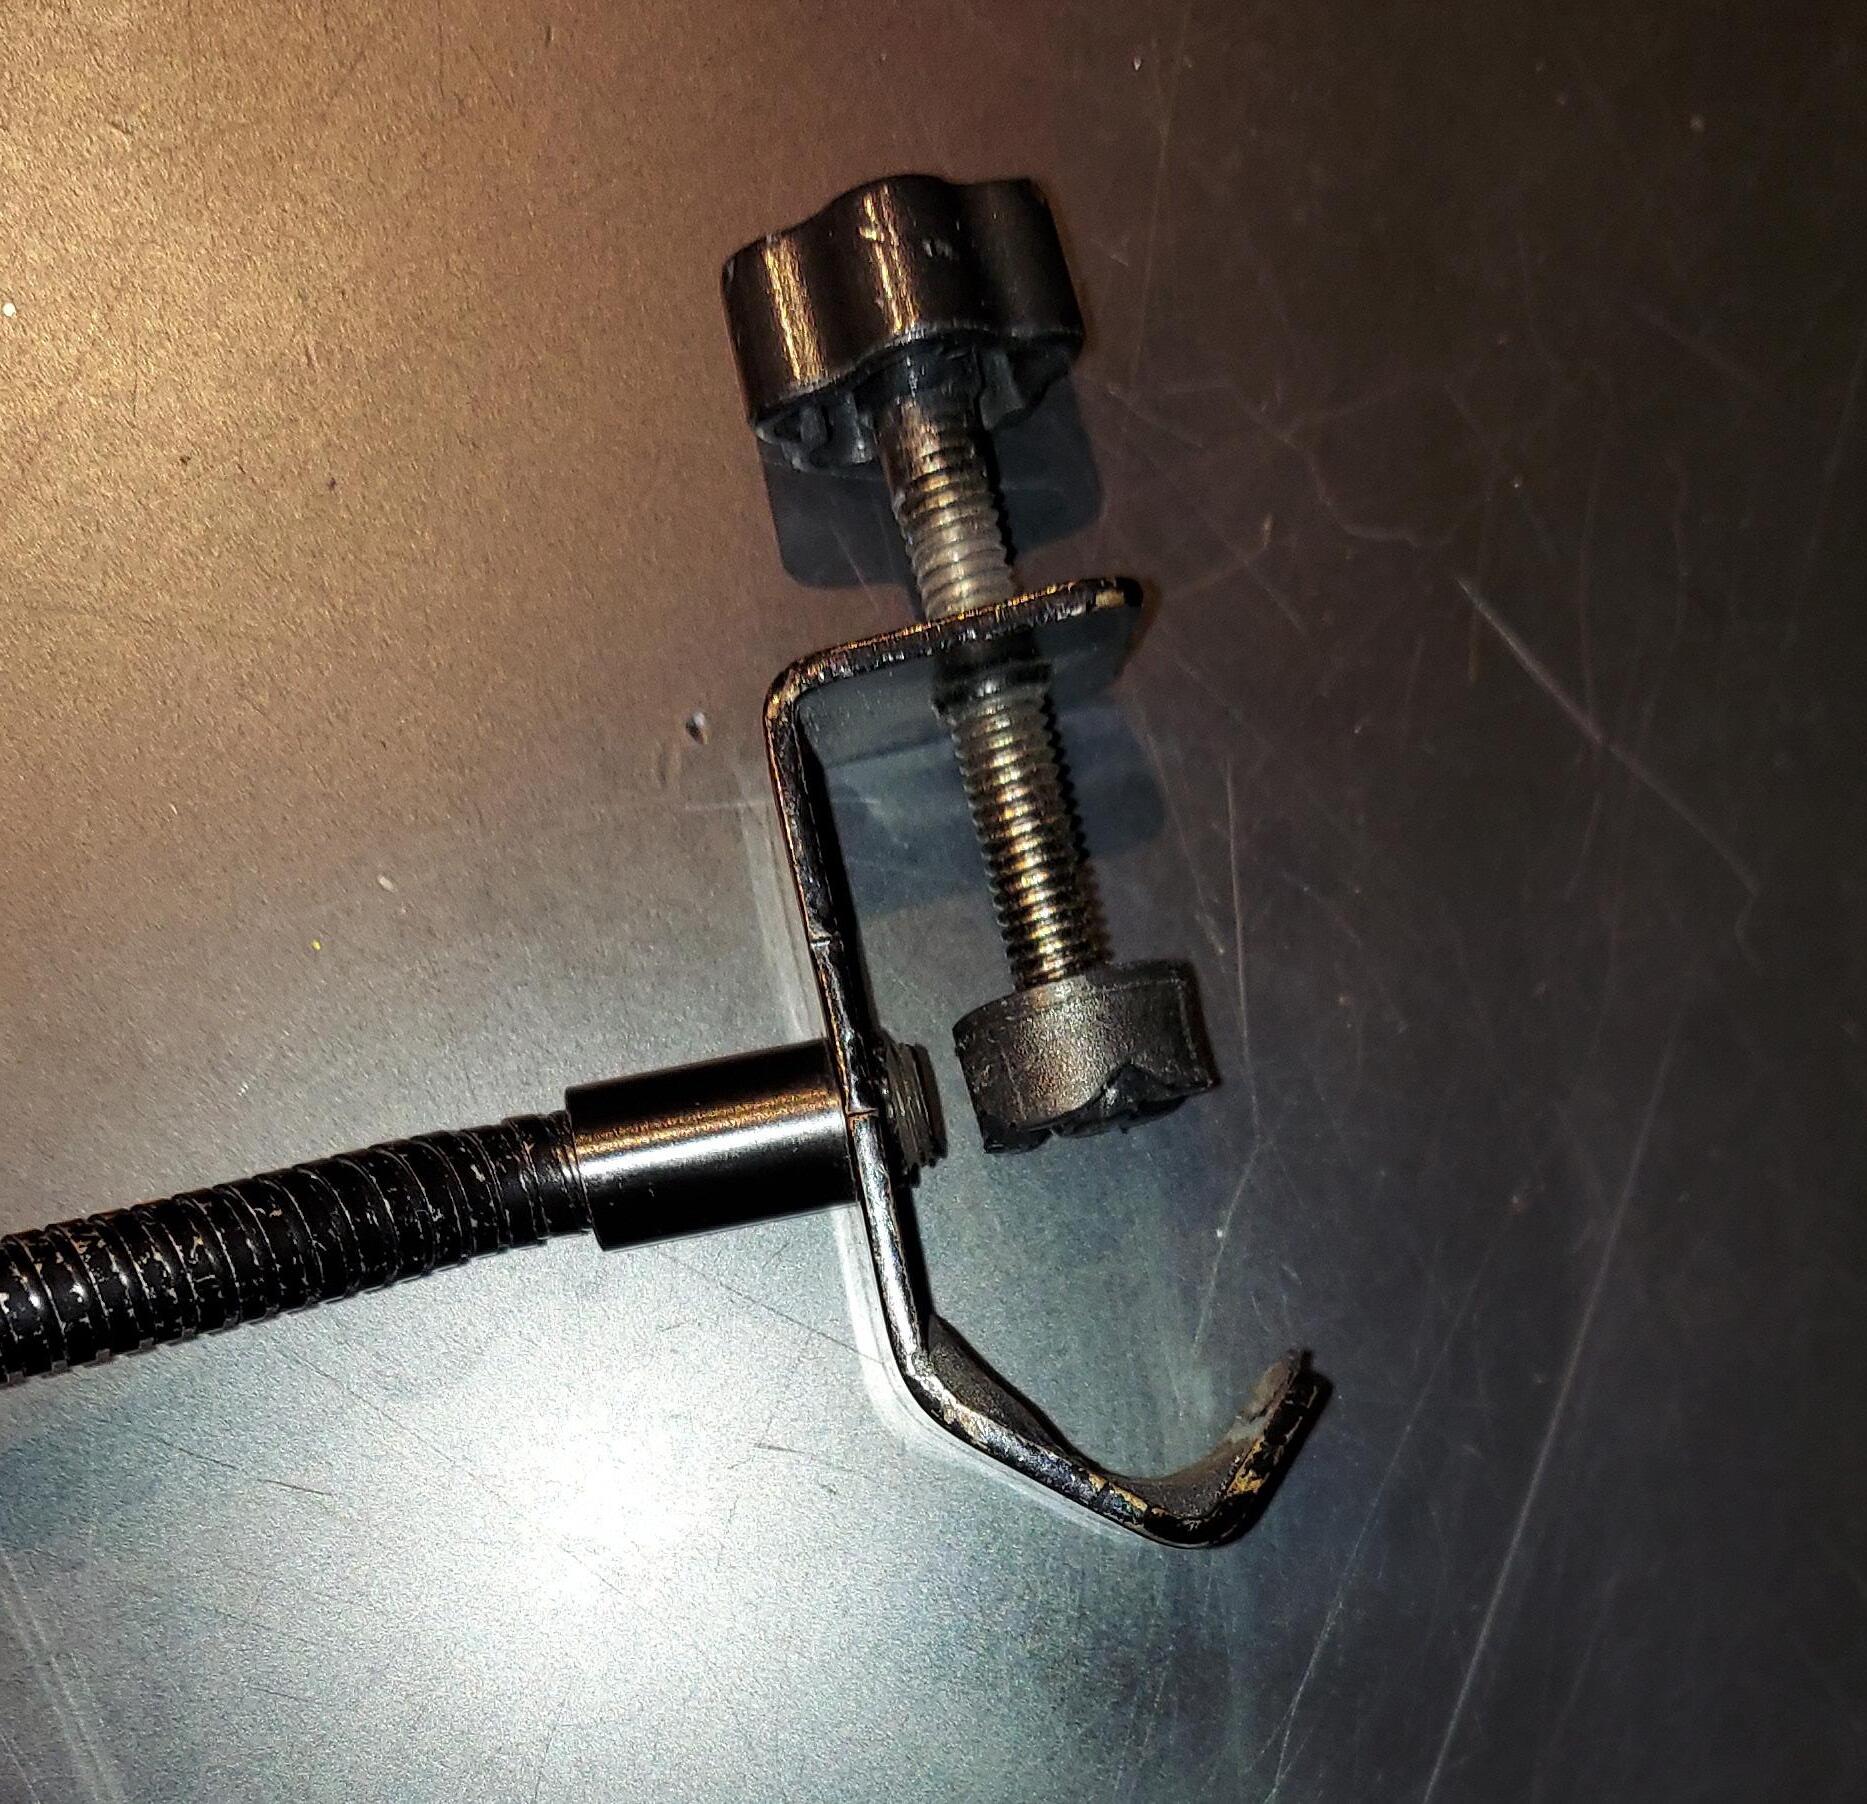
Here is the process for connecting a Pop Filter to the a desktop mic set up (stand and mic):


Obtain a Pop Filter from the console area in the Audio Production Suite
Unscrew the clamp on the filter until it fits onto the stem of the desktop mic stand


Adjust the flexible arm on the filter so that the screen rests approximately two or three inches away from the C214 mic
This set-up should help remove most of the pops that you may be getting in your recordings!
Now you are ready to connect the desktop mic set up(s) (mic, pop filter, and desktop mic stand) to either a mixer, preamp or recording device.
To connect the mic set up to a R0DECASTER PRO II: Plug the power supply into a wall outlet


• staff recommends plugging into a surge protector

Connect the power supply unit into the USB-C Power Port next to the red power button on the back of the R0DECASTER PRO II unit

Insert the Micro SD card into the card slot on the back of the R0DECASTER PRO II unit until it clicks into place
NOTE:
To eject the card, gently push the card in and release the pressure.

Connect any/all headphones you wish to use into the jacks located on the back of the R0DECASTER PRO II unit
• numbers correspond to the mic input signals (Input 1 = Output [channel] 1, etc.)

Connect the mic you wish to use for your host into Mic Input 1
• Connect the mic(s) you wish to use for additional talent into Input 2 -4 as needed
NOTE: A good workflow when using multiple mic inputs on a mixer is to put the host in the first mic input and then the guest(s) in the inputs that follow
Turn on the R0DECASTER PRO II unit by pressing the RED POWER BUTTON located on the back of the R0DECASTER PRO II unit


you may want to connect the desktop mic set up(s) (mic, pop filter, and desktop mic stand) to a recording device like the Zoom H5 Handy Recorder!

Here’s how to connect the mic set up to the “H5”: Insert two AA batteries into the back of the recording device


• remove the battery cover, insert the batteries and replace the battery cover
Connect the XLR cable of the host mic into INPUT 1

• staff recommends putting the host on INPUT 1 and the guest/talent in INPUT 2
Open the SD card slot cover and insert the SD Card into the card slot on the side of the recording device until it clicks into place


• Close the SD card slot cover
Connect headphones to the jack located on the left side of the recording device
NOTE: The jack for the H5 requires an 1/8 inch plug...not a 1/4 inch plug

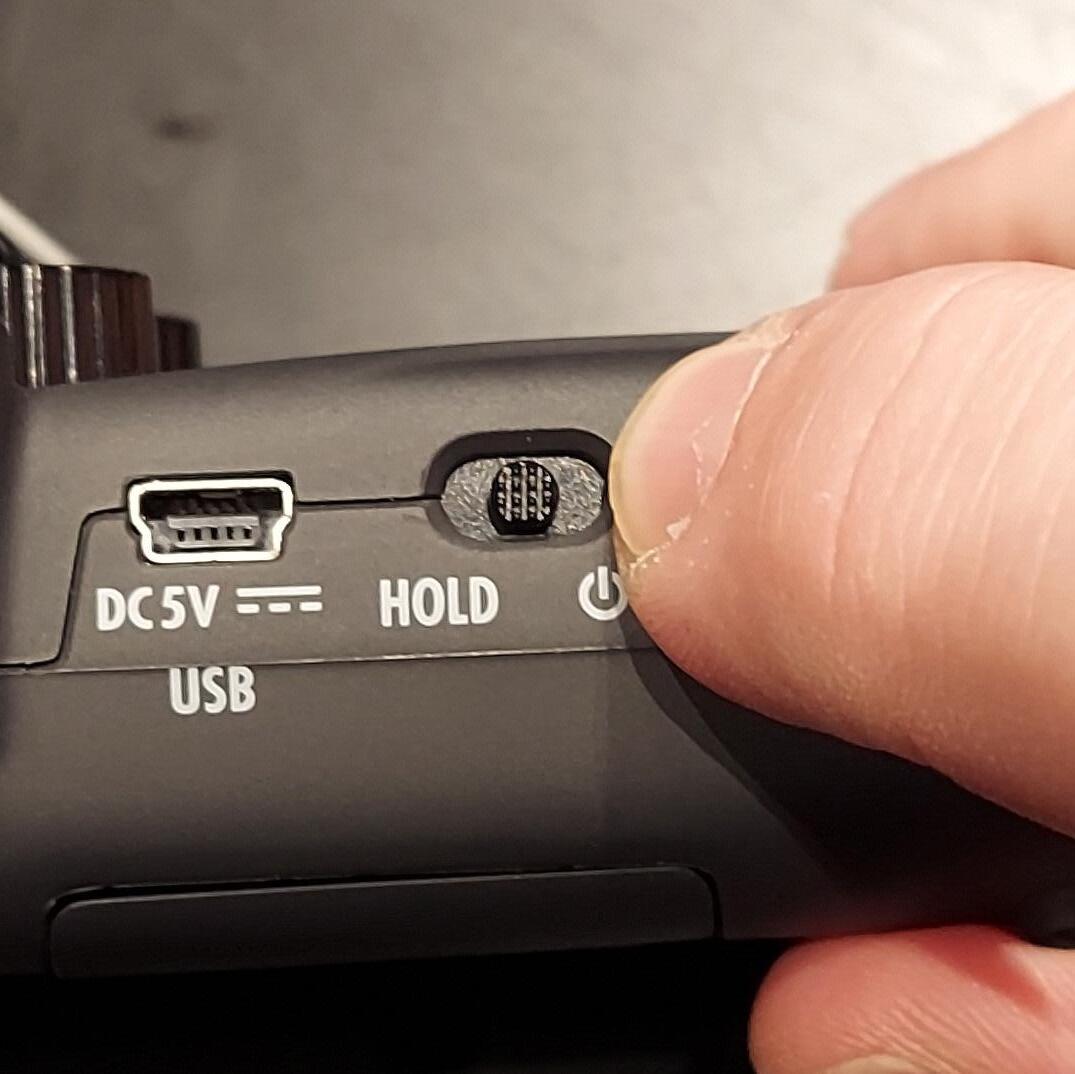
Power up the recording device by sliding the Power/Hold switch to the right

• hold the switch until the LED screen turns on and displays the “SD card access...” message