8 minute read
HIDDEN STARS


BEHIND THE QUILT
FABRIC CONSTELLATIONS
“I first saw the quilt that mine is based on in the book Clues in the Calico by Barbara Brackman (published 1989 by Howell Press). The name of the quilt in the book was ‘Morning Star’ or ‘Vestibule’, and the quilt was made in the early 1900s. I loved the fact that the stars are made with the sashing and posts. It’s like they are hidden until the quilt comes together.
“I’ve used lots of different cream print fabrics for the Four Patch blocks and the sashing strips throughout the quilt. I’ve mentioned quantities in the ‘You will need’ section relating to yardage but, really, the more fabrics you can use the better, and if you have odd scraps that fit the sizing then do use those! As with many scrappy quilts, the more the merrier.
“For the border or the outside edge of the quilt, I’ve used just one cream print for the large squares as this defines it more as a border. But there’s no reason not to continue with the Four Patch blocks if you want to continue to use more scraps.” – Carolyn Forster
You will need
n Eight (8) different cream print fabrics (Four Patch blocks) – ¹⁄₆yd of each or sixty-four (64) 41/2in squares n Five (5) different fabrics (sashing) – 1/4yd of each or forty (40) 41/2in x 81/2in rectangles. n Contrast fabric (star centre and points) – 11/2yds n Cream print fabric (border squares) – 11/4yds n Three (3) different fabrics (border sashing) – 1/4yd of each n Backing – 41/3yds
Cutting out
1For the Four Patch blocks, cut one (1) 41/2in x WOF strip from each cream print fabric. Subcut into sixtyfour (64) 41/2in squares.
2For the sashing, cut one (1) 81/2in x WOF strips from each fabric. Subcut into forty (40) 41/2in x 81/2in rectangles.
3For the star centres, cut three (3) 41/2in x WOF strips, subcut into twenty-five (25) 41/2in squares. For the star points, cut thirteen (13) 21/2in x WOF strips, subcut into two-hundred (200) 21/2in squares.
4For the border squares, cut five (5) 81/2in x WOF strips, subcut into twenty (20) 81/2in squares.
5For the border sashing, cut one (1) 81/2in x WOF strip from each fabric. Subcut into twenty (20) 41/2in x 81/2in rectangles.
6Cut the backing into two (2) equal lengths – remove the selvedges and join along the long sides using a 1/2in seam allowance, pressing the seam open.
7From the binding fabric, cut seven (7) 21/2in x WOF strips. Remove the selvedges and join the strips into one (1) continuous length with bias joins. Press seams open. Press along the length, wrong sides together.
n Batting – 76in x 76in n Binding – 1/2yd n 12wt Thread for the big stitch binding n No. 6 embroider y or Betweens needle n 3wt cotton Perle n No. 16 or 18 chenille needle
Finished size
n 68in x 68in
Notes
n SA = seam allowance. n WOF =width of fabric
Assembling the blocks
8Stitch the 41/2in cream print squares into Four Patch blocks. Start by sewing them into pairs – you can chain piece here. Make thirtytwo (32) pairs. Snip the threads and press all the pairs with the seam to one side.
9Now stitch the pairs together, knitting the seams at the seam junction, so they fit together neatly. Snip the threads between the chain piecing and press the long seams in one direction. Again, it will not matter which way. Make sixteen (16) (Fig 1).


Fig 1
10Now make the star points on each end of the forty (40) sashing strips – 41/2in x 81/2in rectangle – for the main body of the quilt.
11Draw a diagonal line on the back of all the contrast fabric 21/2in star point squares (Fig 2). You will need the remainder for the sashing in the border.
Fig 2
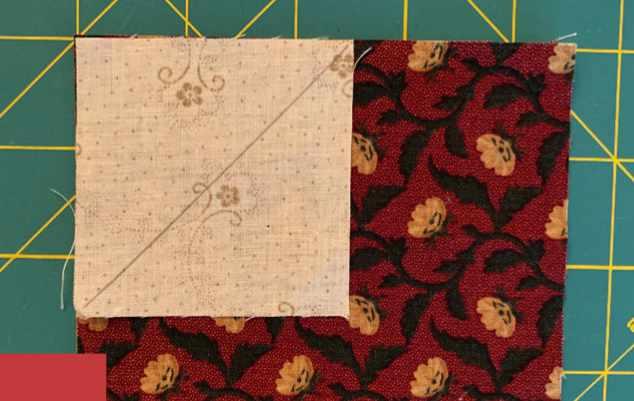
12Place one (1) 21/2in square on the corner of the rectangle, so the drawn line goes from adjacent side to adjacent side (Fig 3). Stitch along the drawn line. Again, you can chain piece these. Snip the threads, then position another square on the opposite corner of the rectangle as in Fig 4. Stitch as before. Snip the chain piecing apart.
Fig 3
13Cut the corner off each sewn square and rectangle, leaving a 1/4in SA (Fig 5). Press towards the star point (Fig 6).
Fig 5

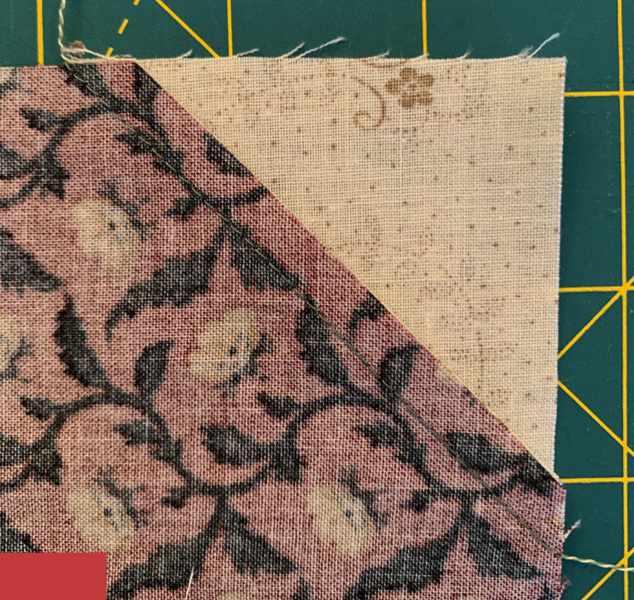
Fig 6

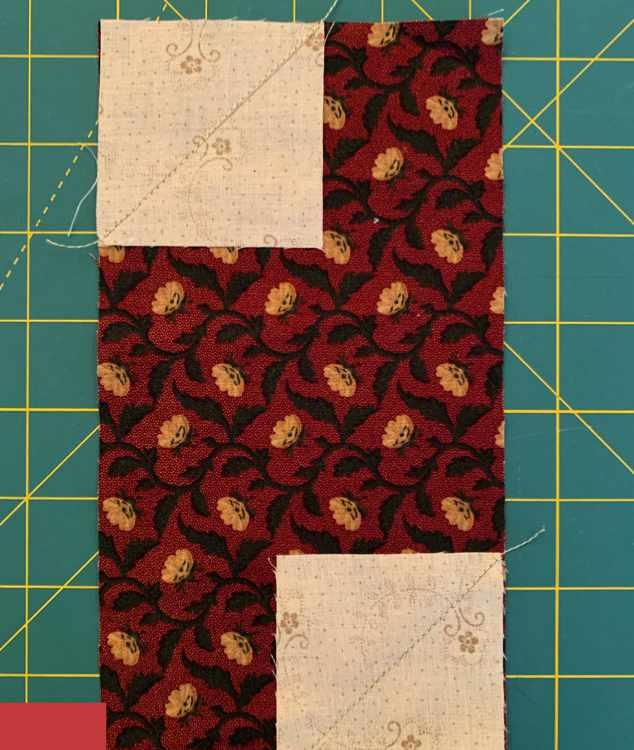
14Repeat this process on the remaining corners of the forty (40) rectangles. You will see that the square will overlap the already sewn corner (Fig 7). This is needed so that when the new corner is sewn and trimmed, the base of the start point that you create is 1/4in away from the raw edge to incorporate the SA (Fig 8). If the point was at the raw edge the base of the point would be lost when you sew the seam. Make forty (40) (Fig 9).


Fig 8
15To stitch the star points on the remaining sashing rectangles for the border (20), work the same process on only one end of the rectangles. Make twenty (20).
16To put the quilt together, Carolyn makes the main body of the quilt first, then adds the border.
Fig 9
17Layout the Four Patch blocks (four (4) rows of four (4) blocks) alternating with sashing rectangles, which will start and finish the row (five (5) rectangles). Stitch the rows together, press the seams towards the Four Patch blocks. Make four (4) rows (Diagram 1).
18Lay out the sashing rows, five (5) in total. These rows start and finish with the contrast star centre squares, five (5) in total. Alternate with the four (4) sashing rectangles. Stitch together pressing to the contrast star centre as shown in Diagram 2.
Diagram 1
Make 4
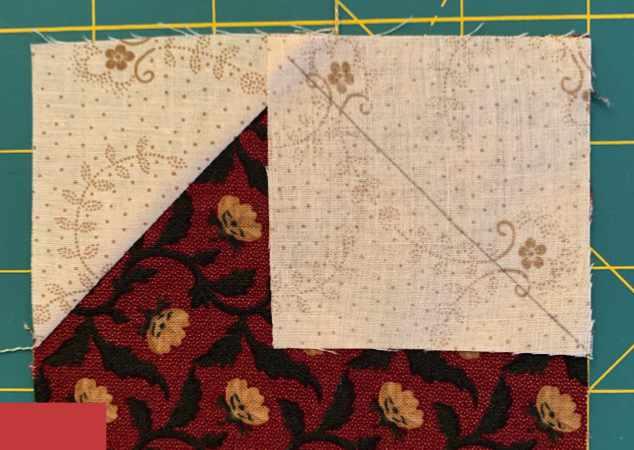
Diagram 3
Diagram 4
Make 2
Diagram 5
Make 2
19Now stitch the rows together, starting with a sashing row and finishing with a sashing row. Press seams towards the sashing rows (Diagram 3).
20Now make the border. Use four (4) large squares and five (5) border rectangles and stitch together pressing towards the large squares (Diagram 4). Make two (2). Attach one (1) to the top and bottom of the quilt so that the seams knit with the edge of the quilt that they will be sewn to. Press towards the border.

21Use five (5) sashing rectangles and six (6) large squares for the remaining borders for each side of the quilt (Diagram 5). Start with the squares and alternate. Stitch together and press so that the seams knit with the edge of the quilt that they will be sewn to. Repeat for the remaining side and attach to the quilt. Press the long seams towards the border.
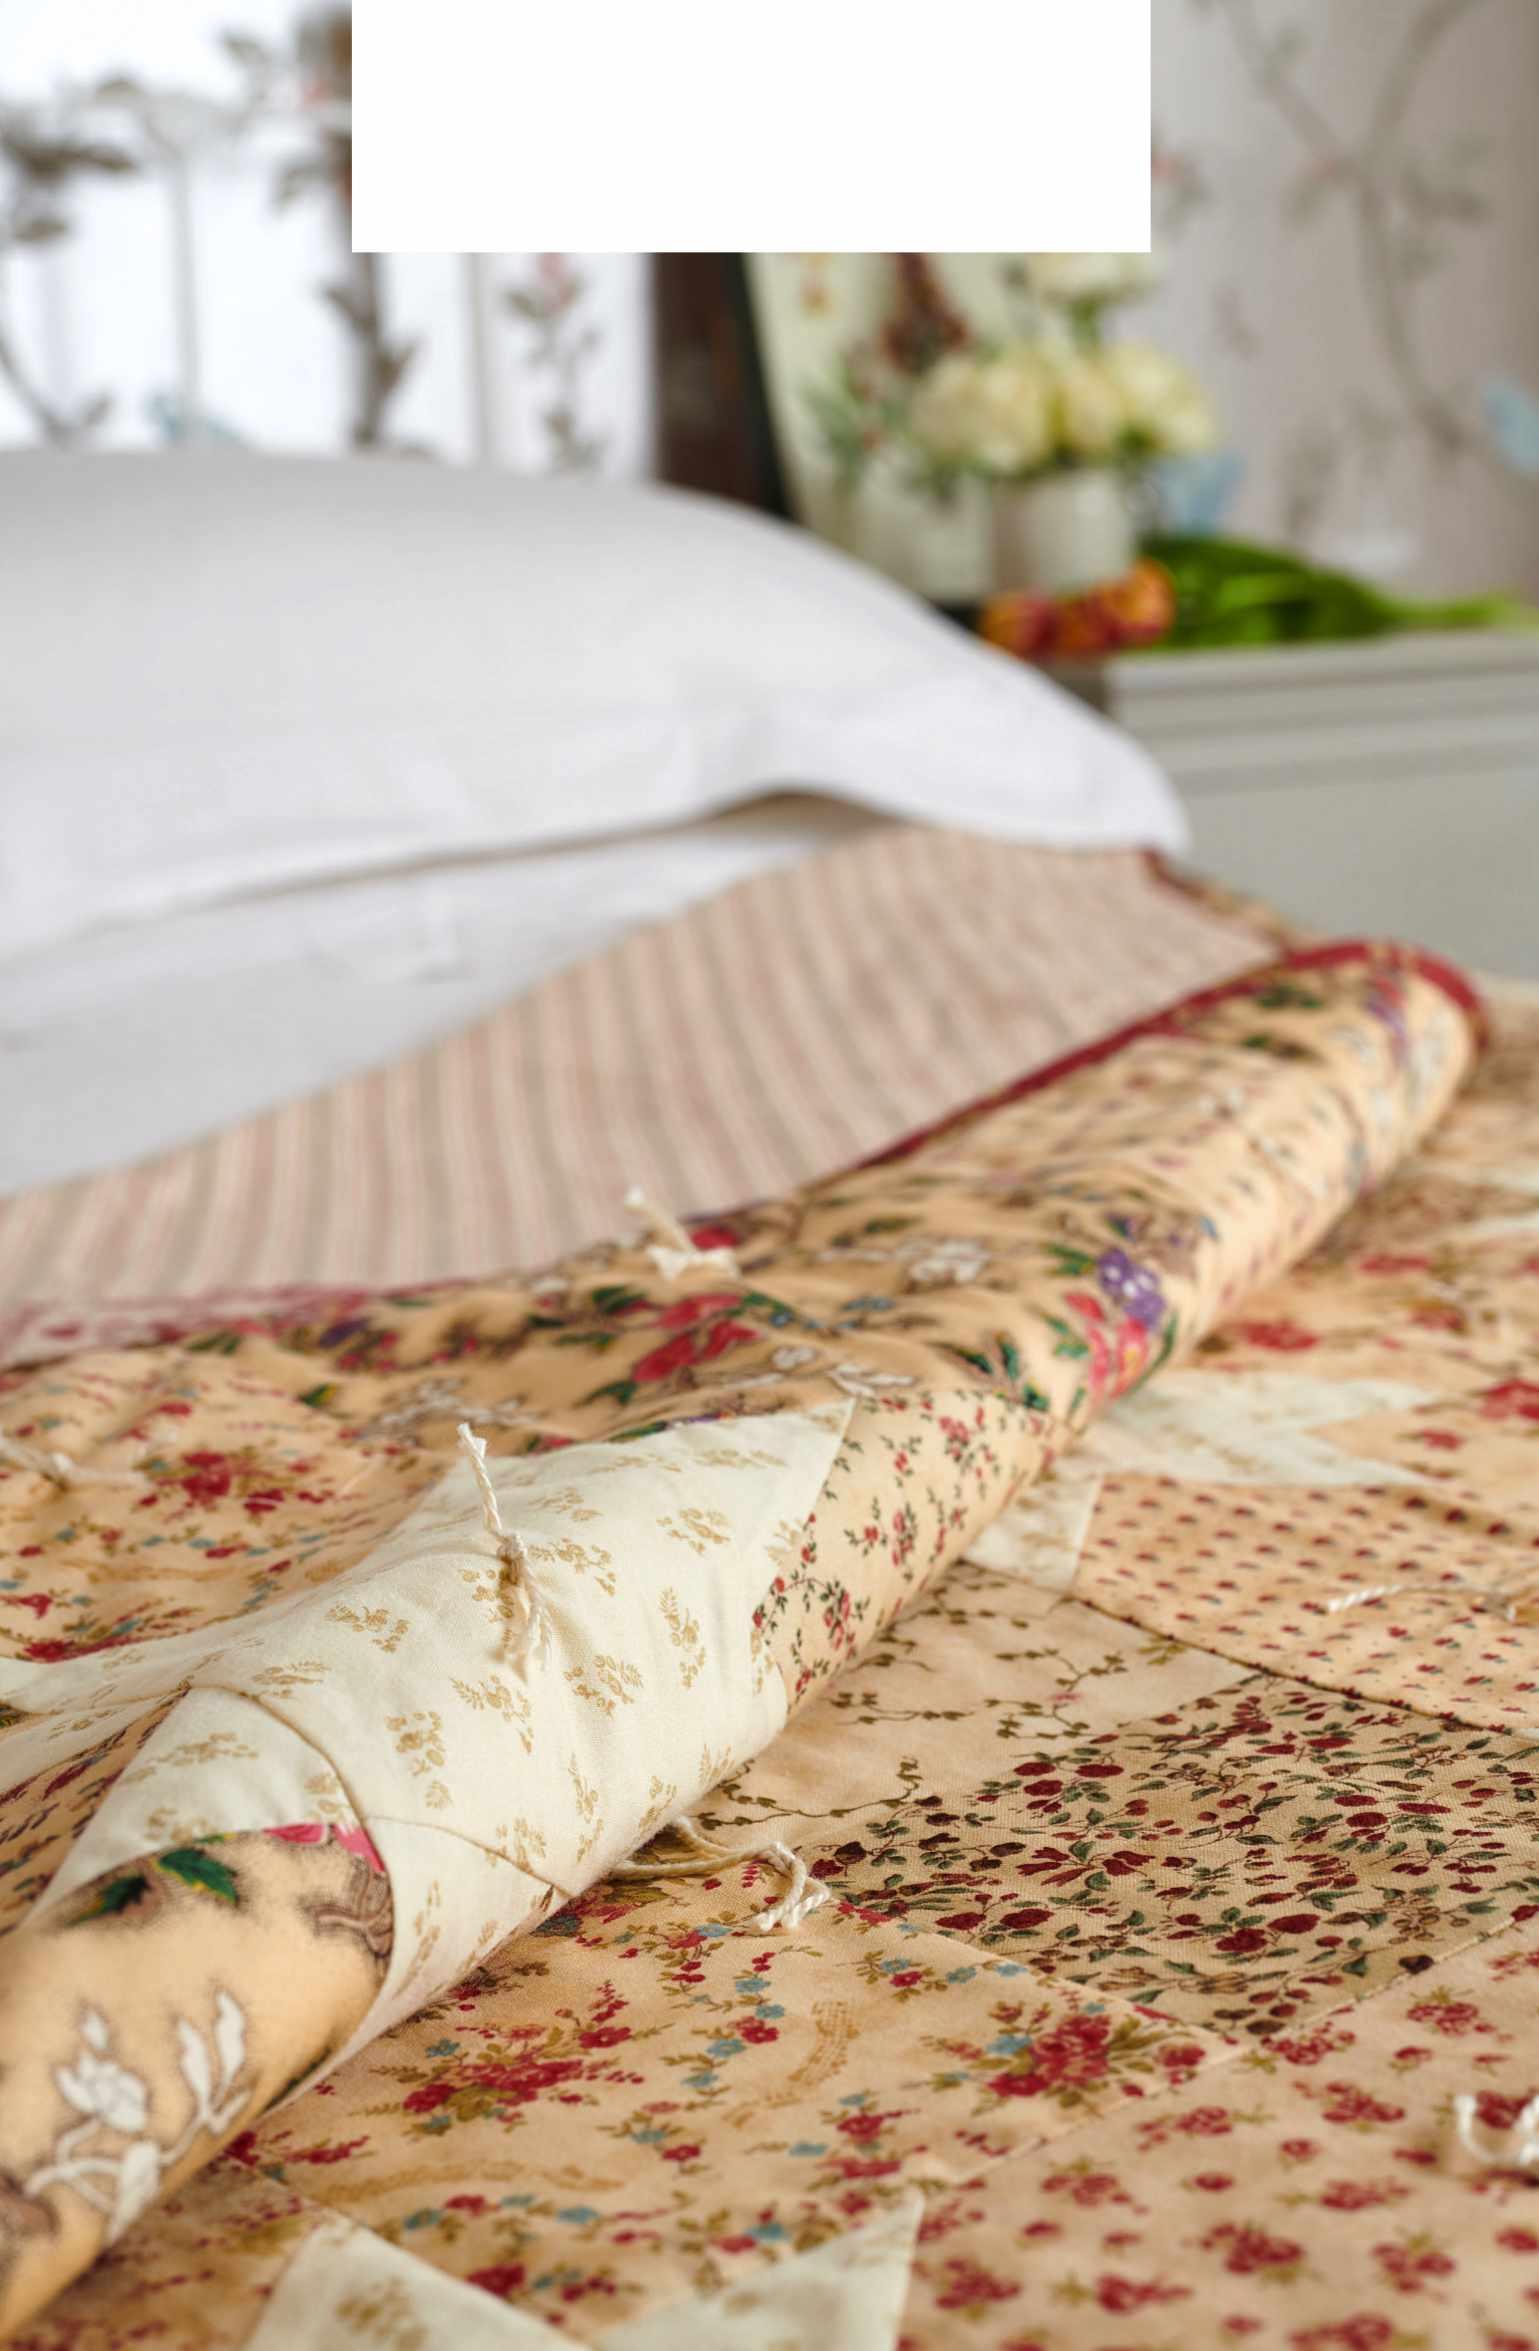
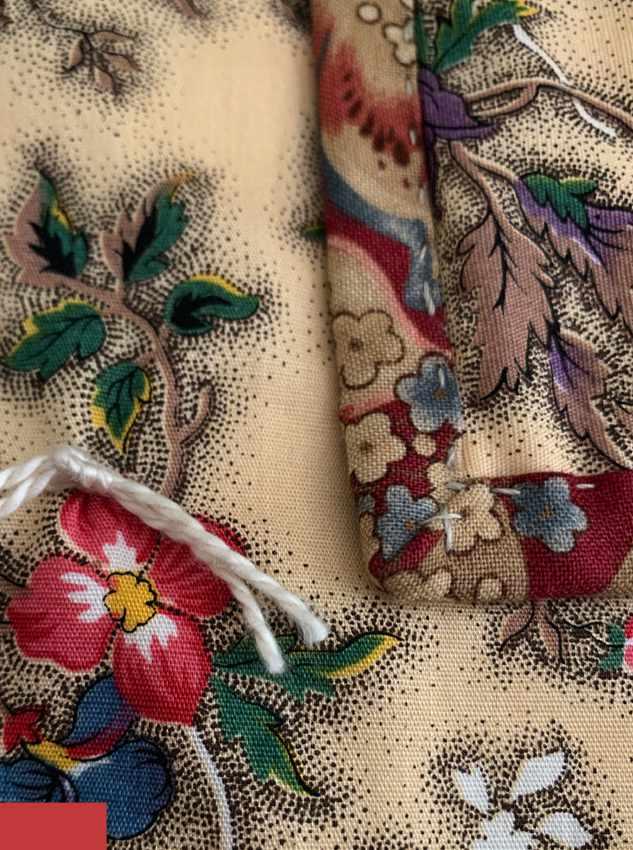
22This quilt is tied, so while Carolyn layered it with the backing and wadding, she did not baste it. It was layered on a table in the same way you would for table top basting, layering it and clamping it to a table to keep it flat. Starting in the centre of the layered quilt, Carolyn then begins tying.
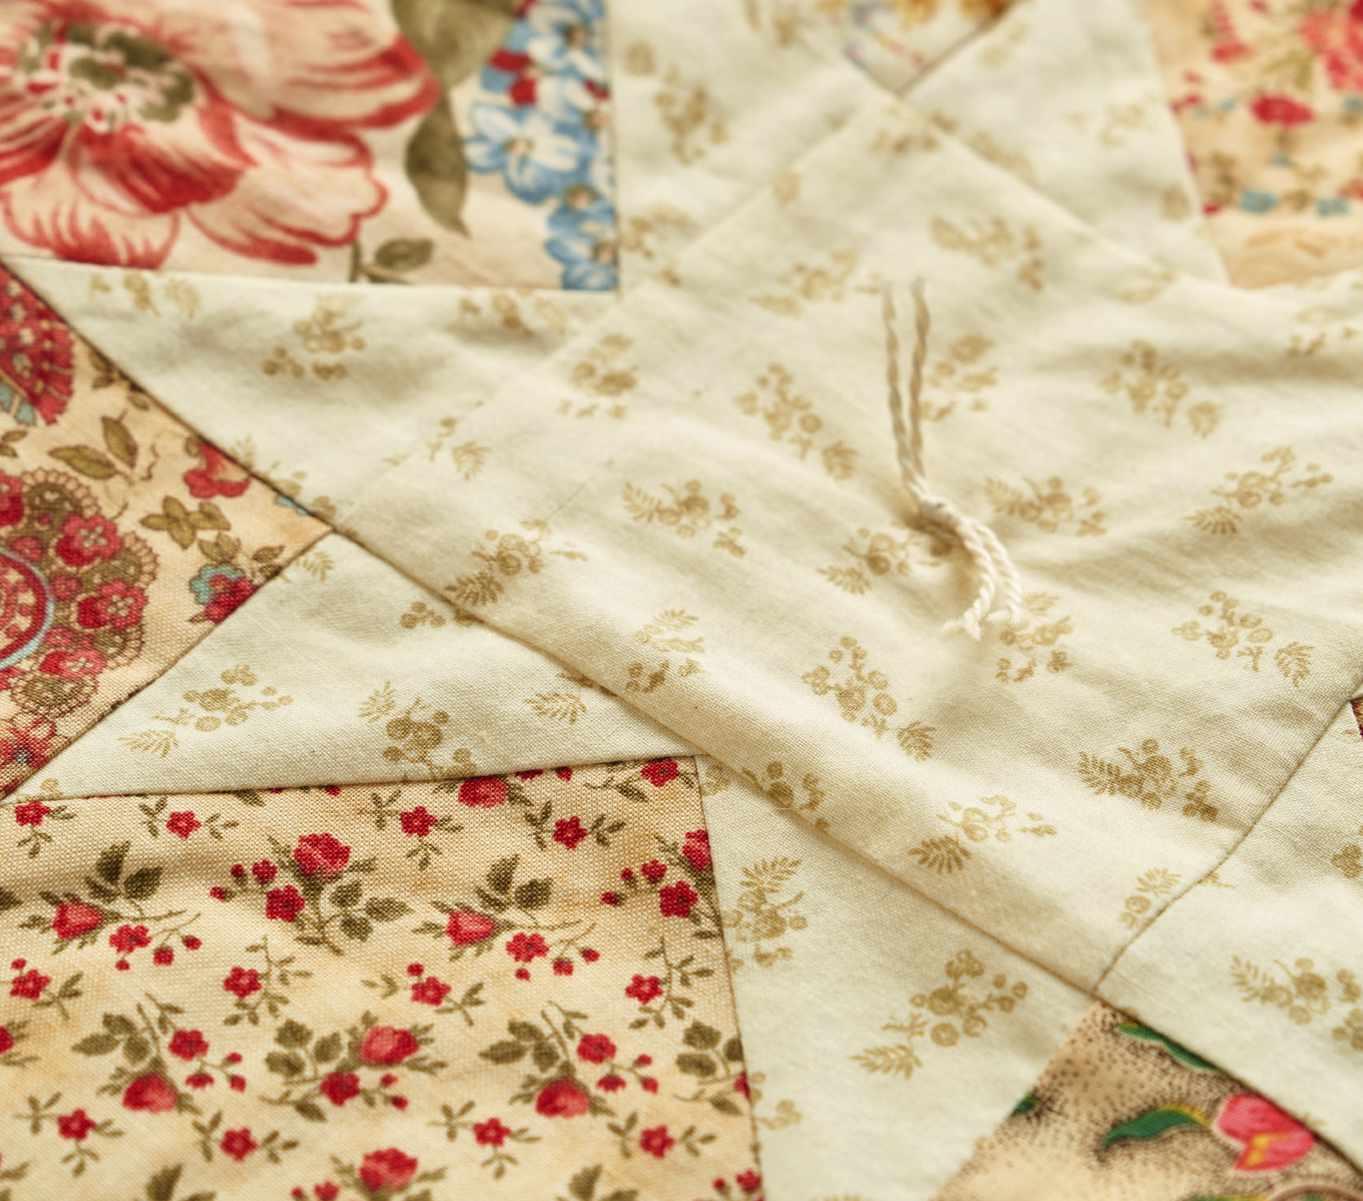
23Using 3wt Perle cotton and a chenille needle, Carolyn used the popcorn knot and a teaspoon to help lever the needle up through the layers just as you would if you were basting (Fig 10). One of the nice things about this method of finishing a quilt is that there is no basting to do!
that it covers the machine line. Use 12wt Perle cotton for the stitching with a size 6 embroider y needle. Stitch the binding in place through the three layers of the quilt. You will not be stitching through the actual binding on the back, and your stitches will be visible alongside the ditch of the binding on the back of the quilt. As you mitre each corner, Carolyn stitched this in place with a Cross Stitch as she went (Fig 11).
29Once complete, label your quilt!
Diagram 6
24Using a length of thread doubled through the needle, tie the quilt in the star centre, sashing rectangle centres, the Four Patch centres and the border square centres (Diagram 6). L eave an end on the k not of about 1in, but you can cut it shorter if you wish, shown in Fig 10.
25Once tied, machine around the edge of the patchwork, through all three (3) layers, 1/8in in from the raw edge. T his will keep all the layers together when it is trimmed ready to bind.
26Trim the backing and batting in line with the patchwork top. Carolyn finished the quilt with a decorative big stitch binding.
27To do this, apply the binding in the usual way for a continuous mitred corner finish, but machine stitching it on the back of the quilt. 28Once the binding is machined on, to finish, turn the folded edge over to the front of the quilt so
Fig 11