Construction Principles Illustrated: A learning cycle in nine cumulative stages
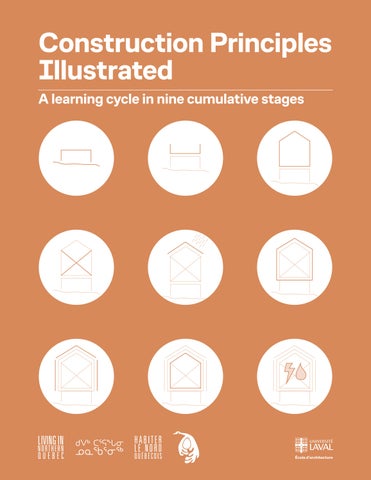
Construction Principles Illustrated
A learning cycle in nine cumulative stages
Funding Home as Territory: A blueprint for community-driven housing produc;on in Nunavik has received support and funding from the Canada Mortgage and Housing Corpora;on as part of the Northern Access Round 3: Supply Chain Solu;ons for Northern and Remote Housing that supports innova;ve solu;ons that remove barriers to increase Canada's housing supply.
Project Home as Territory: A Blueprint for Community-driven Housing Produc<on in Nunavik aims to foster Inuit autonomy and to invent new forms of engagement between North and South when it comes to meaningful dwelling places.
The Blueprint promotes rich and open intercultural understanding and exchanges by tackling three interdependent “chan;ers” [Building Autonomy • Building Capacity • Building Houses]. Flexible and open to complex ideas, the Blueprint provides paths or i;neraries for inven;ng Stories (or Shared visions), as opportuni;es for greater empowerment
Stories take shape from a chan;er, and are built around a selec;on of promising Mo;va;ons, Assets, and Tools, such as this booklet: Tool 3 • Construc<on Principles Illustrated
Chan2ers [Building Capacity] Learning and fostering, especially among Inuit youth, the skills needed to meet contemporary challenges and support innova;on.
[Building Houses] Offering choices within a variety of housing types and tenure paUerns, as well as sustainable construc;on techniques and materials that are adapted to the Nunavik territory.
Research Habiter le Nord québécois École d’architecture, Université Laval, Québec
Wri6en by
Edited by Samuel Boudreault, Gilles Rocheleau, CharloUe Audifax Gauthier, Vincent Morrier, and Jade Blais
Samuel Boudreault
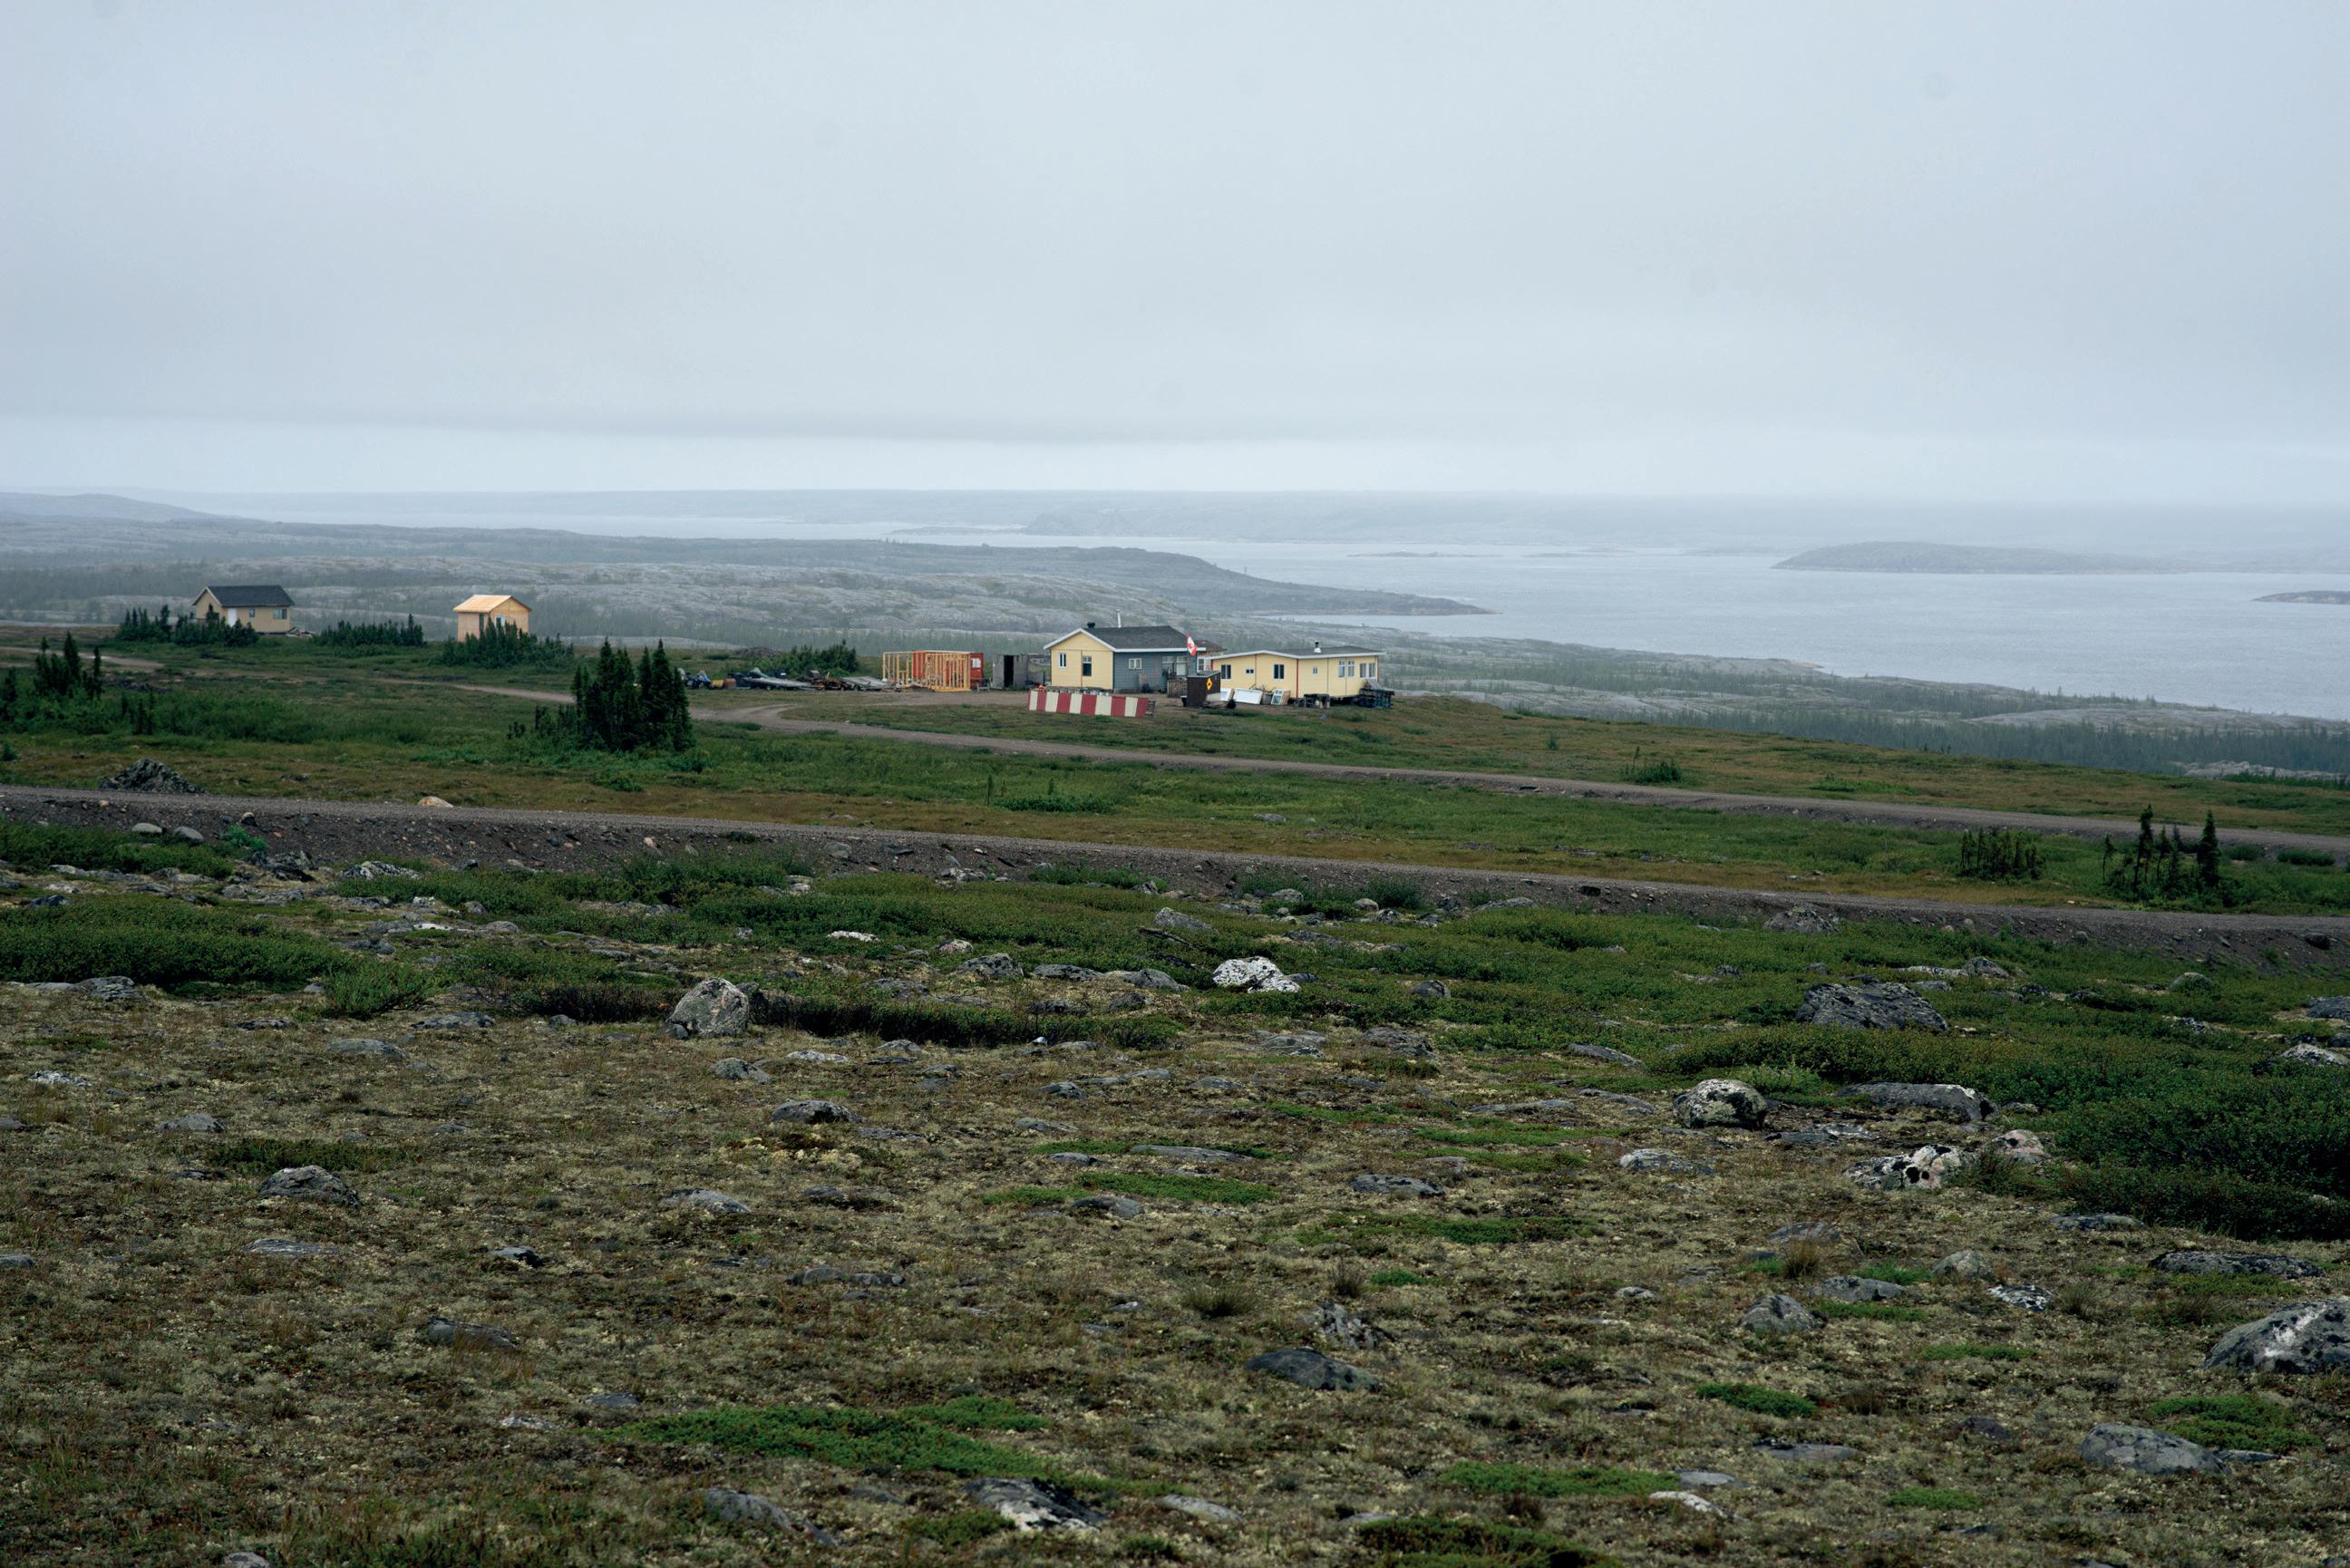
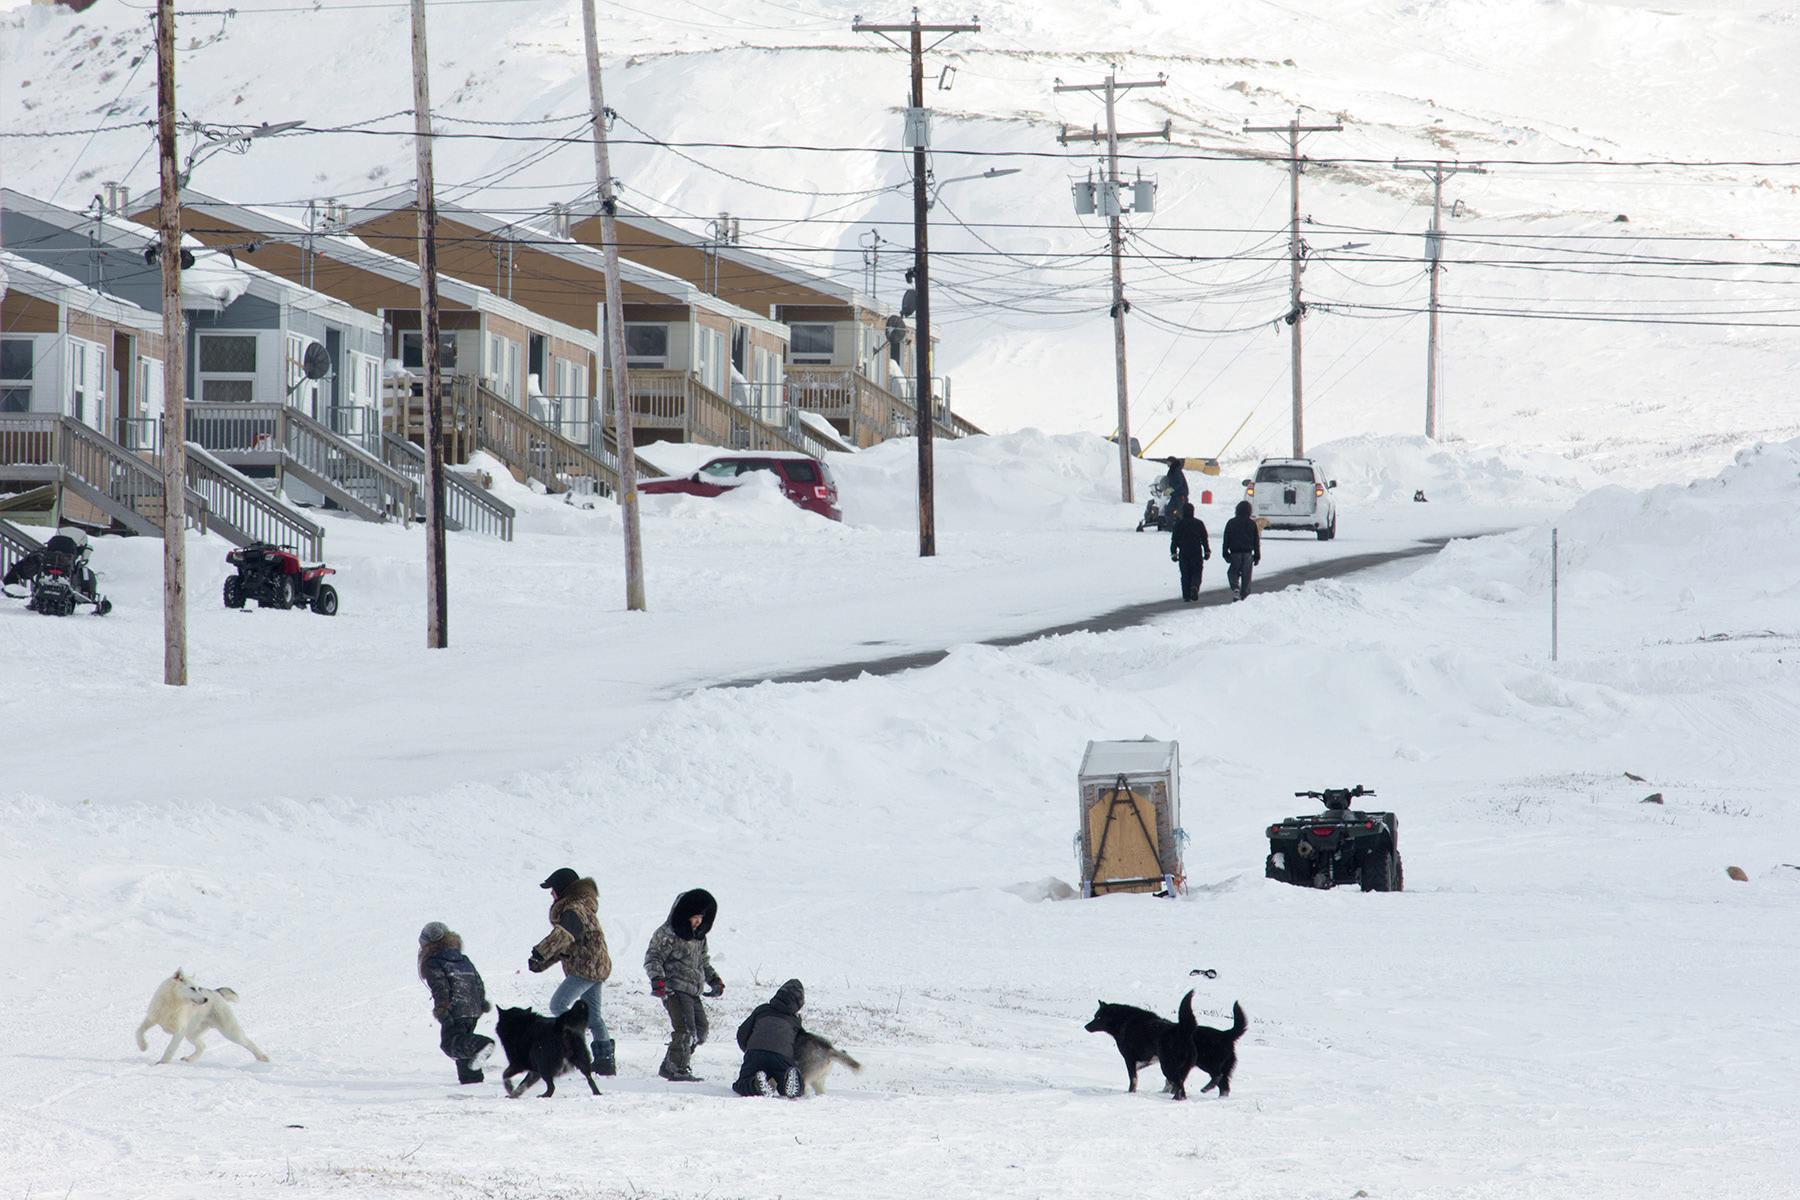
Near Kuujjuaq, Nunavik. Photograph by Maxime Vaillancourt-CosseAe (2024)
Introduc1on
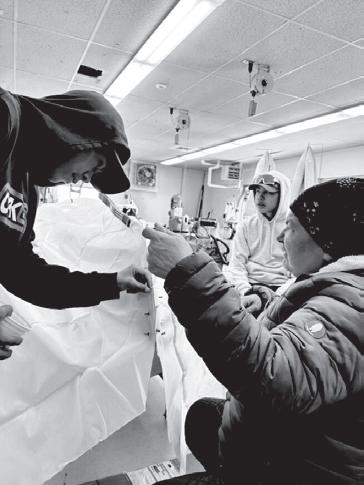
This “do it yourself” approach is an inspired way to involve the community, including the youth."
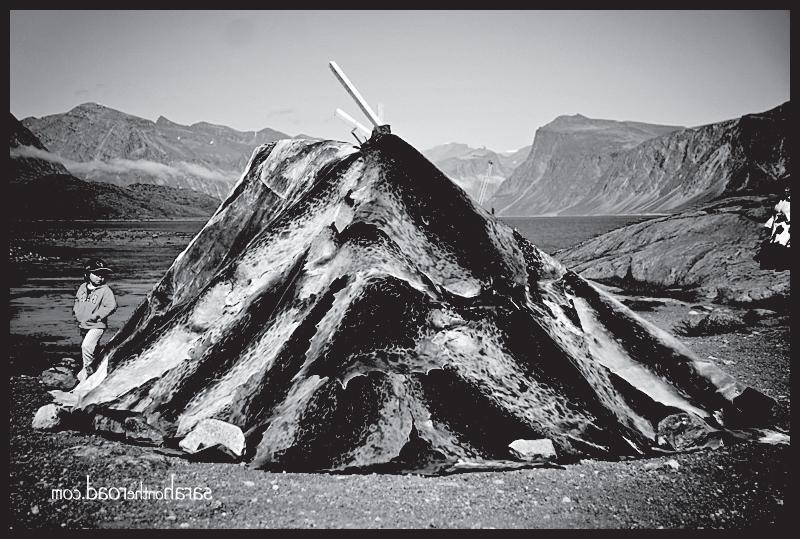
Tunu
Napartuk, Blueprint for a Hack: Leveraging Informal Building Prac<ces (2018)
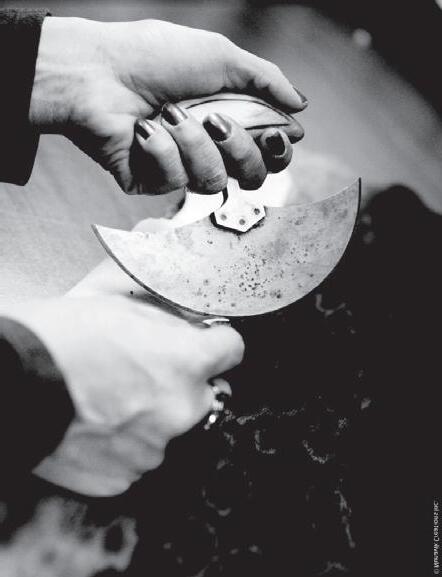
Illustrating traditional Inuit craftsmanship and contemporary building principles, this booklet presents a practical training cycle designed to inspire young people interested in construction trades or self-build projects. From small-scale constructions to extensions to existing houses, learning activities evolve in complexity through the discovery of nine fundamental building principles, thus supporting the [Building Capacity • Building Houses] projects of the “Home as Territory” research project.
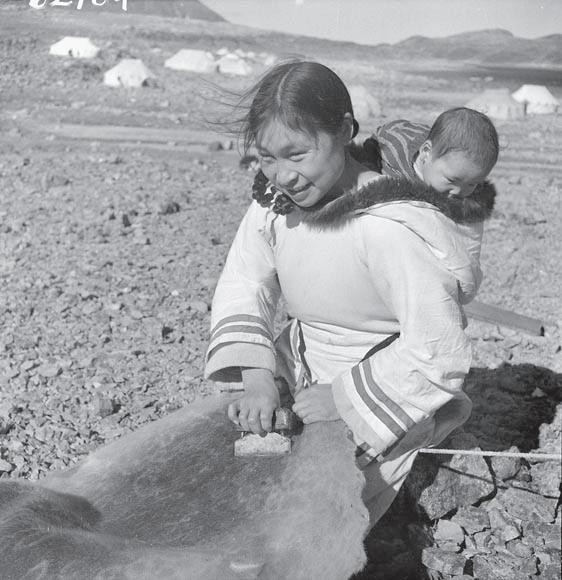
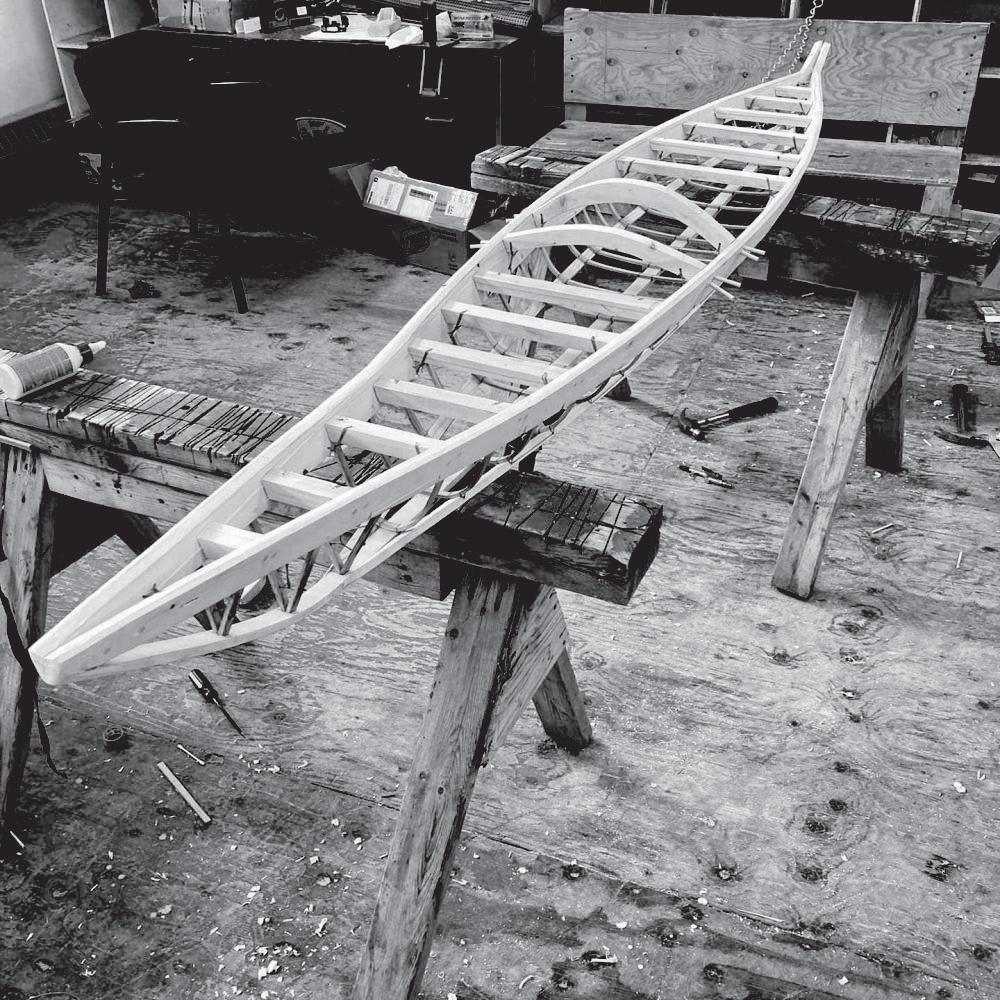
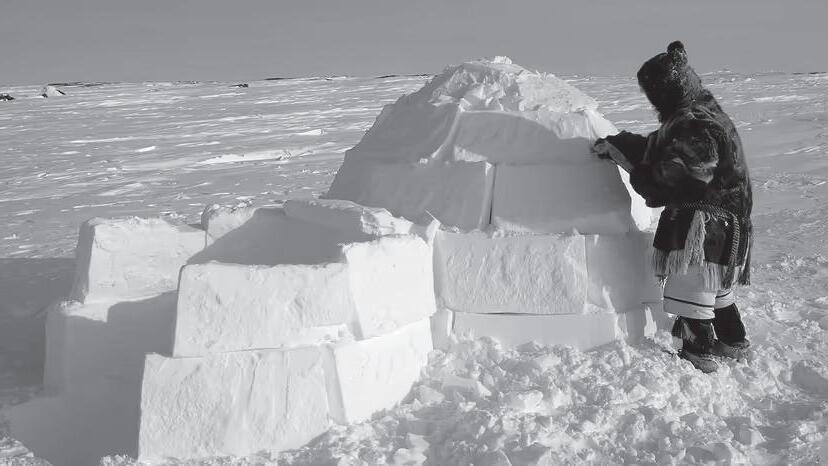
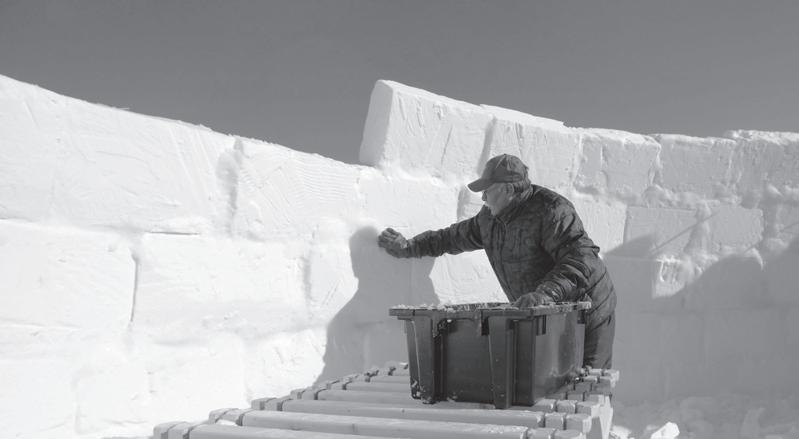
1..Inuit craftsmanship and construction principles
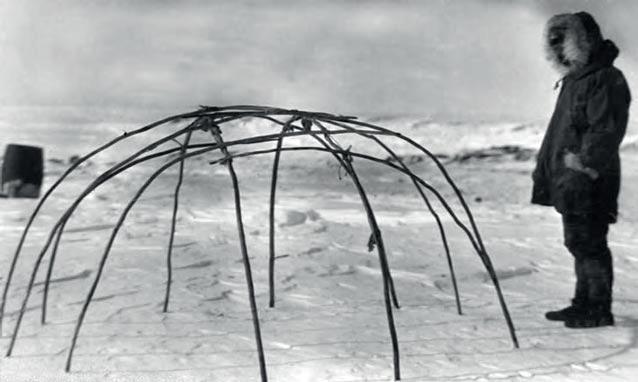
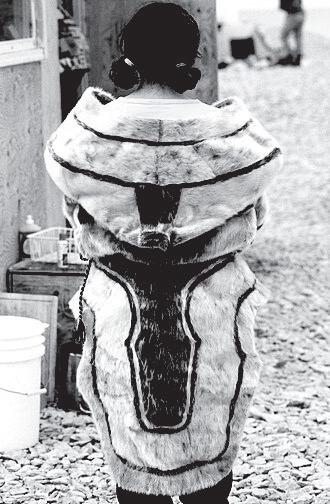
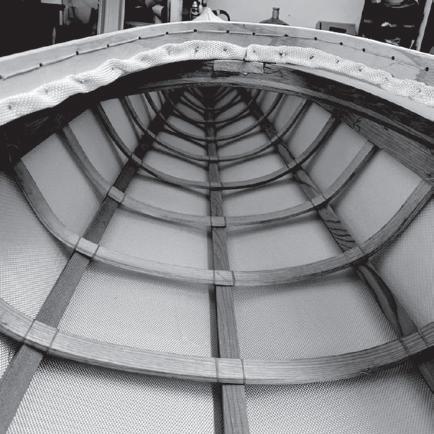
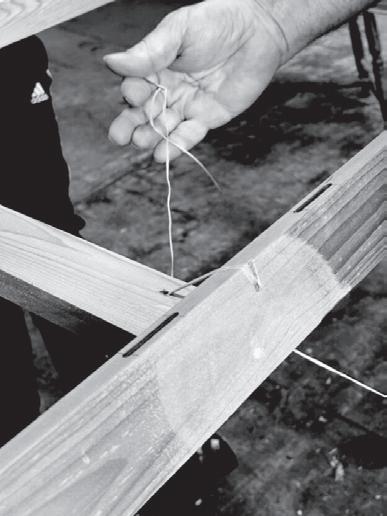
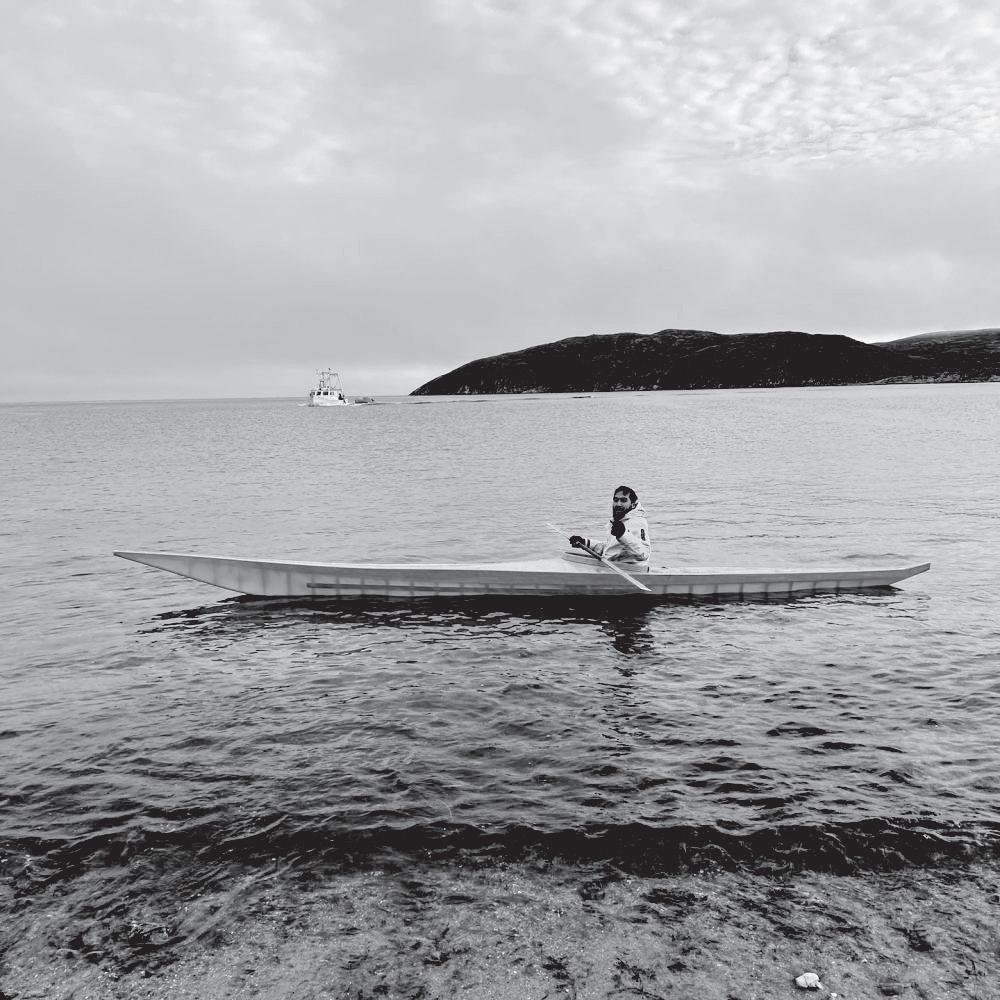
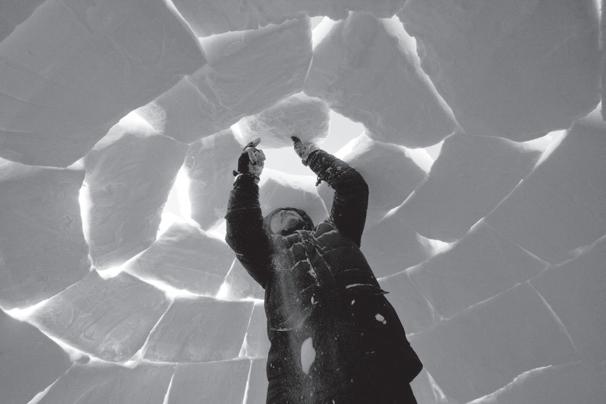
Buildings, clothing, and kayaks share a common purpose: to protect against the external environment and maintain interior comfort. To achieve this, they rely on similar construction principles.
Tupiq
2. Small Buildings
In this section, we imagined a cycle of formation that could appeal to young Inuit wanting to integrate the construction principles to a well-built house for the north by hands-on experience. Declined in steps that are logical and of gradual complexity, the cycle is based on the following principles:
2.1
Nine construction principles
Anchoring is the way the house meets the ground. It involves planning and choosing a technical solution according to the concern ground.
Spanning is the building of a platform to become a floor while protecting the fragile land/permafrost. It involves laying down and tying beams, like in sleigh-building.
Framing is the action of erecting what is needed to support the roof overhead so it can be solid and support the vertical loads. It involves vertical wood pieces (called studs) and their tying, much like tent building.
Bracing is the action of solidifying the vertical structure so it can be stable and resist to sideways loads like high winds. It involves diagonal wood pieces and their tying, much like kayak building or panel sheathing like tent building.
Sheltering is the basic protection applied to a frame house to repel water and snow. It involves impervious materials closely fitted and precise joinery, much like in clothing and kayak-building.
Weatherproofing is the shell around the house to protect from all severe weather occurrences including heat loss.It involves multilayered protection, thermal insulation and overlapping of components, much like in clothing.
Cladding is the solid shell around the house to protect all the underlying sheltering layers. It involves resistant materials tied to the framing and organized so it can resist to high winds and other forms of abuse.
Finishing is the treatment of the inner surfaces of the house to achieve a enjoyable contact to touch and durability in time. It involves a variety of materials applied to floors, walls and ceiling of the house.
Services are the means to provide lighting, heating, water distribution and dispose of waste. It generally involves technical knowledge that puts this learning activity in the more advanced stages of formation.
Building a cabin and a tiny house: learning activities
Construction principles 1 to 9
1. ANCHORING
Learning activities
From one activity to the next, the challenge increases in complexity
A grid of stable points of support between land and building
To create a levelled surface
To avoid contact between wood and soil
To better understand the ground’s behavior
To preserve pergelisol from thawing
To minimize the contact with the land to preserve its nature
Definition and keys of understanding Principle illustrated
1. ANCHORING
WHAT ?
• A grid of stable points of support between land and building
WHY ?
• To create a levelled surface
• To avoid contact between wood and soil
• To adress the ground’s behavior
• To preserve pergelisol from thawing
• To minimize the contact with the land to preserve its nature
Learning activities
1.1 a cabin
• Planning a structural grid
• Set down jacks on a stable ground
1.2 a tiny house
• Boring holes into bedrock
• Inserting steel posts and securing them with concrete
2. SPANNING
WHAT ?
• A horizontal structural assemblage over the grid and tied to the points of support
WHY ?
• To create a working platform larger then the underlying grid
• To create a base later used as a floor
• To create a void for future insulation and services
• To protect spaces placed underneath
Learning activities
2.1 a cabin
• Planning a space plan
• Assemble a wooden structural platform with joists, plywood and planks
• Tying the platform to the underlying jacks
2.2 a tiny house
• Planning a space plan
• Assemble a wooden platform with beams, joists and subflooring
• Tying the platform to the underlying anchoring grid
3. FRAMING
WHAT ?
• A vertical structural assemblage supporting overhead horizontal structures
WHY ?
• To define the shelter
• To create a strong frame to build on
• To create a safe environment
Learning activities
3.1 a cabin
• Planning wall’s openings
• Assembling a wooden structural wall with studs
• Tying the walls to the underlying floor
• Tying the roof structure to the walls
3.2 a tiny house
• Planning wall’s openings
• Assembling a wooden structural wall with studs
• Tying the walls to the underlying floor
• Tying the roof structure to the walls
4. BRACING
Learning activities
4.1 a cabin
• Assembling sheating materials over the framing of the walls and roof
• Creating shearwalls resisting to wind forces
• Creating flat continuous surfaces
4.2 a tiny house
• Assembling sheating materials over the framing of the walls and roof
• Creating shearwalls resisting to wind forces
• Creating flat continuous surfaces
WHAT ?
• Sheating on walls and roof
• Reinforcing surfaces creating sheerwalls
WHY ?
• To resist lateral deformation and avoid cracks and leakage
• To create sheerwalls capable resisting high wind and snow loads
• To create a surfaces on which to add the next layers
5. SHELTERING
WHAT ?
• Basic watertight protection over the roof’s surface and of the exterior walls
WHY ?
• To protect interior space from wind-driven rain and snow
• To keep the interior dry
Learning activities
5.1 a cabin
• Apply waterproofing material over sheating to provide protection from rain, wind and snow
• Inspect all joints to avoird any discontinuity in the protection
5.2 a tiny house
• Apply waterproofing material over sheating to provide protection from rain, wind and snow
• Inspect all joints to avoird any discontinuity in the protection
6. WEATHERPROOFING
WHAT ?
• Airtight and waterproof membranes
• Continuous thermal insulation
WHY ?
• To keep the inside dry and warm
• To avoid the presence of water in the walls and roof
• To avoid condensation and mold
Learning activities
6.1 a cabin
• Installing waterproof and air tight membranes continuously on the exterior surfaces
• Tucking the membranes around each opening
6.2 a tiny house
• Installing wool or batten insulation
• Installing waterproof and airtight membranes
• Installing drip edges and flashing to protect from water
7. CLADDING
Learning activities
7.1 a cabin
• Installing nailing strips on outside surfaces
• Installing cladding material on surface
• Covering every gap at jonctions
• Installing flashing toward the exterior to shed water at cladding gaps
7.2 a tiny house
• Installing nailing strips on outside surfaces
• Installing cladding material on surfaces
• Covering every gap at jonctions
• Installing roofing material
WHY ? WHAT ?
• Exterior strong material covering and closing off all the underneath layers
• To protect what is underneath from physical abuse
• To make the walls look nice
• To weatherproof a bit more
8. FINISHING
WHAT ?
• Installation of interior partitions
• Covering of interior surfaces
• Installation of integrated furniture
WHY ?
• To offer an agreable contact between users and house parts
• To improve resistance to wear
• To create sub-spaces within the house
Learning activities
8.1 a cabin
• Assembling non-bearing partitions to create and interior porche
• Installing interior wall panelling
• Preparing and painting interior surfaces
8.2 a tiny house
• Installing an interior door in a partition
• Installing vinyl flooring
• Installing raised platform, cabinets and shelves
• Assembling and finishing partitions to create an airtight and soundproof interior mechanical room
9. SERVICES
WHAT ?
• Distribution for water, electricity, heating, fresh air
WHY ?
• To accomodate basic human needs
• To create a comfortable, warm and lit environment
Learning activities
9.1 a cabin
Activities begin at 9.2
9.2 a tiny house
• Installing a dry toilet
• Planning and installing a basic wiring network for lighting from a generator or solar panels
• Planning a small interior mechanical room
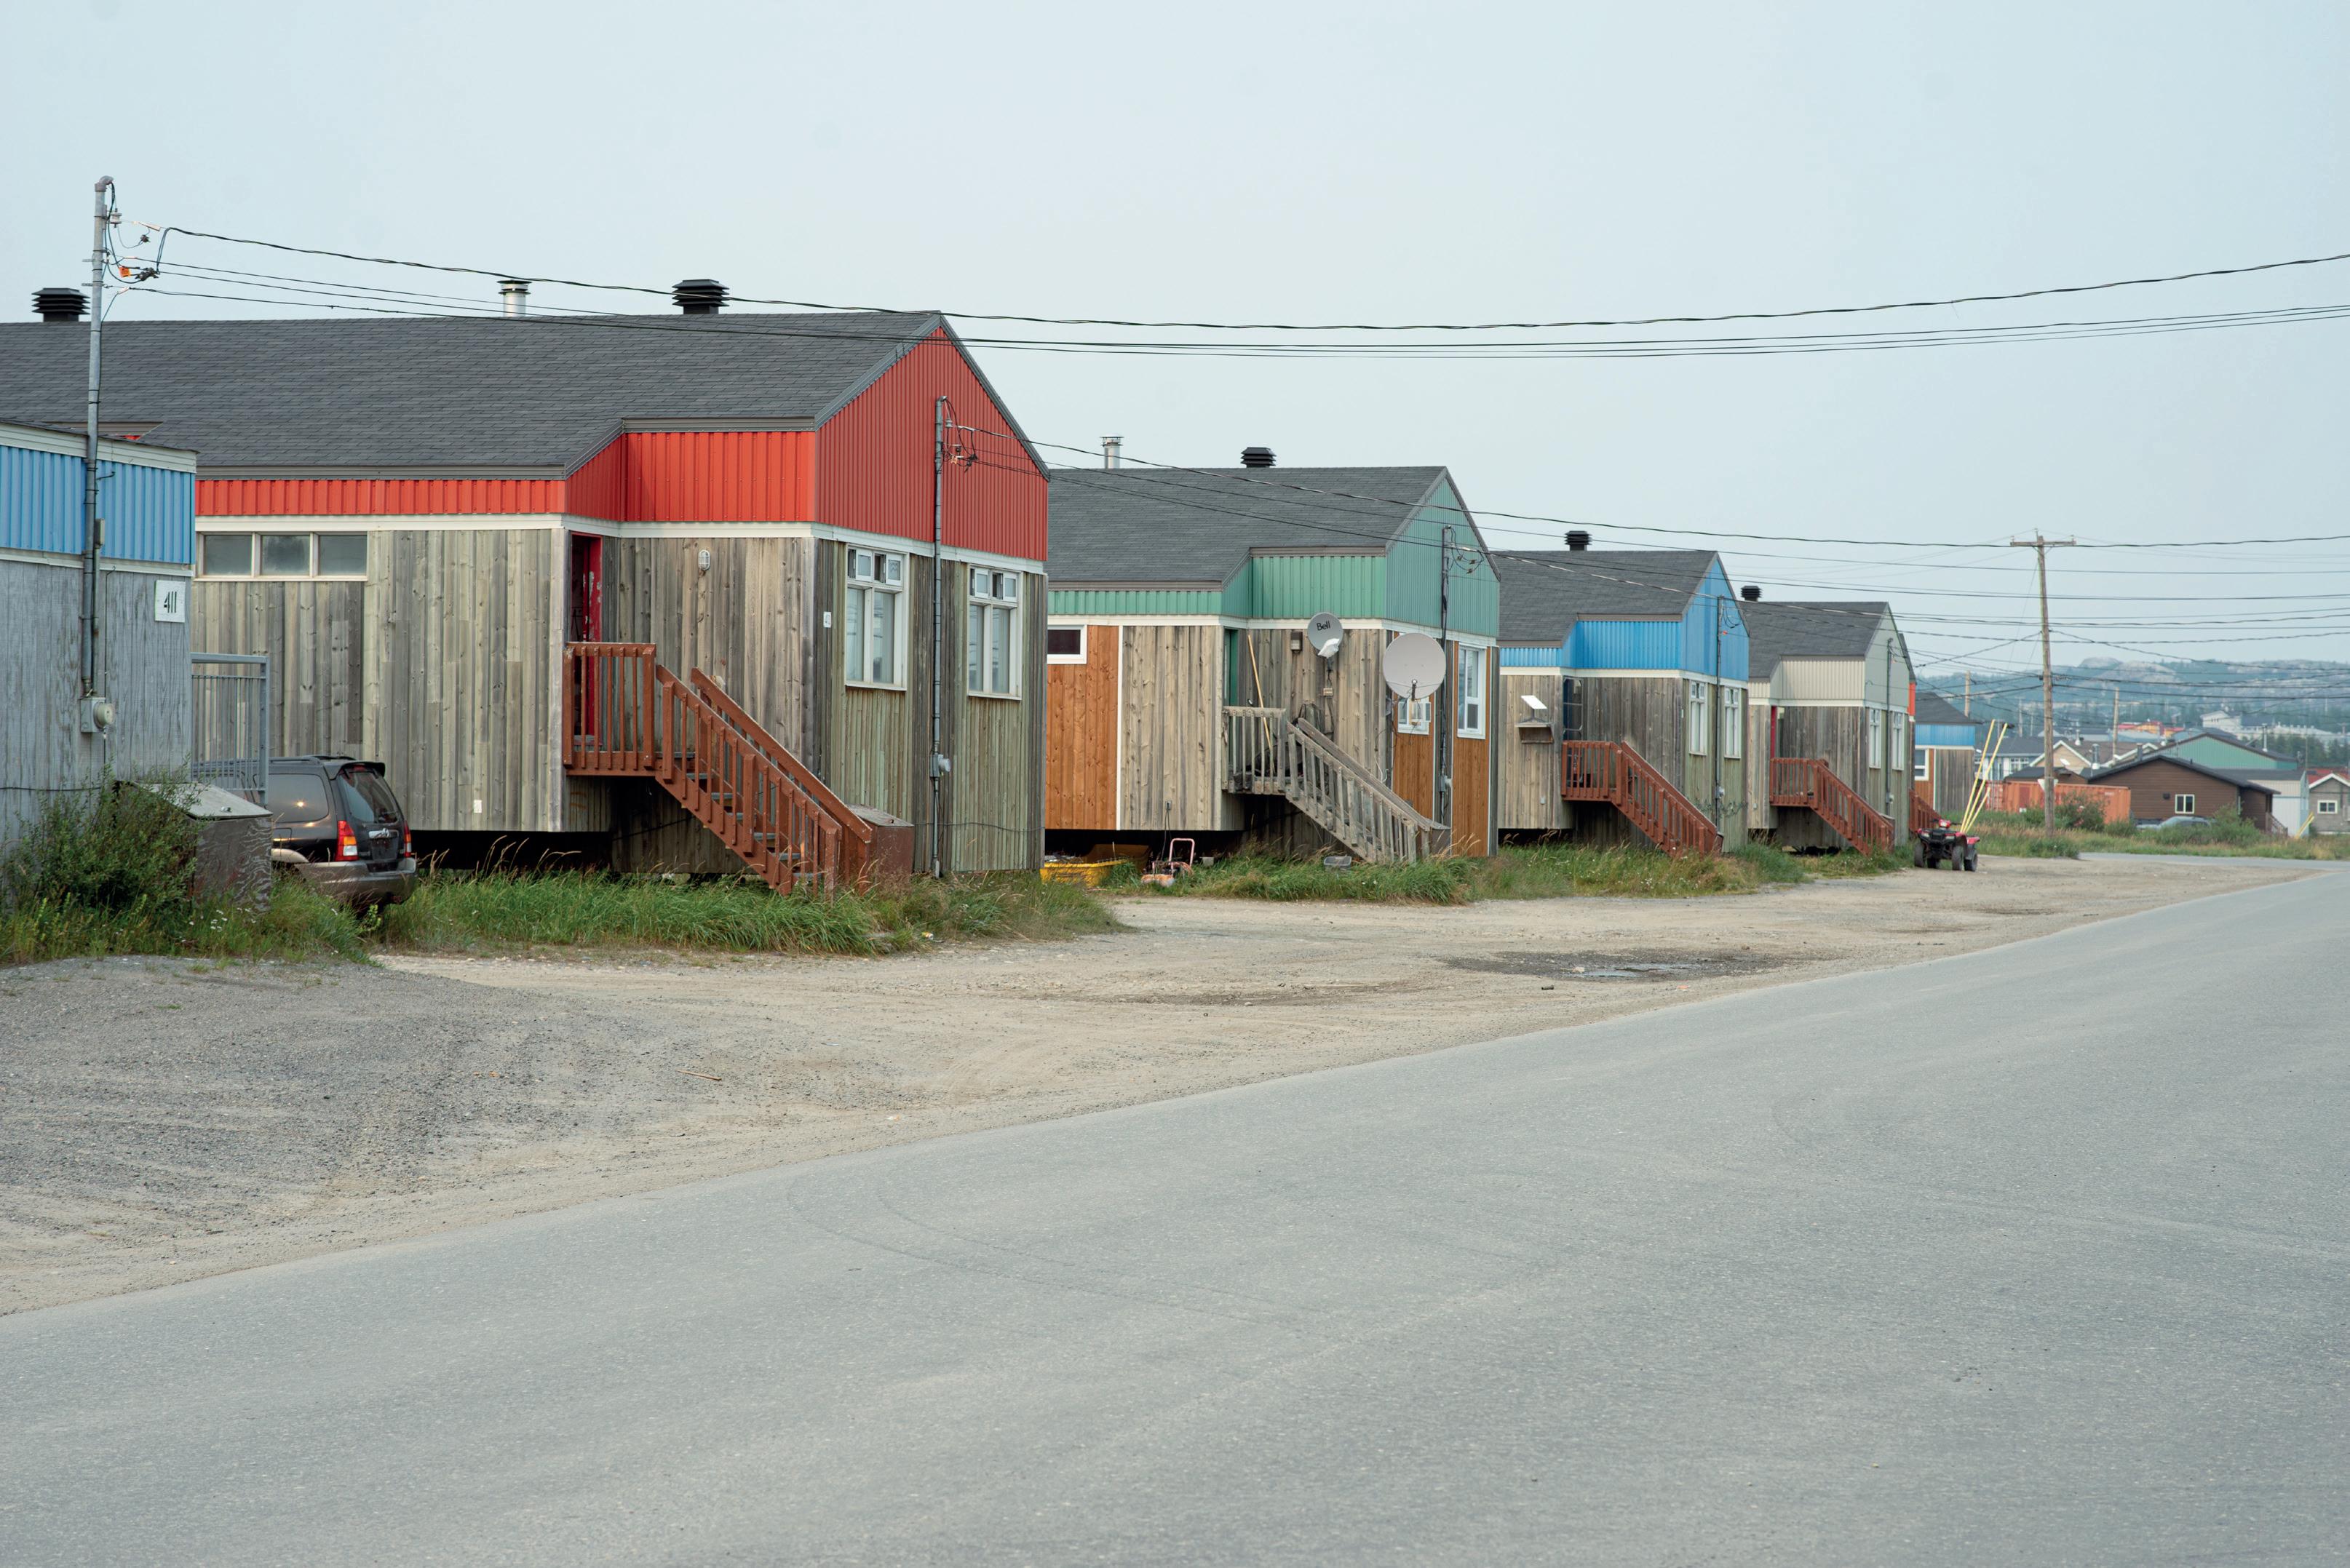
Kuujjuaq, Nunavik. Photograph by Maxime Vaillancourt-Cossette (2024).
3. Additions to an existing house
In this section, we imagined a cycle of formation that could appeal to anyone wanting to integrate constructions principles while building an addition to a house by a hands-on experience. In all the following principles, the actions taken to join the addition to the existing building will probably imply selected demolition (sometimes called “depose”) of existing components.
3.1 Nine construction / renovation principles
Anchoring is the way the addition will join the house. It might require pier of support, but it surely will need a solid and stable anchoring to the existing framing of the house.
Spanning is the building of a small platform that will become a floor in continuity with the existing floor of the house.
Framing is the action of erecting what is needed to support the partial roof overhead and form the walls of the addition. It involves vertical wood pieces (called studs) and will probably contribute to the anchoring of the addition to the existing frame.
Bracing is the action of solidifying the vertical structure so it can be stable. It involves panel sheathing and will probably contribute to the anchoring of the addition to the existing frame.
Sheltering is the basic protection applied to the addition to repel water and snow and involves impervious materials applied to ensure the important continuity with the existing envelope of the house. It commands precise and overlapping joinery of membranes.
Weatherproofing is the multilayered shell around the addition and joined to the envelope of the house to protect from all severe weather occurrences including heat loss. In addition to windows or doors, it involves continuity by overlapping membranes and tightly fitted thermal insulation.
Finishing is the treatment of the inner surfaces of the addition. It involves a variety of materials on the floor, walls and ceiling. It could be perceived as a prolongation of the existing finishes of the house. 1 2 3 4 5
Cladding is the solid exterior shell around the addition to protect all the underlying sheltering layers. It involves solid materials tied to the framing trough the envelope. It must be tightly fitted with the existing cladding of the house.
Services in a small addition are the means to provide lighting and possibly heating. It is a prolongation of the existing grids and systems of the house.
3.2 Adding a room or an oriel window: learning activities
Although based on the same principles used for a new construction, it differs a little bit because modification of an existing building commands the comprehension of its components. The learning activities must also address a carefully planned work process to avoid damage (water, wind, intrusion, etc.) to the existing spaces during renovation, like temporary protection or closure between the existing and added spaces, or both.
3. adding a room
Construction principles 1 to 9
1. ANCHORING
4. adding an oriel window
Learning activities
From one addition to the other, the activities are somewhat the same but might differ lightly.
Learning activities
1.1 addition of a room
• Planning the need for additional support on the ground
• Create new piers of support and adjustable jacks to support a beam
WHAT ?
A grid of stable points of support between land and building
WHY ?
To create a levelled surface
To avoid contact between wood and soil
To better understand the ground’s behavior
To preserve pergelisol from thawing
To minimize the contact with the land to preserve its nature
Selective demolition
Any addition to an existing building commands a careful demolition (sometimes called «depose») of existing materials such as cladding, insulation, framing and finishes. This demolition is done in reverse order comparing to the normal construction process.
Definition and keys of understanding
Principle illustrated Additional information
Specificity linked to the renovation/addition process
Salluit, Nunavik. Photograph by Mathieu Avarello (2017).
1. ANCHORING
WHAT ?
• The addition of a stable axis of support on the land
• The depose of the existing material interfering with the addition
• The reinforcing of the existing frame of the house where the addition will be structurally secured
WHY ?
• To allow the addition to project further away of the existing house
• To create a levelled surface
• To avoid contact between wood and soil
• To adress the ground’s behavior
• To preserve pergelisol from thawing
• To minimize the contact with the land to preserve its nature
Learning activities
1.3 a room
• Planning the need for additional support on the ground
• Create new piers of support and adjustable jacks to support a beam
Selective demolition
Any addition to an existing building commands a careful demolition (sometimes called «depose») of existing materials such as cladding, insulation, framing and finishes. This demolition is done in reverse order comparing to the normal construction process.
2. SPANNING
WHAT ?
• A horizontal structural assemblage over the grid and tied to the points of support
WHY ?
• To create a working platform larger then the underlying grid
• To create a base later used as a floor
Learning activities
2.3 a room
• Tie the structural added floor to the existing house allowing some movement without damage to the existing house
• Modify the existing peripherial «skirt» according to needs
• Tie the new floor structure to the supporting beam
It may be the right time to insert insulation between the flooring joists before closing the «box» with plywood
3. FRAMING
Learning activities
3.3 a room
• Tie the walls and roof frames of the addition to the existing frame
• Plan the openings in the walls, to re-use (preferably) any door or window that have been previously demolished/deposed
• A vertical structural assemblage supporting overhead roof
WHY ? WHAT ?
• To define the shelter
• To create a strong frame to build on
• To create a safe environment
• To provide a solid structural link of the addition to the existing frame of the house.
The important issue of structural ties
Being partially on a added foundation and partially tied to the existing structure, careful care has to be taken so that any movement or settling does not induce any damage to the two structures.
4. BRACING
Learning activities
4.3 a room
• Assemble sheathing on the walls and roof of the new framing to create a flat and smooth surface
• Bring the limits of this sheathing in maximum continuity with the existing sheathing of the house
WHAT ?
• Sheating on walls and roof
• Reinforcing surfaces creating sheerwalls
WHY ?
• To resist lateral deformation and avoid cracks and leakage
• To create sheer walls and roof decking capable of tying the addition to the existing frame of the house.
• To create a surfaces on which to add the next layers
5. SHELTERING
Learning activities
5.3 a room
• Comprehend the existing envelope (materials and functions).
• Identify the frontiers of the existing sheltering materials that will be interrupted because of the addition.
• Identify the temporary protection required during construction
• Assemble added sheltering materials in perfect continuity with the maintained existing sheltering materials.
• Basic watertight protection over the roof’s surface and of the exterior walls
WHY ? WHAT ?
• To protect interior space from wind-driven rain and snow
• To keep the interior dry
Envelope continuity
In an addition process, the knowledge of the existing details of the existing envelope is essential. It will influence the choosing of the floor/walls/roof composition of the addition in order to facilitate the envelope continuity.
6. WEATHERPROOFING
Learning activities
6.3 a room
• Assemble insulation materials according to walls and roof detailing
• Secure outsulation with furring
• Insert insulation between framing elements
• Airtight and waterproof membranes
• Continuous thermal insulation
WHY ? WHAT ?
• To keep the inside dry and warm
• To avoid the presence of water in the walls and roof
• To avoid condensation and mold
7. CLADDING
WHAT ?
• Exterior strong material covering and closing off all the underneath layers
WHY ?
• To protect what is underneath from physical abuse
• To make the walls look nice
• To weatherproof a bit more
Learning activities
7.3 a room
• Assemble the addition’s cladding material onto walls and assure continuity with the existing cladding of the house
• Install the sheet metal flashings required to expell water form behind the cladding
8. FINISHING
Learning activities
8.3 a room
• Choose the finishing material suited for the various surfaces
• Plan the meeting of these finishes with the existing surfaces of the house
• Covering of interior surface
WHY ? WHAT ?
• To improve resistance to wear
• To offer a user-friendly contact to users in the addition
9. SERVICES
WHAT ?
• Distribution means for electricity and heating (water not considered)
WHY ?
• To offer warmth on the added space, particularlky near any added window
• To offer basic lighting or power outlets in the added space
Learning activities
9.3 a room
• Evaluate the need for services in the added spaces
• Planning the required concealed voids needed to permit the extensions of ducts and wiring toward the added spaces
Extension of existing services (electricity and/or heating)
In an addition process, it might be required to extend the existing services to the added spaces. Only licensed specialists can alter these services and install eventually concealed ducts and wires. The voids required to accommodate the passage of these ducts or wires must be planned before the walls, ceiling and floor surfaces are installed.
The extension of existing services might imply the alteration of finishes in the already existing spaces. This might be required to connect at the existing duct or wire grids.
For the present additions, altering the water systems is not considered due to the implied complexity.
Kuujjuaq, Nunavik. Photograph by Maxime Vaillancourt-Cossette (2024).
1. ANCHORING
Learning activities
1.4 an oriel window
• Identify the tying possibilities of the existing framing of the house.
• Reinforce the existing frame to receive the addition’s frame.
• The depose of the existing material interfering with the addition
• The reinforcing of the existing frame of the house
WHY ? WHAT ?
• To allow the addition to be an extension projecting of the existing house without a foundation
Selective demolition
Any addition to an existing building commands a careful demolition (sometimes called «depose») of existing materials such as cladding, insulation, framing and finishes. This demolition is done in reverse order comparing to the normal construction process.
2. SPANNING
Learning activities
2.4 an oriel window
• Tie the structural added floor to the existing house allowing some movement without damage to the existing house
• Modify the existing peripherial «skirt» according to needs
• Tie the new floor structure to the supporting beam
• A horizontal structural assemblage over the grid and tied to the points of support
WHY ? WHAT ?
• To create a working platform larger then the underlying grid
• To create a base later used as a floor
• To create a void for future insulation and services
It may be the right time to insert insulation between the flooring joists before closing the «box» with plywood
3. FRAMING
Learning activities
3.4 an oriel window
• Tie the walls and roof frames of the addition to the existing frame
• Plan the openings in the walls, to re-use (preferably) any door or window that have been previously demolished/deposed
• A vertical structural assemblage supporting overhead roof
WHY ? WHAT ?
• To define the shelter
• To create a strong frame to build on
• To create a safe environment
• To provide a solid structural link of the addition to the existing frame of the house
The important issue of structural ties
Being partially on a added foundation and partially tied to the existing structure, careful care has to be taken so that any movement or settling does not induce any damage to the two structures.
4. BRACING
Learning activities
4.4 an oriel window
• Assemble sheathing on the walls and roof of the new framing to create a flat and smooth surface
• Bring the limits of this sheathing in maximum continuity with the existing sheathing of the house
WHAT ?
• Sheating on walls and roof
• Reinforcing surfaces creating sheerwalls
WHY ?
• To resist lateral deformation and avoid cracks and leakage
• To create sheer walls and roof decking capable of tying the addition to the existing frame of the house
• To create a surfaces on which to add the next layers
5. SHELTERING
Learning activities
5.4 an oriel window
• Comprehend the existing envelope (materials and functions).
• Identify the frontiers of the existing sheltering materials that will be interrupted because of the addition.
• Identify the temporary protection required during construction
• Assemble added sheltering materials in perfect continuity with the maintained existing sheltering materials.
• Basic watertight protection over the roof’s surface and of the exterior walls
WHY ? WHAT ?
• To protect interior space from wind-driven rain and snow
• To keep the interior dry
Envelope continuity
In an addition process, the knowledge of the existing details of the existing envelope is essential. It will influence the choosing of the floor/walls/roof composition of the addition in order to facilitate the envelope continuity.
6. WEATHERPROOFING
WHAT ?
• Airtight and waterproof membranes
• Continuous thermal insulation
WHY ?
• To keep the inside dry and warm
• To avoid the presence of water in the walls and roof
• To avoid condensation and mold
Learning activities
6.4 an oriel window
• Assemble insulation materials according to walls and roof detailing
• Secure outsulation with furring
• Insert insulation between framing elements
7. CLADDING
Learning activities
7.4 an oriel window
• Assemble the addition’s cladding material onto walls and assure continuity with the existing cladding of the house
• Install the sheet metal flashings required to expell water form behind the cladding
• Exterior strong material covering and closing off all the underneath layers
WHY ? WHAT ?
• To protect what is underneath from physical abuse
• To make the walls look nice
• To weatherproof a bit more
8. FINISHING
Learning activities
8.4 an oriel window
• Choose the finishing material suited for the various surfaces.
• Plan the meeting of these finishes with the existing surfaces of the house.
• Covering of interior surfaces
WHY ? WHAT ?
• To improve resistance to wear
• To offer a user-friendly contact to users in the addition
9. SERVICES
WHAT ?
• Distribution means for electricity and heating (water not considered)
WHY ?
• To offer warmth on the added space, particularlky near any added window
• To offer basic lighting or power outlets in the added space
Learning activities
9.4 an oriel window
• Evaluate the need for services in the added spaces
• Planning the required concealed voids needed to permit the extensions of ducts and wiring toward the added spaces
Extension of existing services (electricity and/or heating)
In an addition process, it might be required to extend the existing services to the added spaces. Only licensed specialists can alter these services and install eventually concealed ducts and wires. The voids required to accommodate the passage of these ducts or wires must be planned before the walls, ceiling and floor surfaces are installed.
The extension of existing services might imply the alteration of finishes in the already existing spaces. This might be required to connect at the existing duct or wire grids.
For the present additions, altering the water systems is not considered due to the implied complexity.