4 minute read
User Mode


1. Hoist down a load to the ground and set each control lever and pedal to the neutr al position.
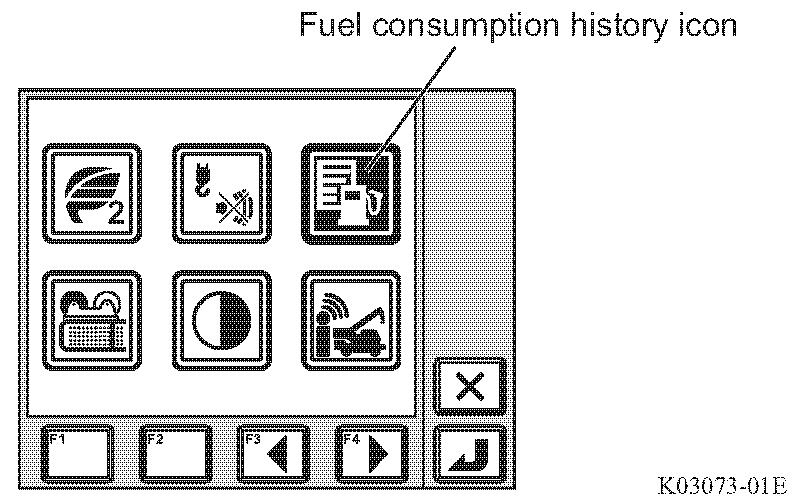
2. Select the fuel consumption history icon, and then press the < > key (set).
•The screen for fuel consumption history appears.
3. The display changes when the < > key (display change) is pressed.
•The fuel consumption history is shown in either a barograph or number.
The items shown on the numeric display screen are as follows.
L(N) ....... Fuel consumption during standby (liter)
L(D) ....... Fuel consumption during crane operation (liter) min/L....... Fuel consumption ratio during crane operation (minute/liter).
You can change the unit of fuel consumption ratio in min/L (minute/ liter) or L/h (liter/hour) by pressing F2 (unit change) key.
The measurements restart when < > key (reset) is pressed. The previous records are moved down by pressing < > key (reset). 6 previous records including the current rate are displayed.
You can reset the histories both for traveling and crane operation at the same time by pressing < > key (reset) and hold it for a while.
Press < > key (cancel) to exit the history display.
The pop-up window closes and the AML returns to the crane operation state.
L(N) and L(D) include the fuel consumption during on-rubber creep operation.
4.5.6 Selection of winch to be used (applicable to GR-500EX-3, GR-600EX-3, GR-800EX-3)
Warning
If the selection of the winch to be used does not agree with the actual state of the crane, the AML does not indicate the correct value of the load. If you operate the crane in this state, the crane may overturn or be damaged, resulting in an accident. Make sure that the state of actual crane operation and the selection of the winch for use agree before starting operation.
Notice
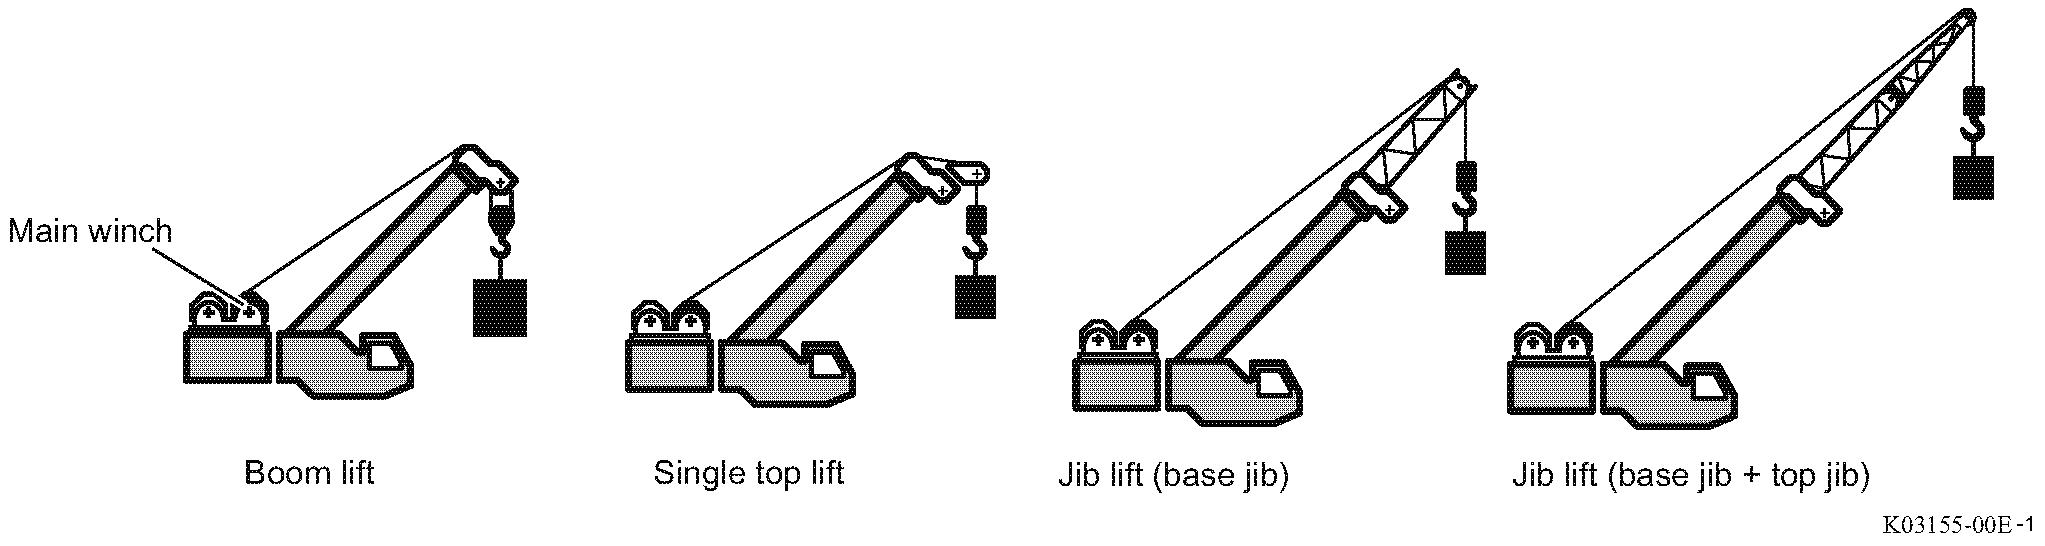
The crane operations other than those shown in the illustrations below are prohibited. Use the specified combinations only.
Select the winch (main winch/auxiliary winch) to be used. Although the main winch is used in the standard state, the auxiliary winch can be selected for single top lift or jib lift. The load lifting capacity differs in accordance with the state of crane operation.
Main winch should be selected when boom lift, S/T lift or Jib lift is registered following conditions.
(Memorized in the AML with main winch used)
When single top (S/T) lift or Jib lift status is registered following conditions, should be selected Aux. winch (Rear side used by user adjustment menu). Then, subtract the mass of the main hook from the Rated lifting capacity, gives actual load.

1. Select the winch select icon, and then press the < > key (set)
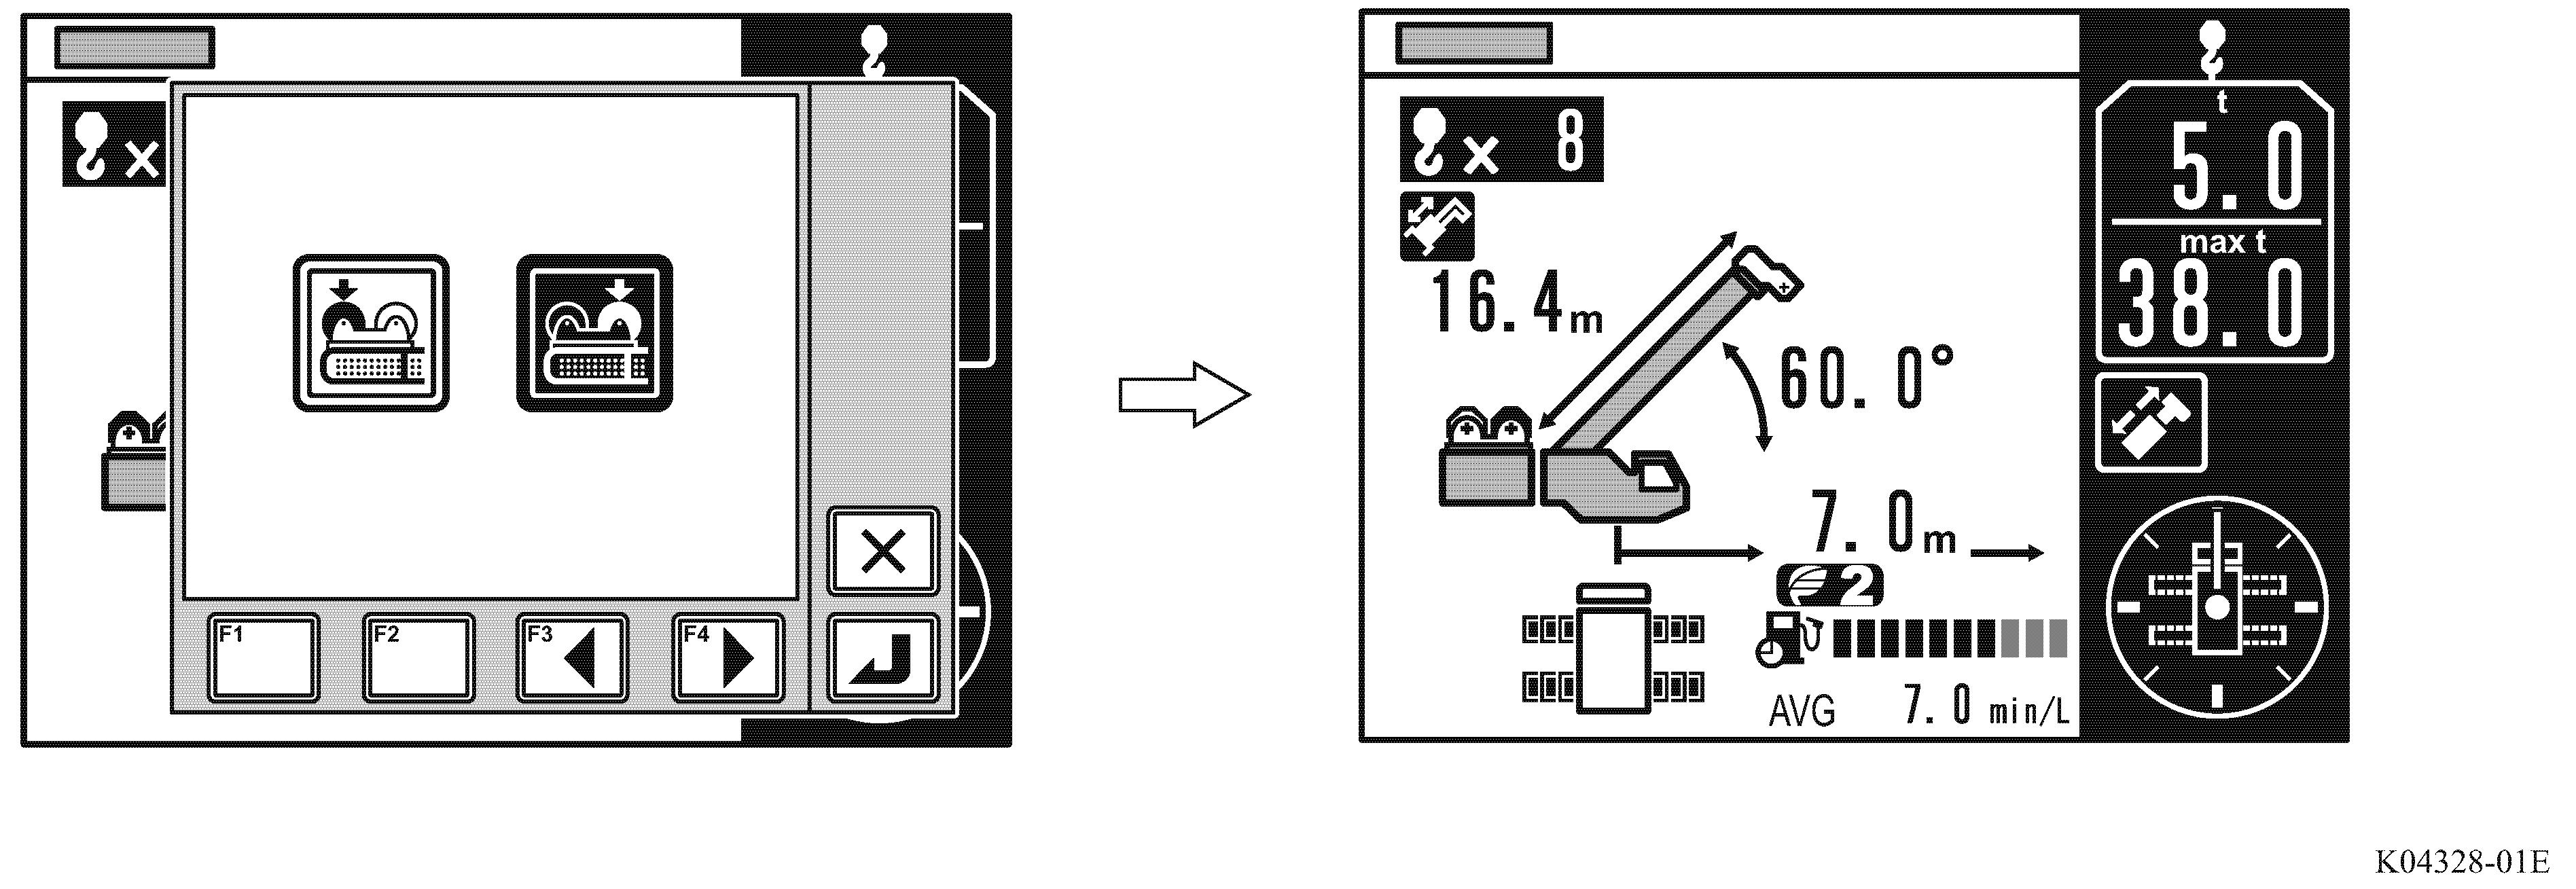
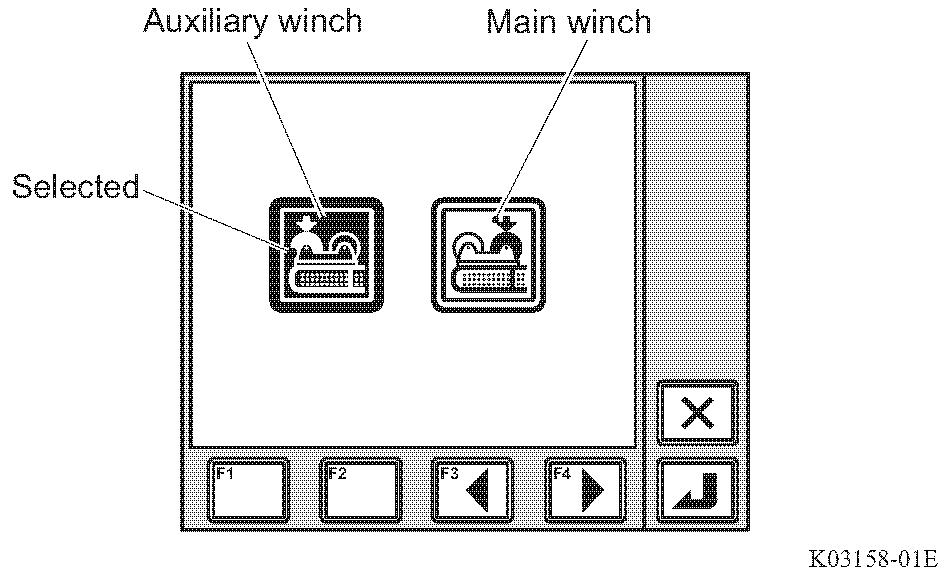
The pop-up window for winch selection appears on the display panel.
2. Press the < > key (backward) or < > key (forward) to select one of the winch icons. The selected icon is highlighted.
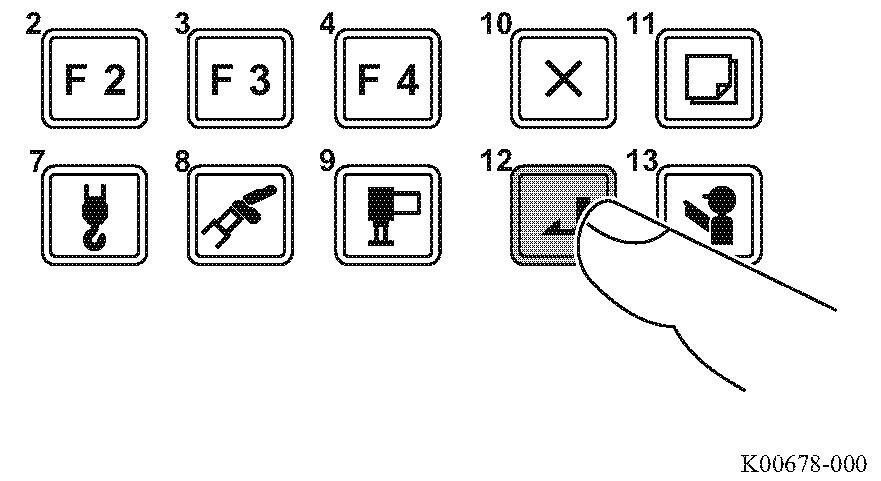
3. Press the < > key (set)
When registration is completed, the pop-up window closes and the AML returns to the crane operation state.
To cancel the registration, press the < > key (cancel). The pop-up window closes and the AML returns to the crane operation state without changing registration. When the AML (PTO switch) is turned off, the registered inform ation is not retained. When the AML (PTO switch) is turned on, the operation starts with "main winch".
4.5.7 Adjustment of display panel contrast

1. Select the contrast adjustment menu icon, and press the < > key (set)
• The pop-up window for contrast adjustment appears on the display panel.
2. Press the < > key (-) or < > key (+) to adjust the contrast.
• Press the < > key (+) to increase contrast and the < > key (-) to decrease contrast.
3. Press the < > key (set).
• When registration is completed, the pop-up window closes and the AML returns to the crane operation state.
To cancel the registration, press the < > key (cancel). The pop-up window closes and the AML returns to the crane operation state without changing registration.
If you press the < > key (cancel) for 3 seconds or more, the contrast returns to the initial setting.
Even after the AML is turned off, the registered information is retained. When the AML is turned on, the operation starts with the retained information.
4.5.8 Transmission of Telematics Data
This function selects which operation is to be sent on-demand to the Telematics and sends data. However, when a single item is shown on the screen as shown in the figure 5.8.1, no selection is made.
1) When on-demand data transmission function is selected, the pop-up window for selecting the data be sent on-demand transmission appears as shown in the figure 5.8.1.
2) Press < > key (forward) or < > key (backward) to select the operation data to be sent. When the < > key (set) is pressed, the selected operation data starts to be sent, and the display returns to the basic crane operation display. If the < > key(cancel) is pressed, no-demand transmission is made and the display returns to the basic crane operation display.
– Transmitting current location: The current location that is detected by the GPS is transmitted.
– Transmitting crane status: The current crane status is transmitted.

Transmitting alarm details: When there is an error in the machine, the details of the alarm (error) are transmitted
1) This function sends the error numbers at the times of occurrence and recovery, date and time of the error, and detailed data of 5 seconds.
2) You can check the received data from the “Date & Viewer” menu on HELLO-NET.
3) By one operation, the 10 newest data beginning with the newest one are sent. Usually 10 data consist of 5 error occurrence data and 5 recovery data, and they are sent by chronological order. Data of errors which are not recovered are not sent.
4) If the data older than ones described in 3. , select the icon again. 10 newest data among the unsent ones are sent.
[Remarks]
1. If the data queue in the communication terminal is too much (11 data), you cannot select the icon until enough room is made. (The icon is shown palely.)
2. Time required from transmission,
Please refer to page C-38 of “number of unsent data” at Telematics check screen.
• Under the circumstance where GSM (mobile) communication terminal works, 10 data can be sent within several minutes.
• When you use satellite communication terminal, the time required for sending 10 data varies between 30 minutes and several days, depending on the communication environment.
3. Data transmission is timed only at the following timings: when the engine starter key is turned to “ON” (or for 10 minutes after the key is turned to “OFF”), for 30 minutes at the night of the engine operation day.
4. This function assumes that a service representative of a TADANO distributor or dealer requests the operator to send data.