2 minute read
Countershaft

How to Assemble and Install Auxiliary Countershaft
Special Instructions
None
Special Tools
• Typical Service Tools • Bearing Driver (Tool ref. ID T 10) • Arbor Press
1 2 3
1. Bearing-Inner Race 2. Bearing-Outer Race 3. Welded Countershaft Assy 4. Bearing 5. Retaining Ring
4 5 1 2
Procedure -
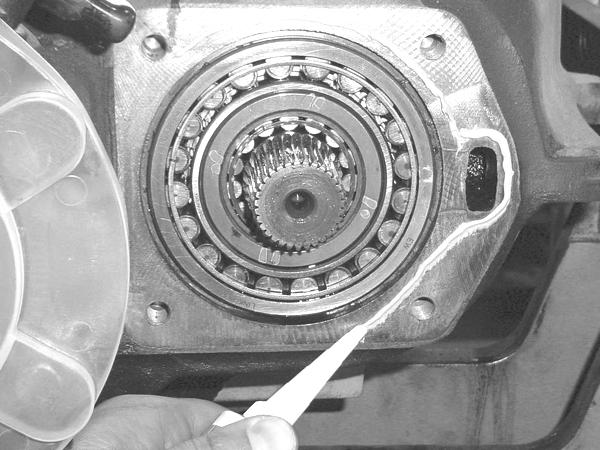
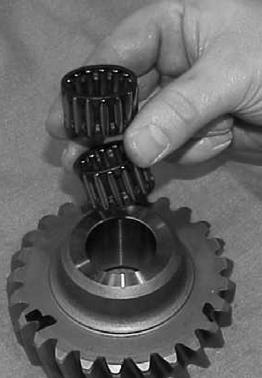
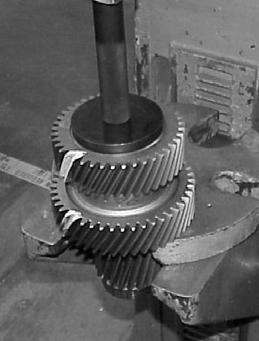
1. Use a bearing race heater or bearing driver to install the auxiliary countershaft rear inner bearing races.
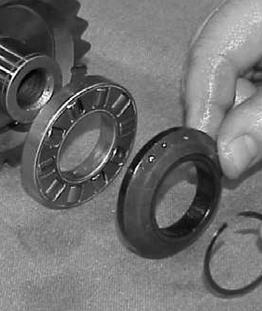
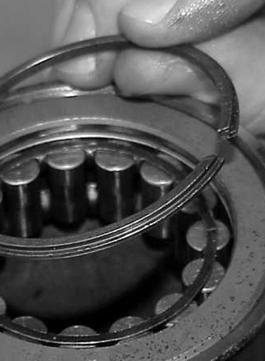
2. Install the auxiliary countershaft rear inner roller bearing and snap ring. Make sure the snap ring is installed with the flat side against the bearing as shown.
3. Use a bearing driver (Tool ref. ID T10) to install the auxiliary countershaft front roller bearing.
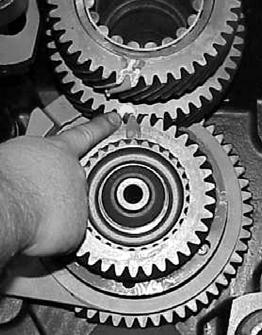
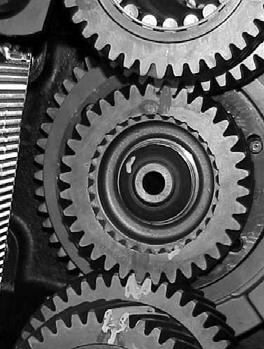
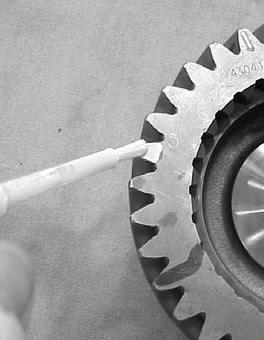
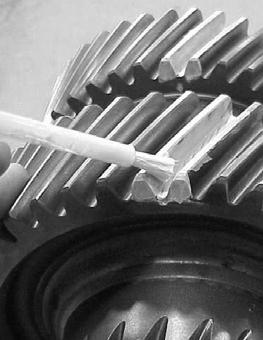
4. Use a highly visible toolmakers dye to mark the splitter gear and auxiliary countershaft gears for timing purposes. To mark the splitter gear, paint the toolmakers dye on any tooth on the gear then paint the tooth directly opposite the first tooth.
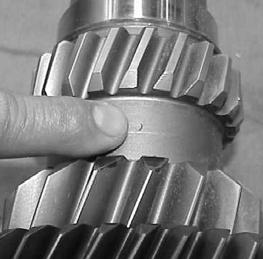
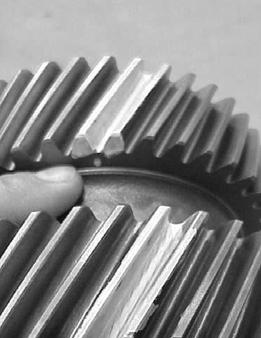
5. To mark the auxiliary countershaft gears locate the timing mark on the flat section of the shaft next to the smallest gear (usually a ’0’).
6. Locate and paint the two adjacent teeth on both larger gears that line up with the timing mark. Reference the ”Timing of
Gearing” section for the complete procedure.
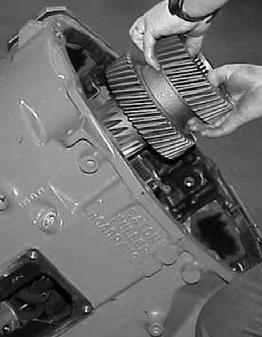
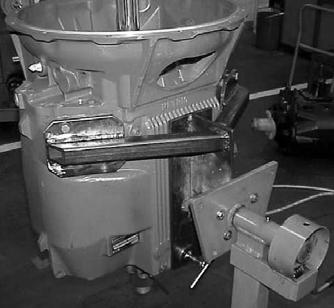
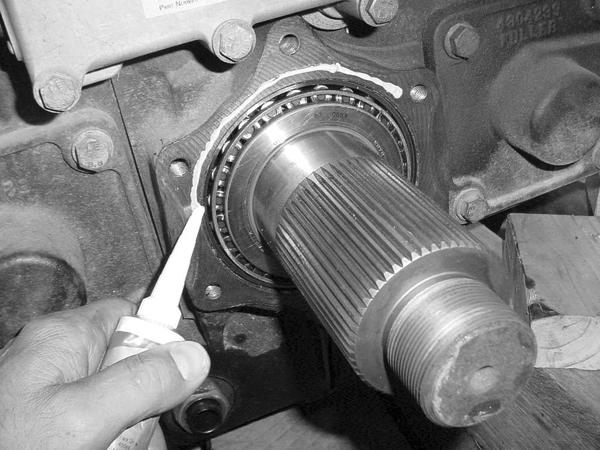
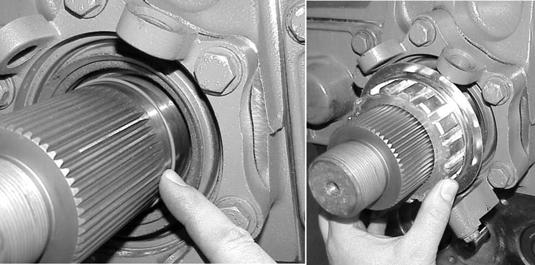
7. With the splitter gear installed on the end of the auxiliary mainshaft and the transmission tilted at a 45 degree angle.
Install the upper auxiliary countershaft into the case.
Note: Tilting the transmission will allow the countershaft to be aligned with the bearing bore for easier bearing installation.
8. The two painted teeth on the countershaft line up with the painted tooth on the splitter gear.
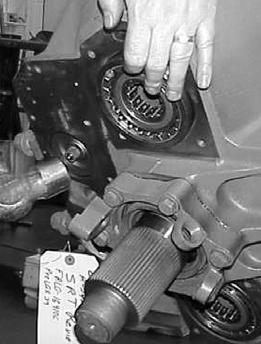
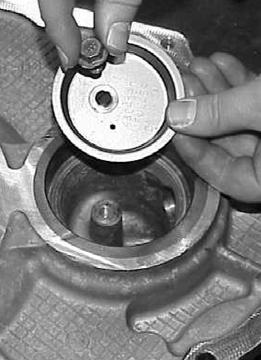
9. Install the rear auxiliary countershaft bearing over the end of the shaft by tapping it into the bearing bore until seated.
10.Assemble the countershaft rear bearing cover per installation instructions.
11.Repeat steps for the other auxiliary countershaft.