2 minute read
Breaker drive chain adjustment ..................................... 5


Breaker drive chain
The breaker drive chain should be checked for correct tension at regular intervals. If the chain is too loose or too tight, the power unit tray position can be moved to adjust the chain tension.
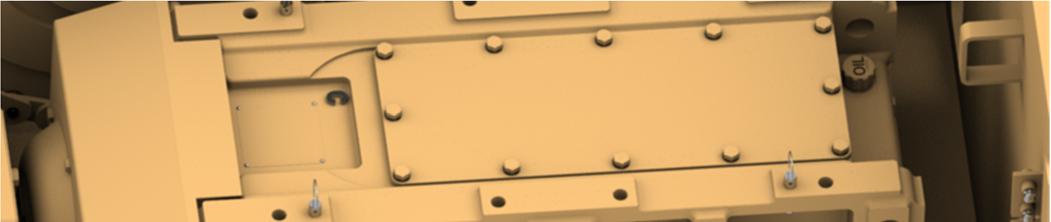
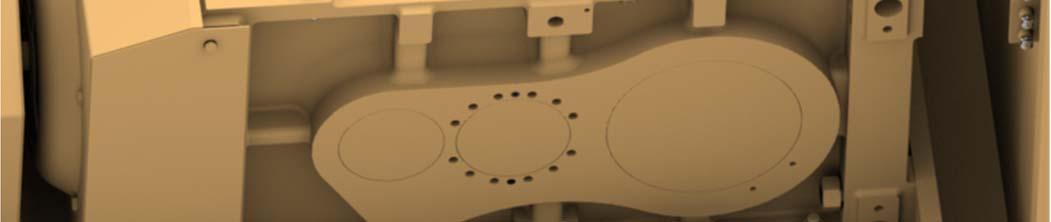
To adjust the breaker drive chain tension (Fig. 61):
1. Open the covers to access the power unit.
2. Loosen the Super nuts (jack bolts) that secure the power unit tray in position as follows:
a. Loosen each jackbolt on the nut 1/8 turn following a star pattern around the nut (1 round only). As you move around and get back to the first jackbolt, it will be tight again.
b. Repeat a 2nd round as in Step a, loosening each jackbolt 1/4 turn in a star pattern.
c. Continue loosening 1/4 turn for 3rd and following rounds until all jackbolts are loose. Note: Usually after the 3rd or 4th round, can be completely removed.
d. Remove, clean and lubricate with Never Seeze the jackbolts prior to installation.
e. Repeat this process for all nine (9) Super nuts.
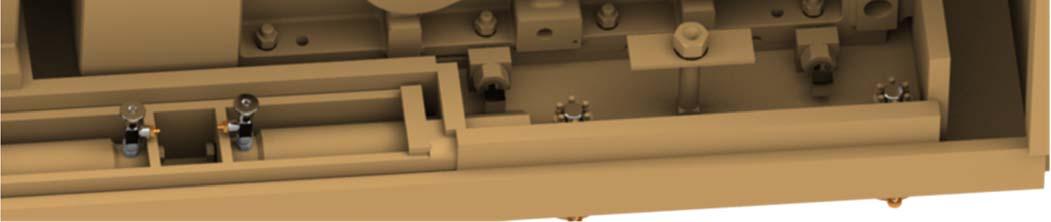
3. Open both grease valves.
To tighten the chain (move the power unit tray towards the tail shaft):
4. Loosen the grease fitting on the left take-up cylinder so that it can collapse as the chain is loosened.
5. Pump grease into the grease fitting on the right take-up cylinder until the correct chain tension is achieved.
To loosen the chain (move the power unit tray towards the head shaft):
4. Loosen the grease fitting on the right take-up cylinder so that it can collapse as the chain is loosened.
5. Pump grease into the grease fitting on the right take-up cylinder until the correct chain tension is achieved.
6. Close the open grease fitting.
7. Close both grease valves.
8. Install the take-up shims to fill the gap between the power tray and the grease cylinder mount.
9. Install the Super nuts (jackbolts) as follows:
a. Spin the tensioner (nut) onto the main thread until it seats against the washer.
b. In a star pattern, torque all jackbolts to 7 ft-lbs using a torque wrench.
c. Tighten in a star pattern all nine (9) jackbolts to 14 ft-lbs using a torque wrench.
d. Stabilize the jackbolt torque to 14 ft-lb by repeating the tightening process in a star pattern an additional two to four passes.
e. Repeat steps a through d for each Super nut on the power tray unit.
Fig. 61: Breaker drive chain tensioning
Jackbolt Tensioner Power unit tray


