6 minute read
HYDRAULIC SYSTEM
Template Date: 1994_04_29Template Name: OM_1_col

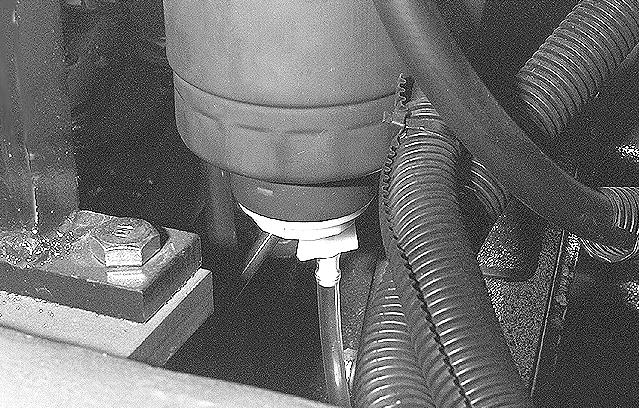
REMOVING WATER FROM THE WATER SEPARATOR FILTER AND REPLACEMENT OF THE FILTER ELEMENT Removing water from water filter separator
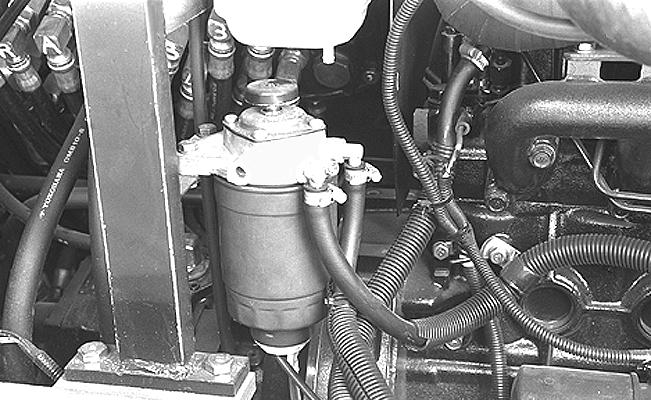
Replacing the filter element
STEP 1 STEP 1
TRIM THIS EDGE
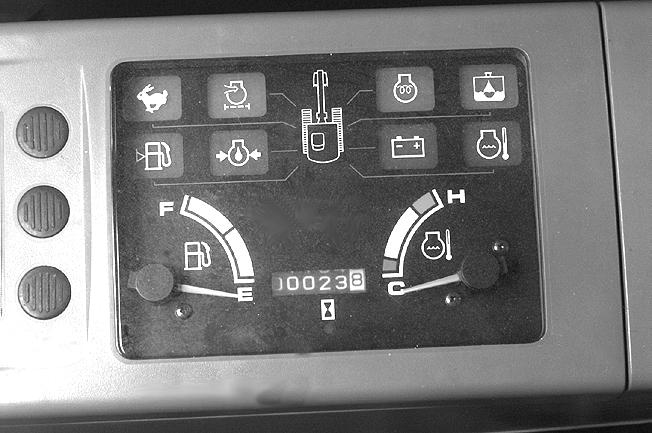
CD98A015 Water must be removed from the water separator element when the warning lamp on the instrument panel comes on.
STEP 2
CD98A054 Remove the detector. Using the filter wrench, remove the element.
STEP 2
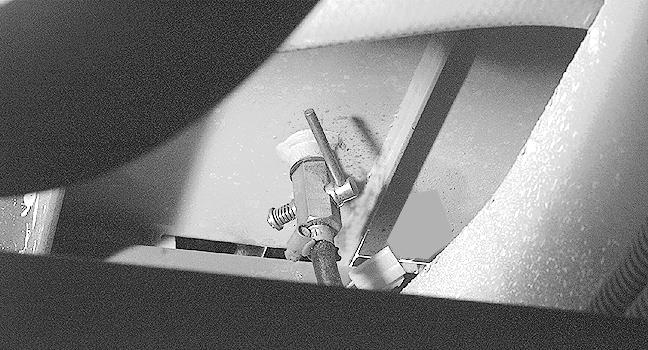
CK98B031 Open the water separator water drain valve. Operate the pump about 7 times to remove the water from the filter and close the valve.
PH08325 Apply a fine coating of oil or grease to the new element seal. NOTE: Do not fill the new element with fuel before installing it.
100
TRIM THIS EDGE
LEFT PAGE
STEP 3
Install the new filter. Turn the filter until the seal is in contact with the filter head and then tighten the filter an extra half turn by hand. NOTE: Do not use the filter wrench. If the filter head is tightened excessively, damage to the seal and filter can result.
STEP 4
Install the detector and bleed the system. See “Bleeding air from the fuel system”.
Removing water from the fuel tank
STEP 1
Place the upperstructure at right angles to the undercarriage. Stop the engine and remove the starter switch key.
STEP 2 STEP 3
CD98A055 Place a receptacle of a suitable capacity under the tank. Open the drain valve and allow the dirty fuel to flow out.
STEP 4
When only clean fuel is flowing out, place the drain valve in the closed position.
Filling
Before filling, make sure that the drain valve is in the closed position.
STEP 1
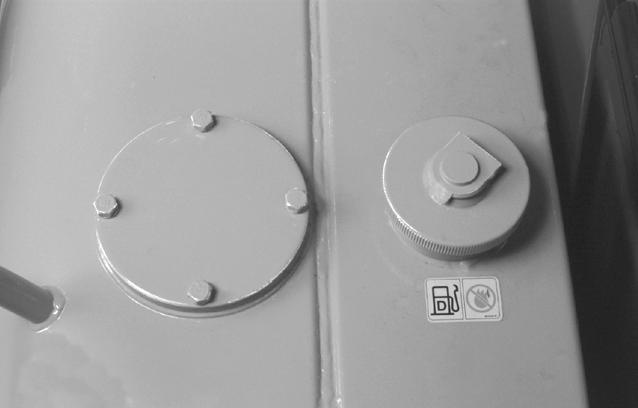
CD98A034 Using the starter switch key, open the right hand side panel.

CD98A008 Clean carefully around the filler cap. Slide back the filler cap opening protection and remove the filler cap by means of the starter switch key.
101
TRIM THIS EDGE
RIGHT PAGE TRIM THIS EDGE
Template Name: OM_1_colTemplate Date: 1994_04_29
Template Date: 1994_04_29Template Name: OM_1_col
TRIM THIS EDGE
STEP 2
Fill the tank, making sure that neither water or dirt enters the tank. IMPORTANT: Never remove the tank filter while filling.
WARNING: Never refill the fuel tank when the engine is running. Never smoke while refilling.
IMPORTANT: In cold weather, use fuel corresponding to the ambient temperature. See “Fluids and lubricants” in the “Lubrication/Filter/Fluids” Section.Fill the fuel tank after each working day to prevent the formation of condensation.
STEP 3
Install the fuel tank cap and lock it by means of the starter switch key. IMPORTANT: Make sure that the fuel tank cap is correctly locked.
102
TRIM THIS EDGE
LEFT PAGE
HYDRAULIC SYSTEM Service specifications
Reservoir fluid level check ........................................Every 10 hours or every day Reservoir hydraulic filter element replacement.............................Every 250 hours (after the first 50 hours of operation) Replacement of the hydraulic fluid filter........................................Every 500 hours (after the first 50 hours of operation) Every 200 hours (when using a hydraulic hammer) (After the first 25 hours of operation (when using a hydraulic hammer) Hydraulic fluid replacement........................................................Every 2,000 hours Every 600 hours (when using hydraulic hammer) Inlet screen cleaning..................................................................Every 2,000 hours Reservoir capacity............................................................................................68 L Total system capacity.....................................................................................100 L Type of fluid...................................................................See “Fluids and lubricants”
Level in reservoir
STEP 2
STEP 1
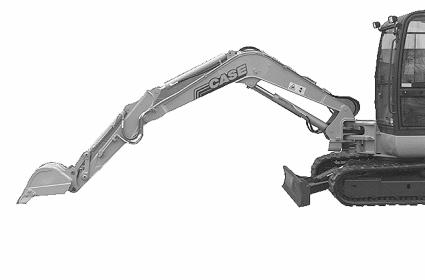
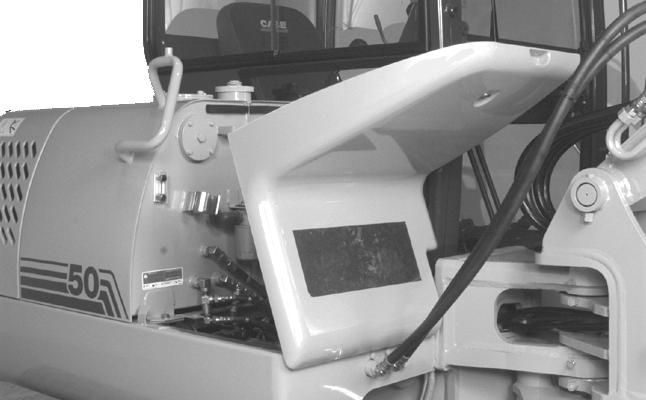
CD98A052 Park the machine on flat, horizontal ground. Retract the bucket and dipper cylinder rods completely. Lower the attachment to the ground. Stop the engine and remove the starter switch key.
CD98A037 Using the starter switch key, open the right hand side panel. TRIM THIS EDGE
103
TRIM THIS EDGE
RIGHT PAGE
Template Name: OM_1_colTemplate Date: 1994_04_29
Template Date: 1994_04_29Template Name: OM_1_col

STEP 3 STEP 2
TRIM THIS EDGE
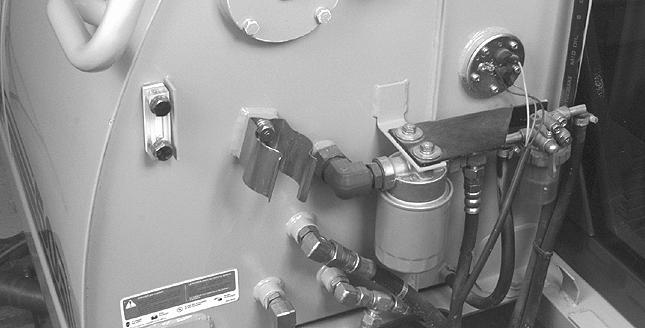
CD98A046 The oil should be in the middle of the sight glass. Top up if necessary. See “Filling”.
Replacing the filter element on the reservoir
Tools required
-One filter wrench
STEP 1
CD98A056 Place a receptacle of a suitable capacity under the filter, loosen the filter by means of the filter wrench and then unscrew it by hand.
STEP 3
Apply a fine coating of oil on the new filter seal.
STEP 4
Clean around the filter.
CD98A056 CD98A056 Install the new filter. Turn the filter until the seal is in contact with the filter head and then turn it an extra half turn by hand. IMPORTANT: Do not use the filter wrench. Over tightening can damage this seal and the filter.
104
TRIM THIS EDGE
LEFT PAGE
Replacing the hydraulic fluid filter
Tools required
-One 17 mm wrench for hexagonal head screws -One 22 mm wrench for hexagonal head screws
STEP 1
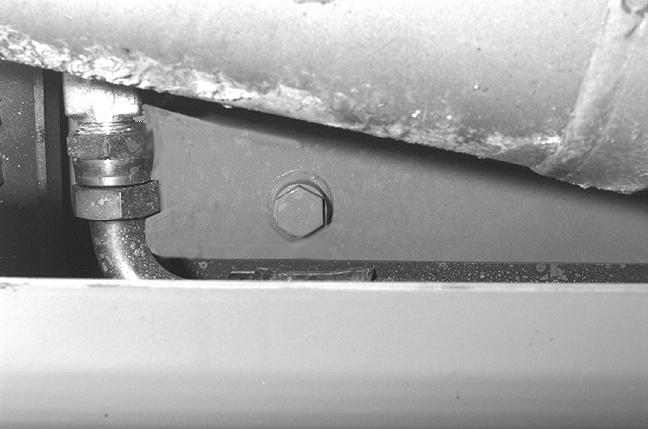
CD98A056 Unscrew the plug a few turns to lower the pressure gradually.
STEP 2

1 2
5 3

4
CS98A185 Clean around the cover. Remove the screws (1), the washers (2), the cover (3), and the seal (4) from the reservoir. Remove the filter (5). Install a new filter. Install the seal (4) or replace it if necessary. Install the cover and its retaining hardware. Check the level in the reservoir. Top up if necessary. See “Filling”. Re-pressurise the hydraulic reservoir. See “Pressurising the hydraulic reservoir”.
Replacing the hydraulic fluid
The replacement of hydraulic fluid consists of systematically draining the oil from the main components (reservoir, pumps, cylinders, control valves, hydraulic motors, oil cooler). We recommend that you consult your CASE Dealer.
Draining
Tools required
-One 17mm wrench for hexagonal head screws -One 22mm wrench for hexagonal head screws -One 27mm wrench for hexagonal head screws
STEP 1
Park the machine on flat, horizontal ground.
STEP 2
Place the upperstructure at right angles to the undercarriage. Stop the engine and remove the starter switch key.
STEP 3
Place a receptacle of a suitable capacity under the reservoir.
105
TRIM THIS EDGE
RIGHT PAGE TRIM THIS EDGE
Template Name: OM_1_colTemplate Date: 1994_04_29
Template Date: 1994_04_29Template Name: OM_1_col

STEP 4 Filling
STEP 1
TRIM THIS EDGE
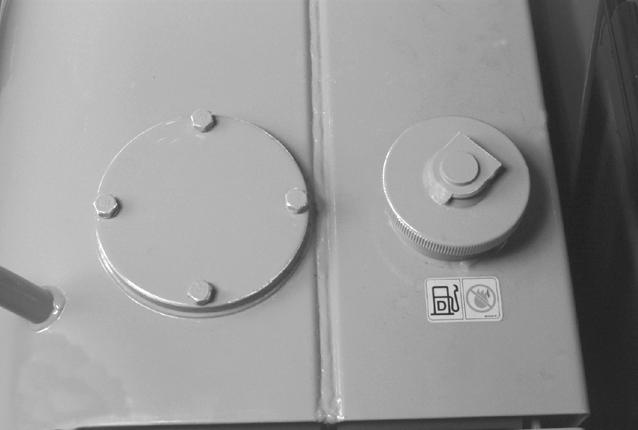
CD98A008 Release the pressure in the hydraulic reservoir and remove the reservoir filler cover. IMPORTANT: Before removing the filler cover, clean around the cover.
STEP 5
CD98A057 Install and tighten the reservoir drain plug.
STEP 2
CD98A057 Remove the drain plug from the reservoir and allow the oil to flow out.
STEP 6
Drain the other components by removing the supply and return unions. Consult your CASE Dealer.
CD98A046 Fill the reservoir with the direct hydraulic fluid to the correct level on the site glass.
STEP 3
Install the filler cover on the reservoir.
STEP 4
Start the engine and operate the attachment, the swing and the travel functions.
106
TRIM THIS EDGE
LEFT PAGE


