Engine/Transmission This section has been organized into sub-sections which show a progression for the complete servicing of the Arctic Cat ATV engine/transmission. To service the center crankcase halves, the engine/transmission must be removed from the frame. To service top-side, left-side, and right-side components, the engine/transmission does not have to be removed from the frame. NOTE: Arctic Cat recommends the use of new gaskets, lock nuts, and seals and lubricating all internal components when servicing the engine/ transmission.
Removing Engine/ Transmission Many service procedures can be performed without removing the engine/transmission from the frame. Closely observe the note introducing each sub-section for this important information.
AT THIS POINT If the technician’s objective is to service/replace leftside cover oil seals, the engine/transmission does not have to be removed from the frame.
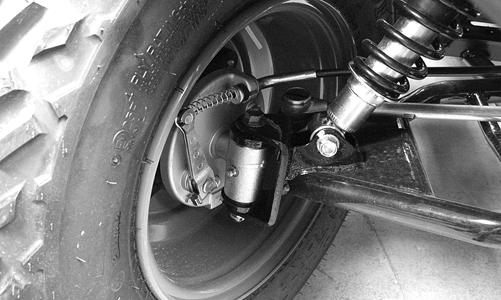
Secure the ATV on a support stand to elevate the wheels.
! WARNING
SPECIAL TOOLS A number of special tools must be available to the technician when performing service procedures in this section. Refer to the current Special Tools Catalog for the appropriate tool description. Description
p/n
Crankcase Separator/Crankshaft Remover
0444-152
Piston Pin Puller
0644-328
Spanner Wrench
0444-192
Flywheel Holder
0444-193
Magneto Rotor Remover
0444-187
Tappet Adjuster
0444-189
Surface Plate
0644-016
Driven Pulley Compressor
0444-195
V Blocks
0644-535
Ring Compressor
0644-378
Valve Spring Compressor
0444-197
Ball Hone
0644-290
Crankshaft Bearing Puller
0444-194
Blind Bearing Puller Kit
0444-196
Bearing/Seal Driver Kit
0444-190
NOTE: Special tools are available from the Arctic Cat Service Parts Department.
Make sure the ATV is solidly supported on the support stand to avoid injury.
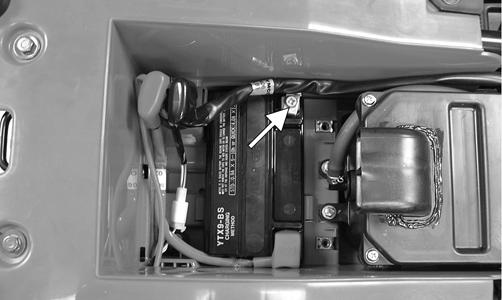
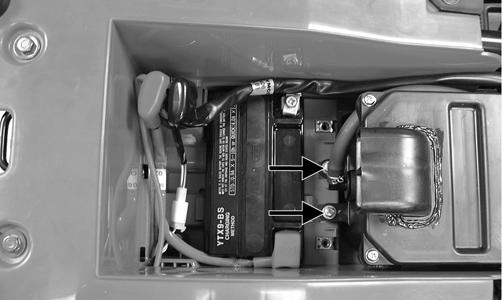
1. Remove the seat; then remove the left and right side covers and footwells. 2. Remove the gas tank (see the Fuel/Lubrication/Cooling section). 3. Move the battery cover and disconnect the negative battery cable.
TR022A
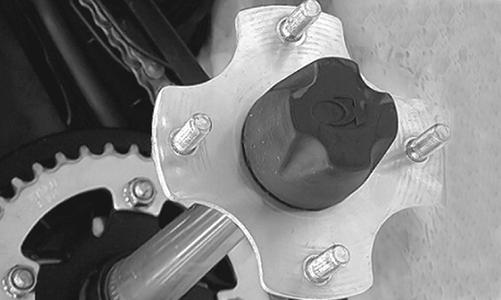
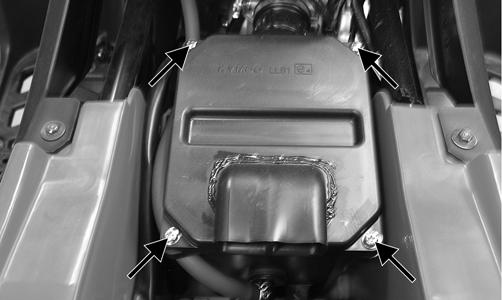
4. Remove the crankcase breather hose from the crankcase ventilator valve; then loosen the intake boot clamp and remove the air filter assembly.
NOTE: A new ATV and an overhauled ATV engine require a “break-in” period. The first 10 hours (or 200 miles) are most critical to the life of this ATV. Proper operation during this break-in period will help assure maximum life and performance from the ATV. Instruct the customer to follow the proper break-in procedure as described in the Operators Manual.
TR050A
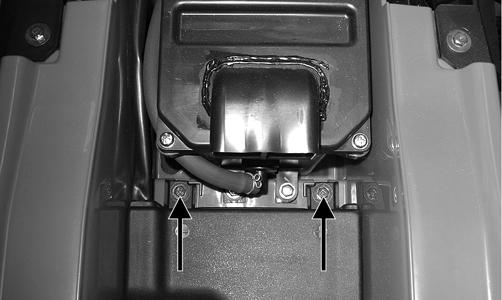
5. Remove the nuts securing the intake to the cylinder head; then remove the intake pipe/carburetor assembly leaving the throttle cable and choke cable con24
nected. Set the assembly aside.