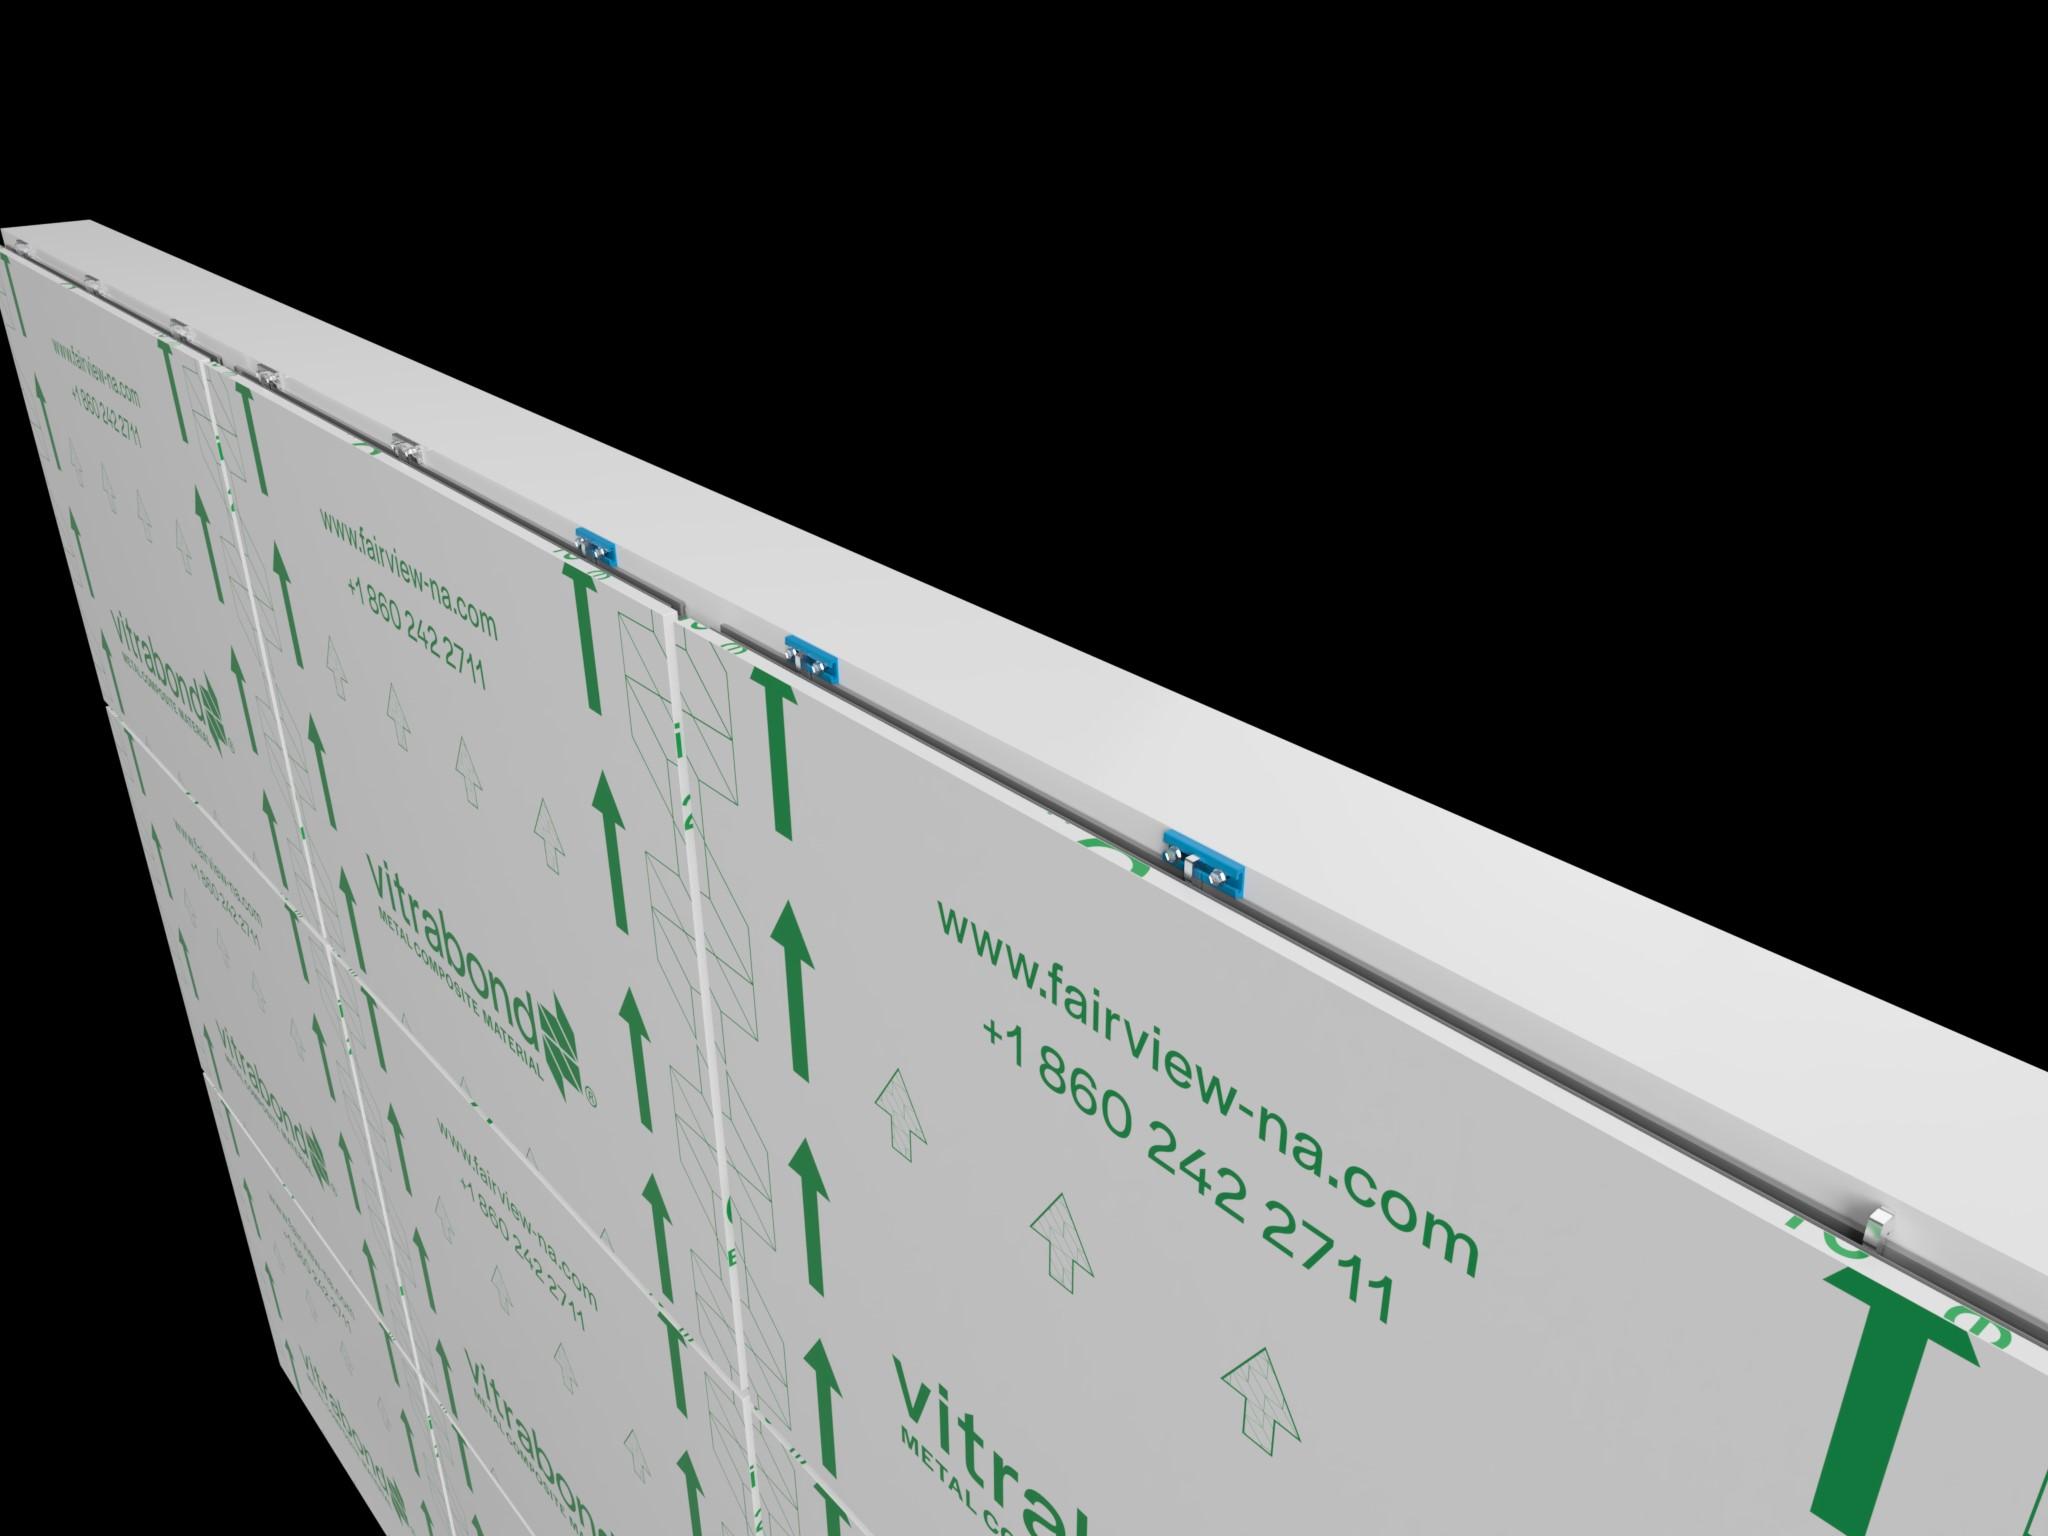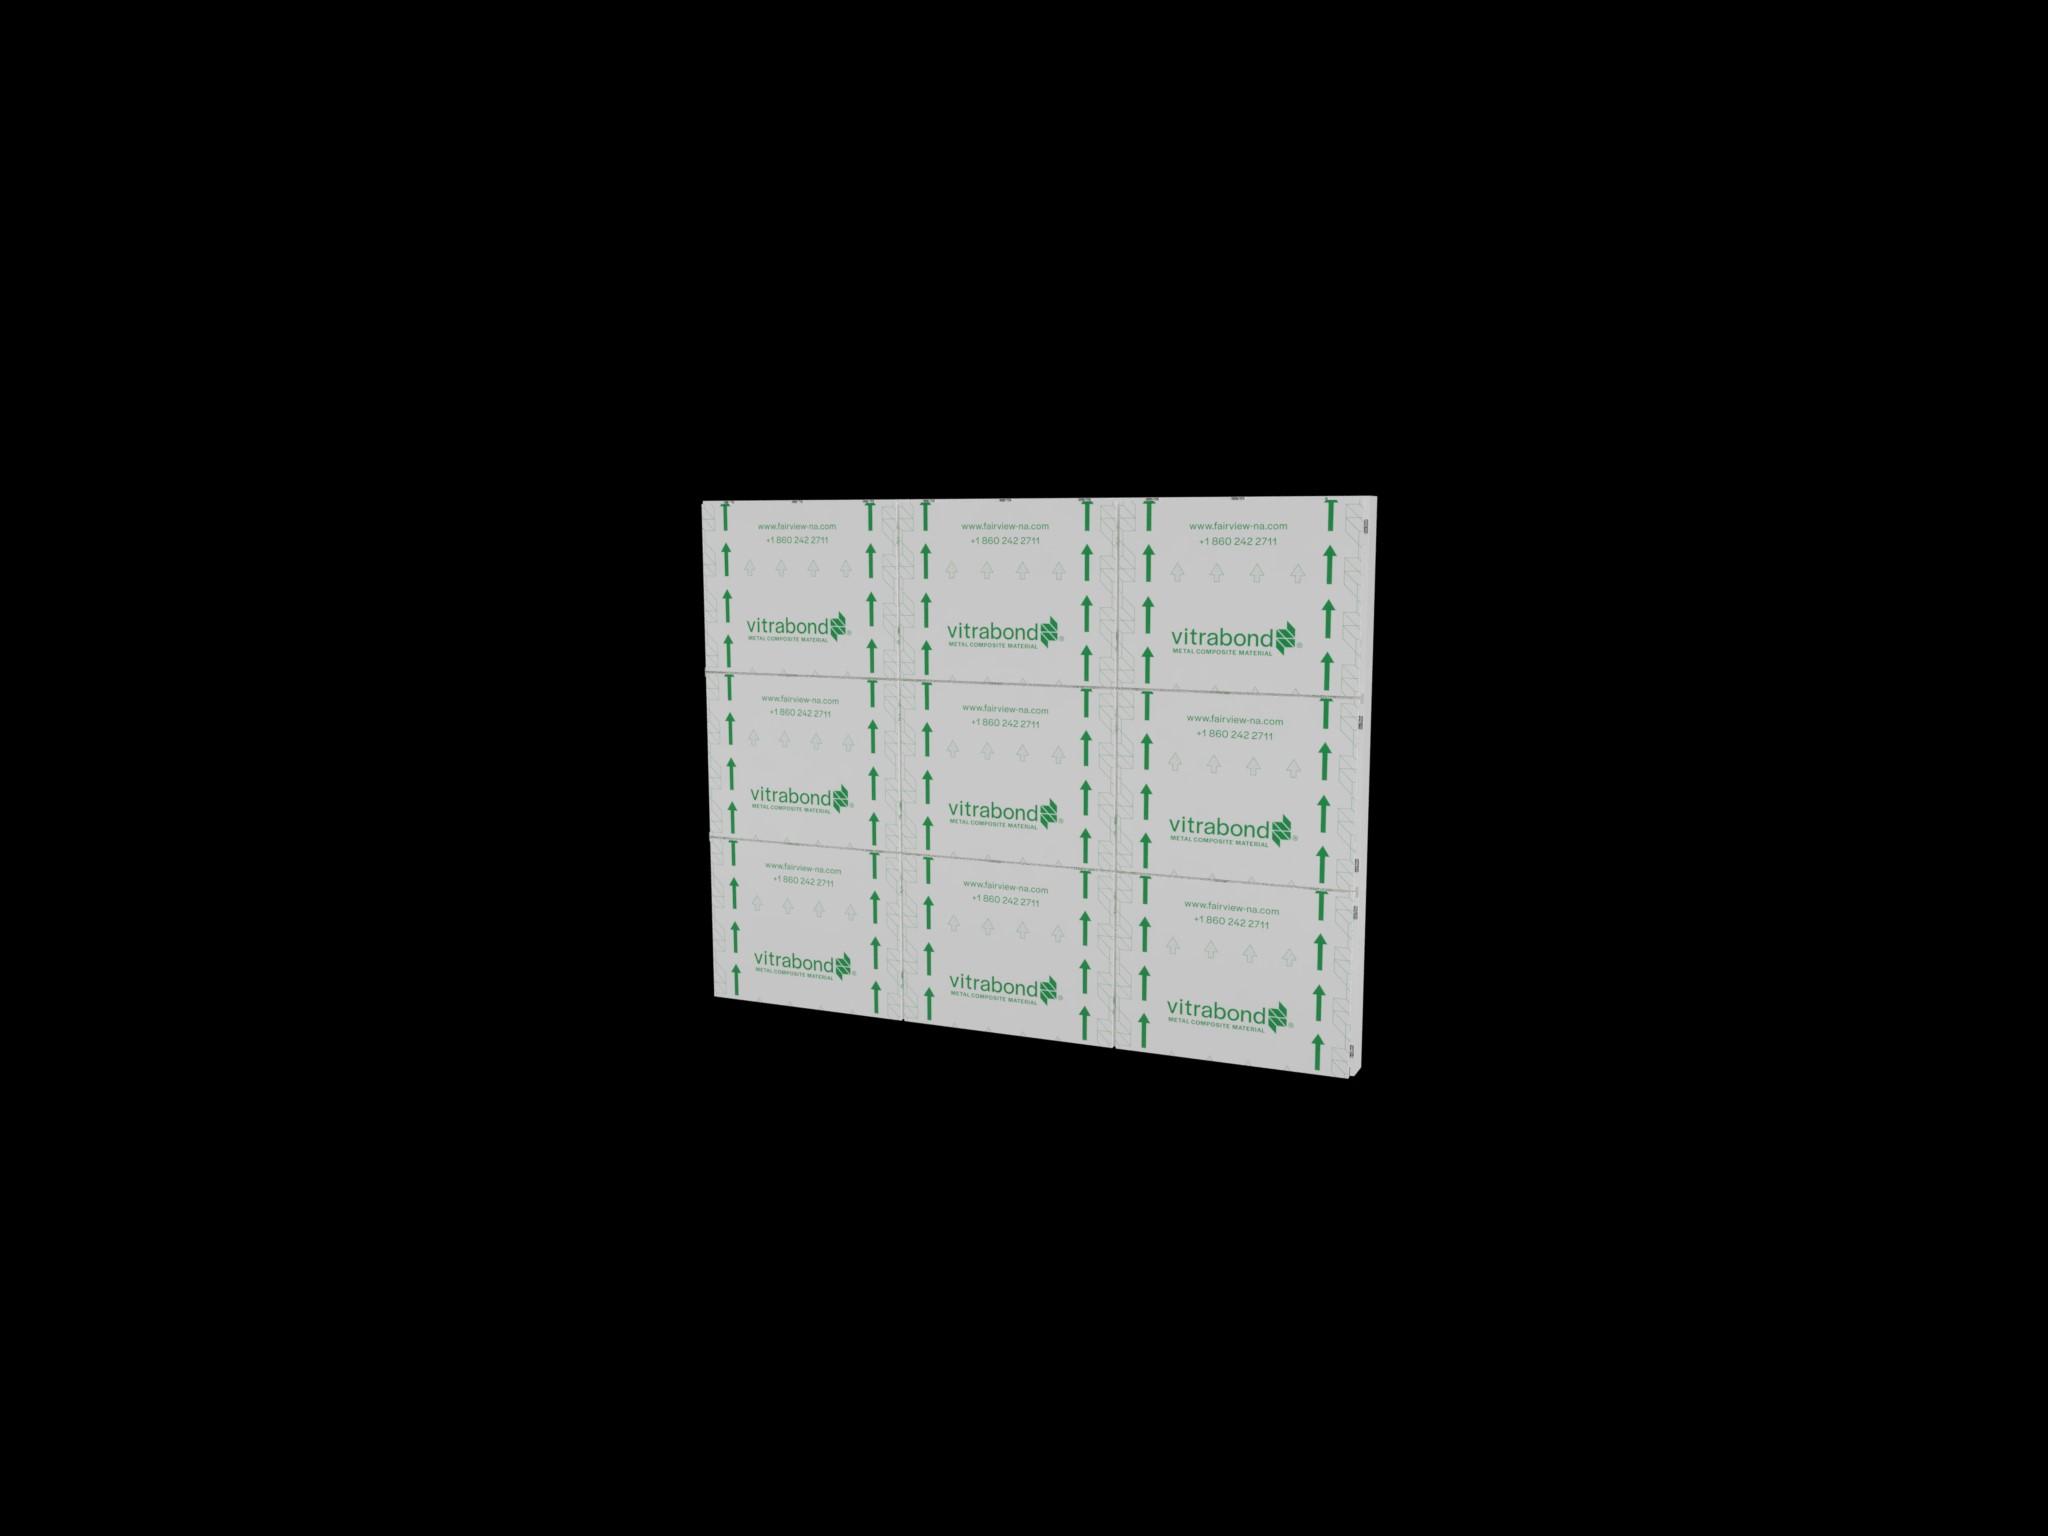


Install the AH-105 J-Sill extrusion at the bottom of the wall. Level and shim as required.
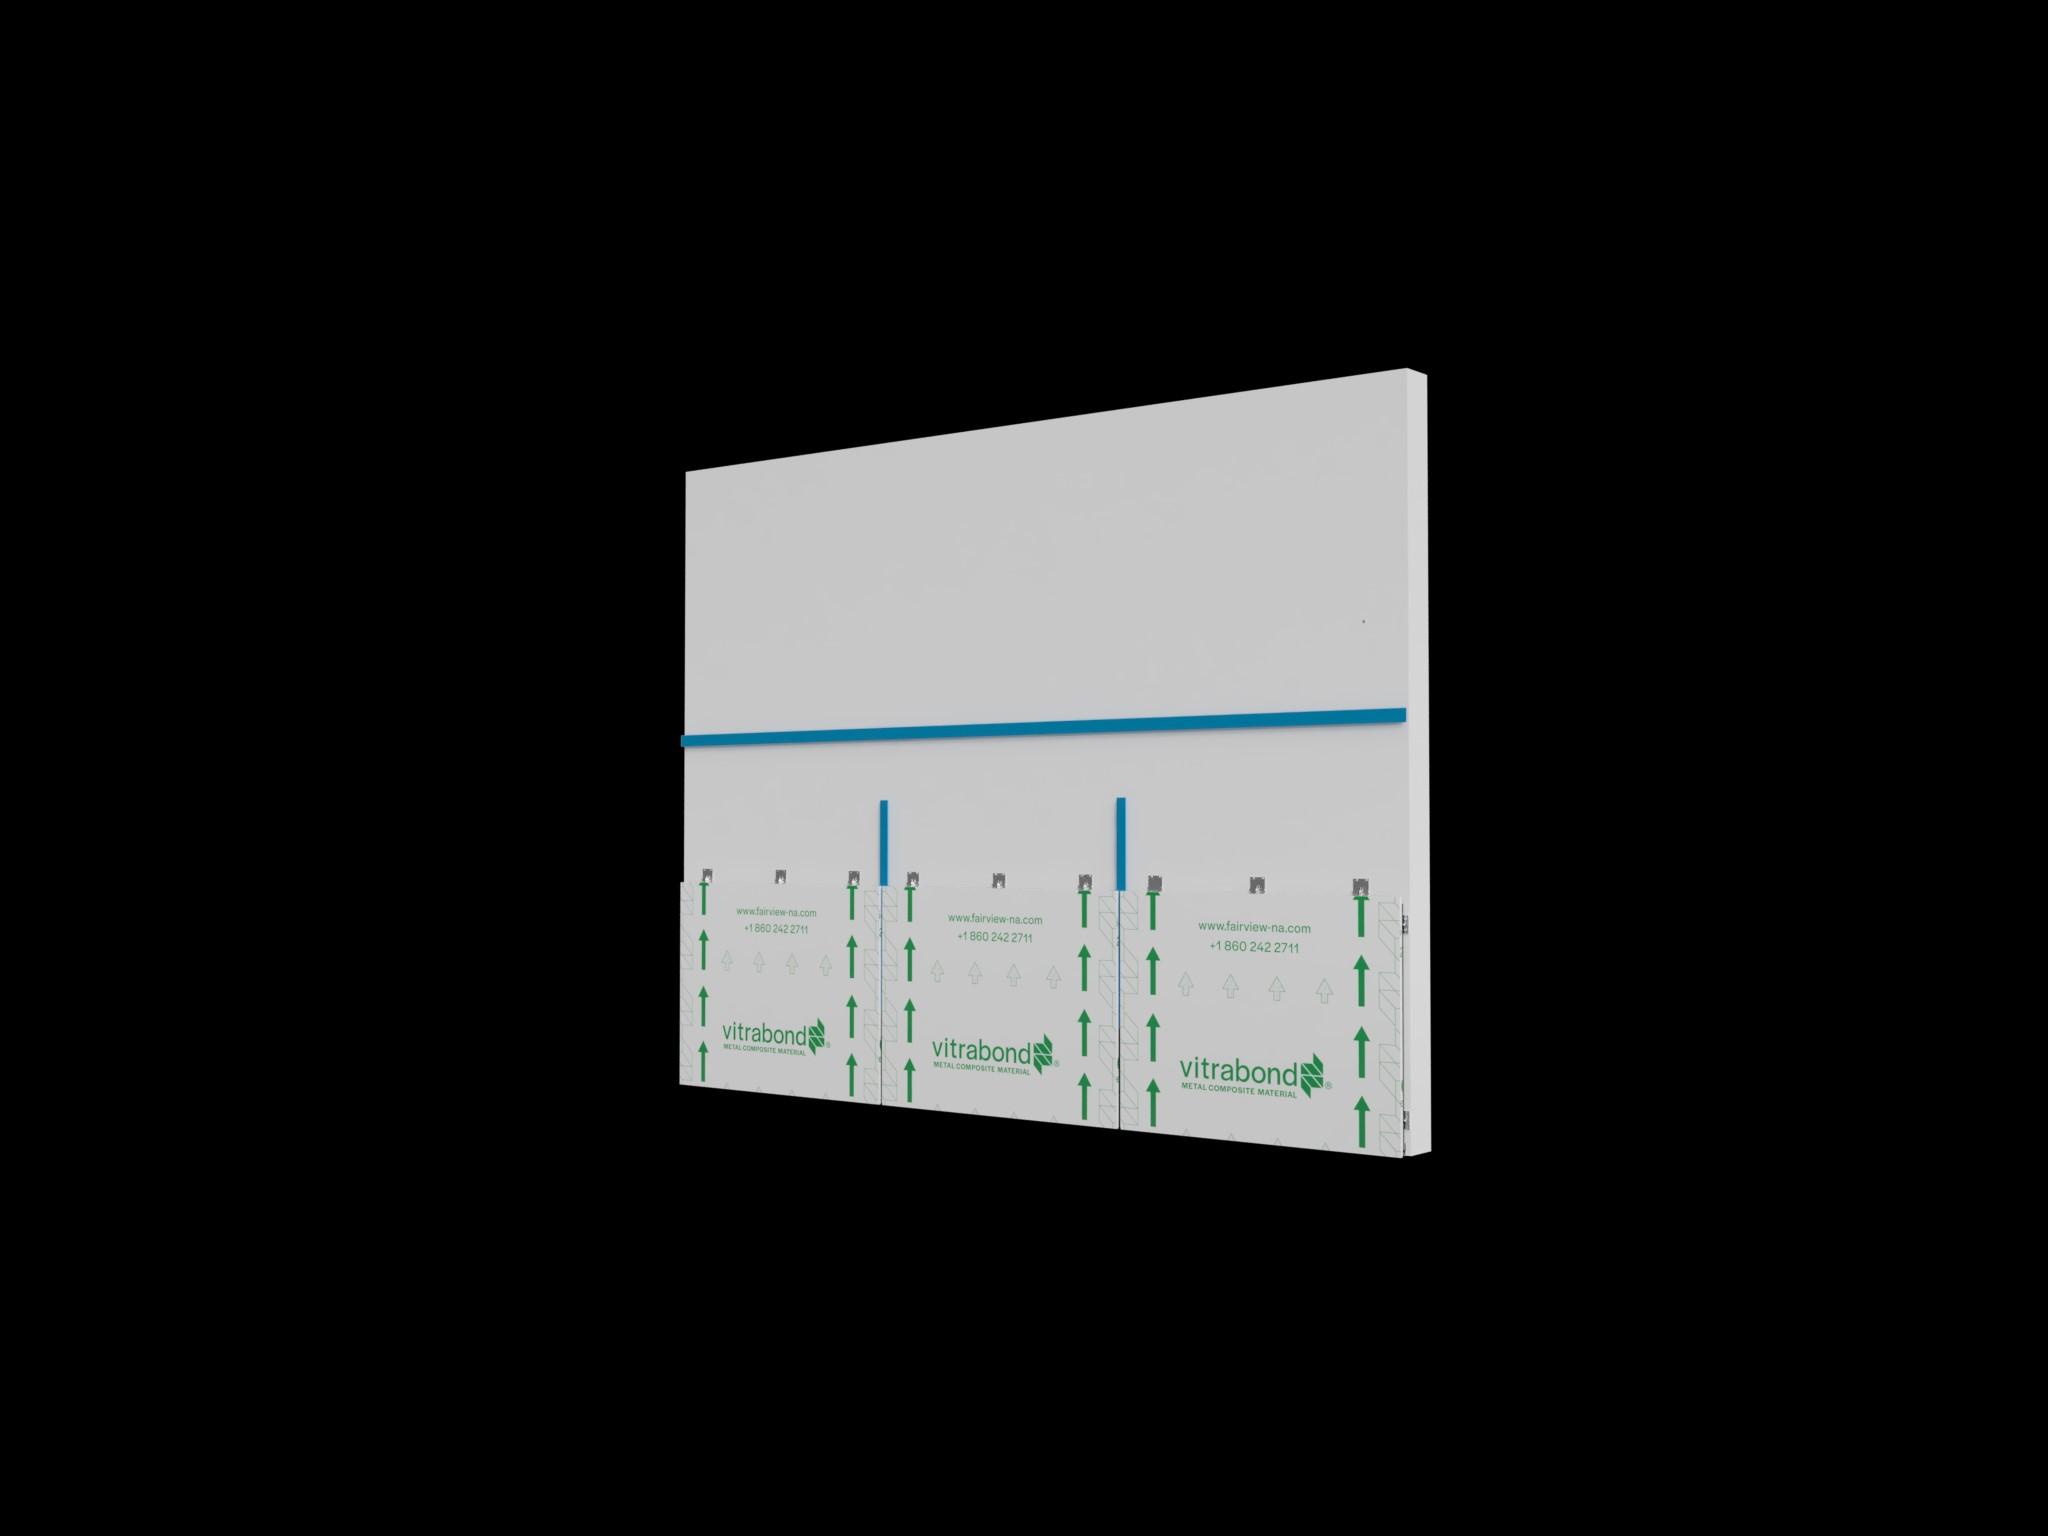
Fasten 2 pre-assembled AH-206 End Clip and AH-107 Modified T-Clip to the substrate. Level and shim where required.
Ensure that the clips are installed no more than 6 inches from the top or bottom of the panel, and no more than 52” apart.
Tired of reading? Access the training videos using the QR code below


104 clips on the top and right perimeter extrusions. Ensure the leg on the AH is on the inside of the panel.
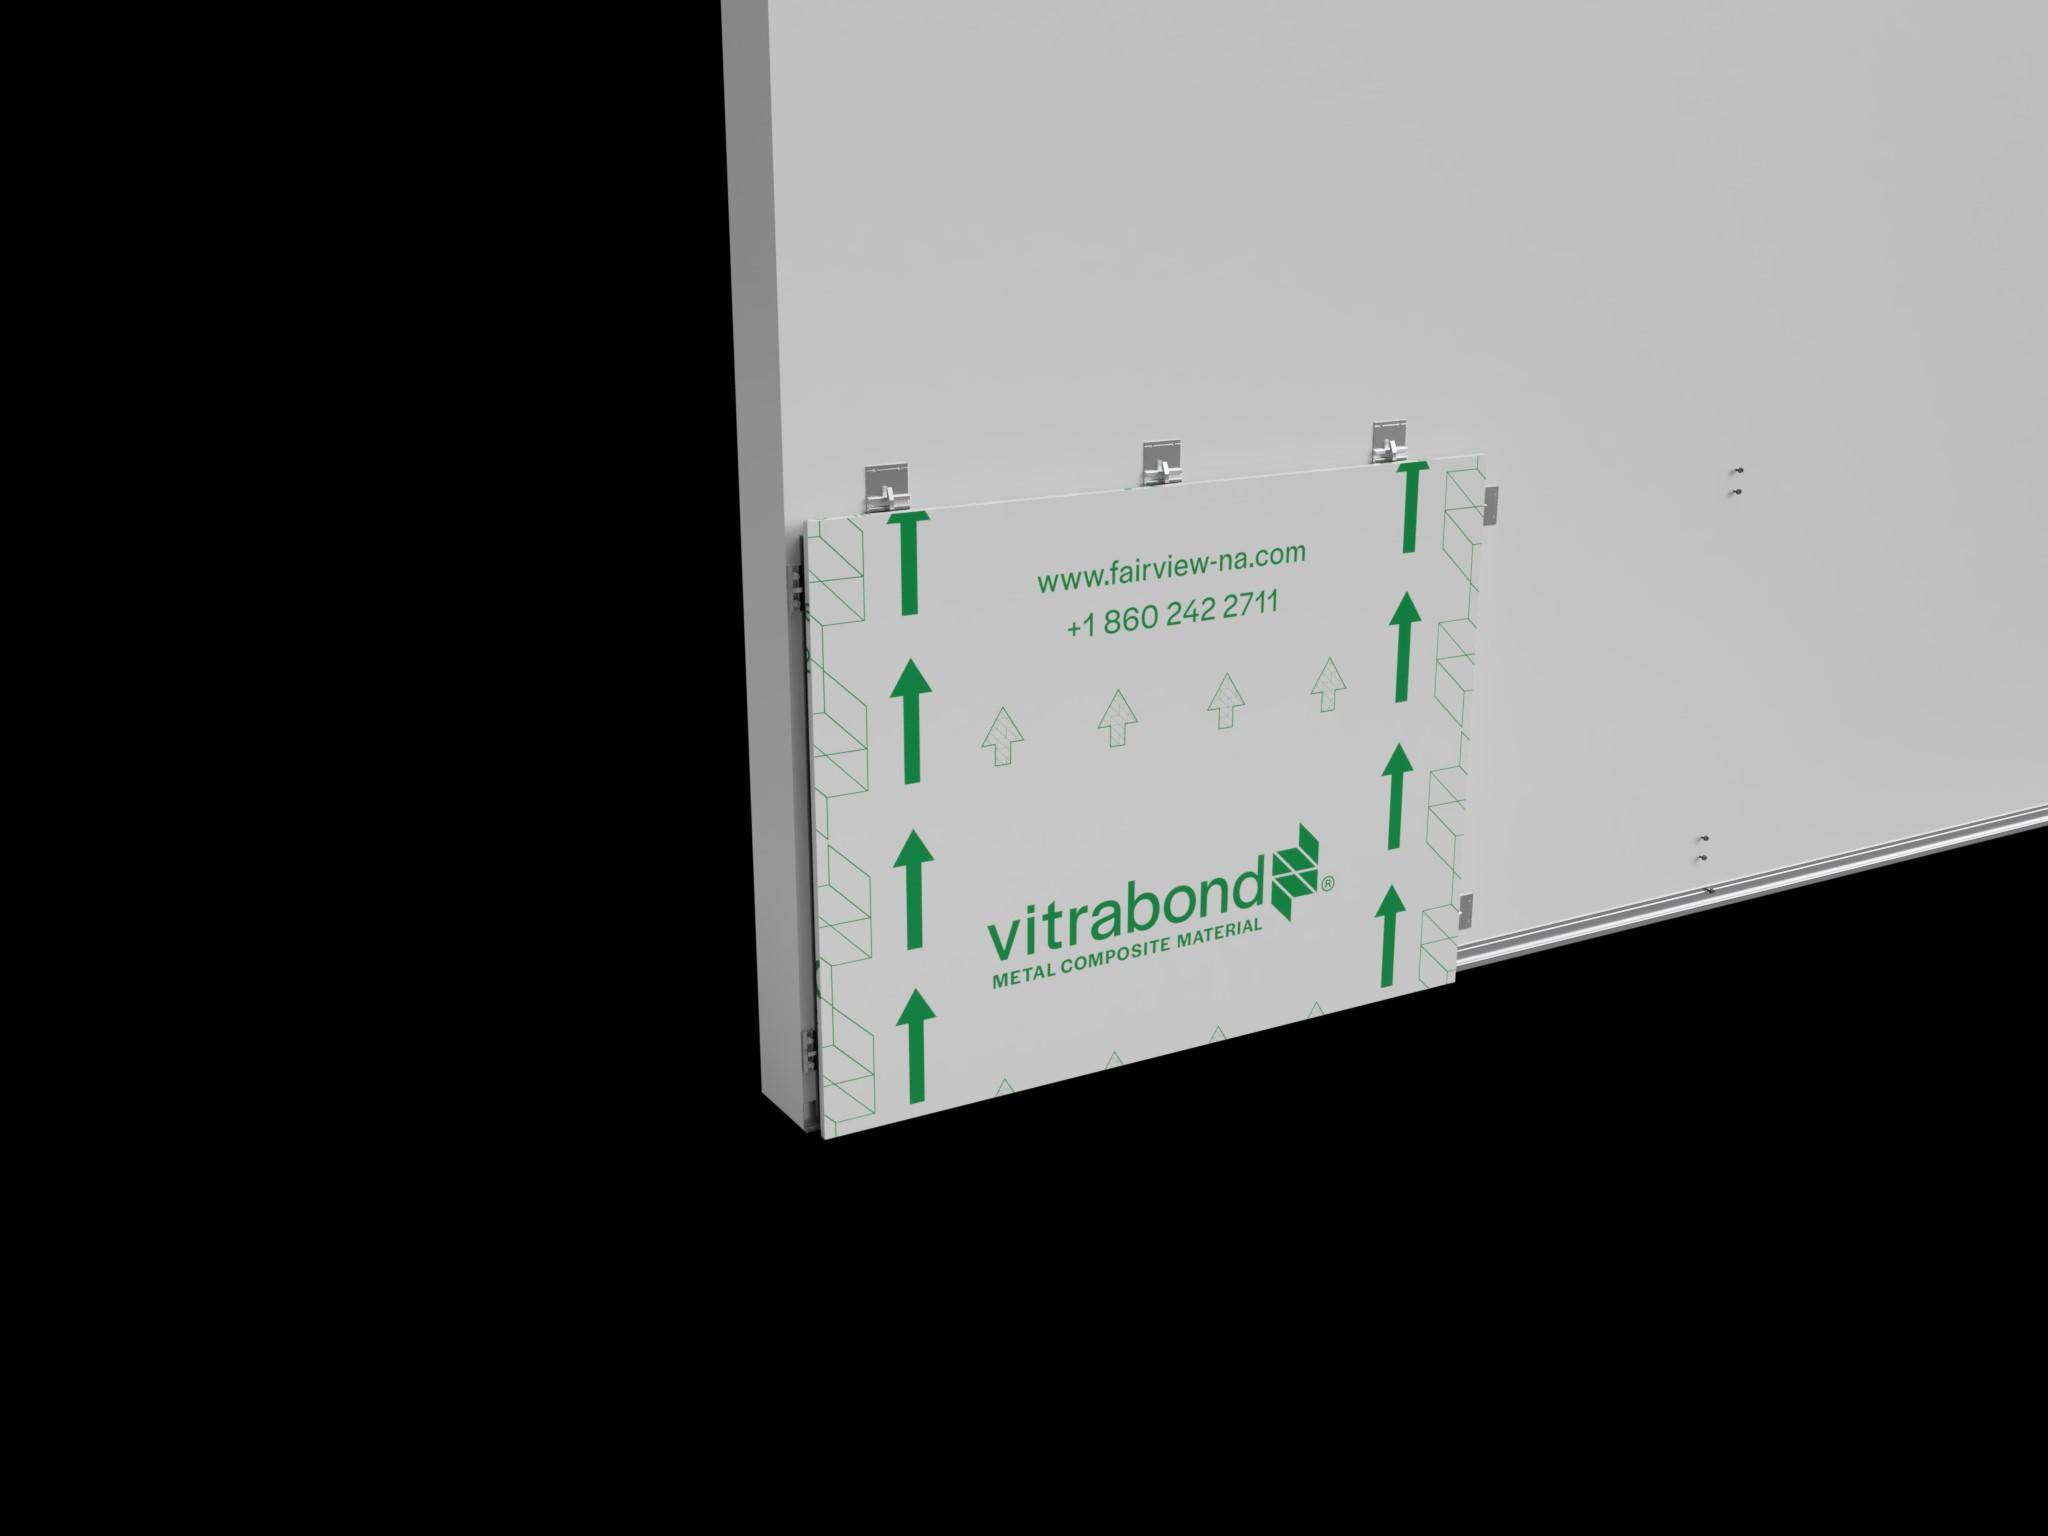
AH-204 clips should be spaced no more than 6” from each end, no more than 52” apart vertically, and no more than 16” apart horizontally.

Tired of reading? Access the training videos using the QR code below mechanical fasteners


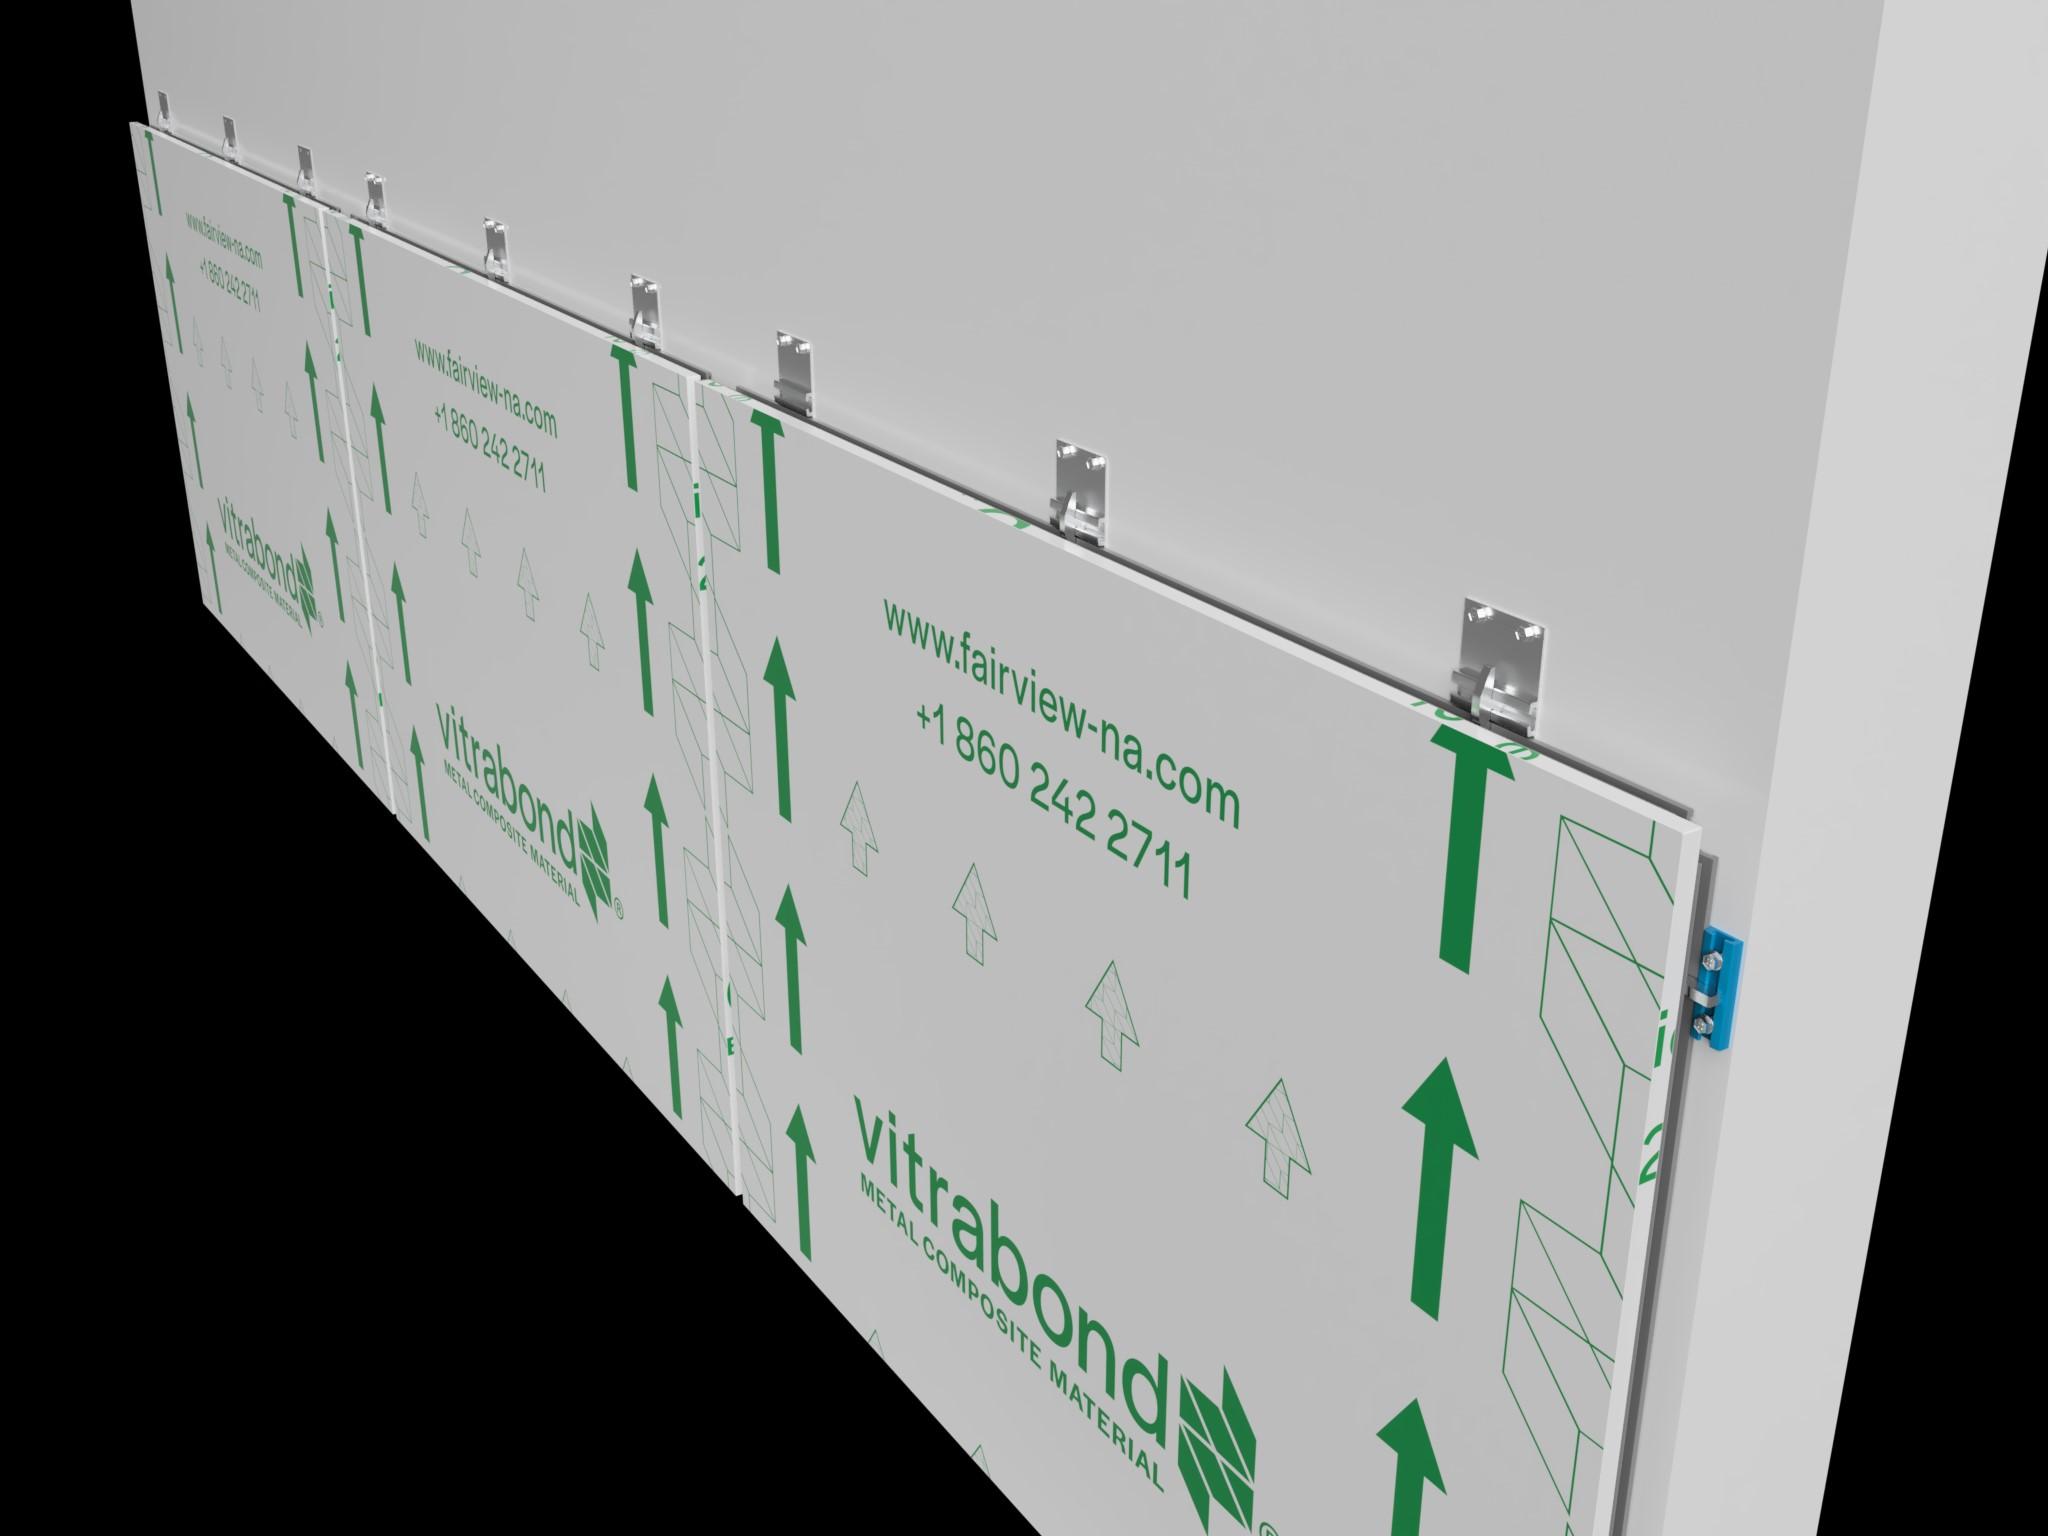
Install the rest of the panels in the row. For the last panel in the row, use AH 207 clips instead of the AH
Tired of reading? Access the training videos using the QR code below

