Ironing must be done by an adult only.


Ironing must be done by an adult only.

• Socks – Pack of 20 – 16557
• CleverPatch™ Tie Dye Paint – 250ml Set of 10 Colours – 18870 OR
• CleverPatch™ Tie Dye Paint – 1L Set of 10 Colours – 18869
• Rubber Bands – Size 18 – 500g Pack – 21193
• Other materials required: Water in a tray, plastic zip lock bag, gloves, iron & splash mat.
Put some colour in your step with these amazing rainbow socks!


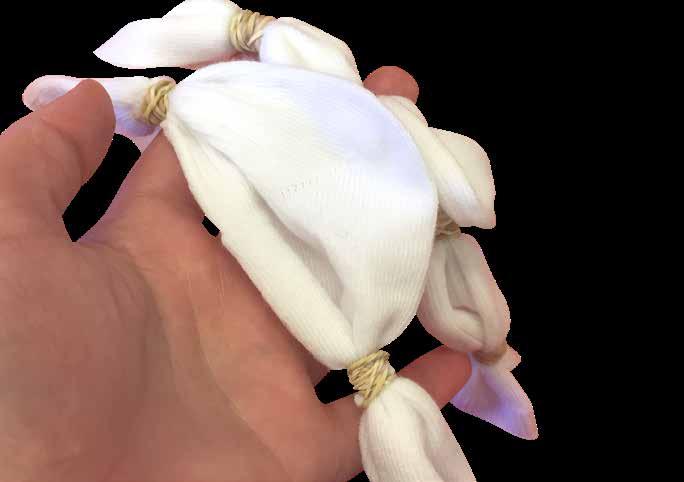
1. Take a sock and secure rubber bands along its length. The more sections you have the more colours you can use in your rainbow! Repeat this on the other sock.

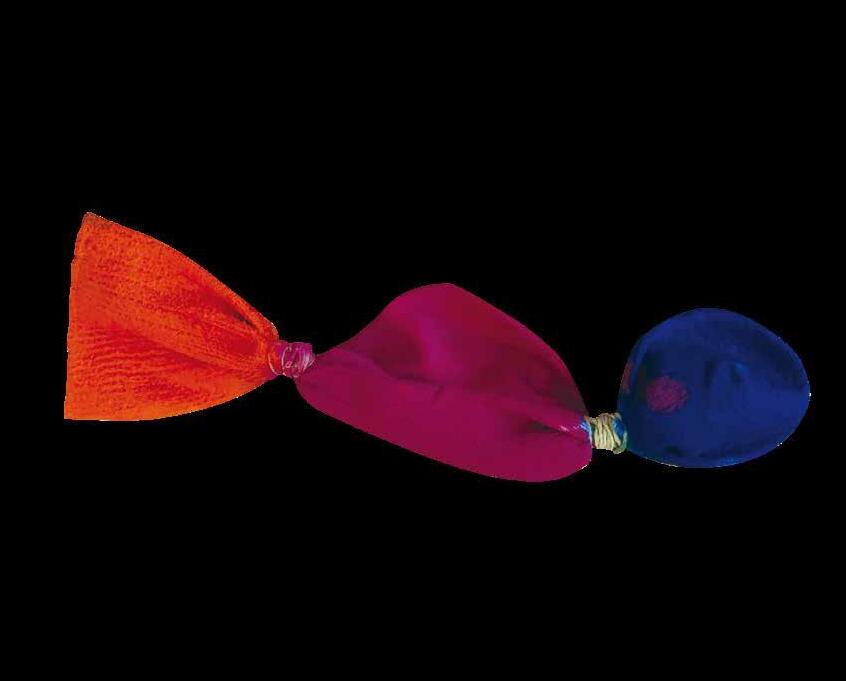
4. Continue applying different colours to each of the sections until both socks are completely covered. Place your socks into a plastic zip lock bag and let it sit for 4 hours in a refrigerator.
2. Now the socks are tied, dampen them in a tray of water being sure to wring out any excess water.
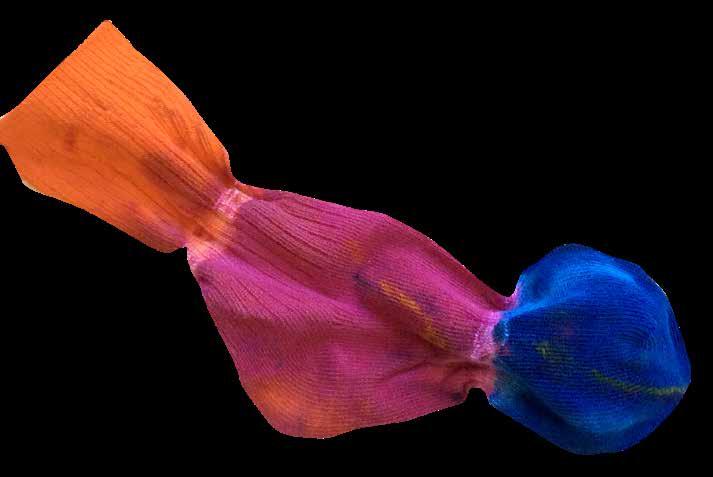
5. Remove from the refrigerator and bag and allow to air dry completely. Remove the rubber bands and rinse out the dye under a cold tap.

3. Use the bottle to apply the tie dye to the first section of your sock. Wearing gloves, massage the colour into the sock.
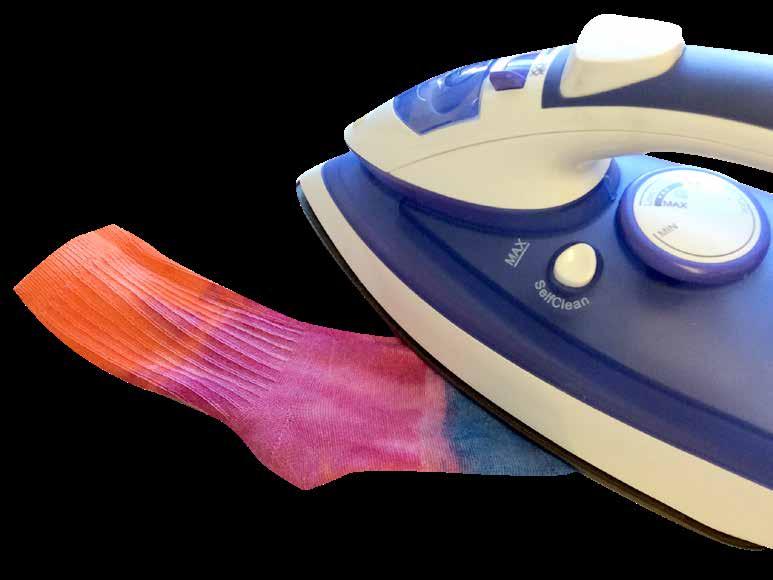
6. To set your design, place your socks into a dryer or allow your socks to air dry then iron them for 5-10 minutes. Your bright, groovy socks are now ready to wear!
• Fabric Apron – 15749
• CleverPatch™ Tie Dye Paint – 250ml Set of 10 Colours – 18870 OR
• CleverPatch™ Tie Dye Paint – 1L Set of 10 Colours – 18869
• Rubber Bands – Size 18 500g Pack – 21193
• Other materials required: Water in a tray, plastic zip lock bag, gloves, iron & splash mat.
You’ll be super creative in the kitchen wearing your Sunburst Apron!

1. Begin by dampening your apron. Wring out any excess water.
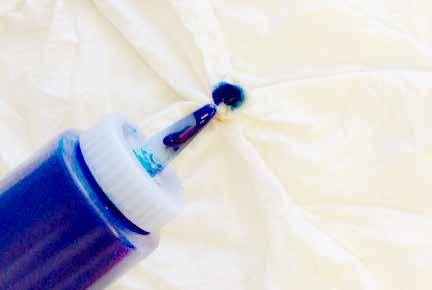
4. Apply tie dye colours to the tip of each burst and massage into the fabric while wearing gloves. Place your apron into a plastic zip lock bag and let it sit for 4 hours in a refrigerator.
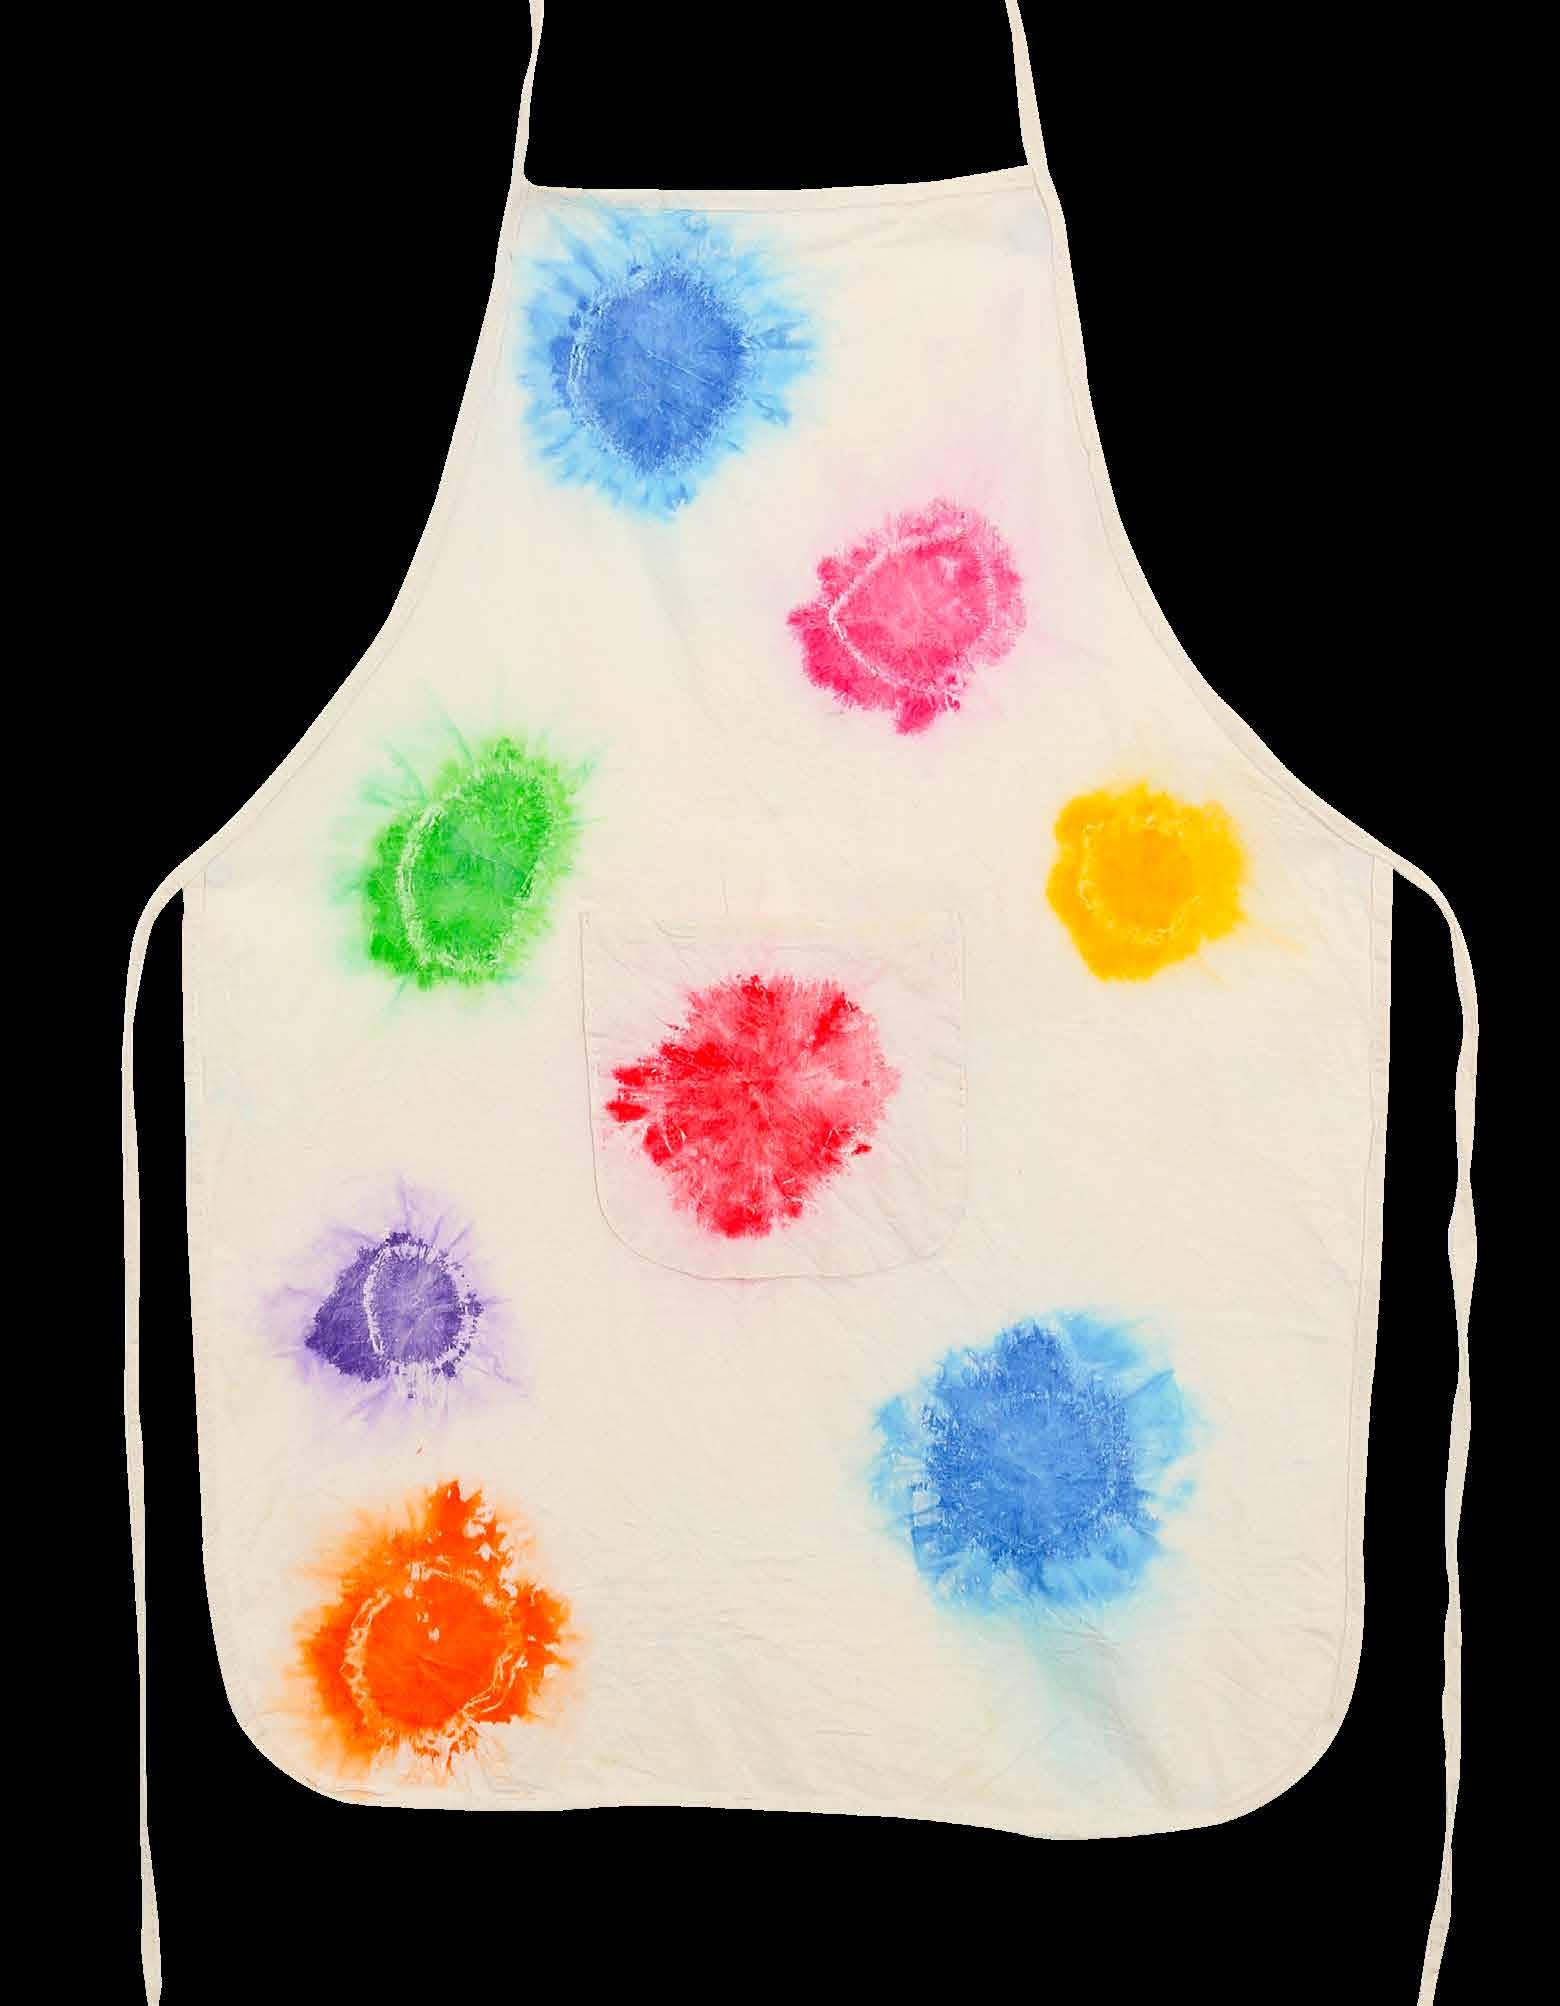

2. Pinch your apron where you would like your burst to appear and pull between your thumb and forefinger (the more you pull through, the bigger your burst).
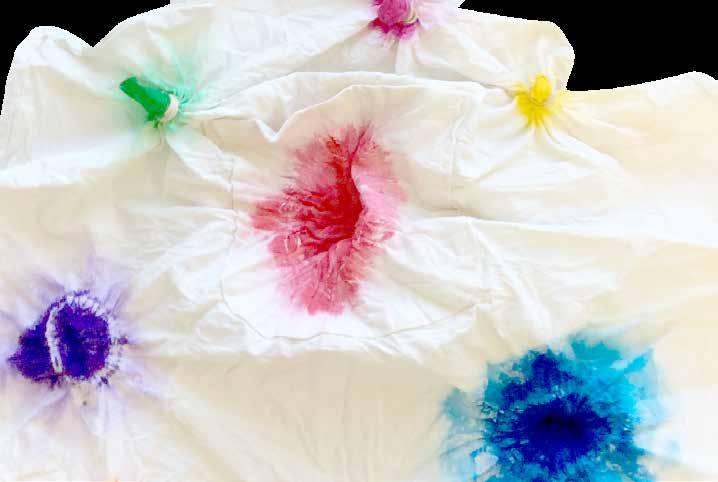
5. Remove from the refrigerator and bag and allow to air dry completely. Remove the rubber bands and rinse out the dye under a cold tap.

3. Secure with a rubber band and repeat all over your apron where you would like your bursts to be.

6. To set your design, place your apron into a dryer or allow to air dry then iron your design for 5-10 mins. Enjoy making tasty treats wearing your designer apron!
• Fabric Bandana – 19111
• CleverPatch™ Tie Dye Paint – 250ml Set of 10 Colours – 18870 OR
• CleverPatch™ Tie Dye Paint – 1L Set of 10 Colours – 18869
• Rubber Bands – Size 18 – 500g Pack – 21193
• Other materials required: Template (pg 7), scissors, washable marker, water in a tray, plastic zip lock bag, gloves, iron & splash mat.
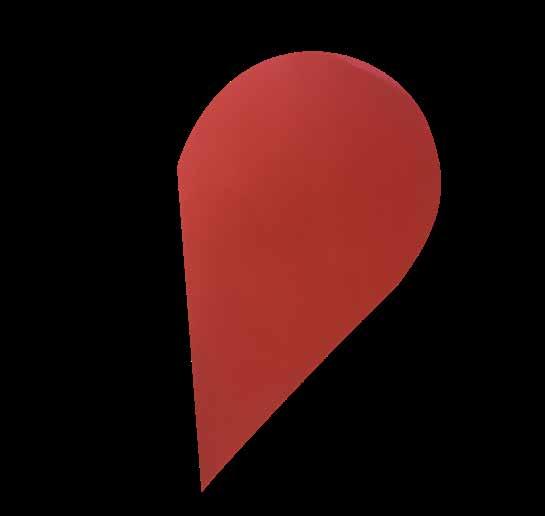
1. Print out the template provided on page 7 and cut out.
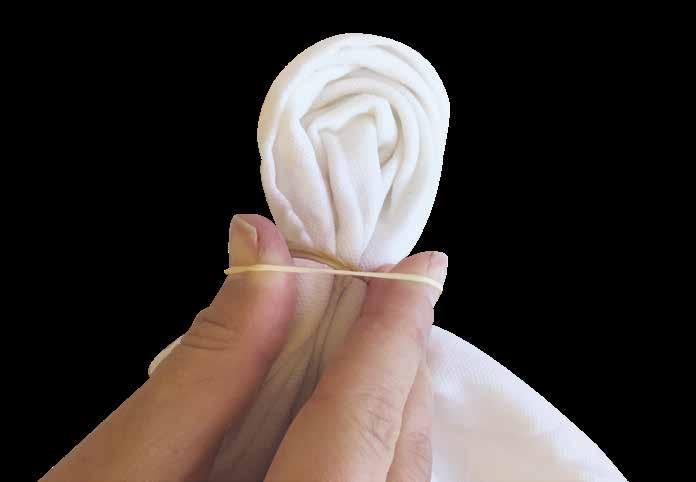
4. Secure a rubber band tightly around this line.
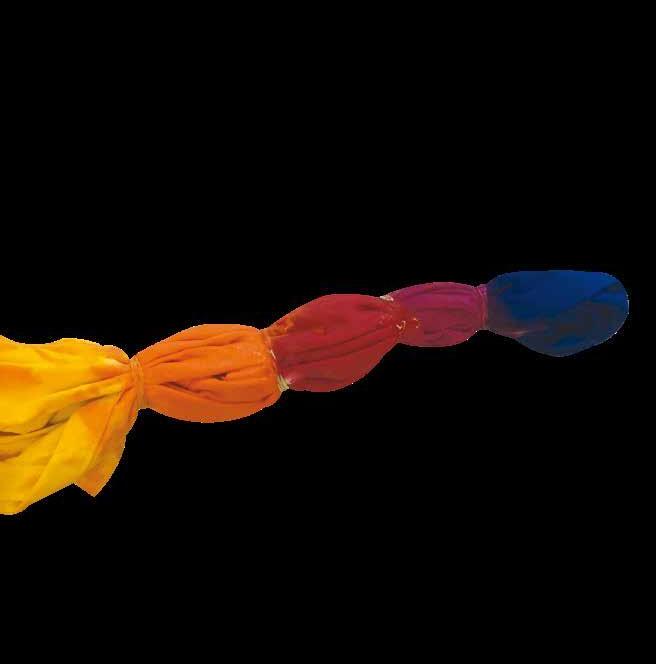
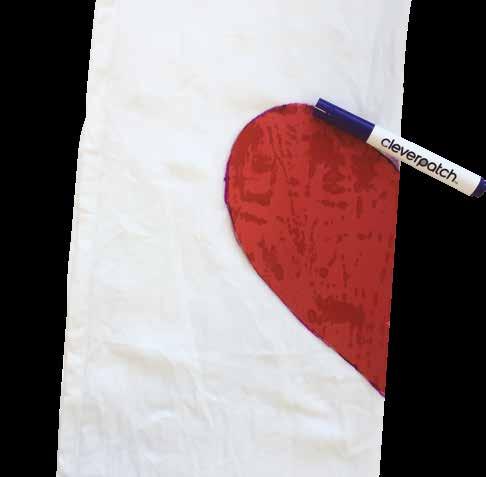

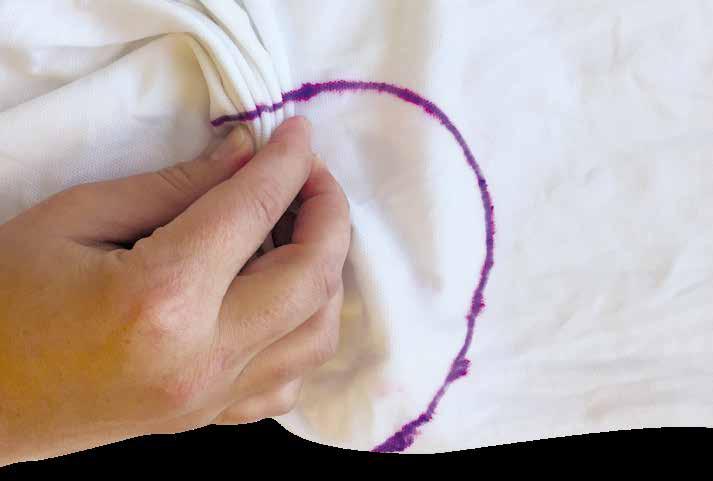
2. Dampen the bandana in water, squeezing out any excess. Fold in half lengthways, aligning the template edge with the folded edge. Trace with a washable marker.
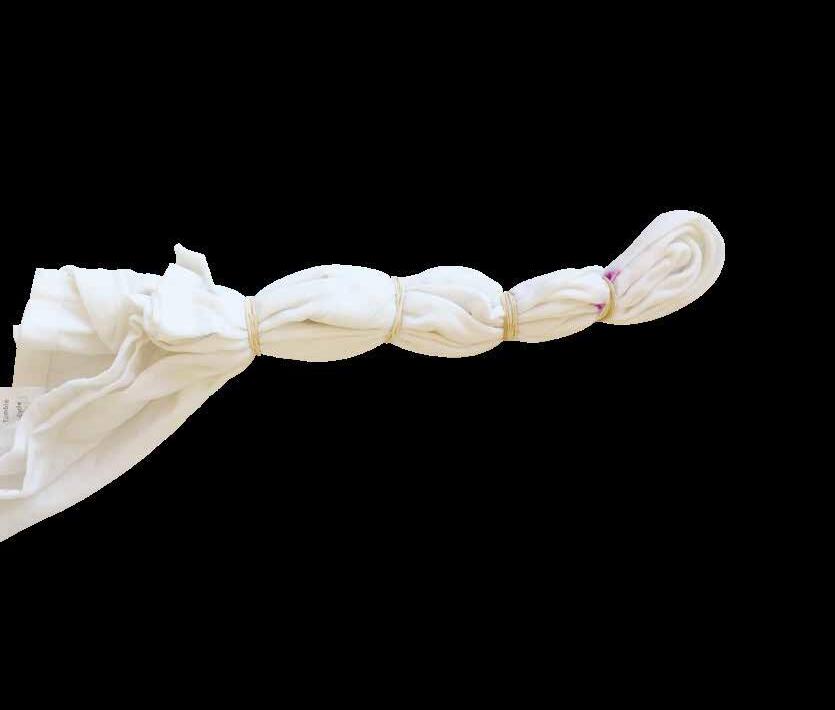
5. Secure more rubber bands around the bandana at different intervals.

7. Continue to apply your chosen colours to each of the sections. When complete, place into a plastic zip lock bag and let it sit for 4 hours in a refrigerator.
8. Remove from the refrigerator and bag and allow to air dry completely before removing the rubber bands and rinsing the dye out completely under a cold tap.
3. Pleat fold the bandana along the traced template line.
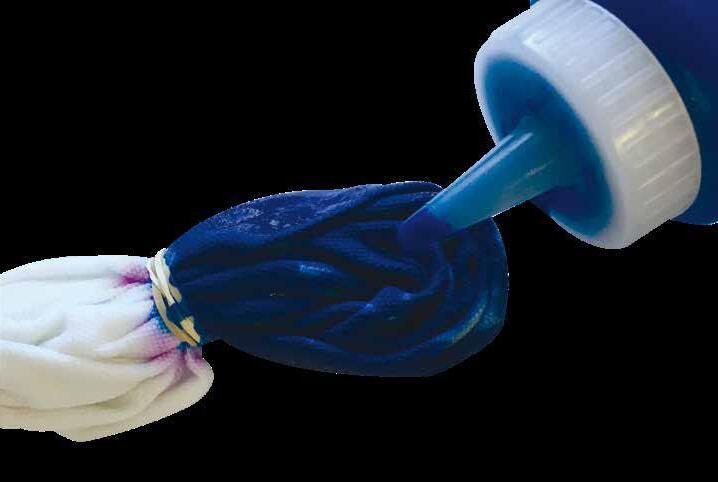
6. Use the bottle to apply the tie dye to the first section of your bandana. Wearing gloves, massage the colour into the fabric.
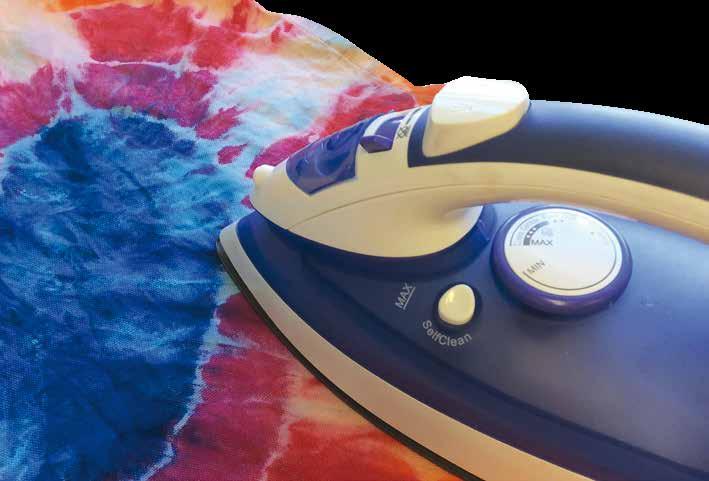
9. To set your design, place your bandana into a dryer or allow to air dry then iron your design for 5-10 mins. Your bandana is now ready to wear!
• Cotton T-Shirt – available in: Size 12 – 10107 and Size 16 – 18734
• CleverPatch™ Tie Dye Paint – 250ml – Set of 10 Colours – 18870 OR
• CleverPatch™ Tie Dye Paint – 1L – Set of 10 Colours – 18869
• Rubber Bands – Size 18 – 500g Pack – 21193
• Other materials required:
Water in a tray, plastic zip lock bag, gloves, iron & splash mat.
Combine the tie dye techniques on the previous pages with these awesome tying patterns to create some super funky T-Shirts!
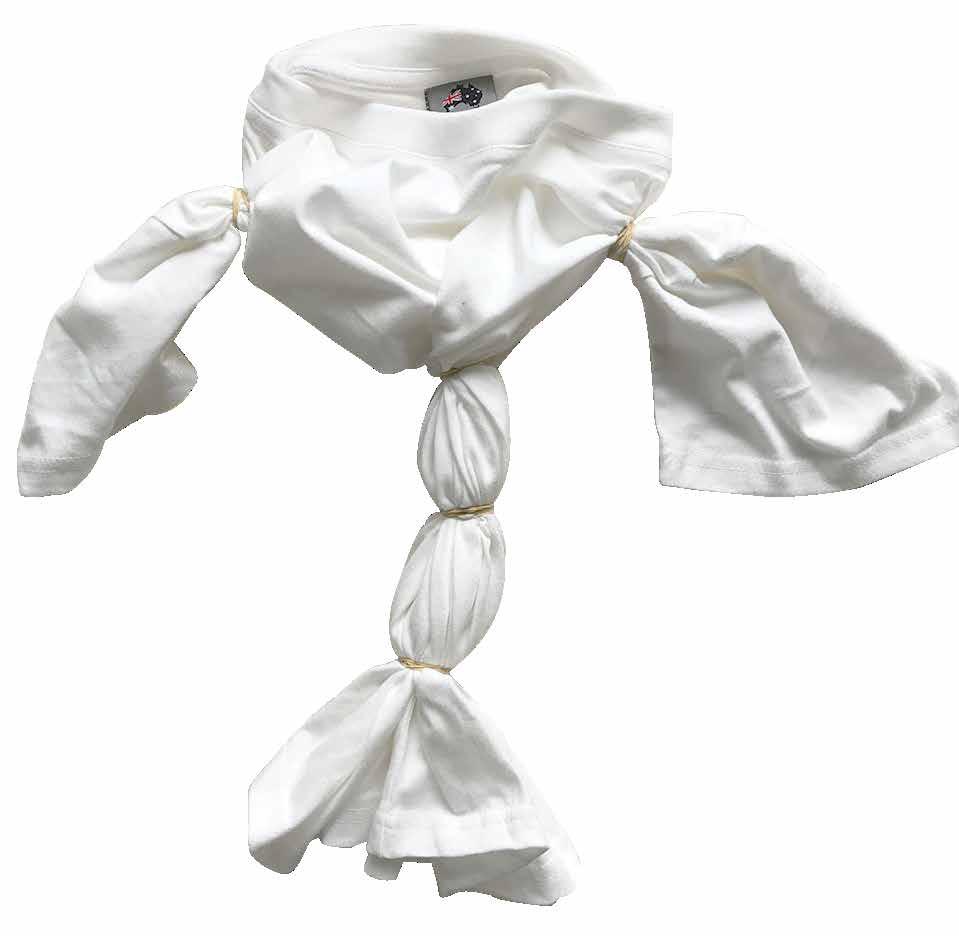
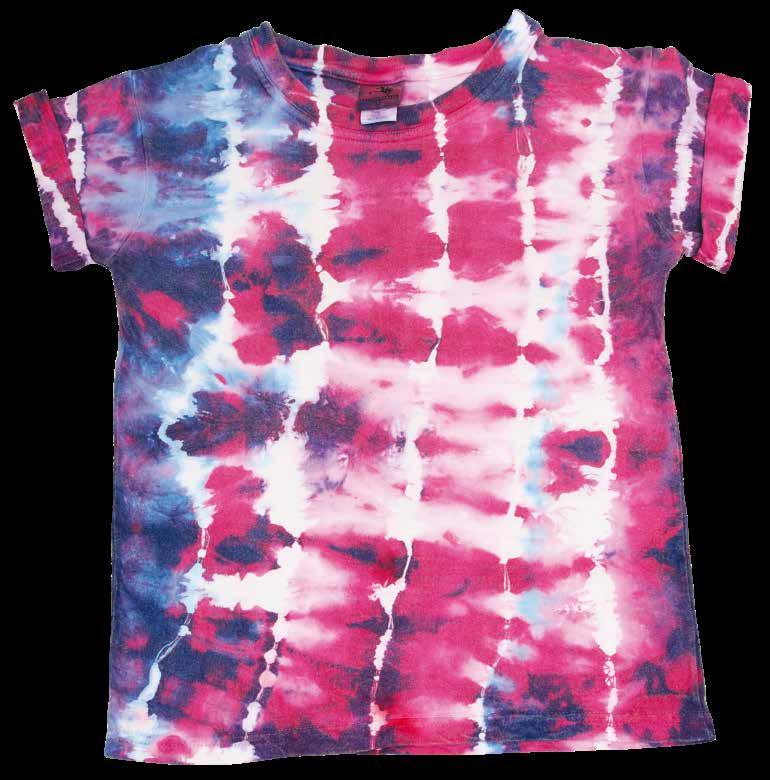
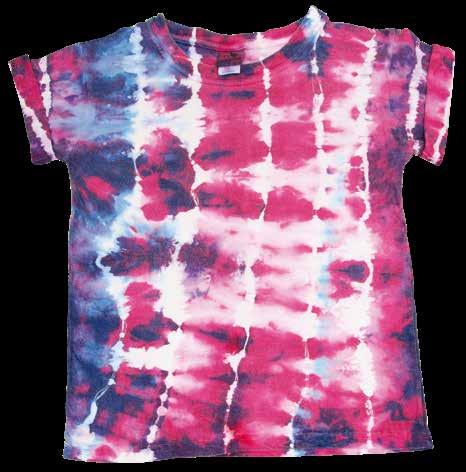
Bunch the t-shirt vertically and tie the rubber bands around the middle section of the t-shirt. You can also add a rubber band to each of the sleeves. This would result in a shirt similar to our example below.
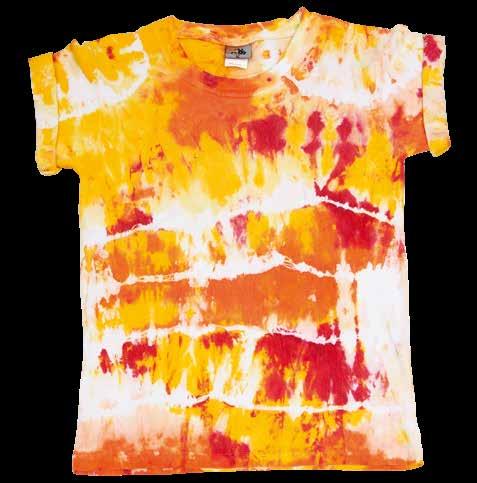
Horizontal Stripes!
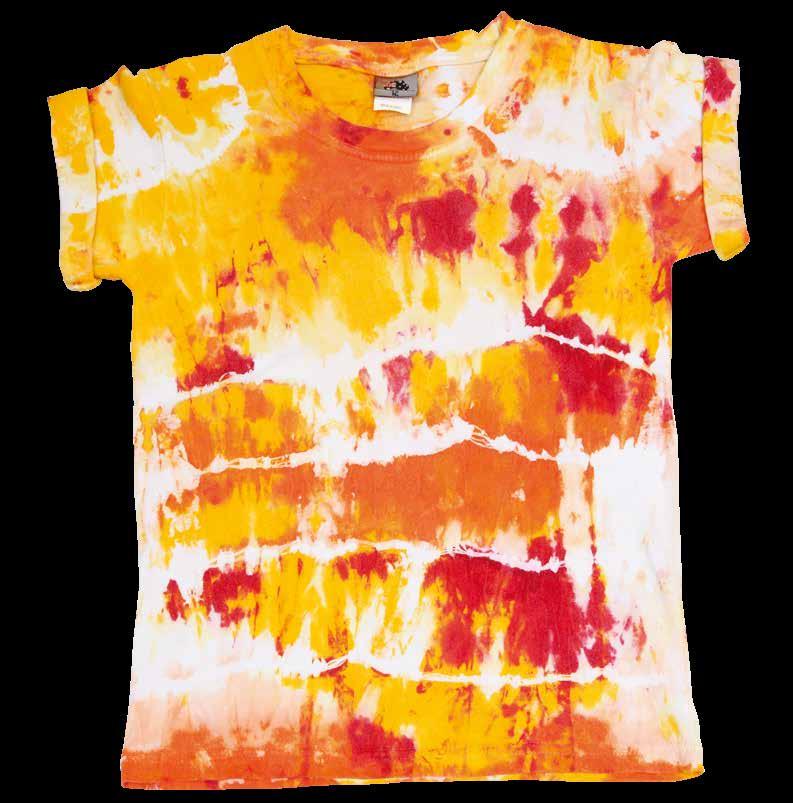
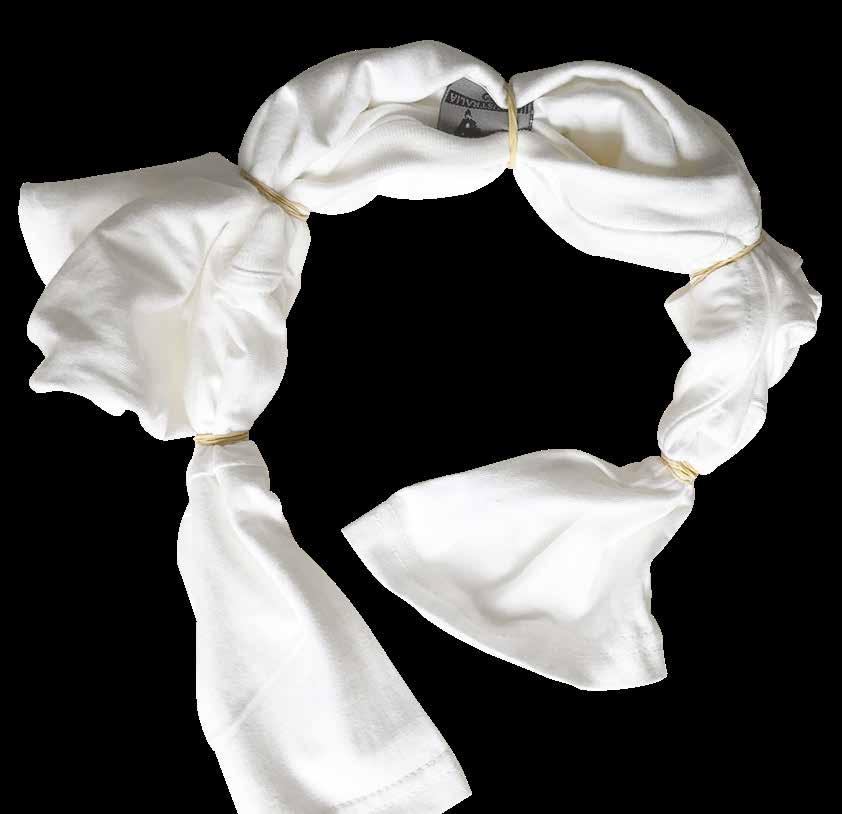
Bunch the t-shirt horizontally and tie the rubber bands along the shirt, holding the pattern together. This would result in a shirt similar to our example below.

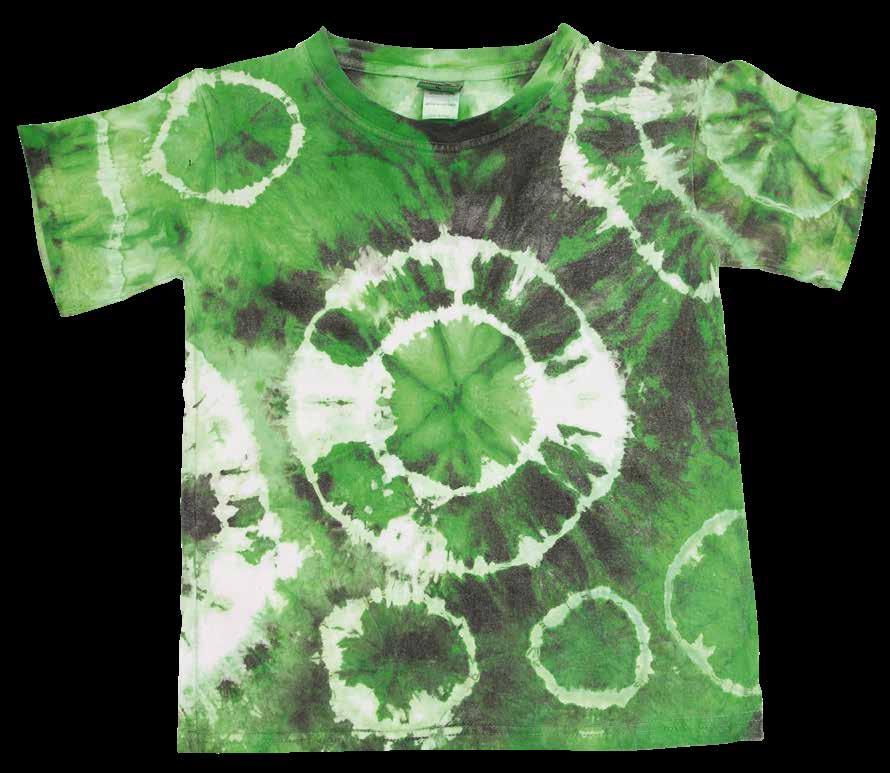
Pull sections of the t-shirt out into a point and tie the rubber bands along this point. The more points you tie, the more circles you can create. This would result in a shirt similar to our example below.
Vertical Stripes! Circles!

Use this template to complete the activity on page 5.