

Fax: 1300 244


Fax: 1300 244
• Cardboard Gift Boxes – White Pack of 10 – 21053
• Felt Squares – Pack of 100 – 10785
• Wiggle Eyes Black – 1.5cm Pack of 100 – 10816
• Embroidery Thread – Black 48m – 12374

1. Print and cut out the templates on page 10. Place each piece on your choice of coloured felt. Trace around the templates and cut out the felt pieces. You will need six small paw pads, two large paw pads and two feet.

4. Assemble your gift box leaving the top open. Glue the head felt piece to the front of the handle so the curved edges are aligned. Allow to dry.

7. Glue the ears to the top of the head as shown. You may need to use clips to hold the ears in place while the glue dries. Glue two wiggle eyes onto the head piece. Allow to dry completely. Remove any clips.
• Sewing Needles – Blunt Tip Pack of 25 – 11591
• CleverPatch™ Tacky Glue – 250ml – 16494
• Clear Sticky Tape – 18mm x 66m – 17769
• Other materials: Pencil, scissors, clips, your choice of treats and templates (page 10).


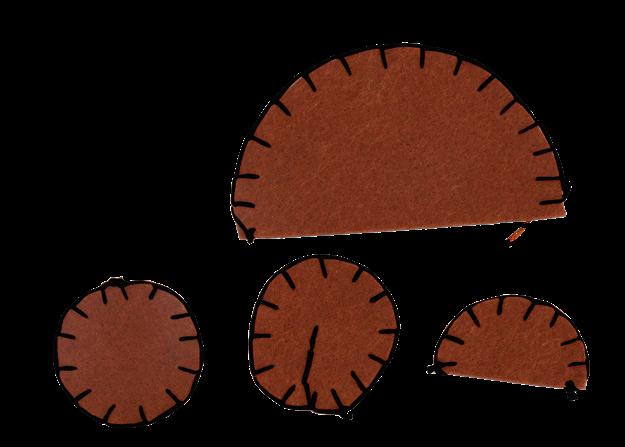
2. Using a needle and black thread, blanket stitch around the curved part of the head and mouth felt pieces. Blanket stitch around the arms, feet and ear felt pieces. Use a back stitch to create the claws and ear details.
CleverTip: Click here to see how to sew a blanket stitch and back stitch.
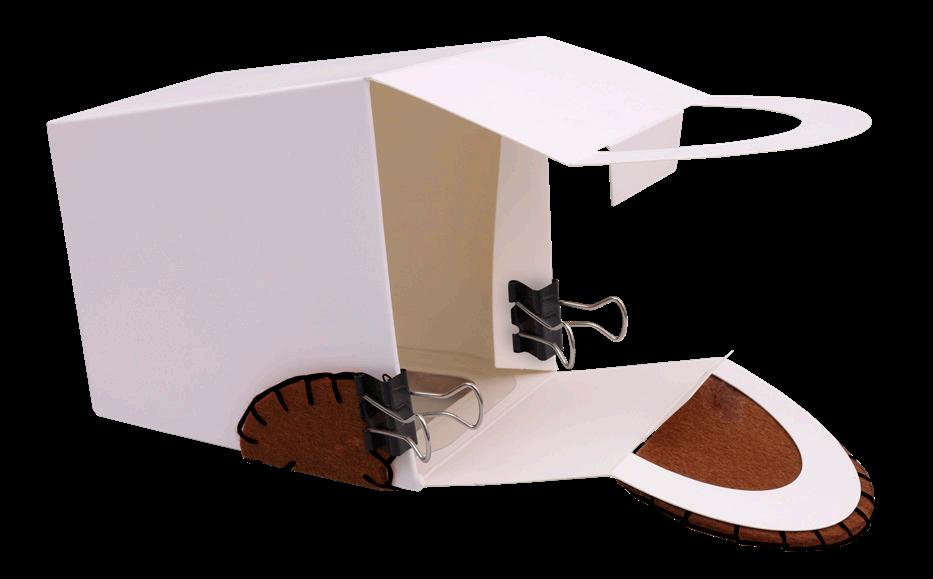
5. Glue the narrow edge of the left arm piece to the left side of the box, using a clip to hold in place. Repeat for the other side. Fold the arm pieces around and glue to the front of the box. Lay the box window side down to hold the arms in place and allow to dry. Remove the clips.
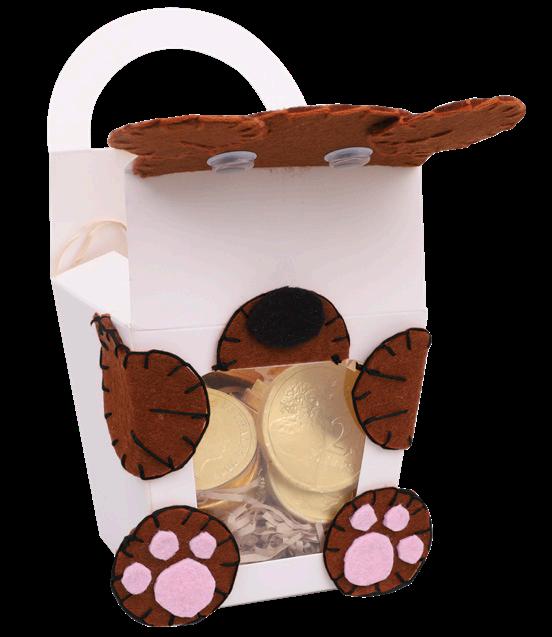
8. Fill your gift box with treats. Tape the box closed so the lid sits flat.


3. Glue the paw pads to the feet pieces and the nose to the top

6. Glue the feet to the bottom corners on the front of the box as shown. Glue the mouth piece to the top, centre of the front of the box, aligning the edge of the window with the bottom edge of the felt. Allow to dry.

9. Your Papa Bear Gift Box is now ready to gift for Father’s Day! You can even write a message on the back panel of the box!
• Scratch Board Greeting Cards – Pack of 20 – 13988
• Paper Raffia – Red – 50 Metres – 12389
• Paper Raffia – Orange – 50 Metres – 12387
• Paper Raffia – Yellow – 50 Metres – 12391
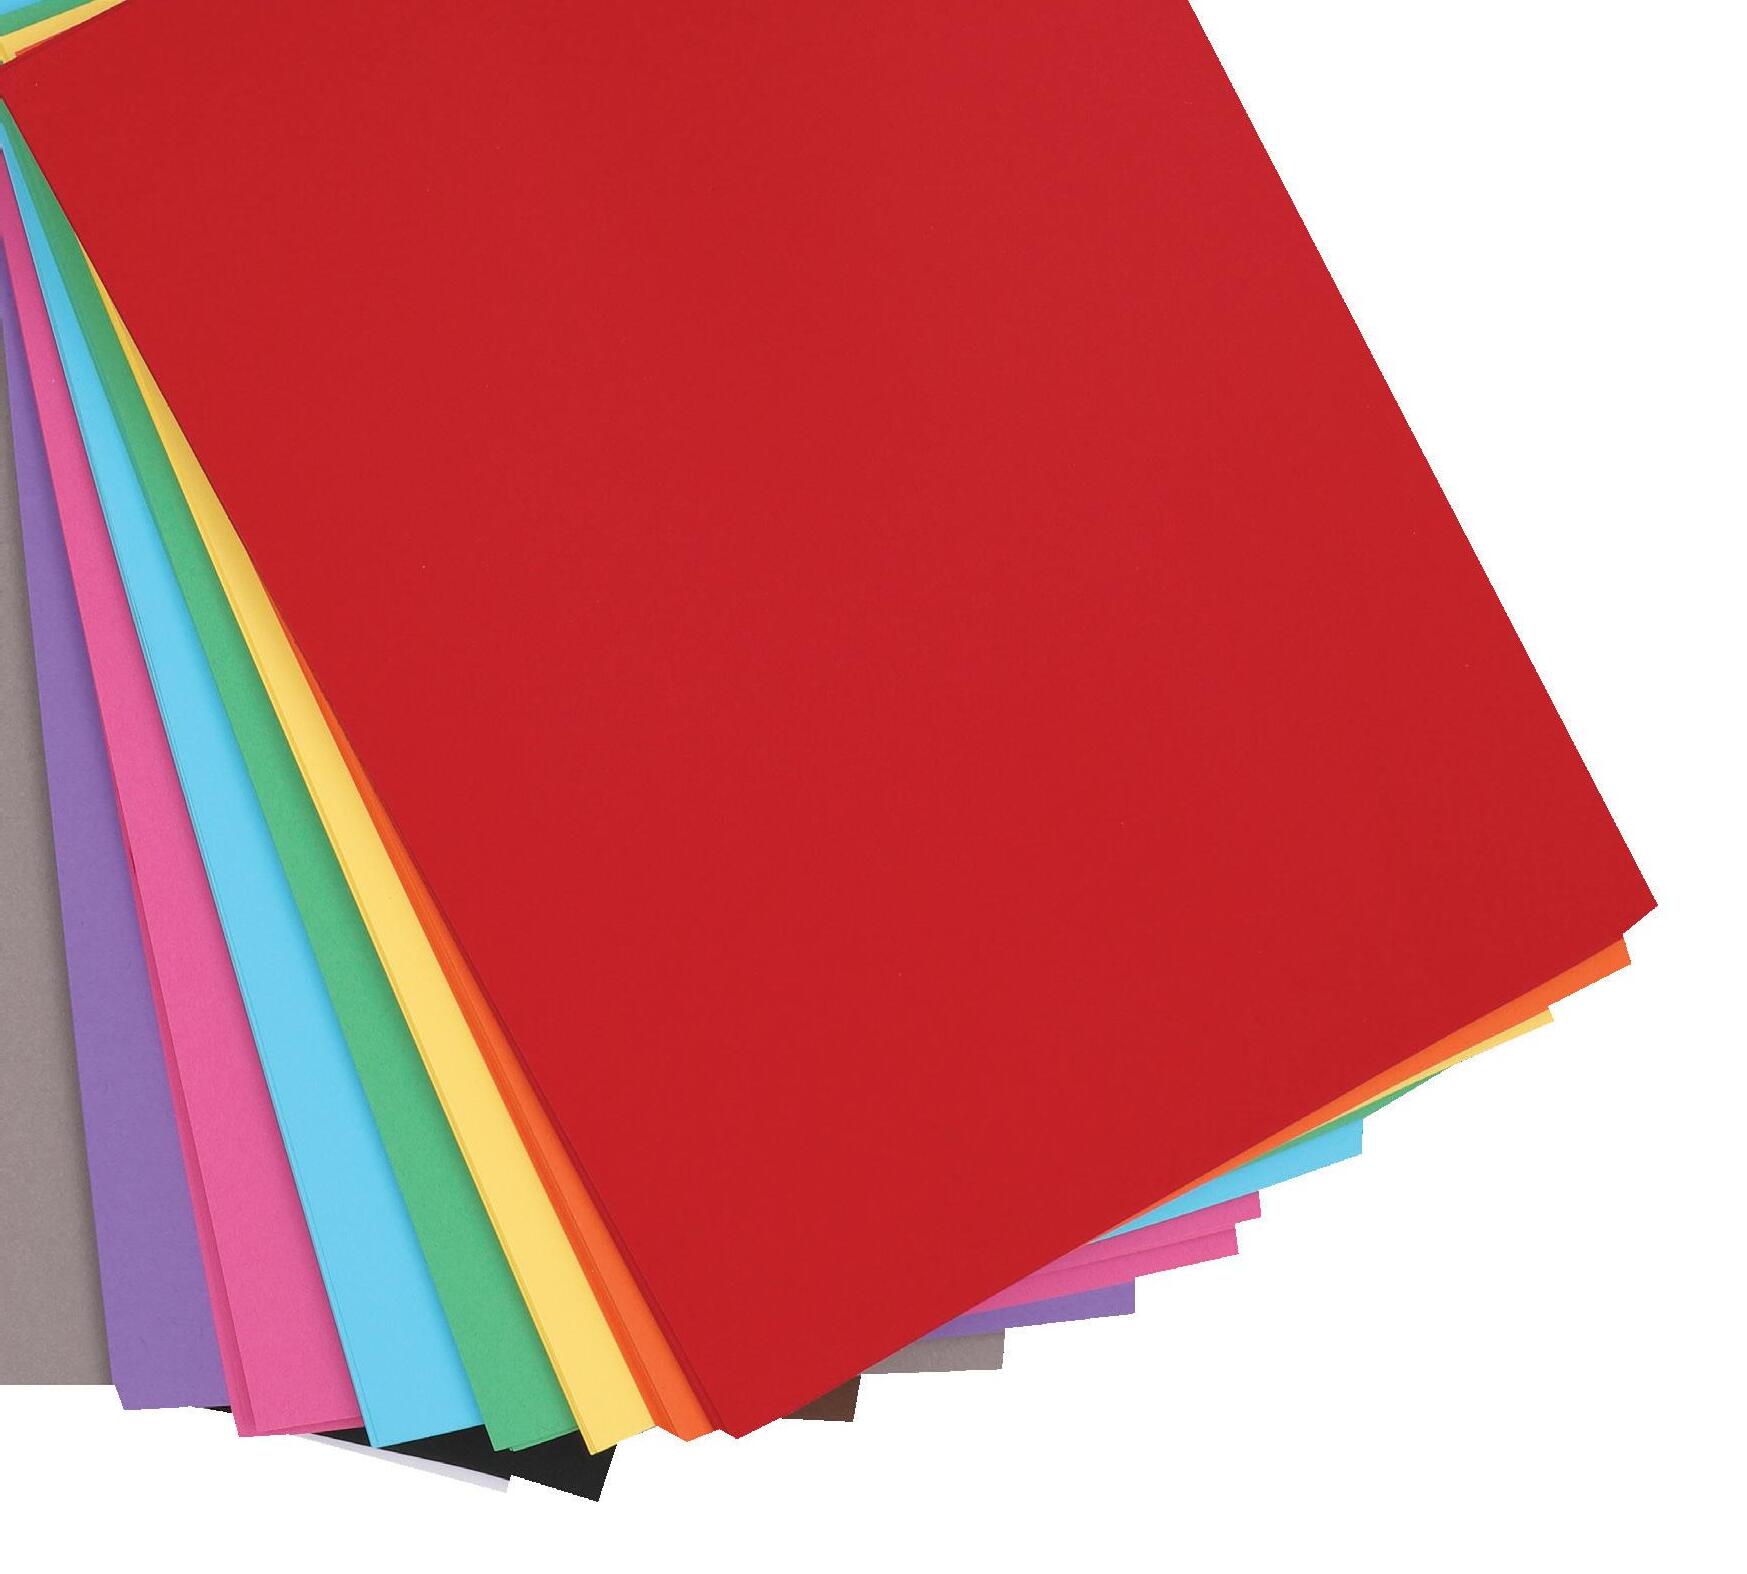
• CleverPatch™ Cardboard – Assorted Colours – A4 Pack of 100 – 14932
• Glitter Star Sequins – Silver – 25g Pack – 11543


• CleverPatch™ Junior PVA Glue – 250ml – 10364
• CleverPatch™ Triangular Coloured Markers Pack of 10 – 16232
• Scratch Board Tools – Wooden – Pack of 20 – 15733
• Hole Punch – 18765

• Other materials required: Scissors, ruler, pencil and templates (page 11).

1. Place a scratch board card onto a sheet of black cardboard so it is positioned 2cm from the bottom short edge. Glue the back of the scratch board card in place, ensuring it is centred. Allow to dry.

2. Print out the templates provided on page 11. Choose a rocket top, wing and window shape and cut them out. Place the shapes onto your choice of coloured cardboard and trace around. You will need two of your chosen wing shape. Cut out the shapes.

4. Use a pencil to sketch a design onto the scratch board card. Use a scratch board tool to scratch in your design and reveal the coloured surface underneath.

5. Using a hole punch, create 11 holes across the bottom edge of the black cardboard, 5mm apart.


3. Place the wings to the left and right of the card so they mirror each other. Place the rocket top along the top edge of the card. Glue the shapes in place and allow to dry. Glue the window shape in place on the rocket top and allow to dry. You can also keep the window template aside to trace around onto the scratch board.

6. Cut two 30cm lengths of red paper raffia. Fold each length in half. Place one folded end through the middle hole in the cardboard, from the back. Pull the loose ends up through the loop and gently pull tight to create a cow hitch knot. Repeat for the other red raffia length, through the same middle hole.




7. Cut four 30cm lengths of orange paper raffia. Use cow hitch knots to secure each length through the two holes on each side of the red raffia.
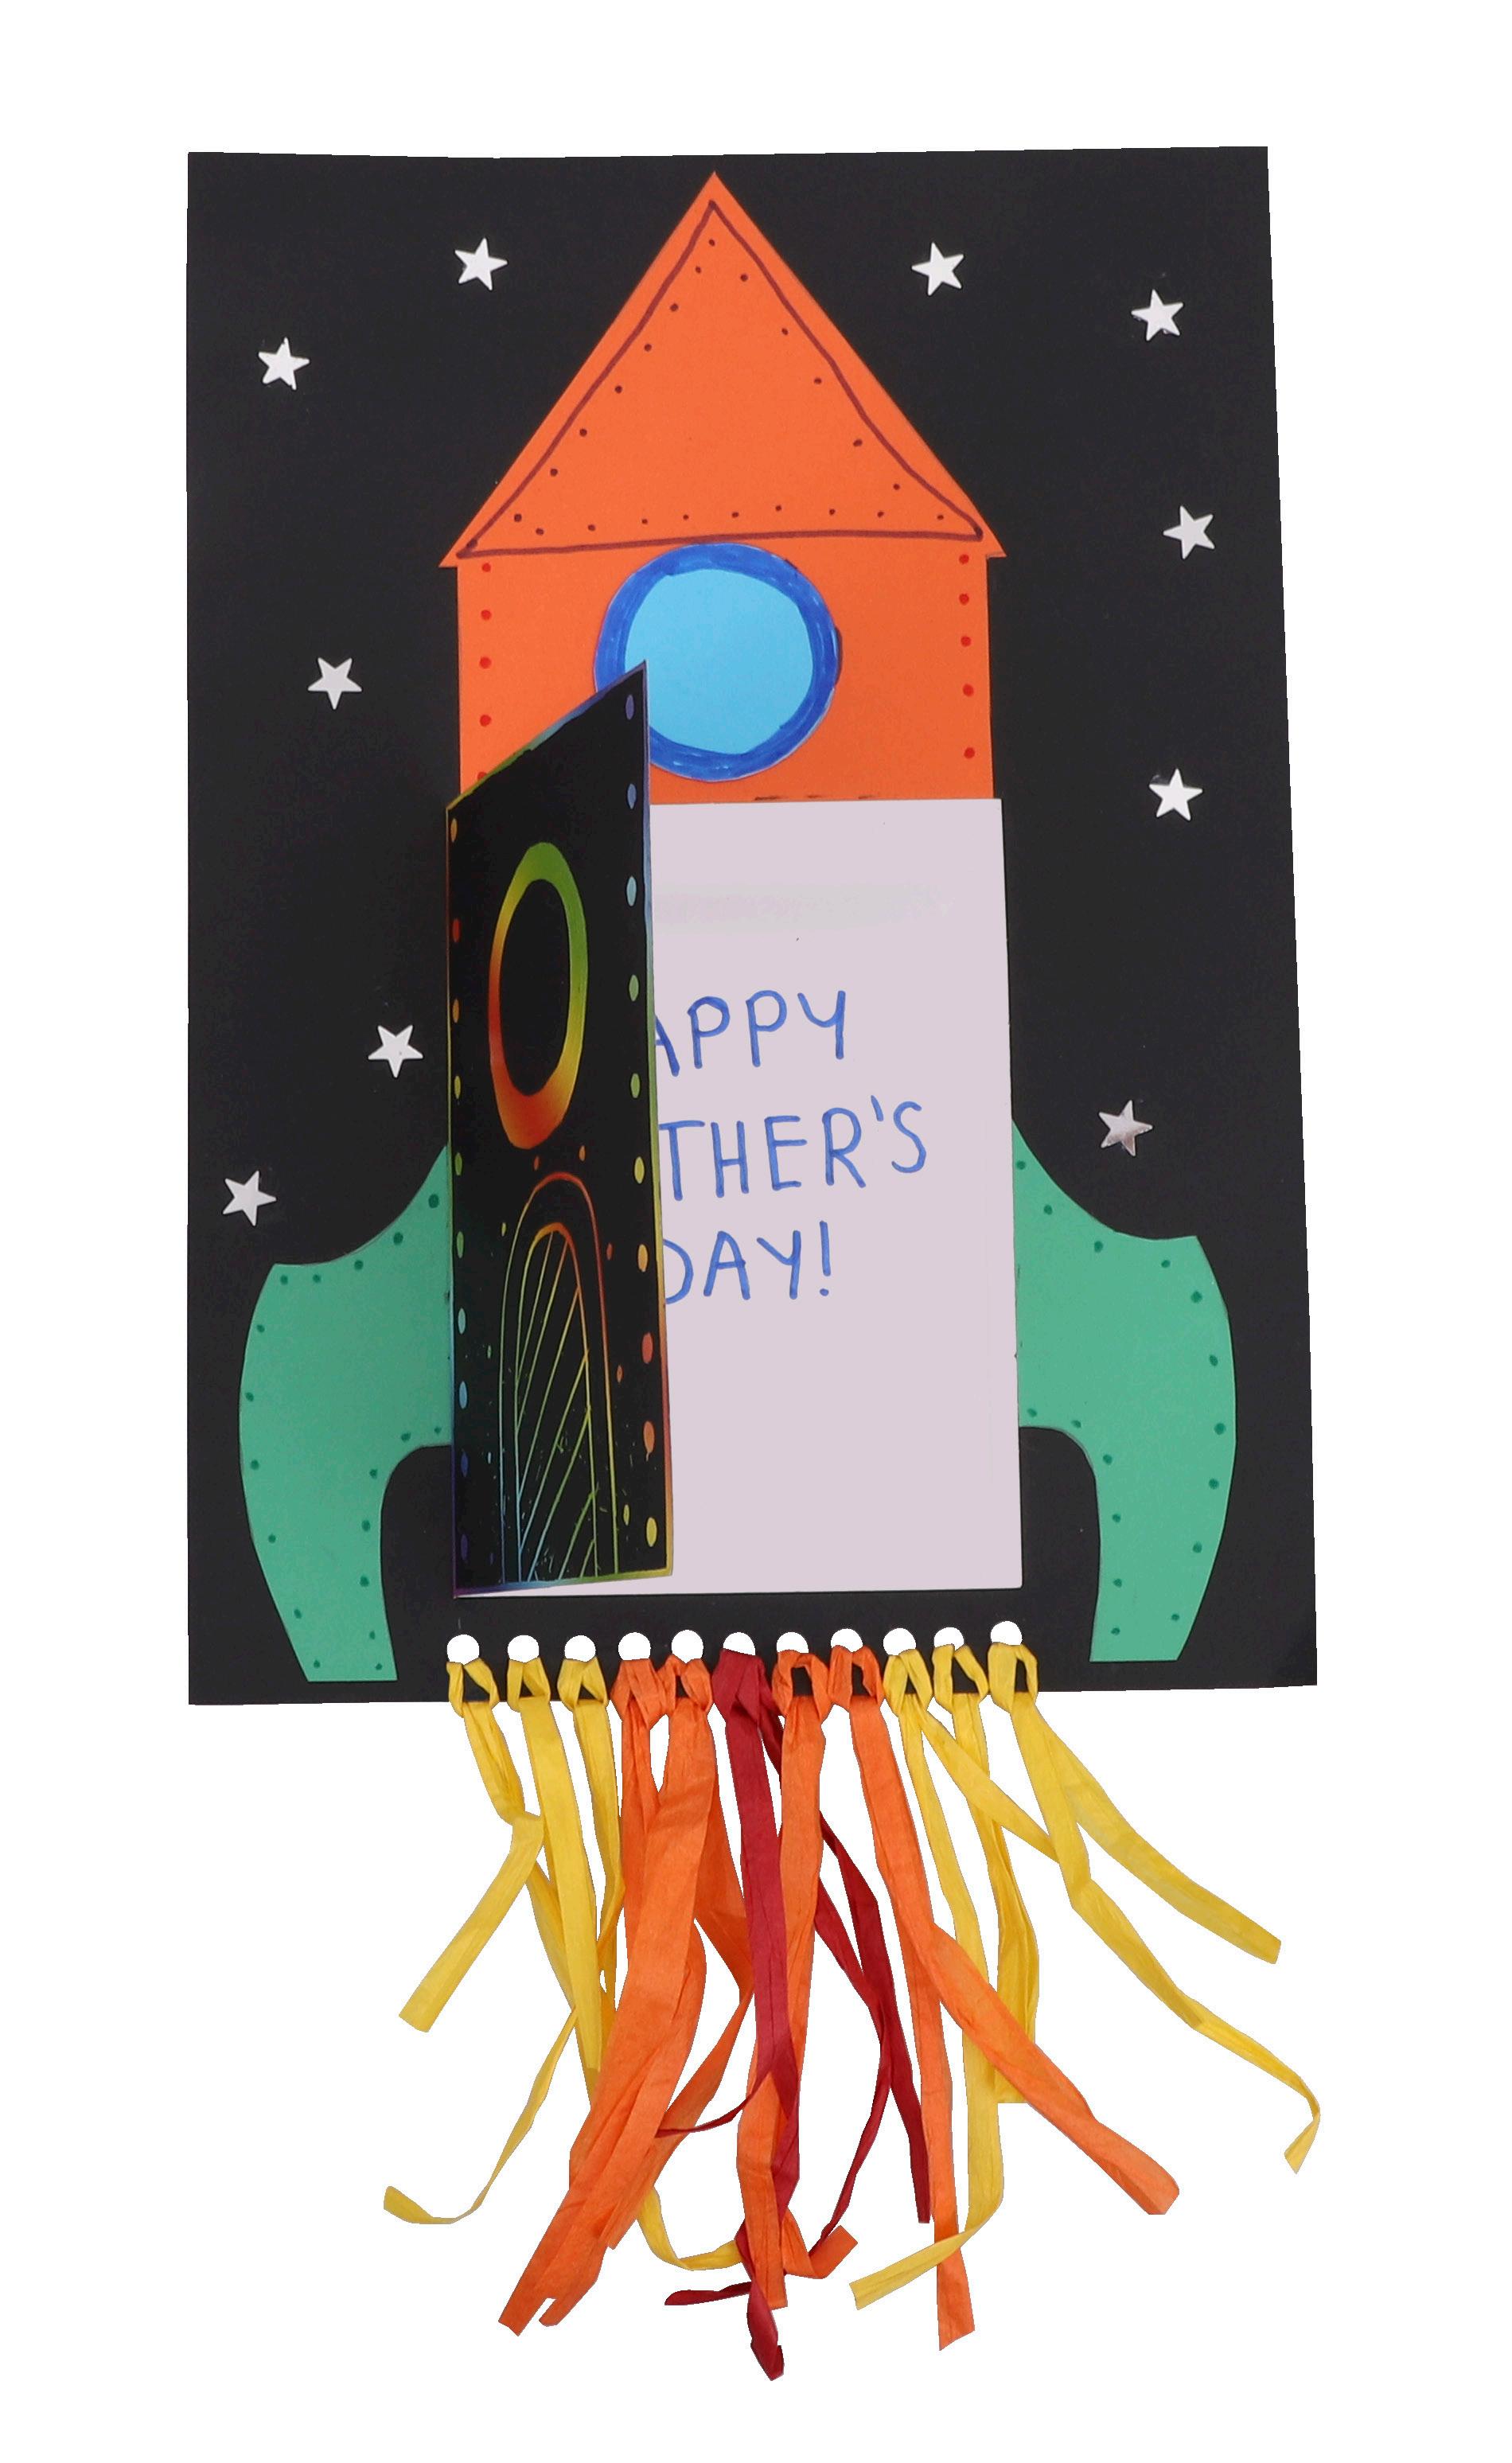

8. Cut two 30cm and four 20cm lengths of yellow raffia. Use cow hitch knots to secure each length through the remaining holes, ensuring the shorter lengths are attached to the two outer holes on each side.

9. Add details to your rocket using markers. Use glue to add star sequins to the cardboard background and allow to dry.


10. Write a nice message on the inside of the card. Your Rocket Card is now ready to gift!
• Tie Pins – Silver – Pack of 50 – 21373
• Shrink Plastic Film – A4 – Pack of 10 19009
• CleverPatch™ Coloured Pencils Pack of 12 – 20770
• CleverPatch™ Tacky Glue – 250ml – 16494

1. Print out the templates on page 12. Choose from the designs provided or create your own design using the blank space or circles provided. Just make sure the design is a similar size to ours so it’s the right size when shrunk!

2. Place a sheet of shrink film, shiny side down, onto the template. Trace around a design using a pencil. The grey outer lines are a suggested cut line for each design.

4. Follow the instructions included with your shrink film to bake your design. Allow to cool completely.
• Optional: Fabric Tie – 18508
• Optional: CleverPatch™ Fabric Markers – Pack of 10 – 14929
• Other materials required: Pencil, scissors, oven, oven tray, baking paper and templates (page 12).
These pins are great for more than just ties - they work on shirts, jackets, bags & more!


3. Decorate the design using coloured pencils. Cut around the shape ensuring there are no sharp corners.
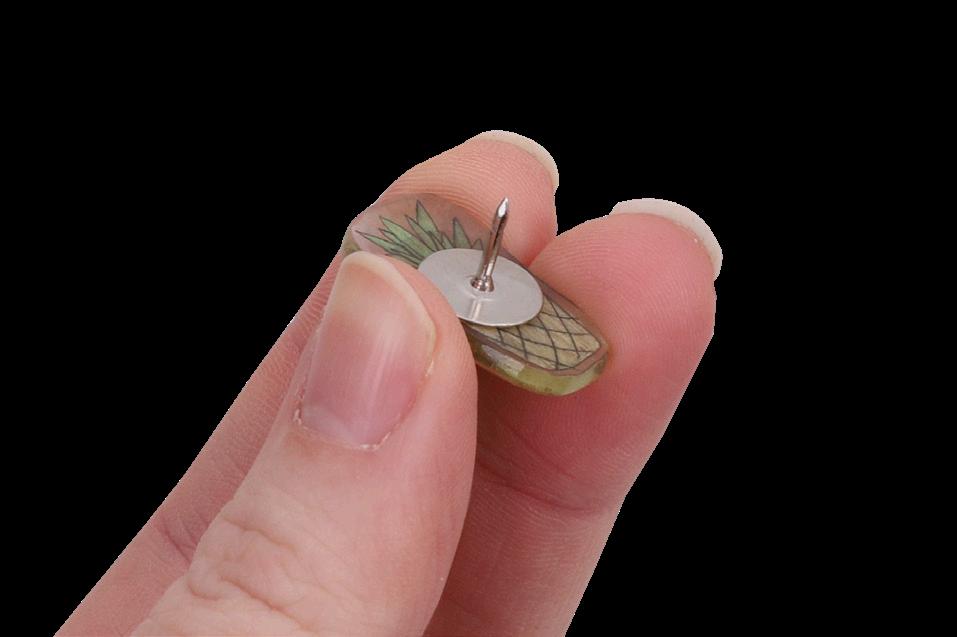
5. Glue the dull side of the design onto the flat part of a tie pin, ensuring the design is centred. Allow to dry. Repeat steps 2-5 to create as many designs as you like!
Combine your Tie Pins with a Fabric Tie and decorate with our Fabric Markers for the perfect gift!

6. Your Shrink Film Pins are now ready to wear or gift!

• Iron Beads – Multi – Big Tub – 12763
• Iron Beads Pegboard – Clear – 12758
• Metal Keyring with Snap Hook – Pack of 10 – 19054
• Iron Beads Ironing Paper – Pack of 10 – 12754
• Other materials required: An iron and template (page 13).
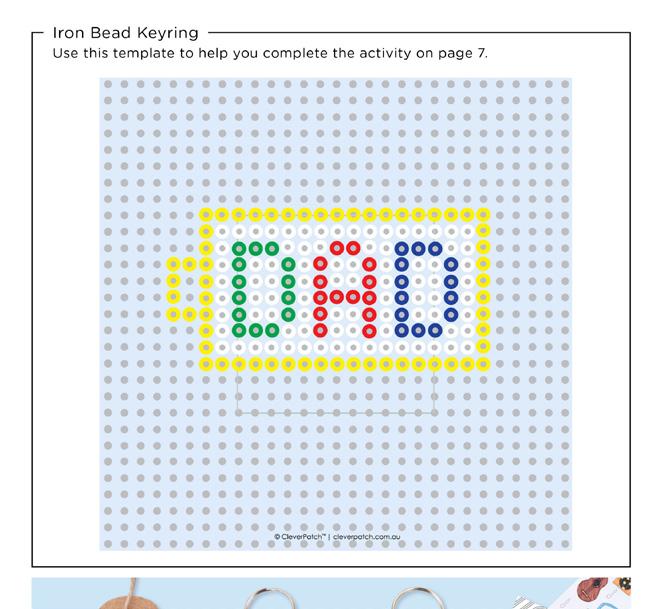

1. Print out the template on page 13. Place the pegboard on top, aligning the edges with the template.
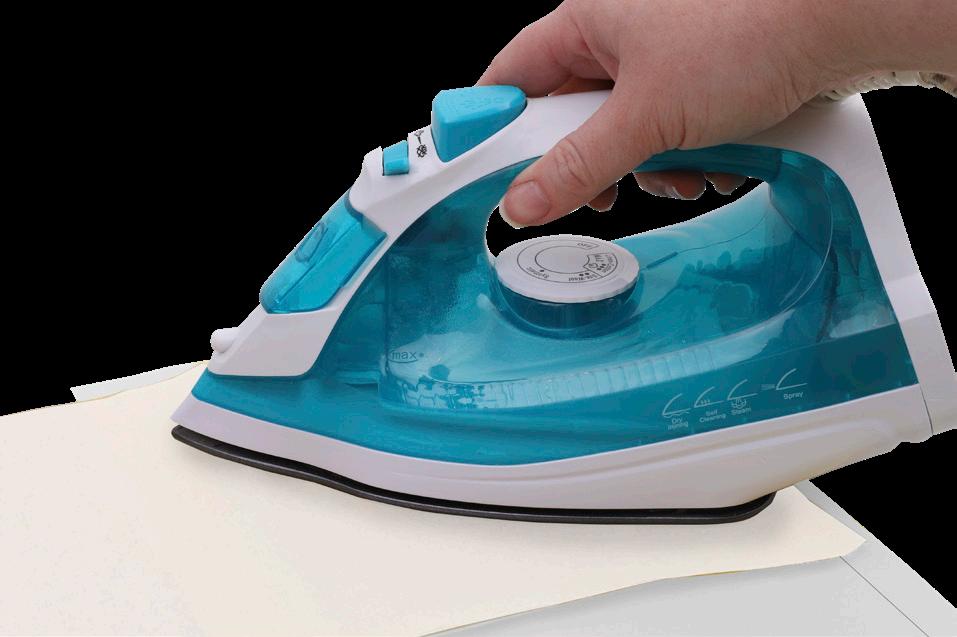
4. Once your design is filled in, place a sheet of ironing paper over the design. Gently iron over the beads in a circular motion for about a minute to fuse the beads together.
The snap hook doubles as a keyring or bag tag!


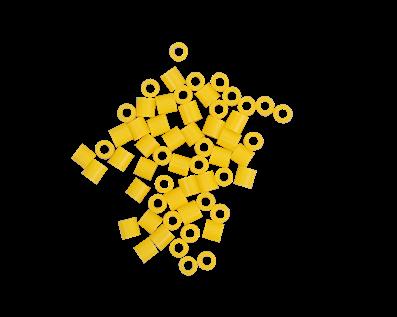
2. Gather the colours you need to create the design. You can use the same colours as us or choose any colours you like!
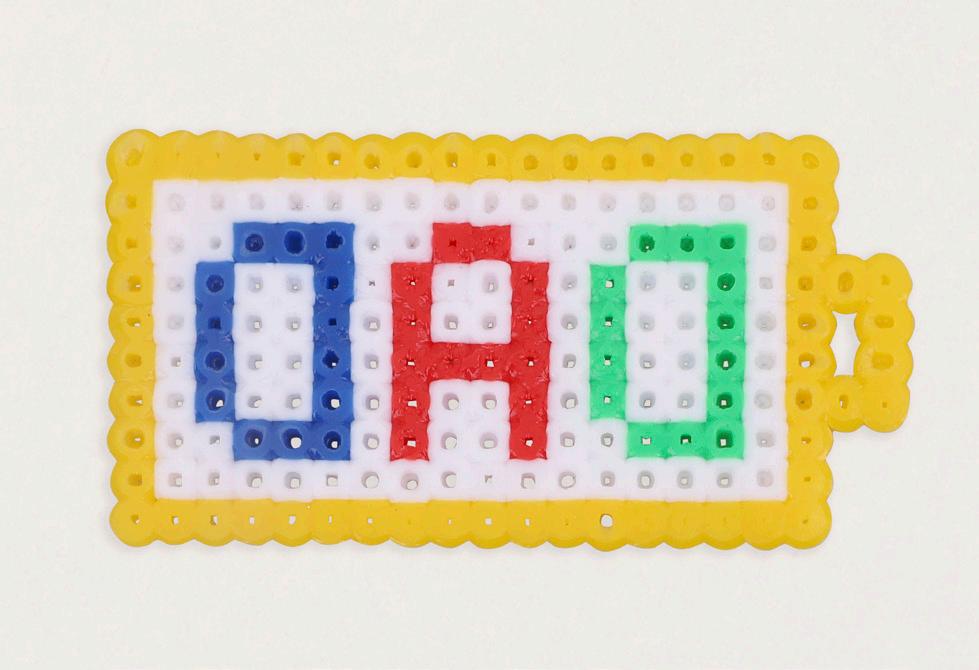
5. Carefully flip the design over and off the pegboard. Place the ironing paper over the other side and repeat the ironing process. Allow to cool completely.

3. Fill in the design on the pegboard according to the template.


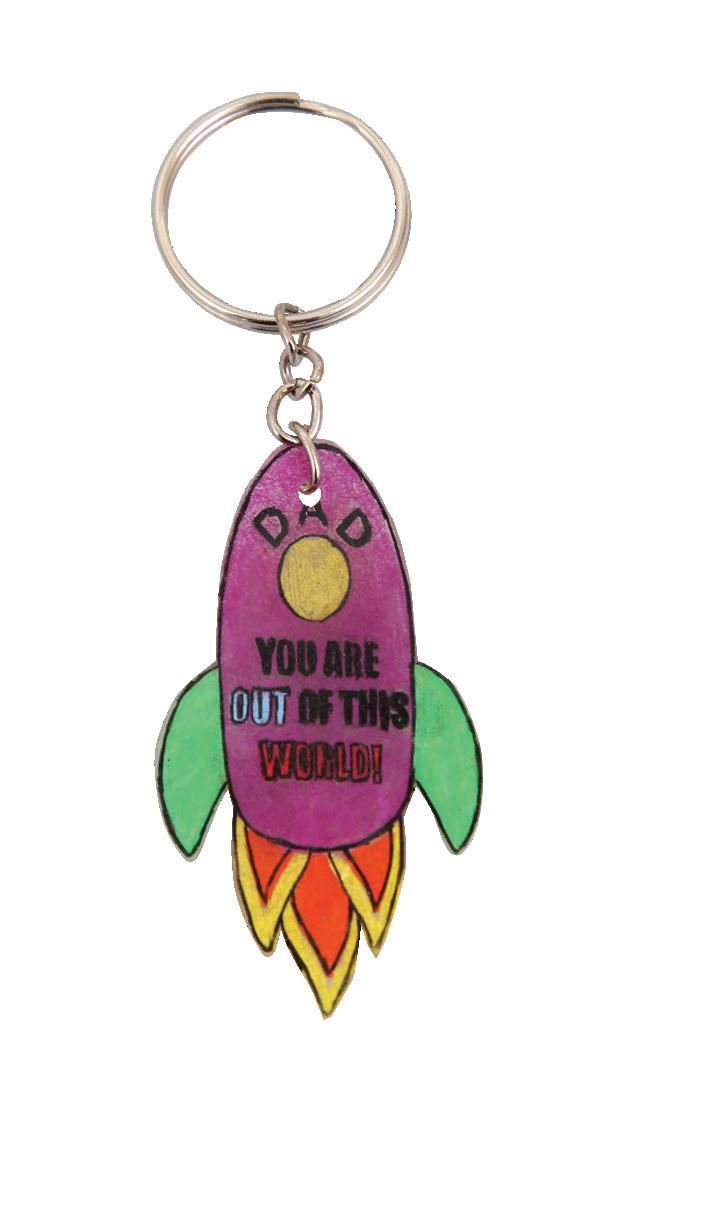
6. Attach the split ring from the keyring to the loop on the left of the design. Your Iron Bead DAD Keyring is now ready to gift!
• Fabric Apron – 15749
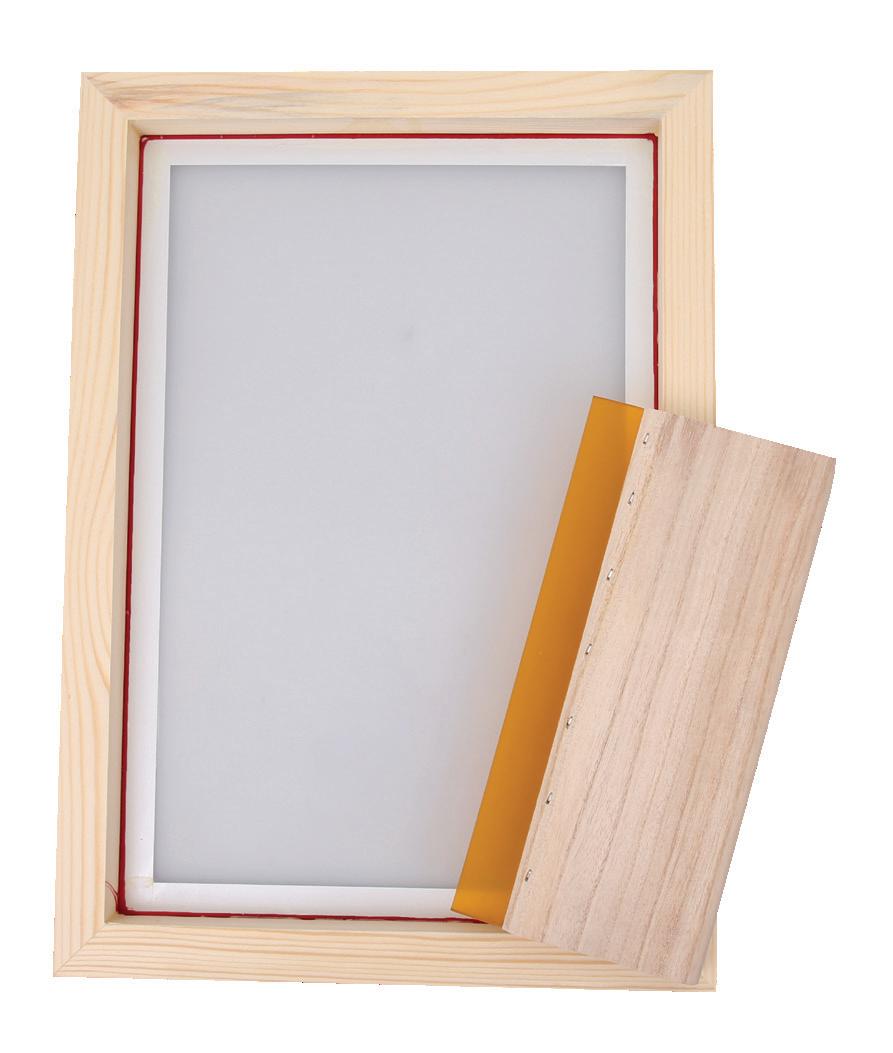
• Economy Silk Screen – 13031
• Economy Silk Screen Squeegee – 13032
• Aquatex Fabric Paint – Black – 500g 17684
• Litho Paper – 255 x 380mm Pack of 500 – 10034

1. Print and cut out the templates on page 14. Place the silk screen onto your apron and arrange the shapes within the screen to create a design.

3. Cut around the shapes, leaving a paper frame. Create a slit in the centre of each shape and carefully cut around, ensuring the edges are neat and the paper doesn’t crease.
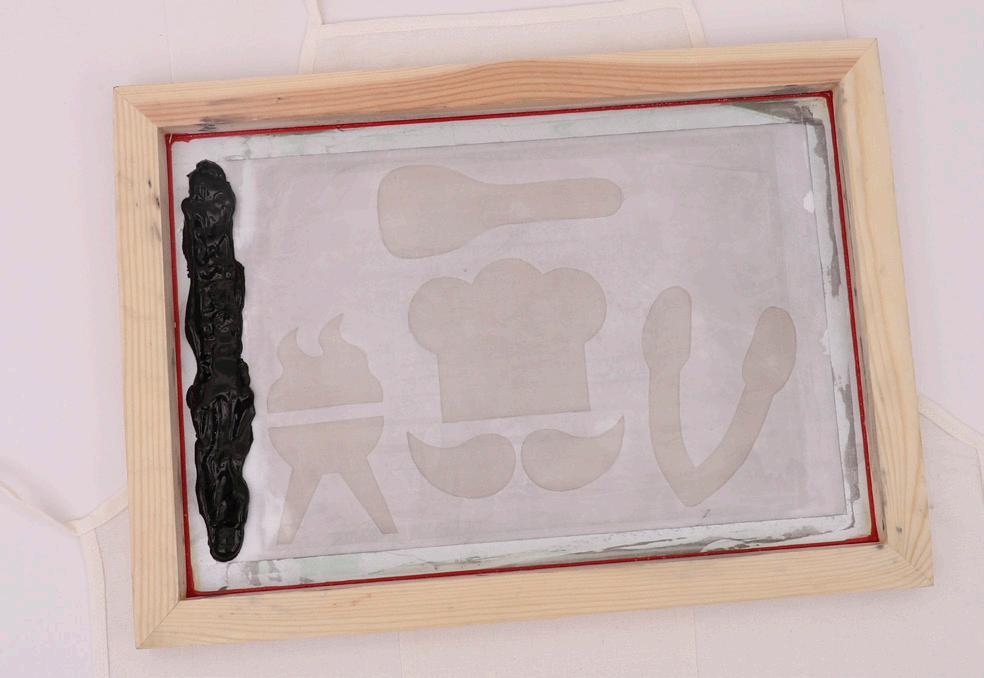
6. Spoon a generous amount of black fabric paint along the left of the screen so it is not over the stencil area.
• Masking Tape – 18mm x 50m – 11774
• Wooden Teaspoons – Pack of 25 20098
• Other materials required: Splash mat or scrap paper, scissors, pencil, paper towel, iron and templates (page 14).

2. Move the template shapes onto the shiny side of a sheet of litho paper, recreating your design. Trace around the shapes with a pencil.
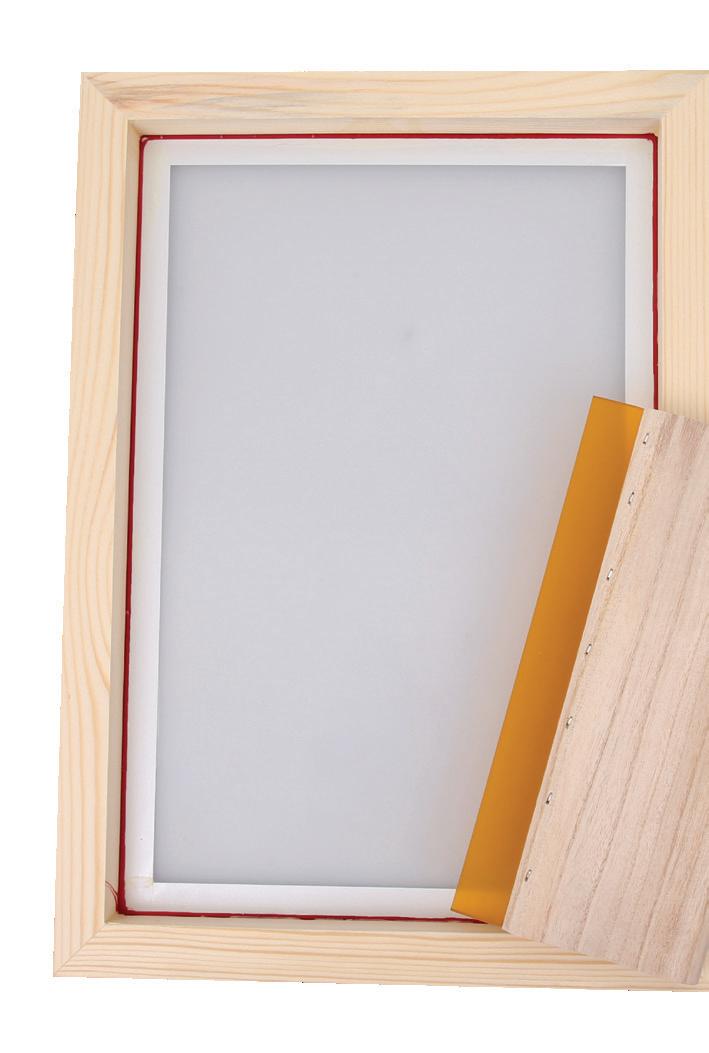

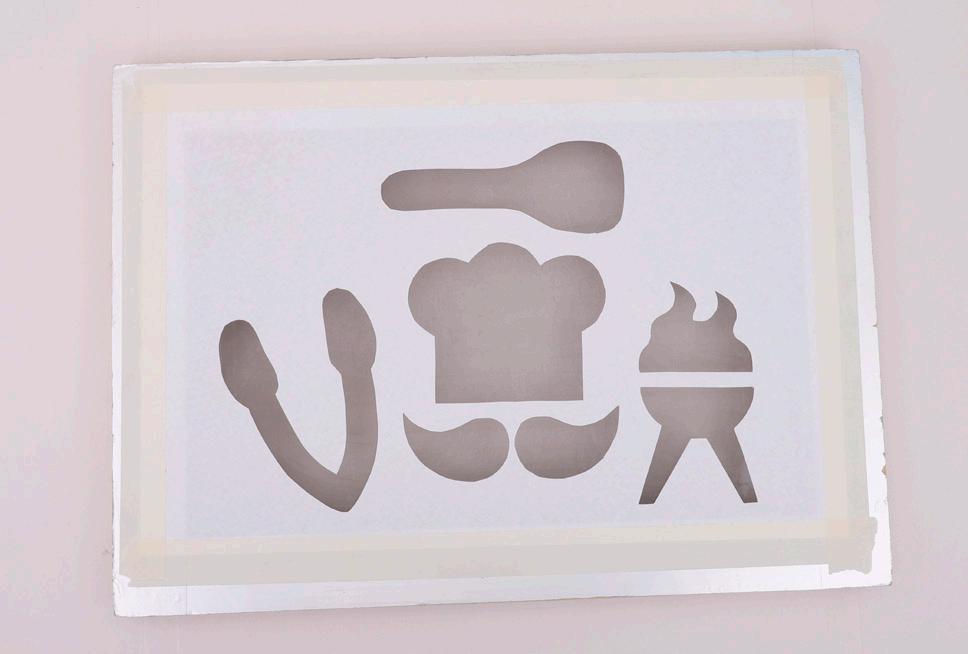
4. Place the litho paper stencil onto the flat side of the silk screen. This is also known as the substrate. Ensure the shiny side of the litho paper is against the silk screen. Tape the paper to the substrate to secure in place.
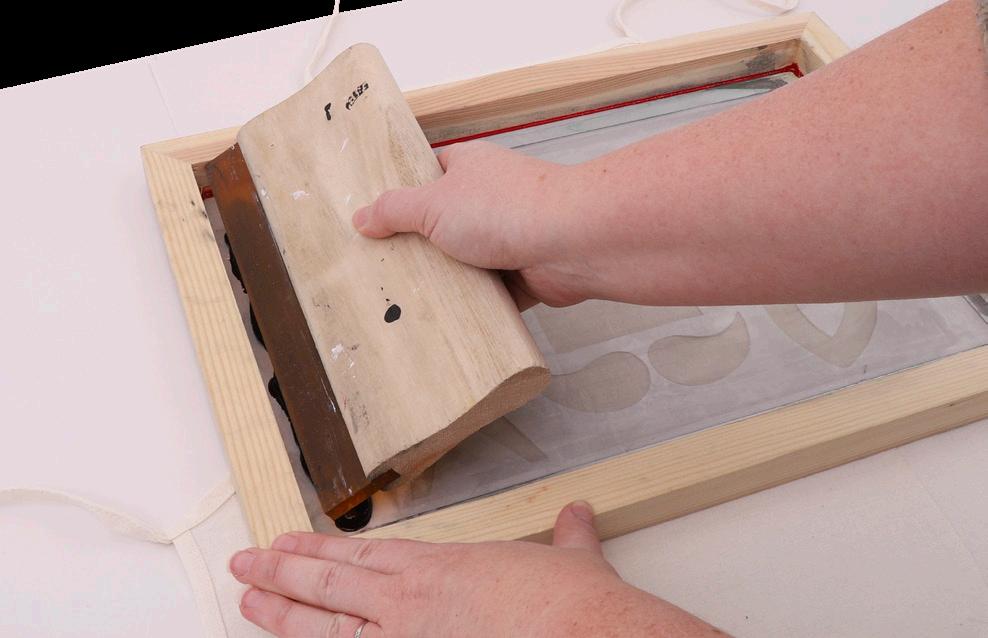

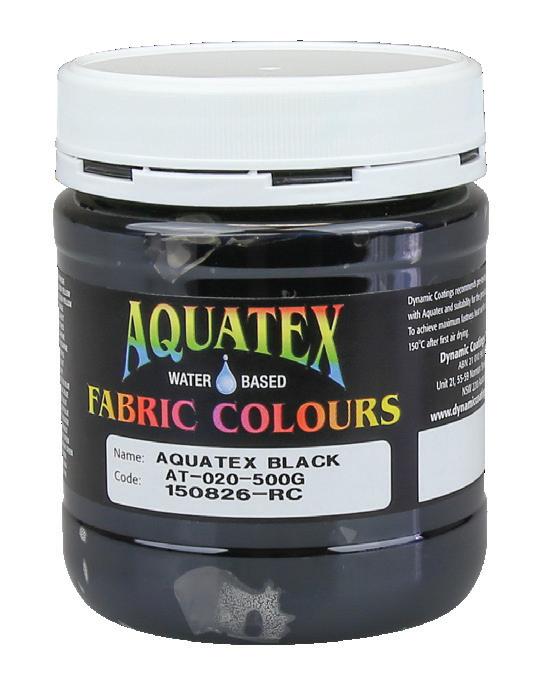
5. Protect your surface using a splash mat or scrap paper. Ensure the fabric is flat for printing. Place the screen over the space you would like your print to appear, with the substrate side facing down.

7. Secure the frame in place with one hand. Pull the paint over the stencil using a squeegee with some pressure and a smooth, moderately fast motion. You may need to pull the paint over a few times in different directions to ensure the paint has pushed through. Be mindful of the edges of the apron where the seams are higher - you may need more pressure to push paint through the screen in those areas.


The perfect gift for a BBQ King!

8. Gently lift the screen, holding the apron down with one hand, to check your print. If you are making multiple prints, flood the screen with the paint by pushing the paint back towards the side. This will help stop the paint from drying.

9. Set your apron aside to dry completely. Tidy up your work area and clean the screen by returning any excess paint to the paint tub. Rinse the screen with warm water and leave to dry. Wipe the squeegee clean with damp paper towel, ready for your next project.

10. To heat set your design, run a hot iron over the reverse of the apron for 4-5 minutes. Alternatively, you can place your apron in a tumble dryer on a hot setting. Your BBQ Apron is now ready to wear or gift!

Use these templates to help you complete the activity on page 3.
Head
Small Paw Pad x 6
Right Ear
©CleverPatch™|cleverpatch.com.au
Left Ear
©CleverPatch™| cleverpatch.com.au
Mouth
Foot x 2
Large Paw Pad x 2
©CleverPatch ™
©CleverPatch™ | cleverpatch.com.au
Right Arm Left Arm
©CleverPatch™ | cleverpatch.com.au
©CleverPatch™ | cleverpatch.com.au
Nose
©CleverPatch™
Use these templates to help you complete the activity on pages 4 and 5.
Use these templates to help you complete the activity on page 6.
Use the space below or the empty circles above to create your own designs.
Use this template to help you complete the activity on page 7.

Use these templates to help you complete the activity on pages 8 and 9.