Benefits Employee User Guide


Benefits is available for you to make your new hire and/or open enrollment elections, view your current benefits, life event changes, update family and beneficiary information, and access plan documents.
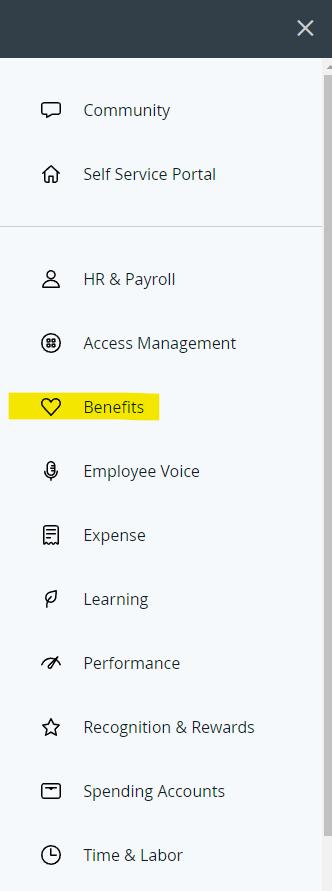
1. Log into your Self-Service Portal and select the “hamburger” Menu in the top Toolbar
2. Click “Benefits” within the Benefits panel.
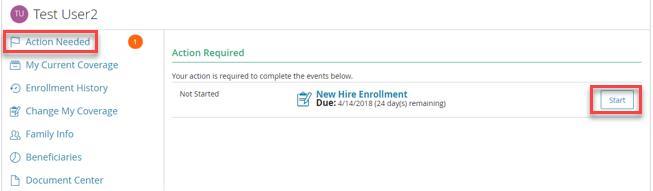
Next, you are taken to your Benefits homepage. Any enrollment windows that are available are flagged under “Action Needed.” Also displayed in the left panel are additional areas of the system for you to access at any time.
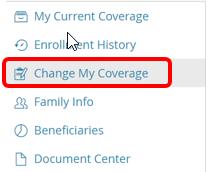
• My Current Coverage: Review existing benefit coverages for yourself and your dependents (if applicable)
• Enrollment History: Check historical enrollment information
• Change My Coverage: Process mid-year status changes (life event) to add or remove yourself and dependents from coverage
• Family Info: Access your dependents demographic information
NOTE: Adding dependents to this page does NOT automatically enroll them into benefits.
• Beneficiaries: Update your beneficiary designations
• Document Center: Browse plan summaries, brochures and documents
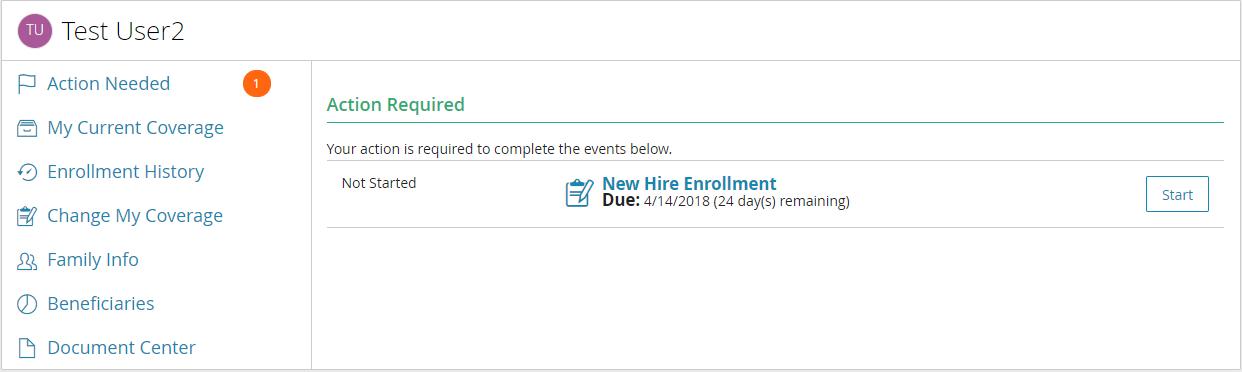
1. From your Benefits homepage, within the “Action Needed” section, click the “Start” button
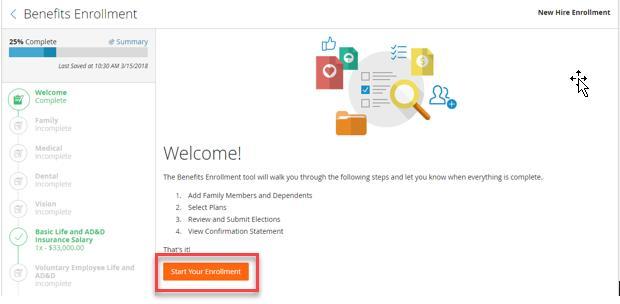
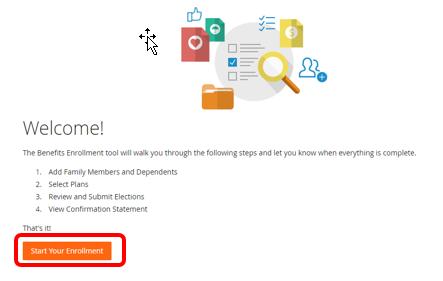
2. Select “Start Your Enrollment” to begin selecting your benefits. You can track your progress or select a specific task from the Enrollment Summary in the left panel.
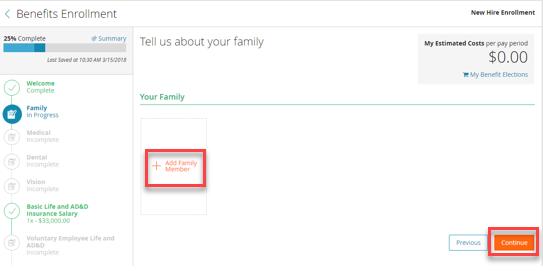
The first step in the enrollment process is adding demographic information for eligible dependents that will be covered under your plan. Click “Add Family Member” to add a new dependent to the system. Once all dependents have been added or if do not have any dependents, click “Continue.”
NOTE: The following fields are required for each dependent: First and Last Name, Date of Birth, Relationship, Gender, SSN.
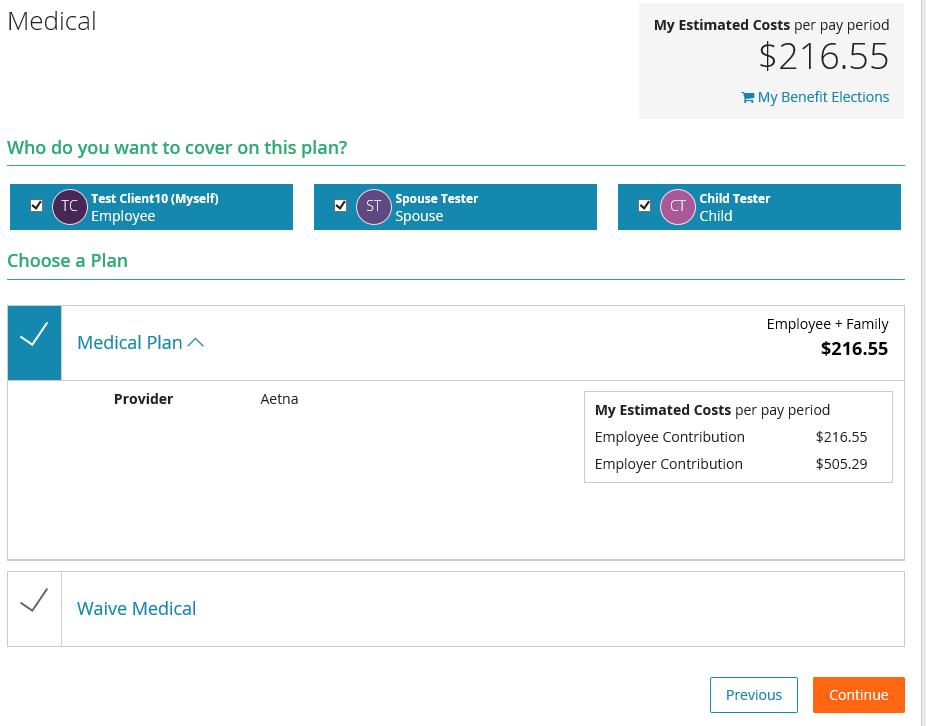
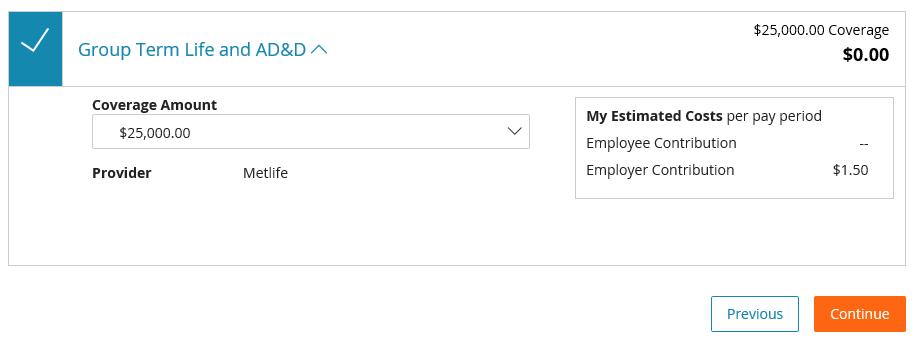
1. Select all dependents you wish to cover by checking the box next to his or her name. The system then generates your cost and coverage tier based on this selection.
2. Click the check mark next to the benefit plan you wish to elect. Coverage details, cost information, additional plan resources and other links may be available throughout the section.
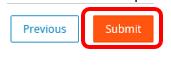
3. Click “Continue” to move onto the next benefit. In order to go back to the prior page, click “Previous”. TIP: As enrollment in each plan is complete, the benefit type in the left panel updates to a green color and displays the elected plan.
1. Enter the amount you’d like to contribute each paycheck in the “Employee Per Pay Period” field. The “Total Annual Contribution” field is updated based on your per pay contribution.
NOTE: Your eligible contribution amount is limited by any contribution that your employer makes along with the IRS limits.

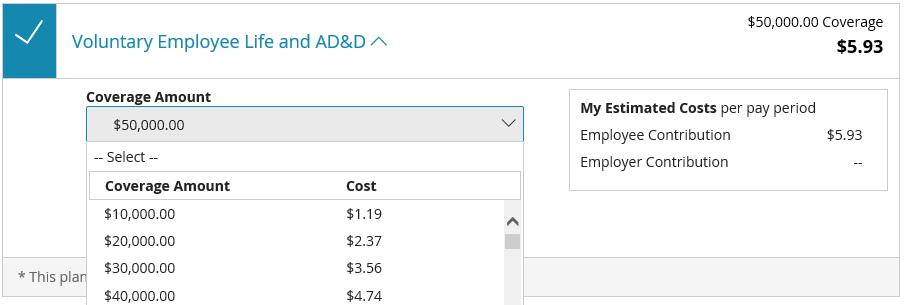
Voluntary Life and AD&D (If Applicable)
1. If enrolling, choose your coverage amount from the dropdown and review your costs.
NOTE: Evidence of Insurability may be required if electing coverage above the guarantee issue amount or if electing coverage after your initial new hire eligibility period.
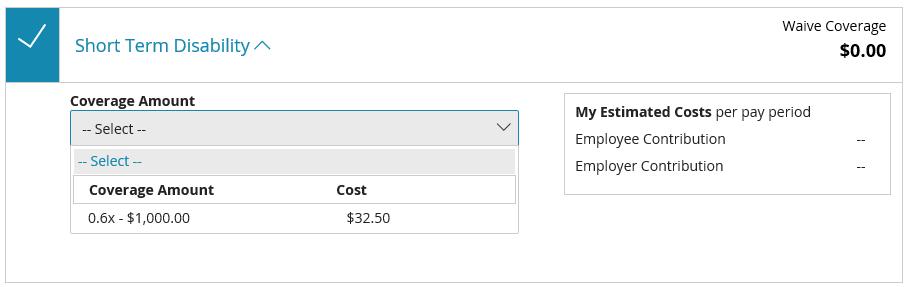
Voluntary Disability (If Applicable)
1. If enrolling, choose your coverage amount from the dropdown and review your costs.
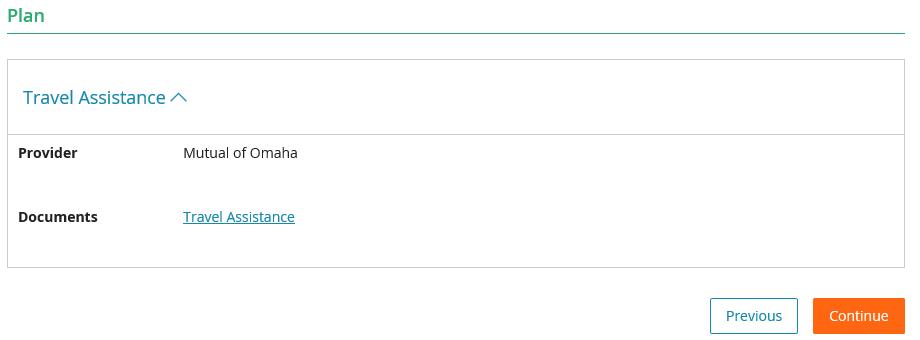
Employer Provided Benefits (If Applicable)
Your employer may provide benefits at no additional cost to you. With these benefits, you are automatically enrolled into coverage and no additional action is needed on your part. You do not have the option to waive coverage.
The sole purpose of these types of plans is to provide you with information to complete your enrollment elsewhere. You are NOT making your elections for these coverages in Web Benefits and the system does not store any costs or enrollment data for these plans.
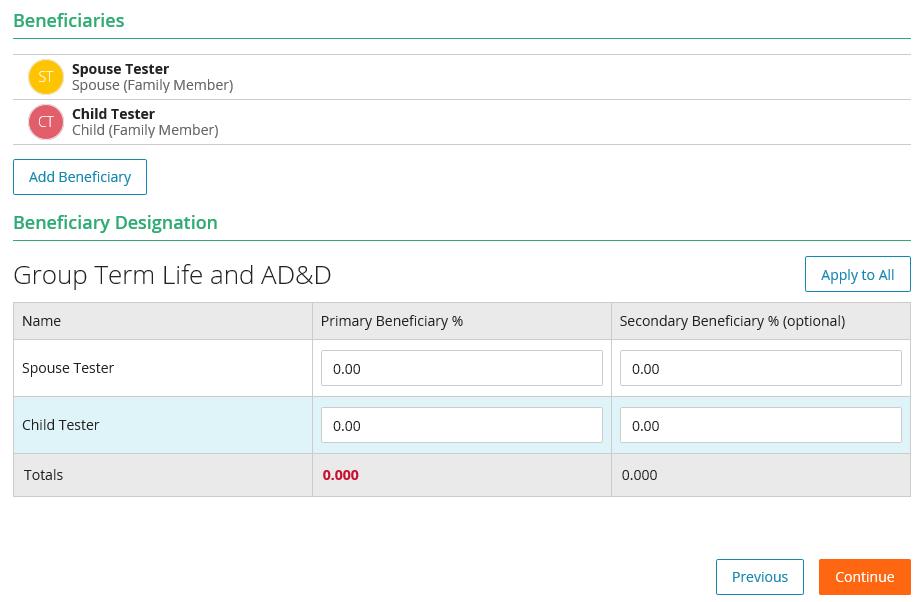
Your company may require that you assign at least one beneficiary for any company provided or voluntary life insurance plans. Any dependents you previously entered automatically display on this panel. If you wish to include additional beneficiaries:
1. Click the “Add Beneficiary” button.
• Your percentage(s) must total 100%.
• You are required to designate one primary beneficiary for each benefit.
• Secondary beneficiaries are optional.
2. If multiple plans are listed and you’d like to designate the same beneficiaries for each benefit, select the “Apply to All” button.
3. Once complete, click “Continue.”
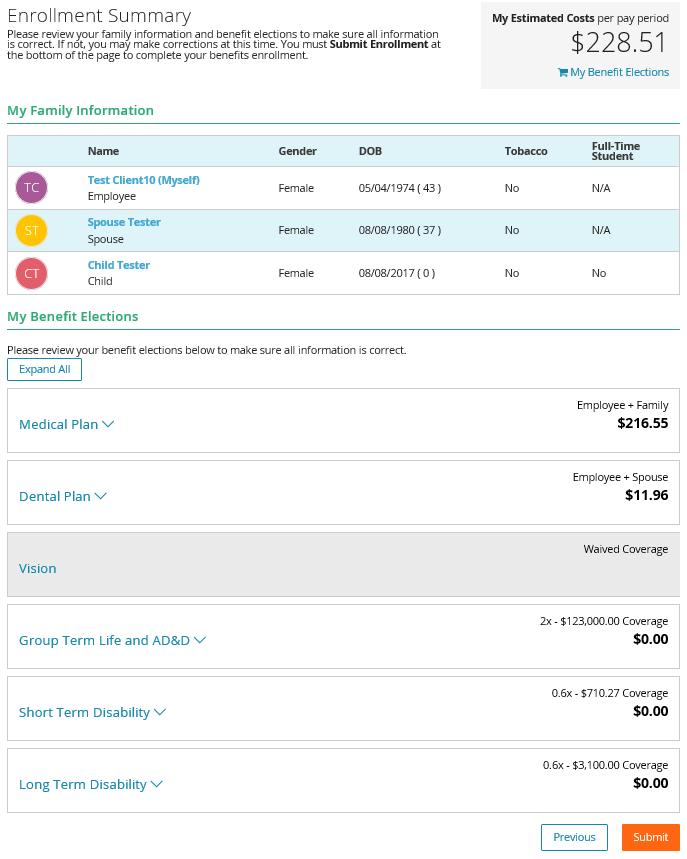
1. Please review all elections on the Enrollment Summary page prior to submitting for administrative review and approval. Clicking the “Expand All” button displays the details of each election, including covered dependents. If you need to make a change, select the benefit that needs updating from the left panel to reenter the enrollment window. If all information is accurate, select “Submit” to complete your enrollment. NOTE: Once your elections are submitted, additional edits may not be permitted.
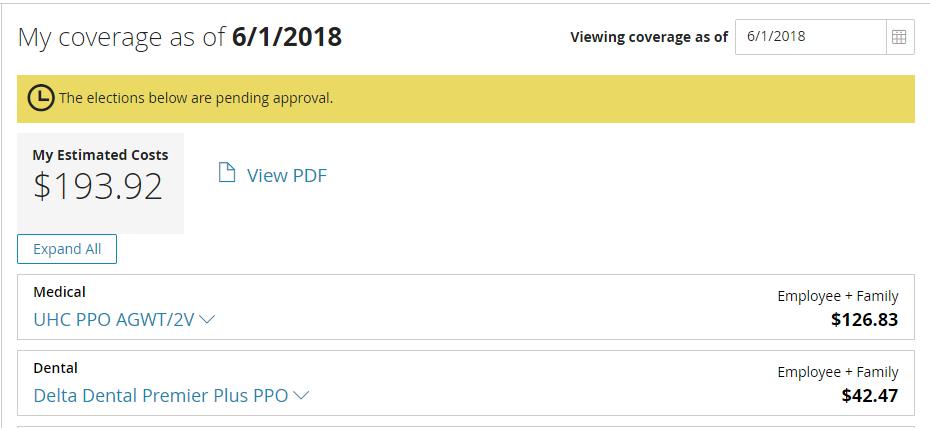
2. Once you submit your enrollment, the confirmation page shows that your enrollment is complete and is now pending approval by an administrator. Click “View PDF” to save or print a copy of your benefit elections for your records.
Life Events are situations that may require you to make changes to your benefits, such as marriage or birth of a child.
1. Click ‘Change My Coverage’ on the left side of the page.
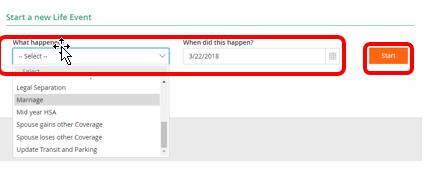
2. Choose the appropriate life event you have experienced from the drop down menu. Enter the effective date of the life event. Click ‘Start’ when you are finished.
NOTE: If you do not see the applicable Life Event or effective date, please contact HR.
3. Click “Start Your Enrollment” to add/update dependent information and benefit elections.
4. After all elections are entered, you can review your elections prior to submitting your enrollment. Click ‘Submit’ when you are finished. Your Life Event enrollment will pend administrator approval.