
Moss Manual


General Information
!
PANELS CANNOT BE FIXED ON A BRITTLE, WET, CRUMBLING SURFACE.
The surface on which panels are installed must be stable, smooth (each panel must align perfectly to the wall) and clean (free of dirt, dust, grease stains). In the case of unstable surface, it should be reinforced with OSB panels (panels thickness need to be evaluated each time base on product weight)
.
INSTALLATION SHOULD BE CARRIED OUT STEP BY STEP IN ACCORDANCE WITH THE DESCRIBED INSTRUCTIONS.
Tools Required
I. Drill-driver
II. Drill bit
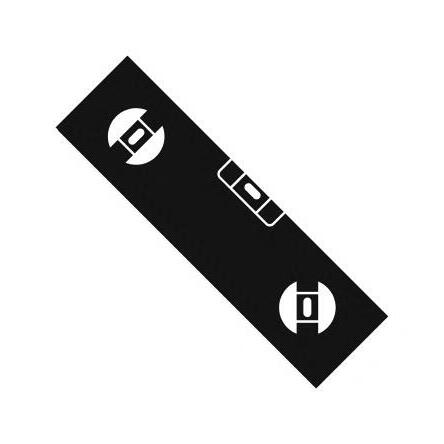
III. Level
IV. Measure

V. Pencil
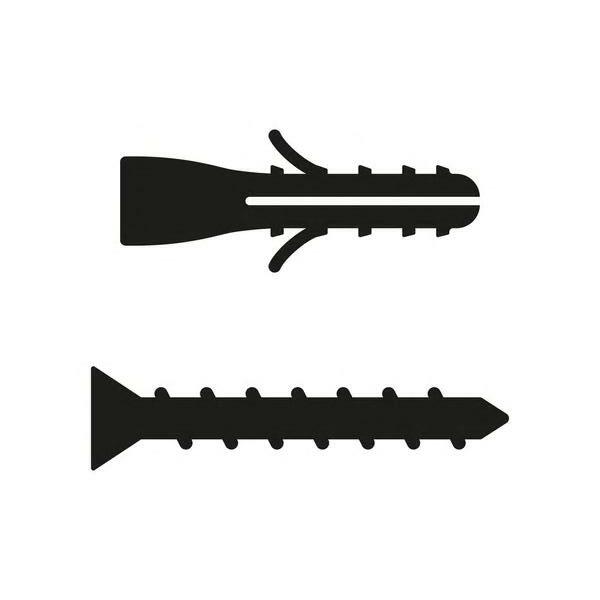
VI. Expansion bolts / dowels


VII. Hammer
Please ensure that you have the right Drill bit for your walls.

Disclaimer
Moss products should be used for the intended purpose in accordance with below points.
I. Panels must be used in enclosed rooms that are dry and protected against harmful atmospheric conditions.
II. Humidity levels in the room for moss must be maintained from 35 to 5%. (For most mosses and lichens as they may get dry and again get softened without harm to the product). The exception is jungle moss, for which the humidity levels in the room must be maintained up to max 5% (Humidity drop below 35% is acceptable and is not harmful).
III. It is not recommended to install panels closer than 1 m from active heat sources (heaters, stoves) which might overdry mosses and plants.
IV. It's forbidden to
Water, mist, spray with water. If air humidity drops below 35% moss should be treated with use of an air humidifier
Cut or trim product
Touch, tear, pull out or crumple
Put in the mouth nor eat
Expose to direct contact with heat sources, including fire (heaters, stoves, fireplaces, radiators, candles, etc.)
Expose to chemical substances, cleaning agents (even the mild ones) and any liquids at all
Dye moss and plants on your own
Expose to permanent very intense sunlight or artificial lighting.


V. Real preserved moss has a woody-earthy scent. Freshly unboxed moss can release a natural scent for the first 1-2 weeks after installation.
After this period, the smell will fade.
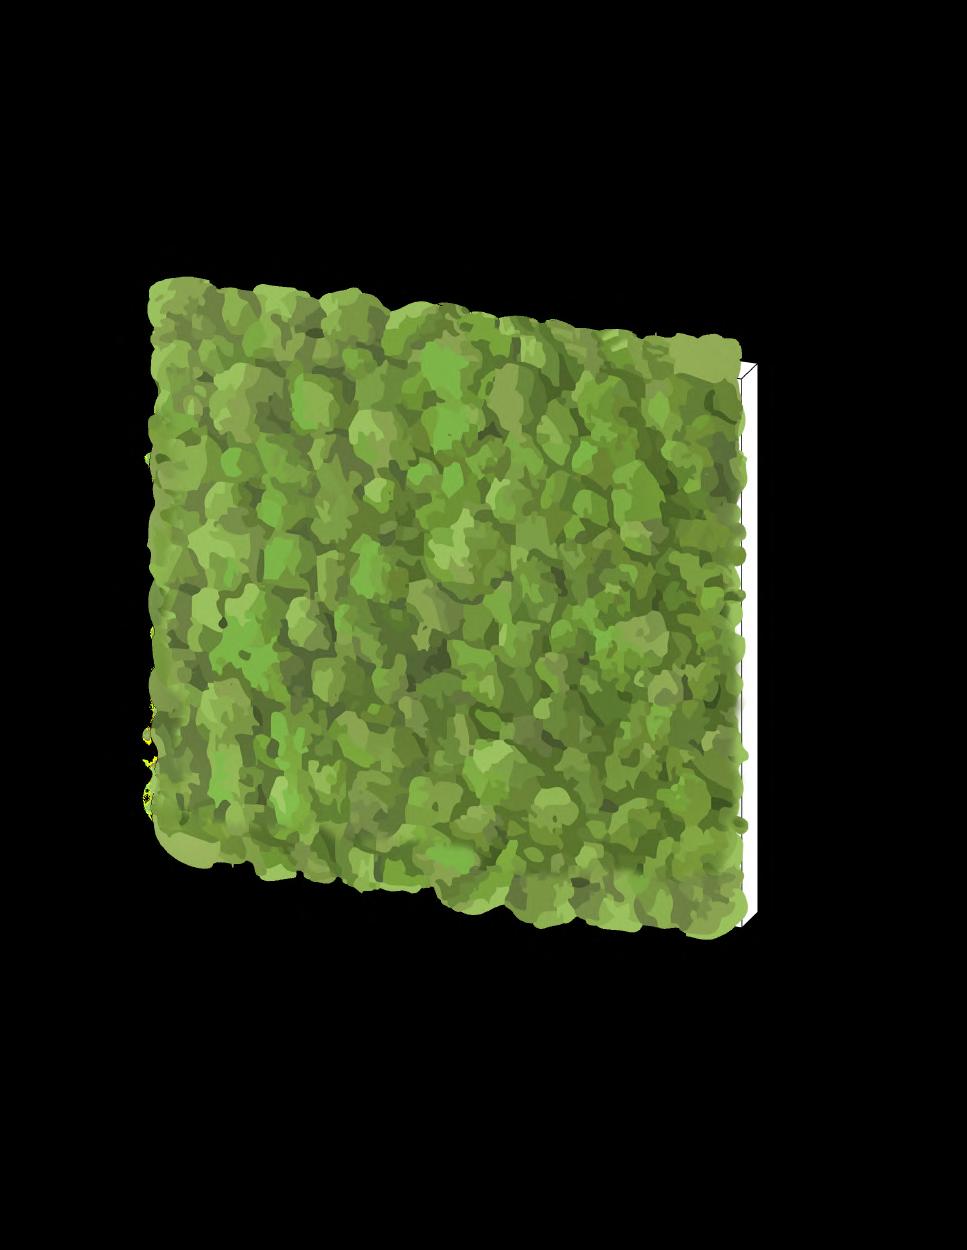
Product
Assem ly Scheme
I. If your design consists of several boards in a package, there will be ASSEMBLY SCHEME attached. Prior to the assembly, make sure the number of moss panels in the package is the same as on ASSEMBLY SCHEME.


II. Numbers from ASSEMBLY SCHEME can be found on the back of each moss panel.

2. Surface Preparations
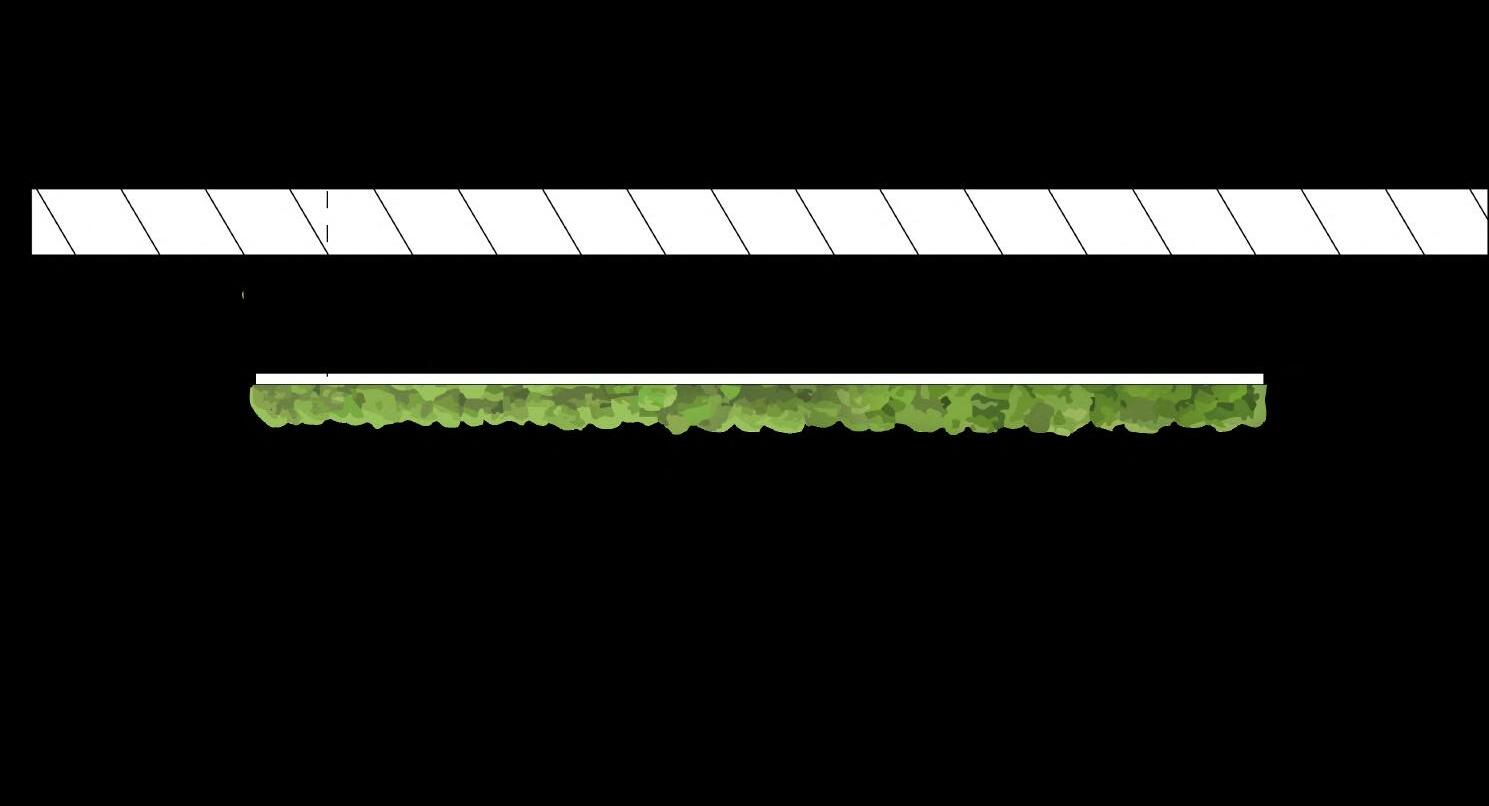
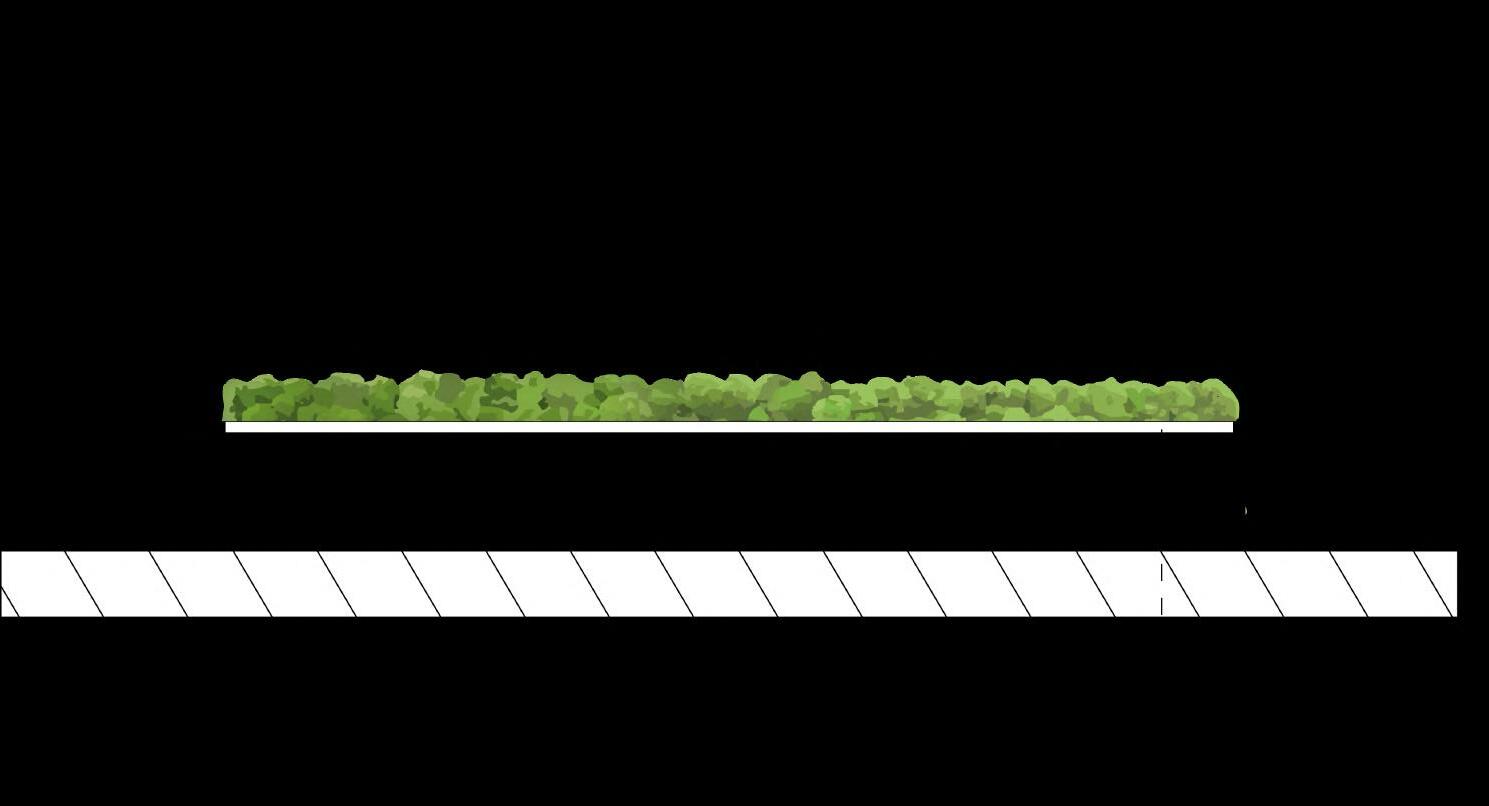
I. Level the first panel and mark the edge of the panel on the wall.


4. Wall preparation for Dowel

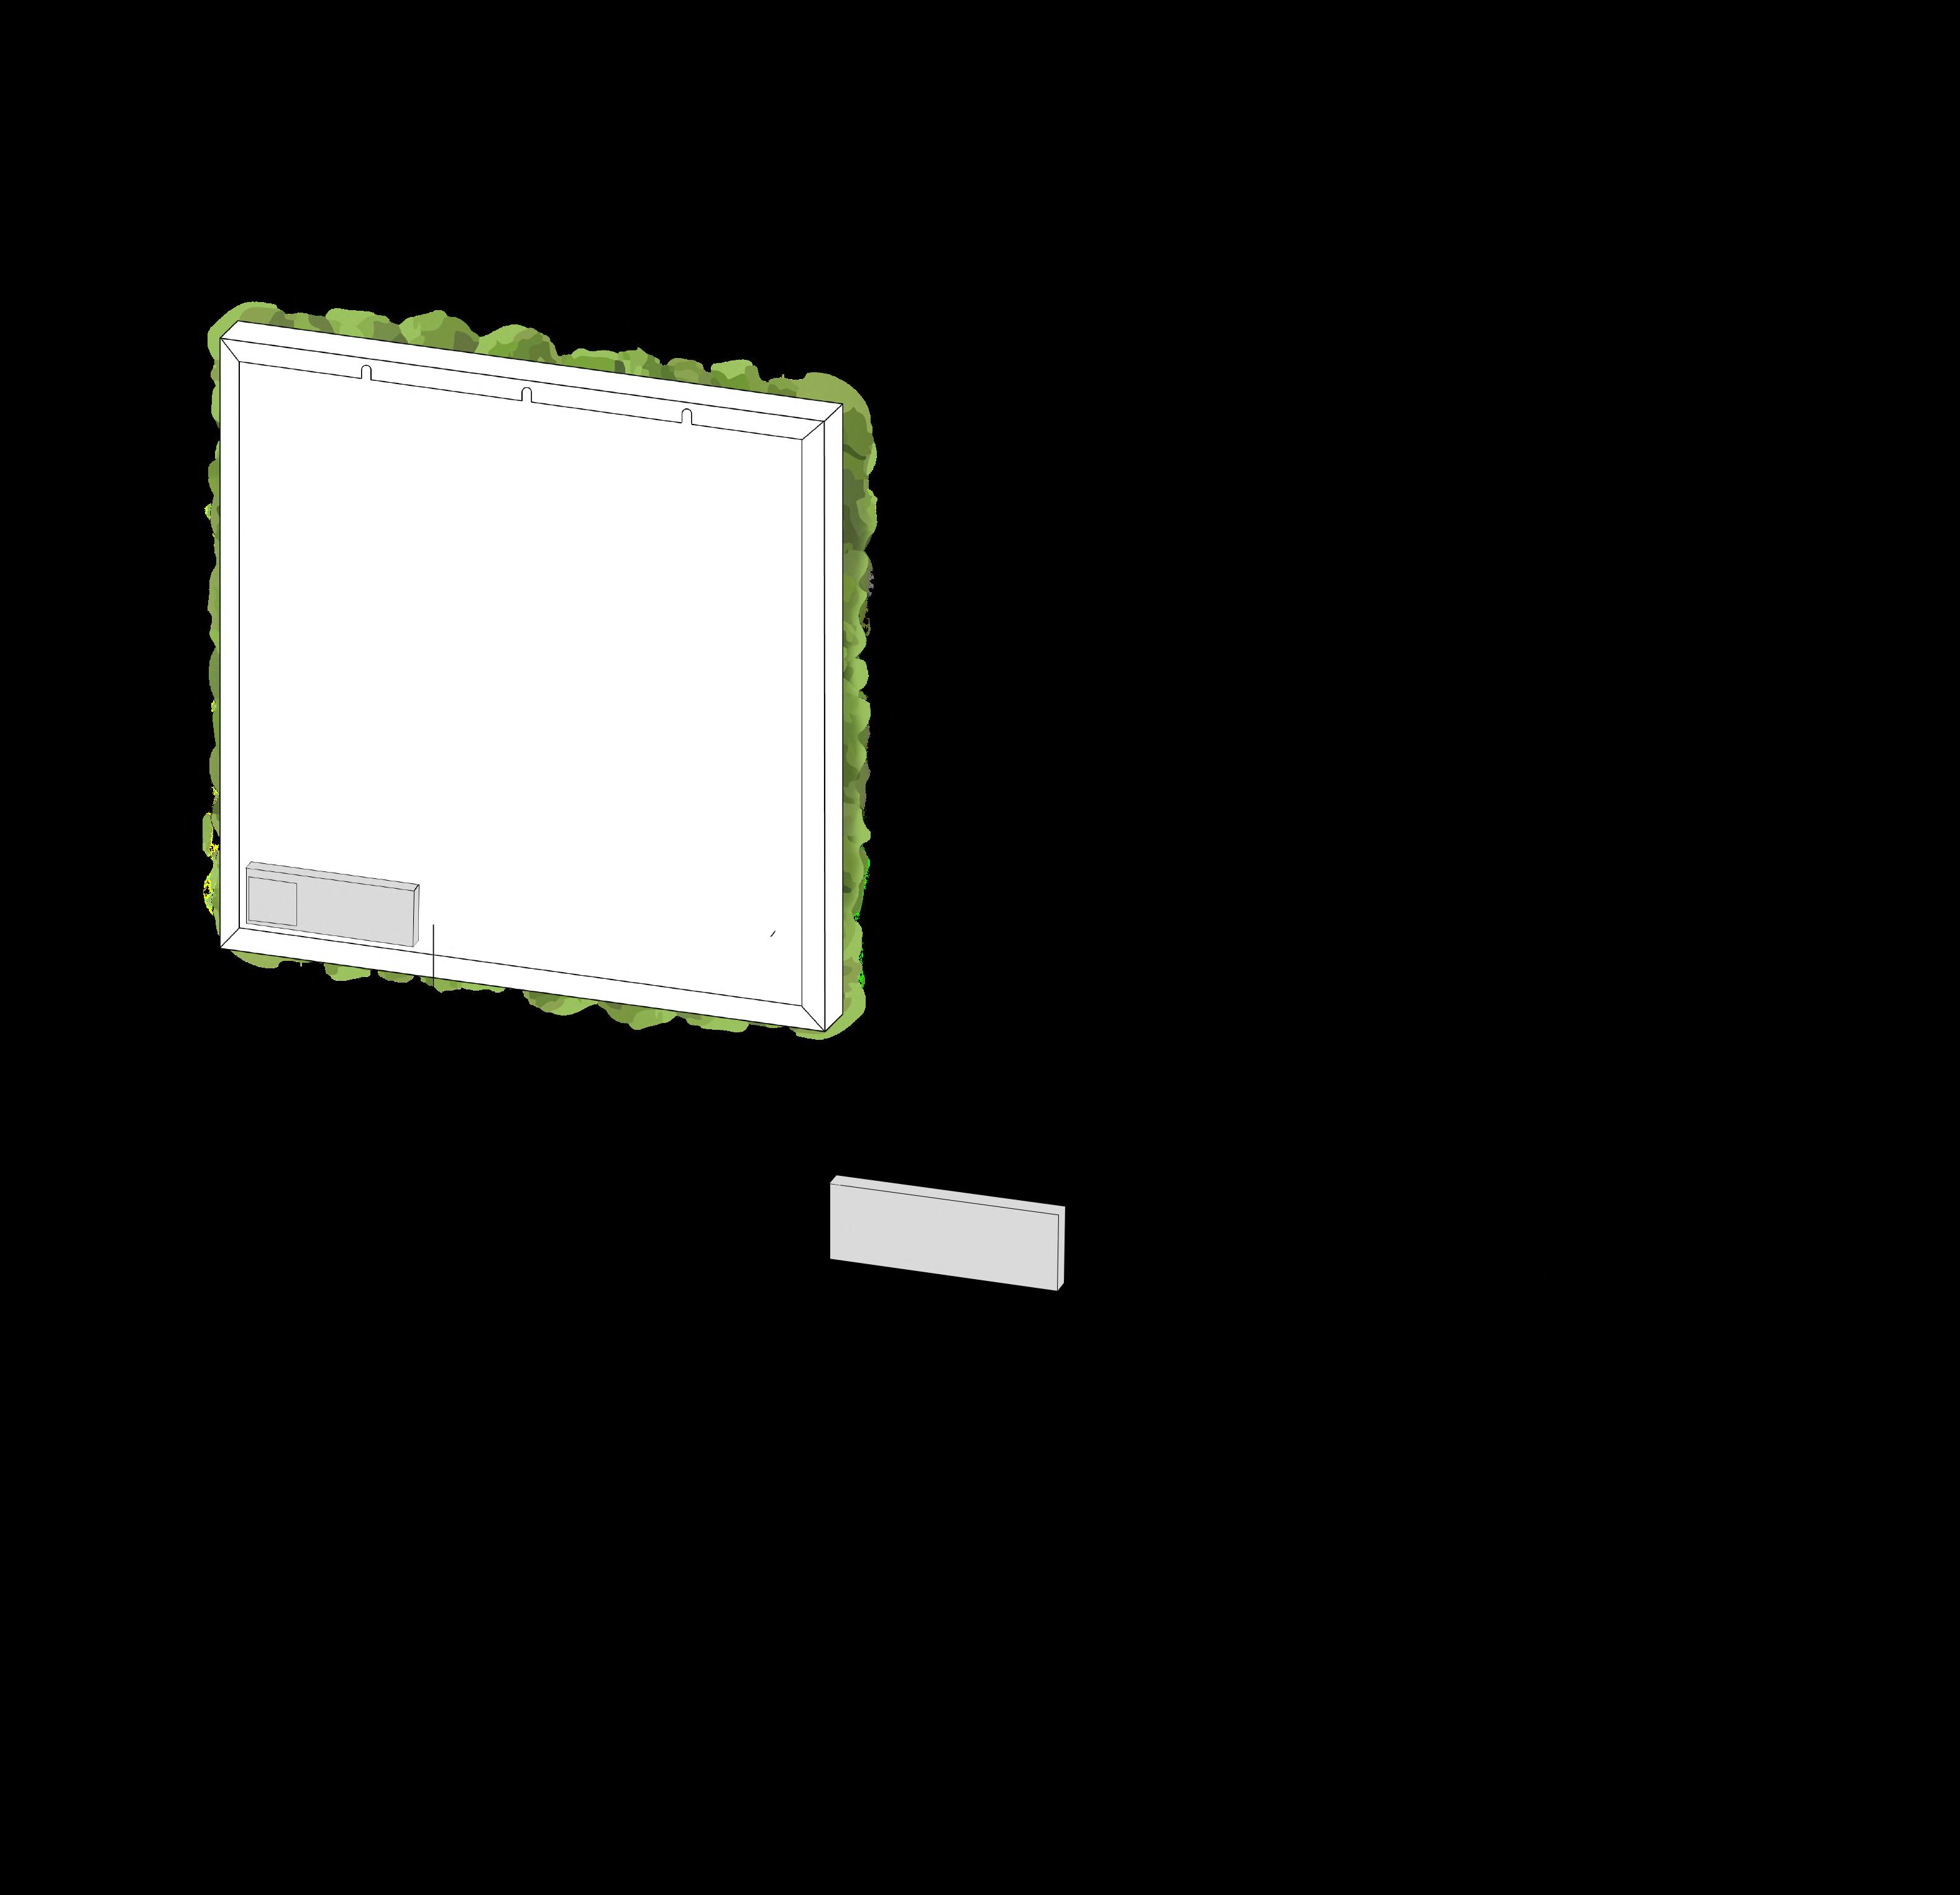
I. Drill holes in the wall, install the appropriate mounting dowels, screw the panel to the wall.
3. Moss
Panel Preparations
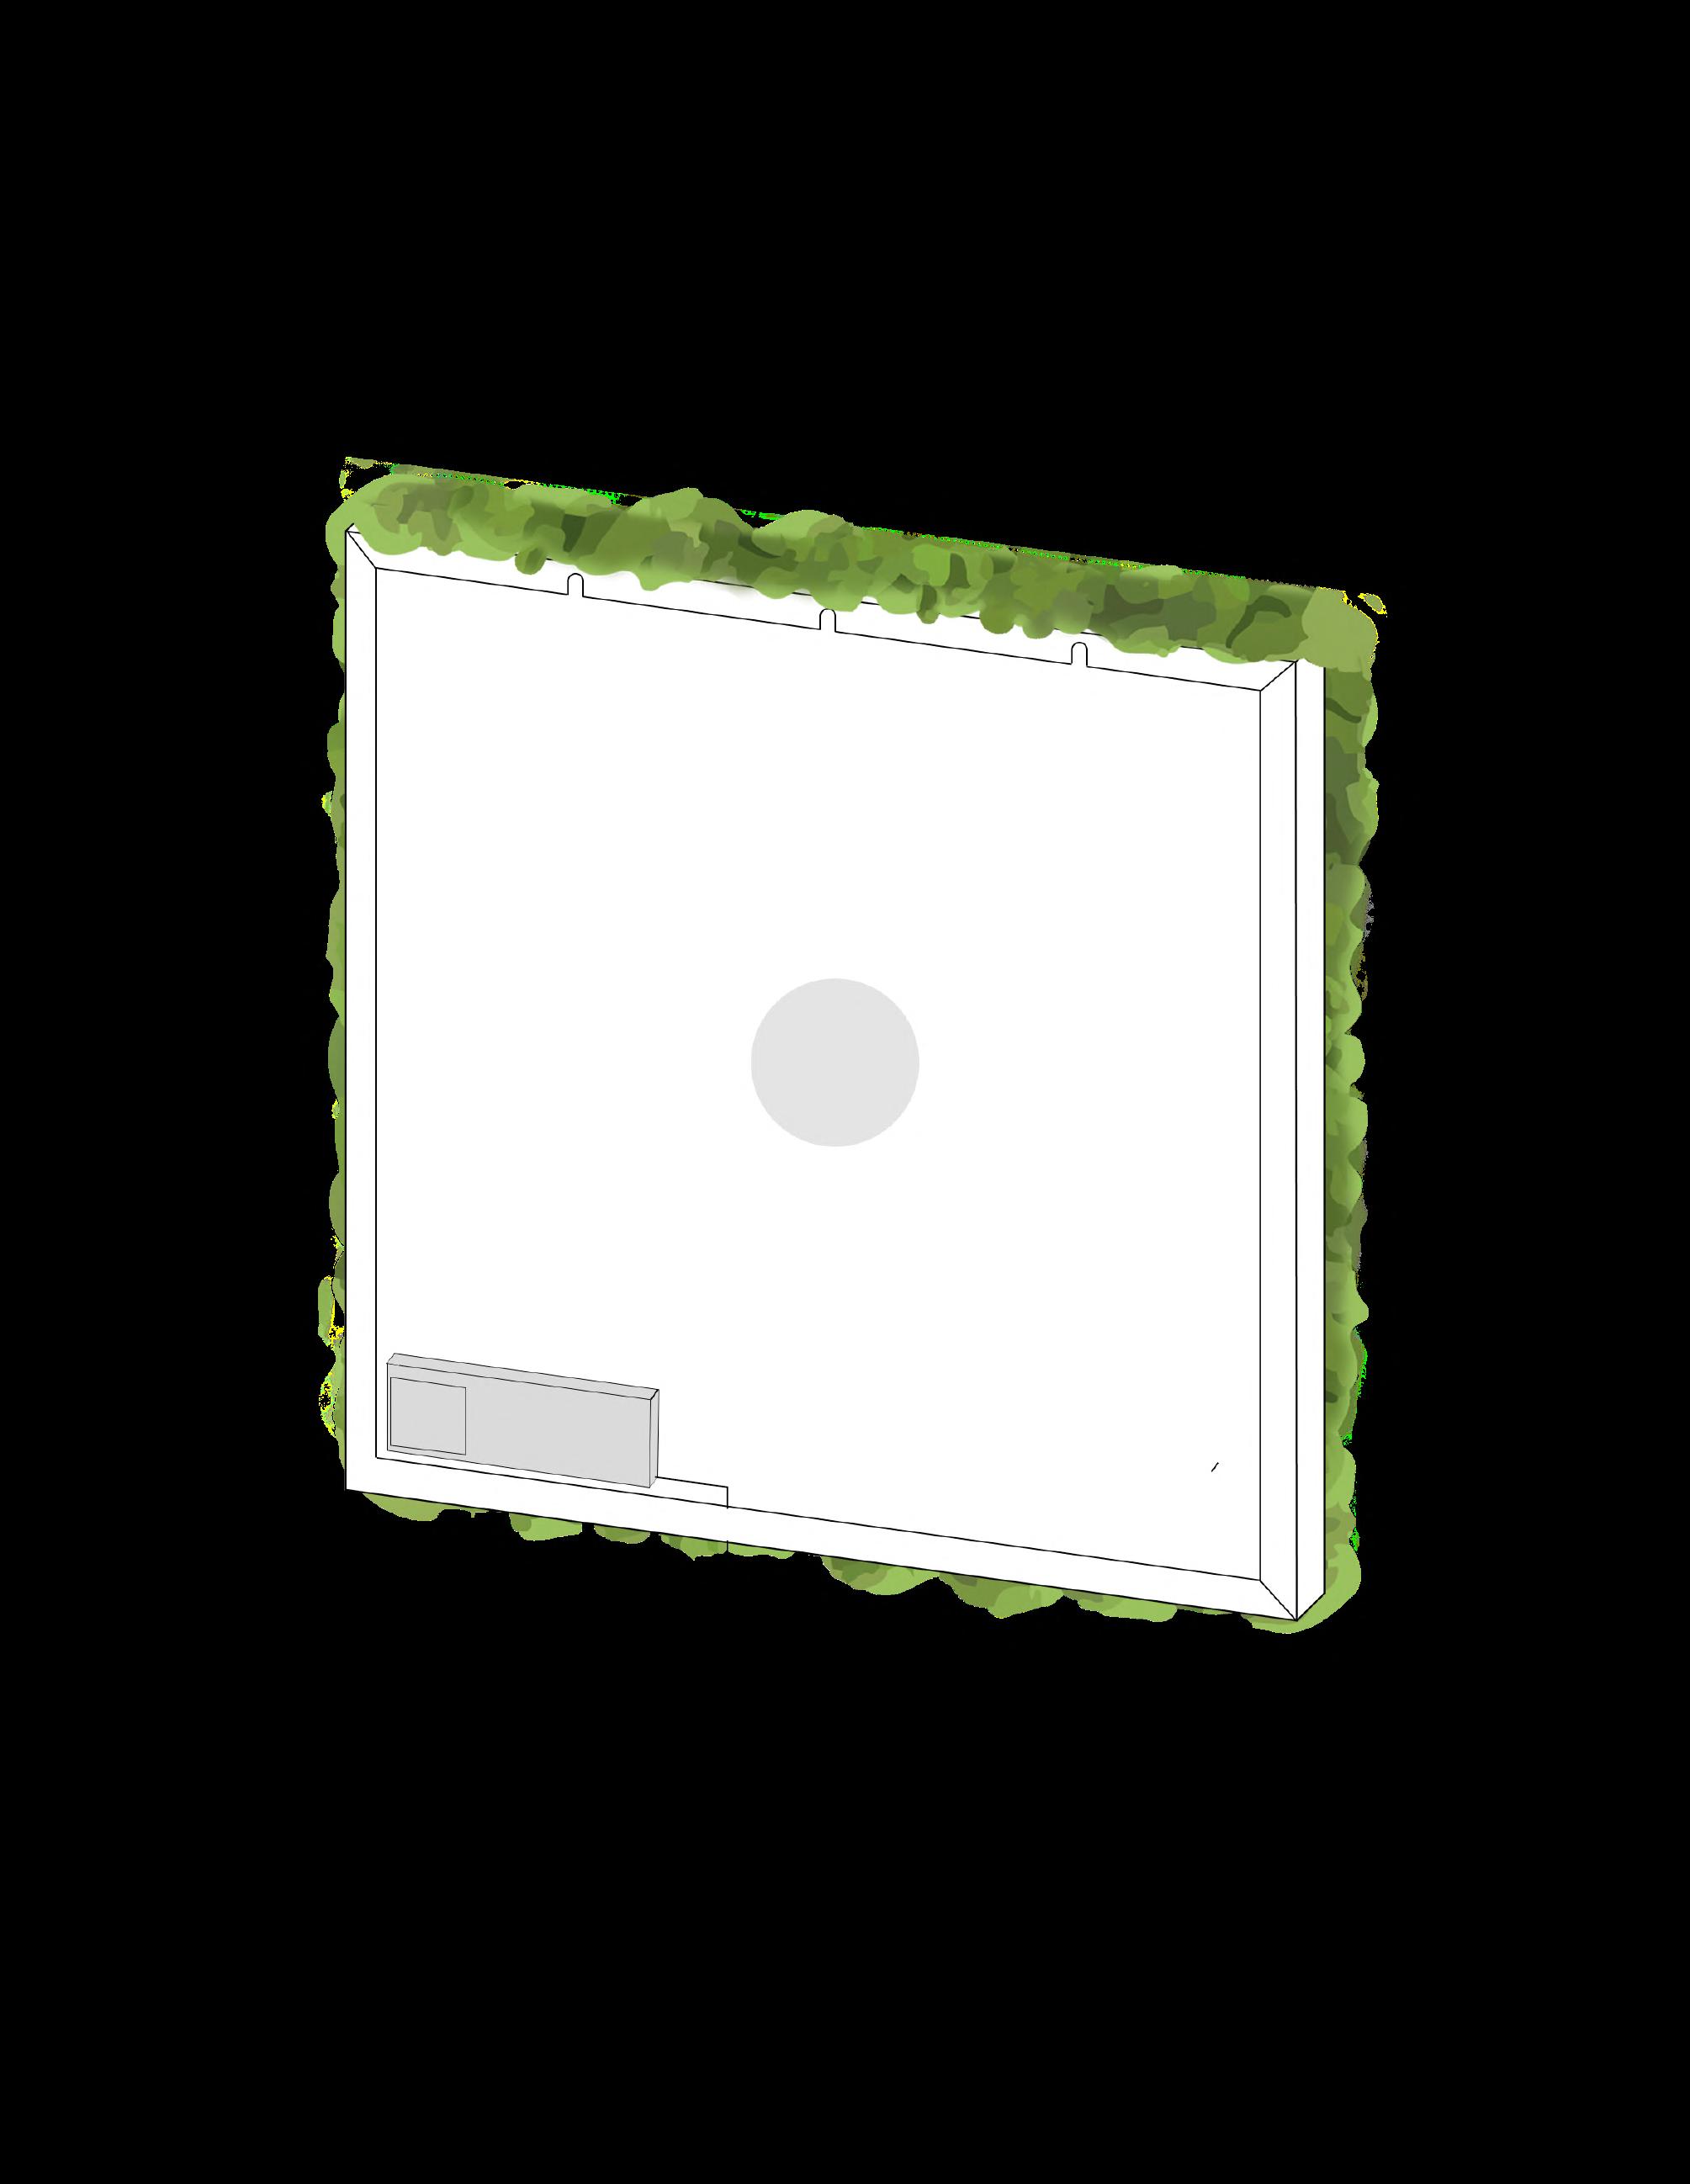
I. Being careful of moss, drill through the panel, leaving mounting points on the wall.
5. Montage Moss Panels Side by Side
I. Align the next panel to the one already installed and repeat the installation steps.
!
The surface on which panels are installed must be stable, smooth (each panel must align perfectly to the wall) and clean (free of dirt, dust, grease stains). In the case of unstable surface, it should be reinforced with OSB panels (panels thickness need to be evaluated each time base on product weight).
INSTALLATION
Please ensure that you have the right Drill bit for your walls.
I. Panels must be used in enclosed rooms that are dry and protected against harmful atmospheric conditions
II. Humidity levels in the room for moss must be maintained from 35 to 5% (For most mosses and lichens as they may get dry and again get softened without harm to the product) The exception is ungle moss, for which the humidity levels in the room must be maintained up to max 5% (Humidity drop below 35% is acceptable and is not harmful).
III. It is not recommended to install panels closer than 1 m from active heat sources (heaters, stoves) which might overdry mosses and plants
IV. It s forbidden to
Water, mist, spray with water. If air humidity drops below 35% moss should be treated with use of an air humidifier
Cut or trim product
Touch, tear, pull out or crumple
Put in the mouth nor eat
Expose to direct contact with heat sources, including fire (heaters, stoves, fireplaces, radiators, candles, etc.)
Expose to chemical substances, cleaning agents (even the mild ones and any liquids at all
Dye moss and plants on your own
Expose to permanent very intense sunlight or artificial lighting
V. Real preserved moss has a woody-earthy scent. Freshly unboxed moss can release a natural scent for the first 1 2 weeks after installation.
After this period, the smell will fade.

1. Assembly Scheme
I. If your design consists of several boards in a package, there will be ASSEMBLY SCHEME attached. Prior to the assembly, make sure the number of moss panels in the package is the same as on ASSEMBLY SCHEME.

2. Surface Preparations
I. Position the product on the wall. Mark the location of the panels using our template guide provided in your order.
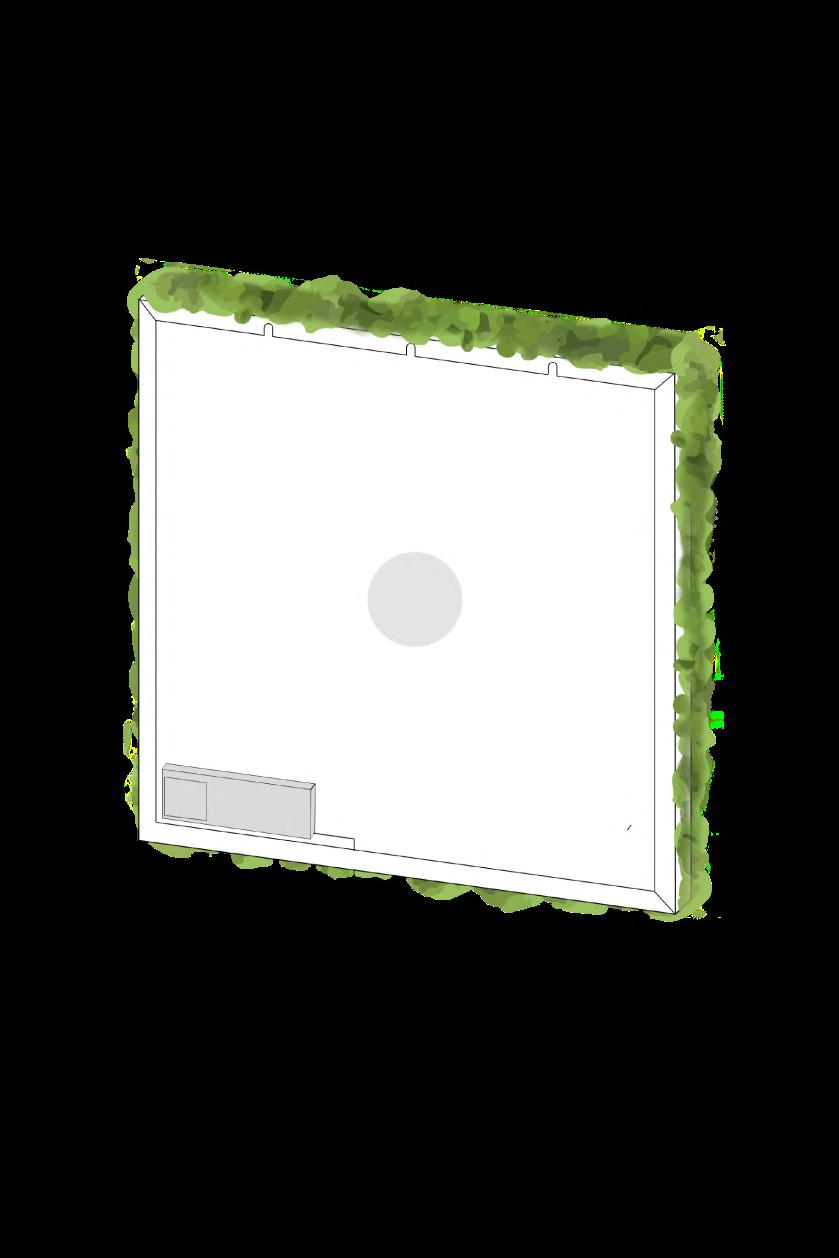
I. Hang moss on wall and plug in the electrical cord to check if lights are working.


Wall Wall
3. Wall preparation for Dowel

I. Attach the template to the wall and drill holes in the marked area.
II. Install the appropriate wall dowel (depending on the wall type).
III. Screw in the screw until it sticks out of the wall sufficiently for hanging.
The installation should only be undertaken by qualified personnel. Steps if the electric installation is already prepared.
5. Montage with existing Electrical Installation
I. Take out power cord cable out of the junction box.
II. Connect power cable from existing electrical instalation to electrical junction box.
III. Hang moss wall and check if lights are working.
Allgemeine Informationen
!
Die Platten können nicht auf zerbrechlichen, feuchten oder bröckeligen Oberfläche angebracht werden.
Die Oberfläche, auf der die Platten montiert werden, muss stabil, glatt (die Platten müssen genau auf der Wand aufliegen) und sauber (frei von Schmutz, Staub, Fettflecken) sein. Instabile Oberflächen sollten mit OSB Platten verstärkt werden (die Plattenstärke muss anhand des Produktgewichtes festgelegt werden).

Die Montage sollte Schritt für Schritt nach den folgenden Anweisungen ausgeführt werden.
Benötigte Werkzeuge
I. Bohrschrauber
II. Bohraufsatz III. Wasserwaage IV. Lineal V. Stift
VI. Spreizdübel / Dübel VII. Hammer
Bitte vergewissere dich, dass du den richtigen Bohraufsatz für deine Wand verwendest.
Haftungsausschluss
Die dekorativen Produktplatten sollten nur für den vorgesehenen Zweck in Übereinstimmung mit den nachstehenden Punkten verwendet werden.
I. Die Platten dürfen nur in geschlossenen Räumen verwendet werden, die trocken und gegen schädliche atmospherische Einflüsse geschützt sind.
II. Die Luftfeuchtigkeit des Raumes muss für Moos bei 35 bis 65% gehalten werden. (Moose und Flechten können austrocknen und wieder aufweichen, ohne dass das Produkt Schaden nimmt). Die Luftfeuchtigkeit für Dschungelpflanzen muss bei maximal 65% gehalten werden (eine Luftfeuchtigkeit von unter 35% ist akzeptabel und nicht schädlich).
III. Es ist nicht empfohlen, die Platten näher als 1 m von aktiven Wärmequellen (Heizungen, Öfen) zu montieren, da dies die Moose und Pflanzen austrocknen kann.
IV. Folgendes ist zu unterlassen Besprühen mit Wasser oder Wasserdampf; falls die Luftfeuchtigkeit unter 35% fällt, sollte das Moos mit einem Luftbefeuchter behandelt werden
Schneiden oder Trimmen des Produktes Berühren, Reißen, Herausziehen oder Eindrücken Verzehr
Direkter Kontakt mit Wärmequellen wie Feuer, Heizungen, Öfen, Kamine, Heizstrahler, Kerzen u.a Kontakt mit chemischen Substanzen, Putzmitteln (auch milden) oder Flüssigkeiten aller Art Einfärben oder Anmalen der Moose und Pflanzen Dauerhafte Einstrahlung von direktem Sonnenlicht oder starkem künstlichen Licht.
V. Echtes konserviertes Moos hat einen holzig-erdigen Duft. Frisch ausgepacktes Moos kann in den ersten 1-2 Wochen nach der Installation einen natürlichen Geruch abgeben. Nach dieser Zeit wird der Geruch verblassen.
Produkt
Montage
A1 M
Montageplan

I. Wenn dein Design aus mehreren Platten in einem Paket besteht, enthält dies einen MONTAGEPLAN. Stelle vor dem Zusammensetzen sicher, dass die Ziffern auf der Rückseite der Moosplatten mit dem MONTAGEPLAN übereinstimmen.
II. Die Ziffern aus dem MONTAGEPLAN findest du auf der Rückseite der Moosplatten.
2. Vorbereitung der Oberfläche
I. Nivelliere die erste Platte und kennzeichne die Kante der Platte auf der Wand.
4. Vorbereitung der Wand für die Dübel
I. Bohre Löcher in die Wand, setze die passenden Dübel ein und schraube die Platte an die Wand.
3. Vorbereitung der Moosplatte(n)
I. Bohre durch die Platte und markiere so die Montagepunkte auf der Wand. Achte dabei darauf, das Moos nicht zu beschädigen.
Wand die Wand die Wand die Wand
5. Anbringen der Moosplatten nebeneinander
I. Richte die nächste Platte an der zuvor installierten und wiederhole die Montageschritte.
Allgemeine Informationen
!
Die Platten können nicht auf zerbrechlichen, feuchten oder bröckeligen Oberfläche angebracht werden.
Die Oberfläche, auf der die Platten montiert werden, muss stabil, glatt (die Platten müssen genau auf der Wand aufliegen) und sauber (frei von Schmutz, Staub, Fettflecken) sein. Instabile Oberflächen sollten mit OSB Platten verstärkt werden (die Plattenstärke muss anhand des Produktgewichtes festgelegt werden).
Die Montage sollte Schritt für Schritt nach den folgenden Anweisungen ausgeführt werden.
Benötigte Werkzeuge
I. Bohrschrauber II. Bohraufsatz III. Wasserwaage IV. Lineal V. Stift VI. Spreizdübel / Dübel VII. Hammer
Bitte vergewissere dich, dass du den richtigen Bohraufsatz für deine Wand verwendest.
Haftungsausschluss
Die dekorativen Produktplatten sollten nur für den vorgesehenen Zweck in Übereinstimmung mit den nachstehenden Punkten verwendet werden.
I. Die Platten dürfen nur in geschlossenen Räumen verwendet werden, die trocken und gegen schädliche atmospherische Einflüsse geschützt sind.
II. Die Luftfeuchtigkeit des Raumes muss für Moos bei 35 bis 65% gehalten werden. (Moose und Flechten können austrocknen und wieder aufweichen, ohne dass das Produkt Schaden nimmt). Die Luftfeuchtigkeit für Dschungelpflanzen muss bei maximal 65% gehalten werden (eine Luftfeuchtigkeit von unter 35% ist akzeptabel und nicht schädlich).
III. Es ist nicht empfohlen, die Platten näher als 1 m von aktiven Wärmequellen (Heizungen, Öfen) zu montieren, da dies die Moose und Pflanzen austrocknen kann.
IV. Folgendes ist zu unterlassen Besprühen mit Wasser oder Wasserdampf; falls die Luftfeuchtigkeit unter 35% fällt, sollte das Moos mit einem Luftbefeuchter behandelt werden
Schneiden oder Trimmen des Produktes Berühren, Reißen, Herausziehen oder Eindrücken Verzehr
Direkter Kontakt mit Wärmequellen wie Feuer, Heizungen, Öfen, Kamine, Heizstrahler, Kerzen u.a Kontakt mit chemischen Substanzen, Putzmitteln (auch milden) oder Flüssigkeiten aller Art Einfärben oder Anmalen der Moose und Pflanzen Dauerhafte Einstrahlung von direktem Sonnenlicht oder starkem künstlichen Licht.
V. Echtes konserviertes Moos hat einen holzig-erdigen Duft. Frisch ausgepacktes Moos kann in den ersten 1-2 Wochen nach der Installation einen natürlichen Geruch abgeben. Nach dieser Zeit wird der Geruch verblassen.
Produkt
Montage
Montageplan
I. Wenn dein Design aus mehreren Platten in einem Paket besteht, enthält dies einen MONTAGEPLAN. Stelle vor dem Zusammensetzen sicher, dass die Ziffern auf der Rückseite der Moosplatten mit dem MONTAGEPLAN übereinstimmen.
II. Die Ziffern aus dem MONTAGEPLAN findest du auf der Rückseite der Moosplatten.
2. Vorbereitung der Oberfläche
I. Positioniere das Produkt auf der Wand. Markiere die Position der Platte mithilfe der mitgelieferten Montageschablone.
die Wand die Wand
3. Vorbereitung der Wand für die Dübel
I. Bringe die Schablone an der Wand an und bohre Löcher an den vorgesehenen Markierungen.
II. Setze den passenden Dübel ein (abhängig von der Art der Wand).
WARNUNG die Wand die Wand
I. Hänge das Moos an die Wand und stecke das Kabel in die Steckdose um zu prüfen, ob das Leuchtprodukt funktoniert.
III. Drehe die Schrauben so in die Wand, dass sie weit genug herausschauen, um die Platte daran aufzuhängen.
Die Installation sollte nur vom qualifizierten Fachpersonal durchgeführt werden. Schritte bei einer bereits vorbereiteten elektrischen Anlage.
5. Montage bei existierenden elektrischen Anlagen
I. Trenne das Stromkabel von der Verteilerdose.
II. Verbinde das Stromkabel der existierenden elektrischen Anlage mit der Verteilerdose.
III. Hänge die Mooswand auf und überprüfe, ob das Licht funktioniert.