INSTALLATION, OPERATION & MAINTENANCE MANUAL
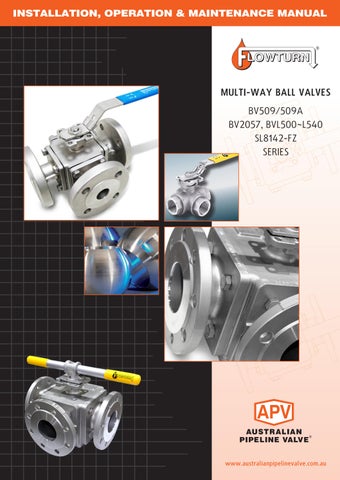
MULTI-WAY BALL VALVES BV509/509A BV2057, BVL500~L540 SL8142-FZ SERIES
www.australianpipelinevalve.com.au
INSTALLATION, OPERATION & MAINTENANCE MANUAL
MULTI-WAY BALL VALVES BV509/509A BV2057, BVL500~L540 SL8142-FZ SERIES
www.australianpipelinevalve.com.au