N_30
MAGAZINE
SAVOUR THE SUNSHINE
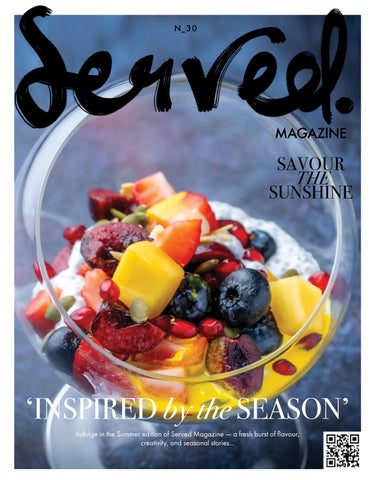
‘INSPIRED by the SEASON’ Indulge in the Summer edition of Served Magazine — a fresh burst of flavour, creativity, and seasonal stories...
N_30
MAGAZINE
SAVOUR THE SUNSHINE
‘INSPIRED by the SEASON’ Indulge in the Summer edition of Served Magazine — a fresh burst of flavour, creativity, and seasonal stories...