
KIT

DOOR EDITION
BARN
FRONT BUMPER
To start with, the factory front bumper will need to be removed from the vehicle as per VW guidelines.


 Remove left and right inner mouldings by removing the three screws at the bottom and the plastic tabs at the top.
From the original bumper, also remove the badge and upper grille inserts.
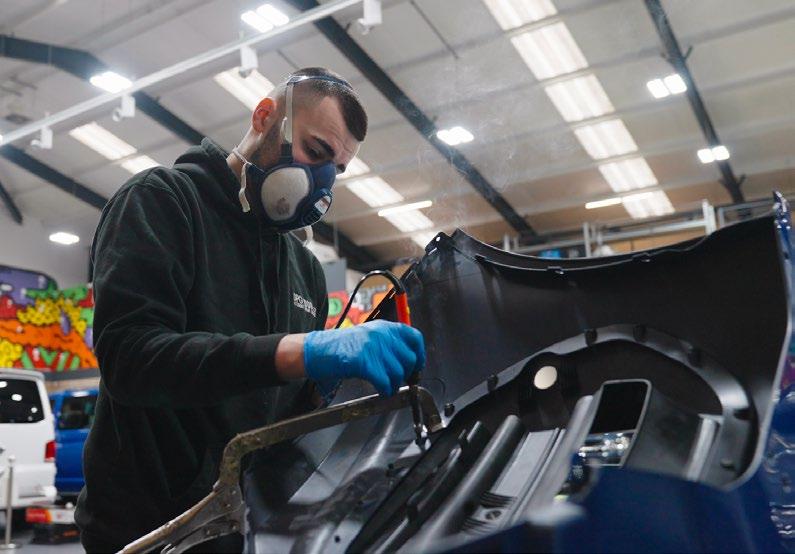
Remove the parking sensors from the original bumper.
Remove left and right inner mouldings by removing the three screws at the bottom and the plastic tabs at the top.
From the original bumper, also remove the badge and upper grille inserts.
Remove the parking sensors from the original bumper.
1 3 2 4
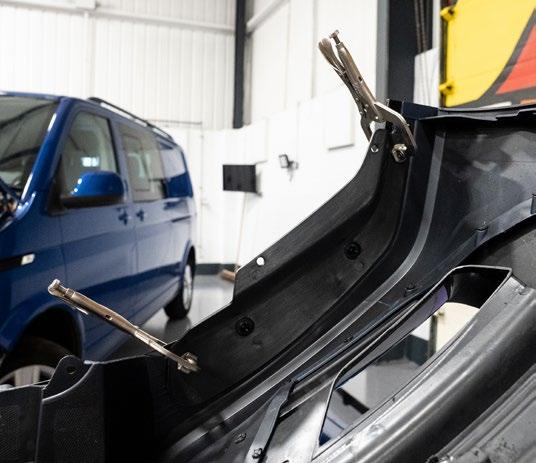
Place LV-R bumper onto a covered tresle and using the locator pins, insert the middle grille.

Melt the 19 tabs at the bottom and the seven at the top into position using a soldering iron. Wait for each tab to cool before moving onto the next one (please note: use of clamps will ensure a snug fit).
On the new bumper, insert new paddles by clipping into place. Note: Paddles require holes for parking sensors cutting prior to painting and fitting if not already there.


 Use a clamp with padding to ensure a snug fit, with extra protection when clamp is used on paint.
7 8 5 6
FRONT BUMPER
Melt the 17 locator pins per paddle with a soldering iron.

Wait for each tab to cool down before moving onto the next one.
Move the clamp around the paddle after every 2 tabs have been melted to ensure clamping pressure is being applied to the area being melted. Repeat above steps on the other side.

Insert towing eye back in place using clips.

(CONTINUED) 9 10 11 12
Grind down the plastic fins near the parking sensors to ensure the glue is able to stick to the parking sensor brackets (four in total).

Sand down parking sensor holes to ensure smoothness.
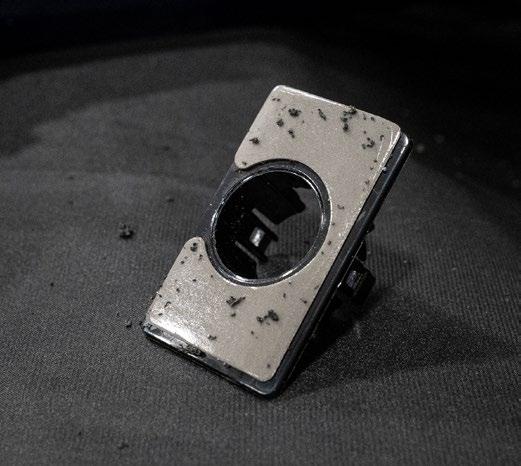
Remove double-sided adhesive from parking sensor brackets ready to use fast-drying glue (Innotec) instead as this is sturdier.


Drill two holes in brackets so the bond will push through and help secure. 13 14 15 16
FRONT BUMPER (CONTINUED)
Key up parking sensors (using Grade 80 throughout).

Remove original parking sensors from original wiring and insert parking sensors into the new brackets that you’ve just keyed up.


Mock-up placement to make sure they will fit, and use airline to blow-dry all debris out of place. Then apply glue to brackets and secure in place.
Hold in place for at least 2 minutes to ensure bond is held in place.


17 18 19 20
For models with side scans, blanking caps will need to be installed. Remove adhesive and use glue to secure in place (similar to parking sensor brackets). Mock-up first to check fitment.


Glue side scan into place.
Attach splitter using supplied clips.

21 22 23
FRONT BUMPER (CONTINUED)
On bottom of splitter, key up strengthening tabs/brackets.
Then apply glue to the line above.
To re-insert plastic inserts, clamp into place and line up using three holes. You can either rivet or bond the brackets into place (we opt for riveting as this can offer a sturdier fit. Drill holes for rivet and insert rivets into place. Repeat above steps on the other side.


Reinsert original inner side brackets and screw at the bottom into place.

24 25 26 27
Assemble top grille by clipping coloured inserts into place. Reinsert badge by clipping back into place. Reinsert chrome upper trims and click into place. Clip whole grille back into place.


 Reinsert parking sensor wiring and clip back into place.
Melt locator tabs back into place on both sides.
Reinsert parking sensor wiring and clip back into place.
Melt locator tabs back into place on both sides.
28 29 30 31
FRONT BUMPER (CONTINUED)


Re apply the bumper back onto the van using the original locator tabs. Plug wiring back in.

And finally, screw and secure back into place.
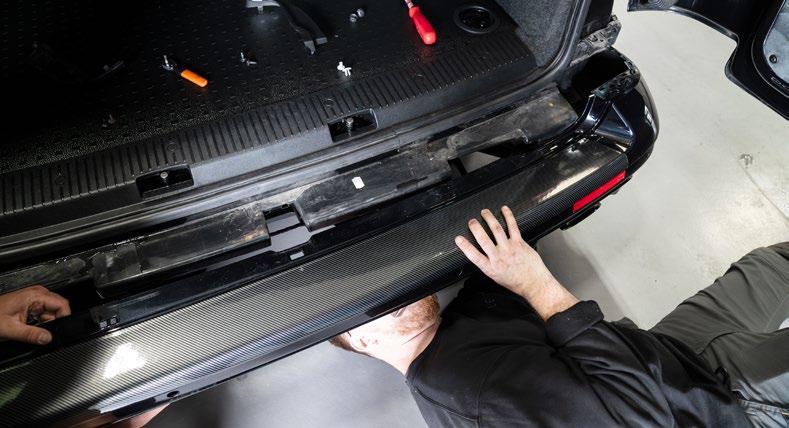
For the finishing touch, insert the Leighton strip into place.
32
33 34
REAR BUMPER
Remove the plastic trims on both the left- and right-hand-side of the upper bumper, just below the rear lights. Use a pry tool, starting in the corner and then proceeding to pull off with your hands to avoid damaging the paintwork. Remove the push clip using a pry tool.


In the rear wheel arch on the side closest to the bumper, you will find two T20 Torx head screws – use a small, angled ratchet to remove these screws, then repeat on the other side.

2
1
REAR BUMPER (CONTINUED)
Underneath the van, you’ll find three push clips. These hold in place three tabs that will need removing in order to remove the bumper – use the pry tool to remove these also.


Go to the side of the bumper, get hold of the bumper and give it a quick and firm pull outwards, releasing the clips. Don’t pull the bumper fully off yet. Move to the rear of the van, get hold of the underneath of the bumper and the side you’ve just released and pull the bumper towards you. This should free the bumper.

4
3
To remove the parking sensors, there are two clips holding them in place on the bracket, these are found at the top and the bottom. To free the parking sensor, you will need to bend these clips away from the sensor – these can sometimes be hard to remove so if you struggle to bend these away, use a pry tool for assistance, being careful not to damage the bracket. Once you’ve bent the clips enough, the sensor should pull out with ease. Repeat with all sensors and the bumper should now be free.
Get your LV-R bumper and proceed to reattach the parking sensors. The plugs should always face towards the outside of the van. Push the sensor into the brackets and make sure to push the clips back into place to ensure the sensor stays in place – you should feel a click once fitted correctly.


5
6
REAR BUMPER (CONTINUED)
Align the bumper and push the bumper into place. Make sure the tabs on the underside of the van are in place and not pushed towards the undertrays, as the bumper won’t sit forward enough. Once the tabs are correctly aligned and the clips put back in, push the bumper into place, just above the rear reflectors.


Go the side of the bumper and push it in towards the van whilst pushing the side clips into place. Once aligned, a few firm pushes should click the bumper into place.


Proceed

9
to screw back in the T20 Torx head screws on both wheel arches.
8
7
Re-fit the push clip and the plastic trim on the top of the bumper below the rear lights. Do this on both sides.


10
Operating from its state-of-the-art South Yorkshire-based headquarters, Leighton Vans is undoubtedly the UK’s most-loved VW Transporter sales, servicing and customisation outfit.
Offering new and used vehicle sales/leasing as well as campervan hire, full servicing solutions and a wide range of performance and visual upgrade solutions all under one roof, it’s little wonder why Leighton Vans has been dubbed the ‘one-stop shop’ for discerning Transporter owners for the entire country and beyond.
T: 0114 283 8484
E: parts@leightonvans.co.uk www.leightonvans.co.uk
LEIGHTON, 1 DODDS CLOSE, BRADMARSH INDUSTRIAL ESTATE, ROTHERHAM S60 1BX