5 minute read
Adjustment mode


D - 8 Operation History Erase
This section describes the method to erase the registration contents of operation history information {stored data of when the crane operation is performed while the moment load ratio is exceeding the set limit value}
Advertisement
[NOTICE]
Before delivery to users, always repeat erasing the operation as described here three times.
8.1 Operation Procedure
In the adjustment main menu of Fig. 1.3.3, select "History Erase" to display the operation history erase screen as shown in Fig. 8.1.1.

Under the status shown in Fig. 8.1.1, pressing the < > key erases the operation history. Then, the erase confirmation display appears as shown in Fig. 8.1.2.
To go back to the adjustment main menu of Fig. 1.3.3 without erasing the operation history, press the < > key while the screen shown in Fig. 8.1.1 is being displayed.
D - 9 Telematics Setup
9.1 Method
The method of setting up the Telematics is described here. Choose “Telematics Setup” in the adjustment main menu shown in the Fig. 9.1.1. The telematics setup screen will appear as shown in the Fig. 9.1.2.


The screen shows the currently registered configuration.
- When the < > key (backward) or the < > key (forward) is pressed, selected (inverted) position goes down or up. However, when a single item is shown, key pressing is disabled and the selected item does not move.
- When the < > key (-) or the < > key (+) is pressed, the nature of the selected item changes.
- When the set key is pressed, the nature of the selected (inverted) item only is registered and the display returns to as shown in the Fig. 9.1.1.
- When the cancel key is pressed, no registration is made and the display returns to the adjustment main menu as shown in the Fig. 9.1.1.
9.2 Process According to the Registered Configuration
9.2.1 Allowing / prohibiting Communication Via communication terminal: “Terminal Communication”
Allows or prohibits the communication terminal’s transmission of each operation data to the Telematics Server.
This function is identical to the “Wireless telecommunications Permit / Prohibit” in the “Communication terminal configuration” screen given by the Doctor Tool (Dr. T). These functions have an effect on each other ’s display and setting. (That is, when this function prohibits communication, the display of the Dr. T shows “Prohibit” ; when the Dr. T changes the setting into “ Permit”, the display of this function shows the permitting condition.)
When transmission is prohibited, no operation data are sent. However, even while the transmission is prohibited, operation data are made inside the ICF according to the specifications. Thus unsent operation data build up.
If the setting is shifted to “permit” in this condition, accumulated operation data surge out.
To prevent such surge, “Operation data forcible exclusion setting” in 9.2.2 is required immediately before changing the setting by this function.
9.2.2 Operation data forcible exclusion setting: “Unsent data -> Sent data”
If the Communication terminal is unable to send operation data for a prolonged time due to transmission prohibition setting described in 9.2.1, broken antenna, etc., unsent data build up in the ICF.
By changing this setting, you can exclude such operation data from the data to be sent.
Operation data forcibly excluded can be obtained via download function of Dr. T.
D - 10 Vehicle System Error Erase


10.1 Purpose
This function erases the error history of ECU in the vehicle system. This function aims to save the time for erasing the error history during recovery and other operations by allowing AML to erase the error history of ECU in the vehicle system.
10 2 Applicable Machine
Machines with the following (1) to (4) set are applicable.
(1): DCU2
(2): VCU
(3): Engine ECU
(4): Retarder ECU
(5): ALL (machines with (1) to (4) all set)
10 3 Screen Description
10 3.1 Method of Displaying Screen
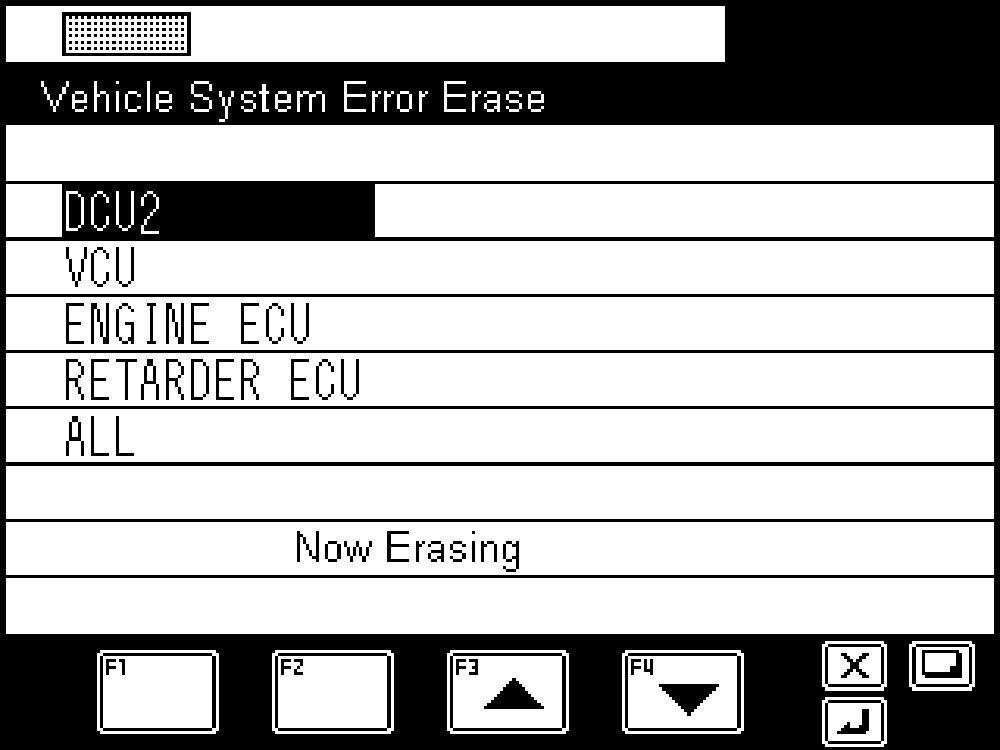
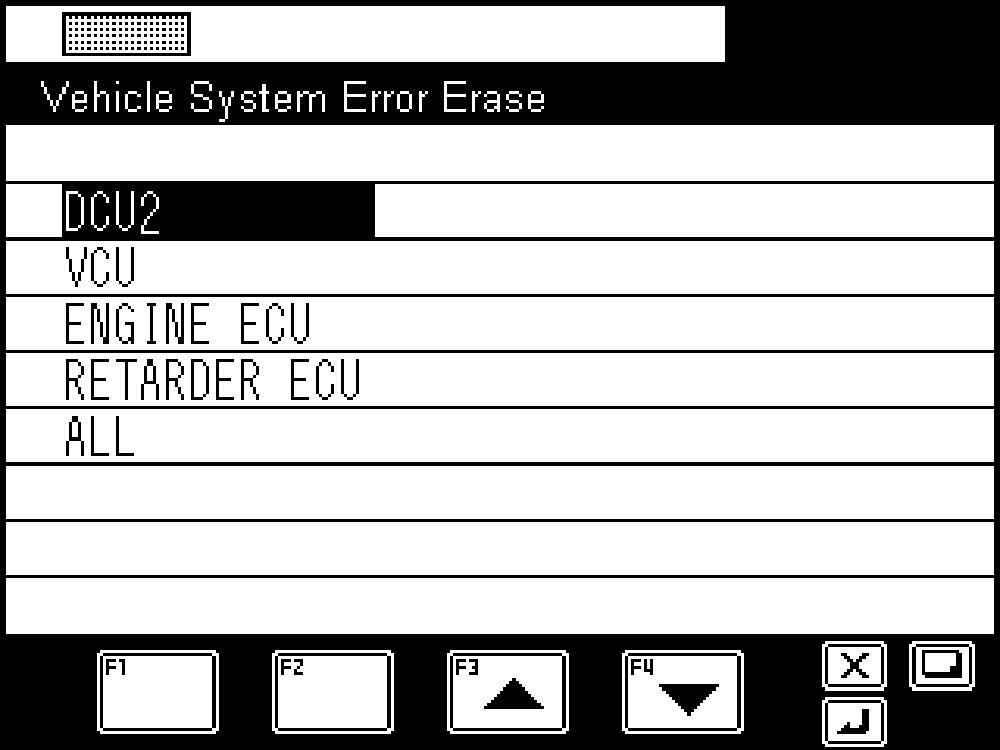
When the activation conditions are satisfied and the screen is changed from the maintenance screen to adjustment screen, "Vehicle System Error Erase" is displayed Move the cursor to "Vehicle System Error Erase", and press the < > key (set) to display the error history erase screen.

10.3.2 Description
Move the cursor by < > key (scroll up) and < > key (scroll down) to the machine whose error history is requested to be erased, and press the < > key (set). "Hyst Erase OK?" is displayed.
When the < > key (set) is pressed again, "Now Erasing" is displayed on AML Then, according to the result, "Erase Finish!" or "Erase Failure" is displayed.
On the item selection screen or history erasing screen "Now Erasing", press the < > key (cancel) to go back to the maintenance main menu.
On the history erase confirmation screen "Hyst Erase OK?", history erase complete screen "Erase Finish! ", or history erase failure screen "Erase Failure", press the < > key (cancel) to go back to the item selection screen.
* When "ALL" is selected, the erase all machines with data set among the applicable machines (refer to section 10 2).
Only when the responses of erase complete are received from all the machines, AML recognizes that the error history erase is completed.
D - 11 Meter Rewrite
11.1 Purpose
This function aims to reset the hourmeter value and odometer value to the values bef ore the replacement when the CMA (Combination Meter Assy) is replaced.

11 2 Restriction (Rewrite Conditions for CMA)
Rewriting the meter values to CMA is applicable only when the following conditions are all satisfied.
(1) Rewriting is performed in 120 seconds after the ING is turned ON.

(2) CMA accumulated value < Command value for rewriting.
(3) The meter value displayed on CMA is not in the error state " ".
(4) Rewriting is possible only once due to the restriction of CMA.
11.3 Screen Description
11 3.1 Method of Displaying Screen
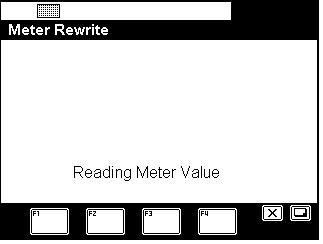
When the activation conditions are satisfied and the screen is changed from the maintenance screen to adjustment screen, "Meter Rewrite" is displayed. Move the cursor to "Meter Rewrite", and press the < > key (set) to display the meter rewrite screen.


11.3.2 Description
Read the hourmeter value and odometer value.
"Reading Meter Value" is displayed on the screen during the reading operation.
If the reading of the meter value is failed, "Read Failure" is displayed on the screen. Press the < > key (cancel) to go back to the maintenance main menu.
When the reading of the hourmeter value and odometer value is completed, the hourmeter value and odometer value are displayed, and the rewrite item (hourmeter or odometer) can be selected.
Move the cursor by < > key (scroll up) and < > key (scroll down) to the item requested to be rewritten, and press the < > key (set). "Rewrite OK?" is displayed.
When the < > key (set) is pressed again, "Now Rewriting" is displayed on AML Then, according to the result, "Rewrite Finish!" or "Rewrite Failure" is displayed on the screen
On the item selection screen, rewriting screen "Now Rewriting", or meter value read failure screen "Read Failure", press the < > key (cancel) to go back to the maintenance main menu.
On the rewrite complete screen "Rewrite Finish", rewrite failure screen "Rewrite Failure", or rewrite confirmation screen "Rewrite OK?", press the < > key (cancel) to go back to the item selection screen.