1 minute read
Differential Lock Operation


Do not engage the differential lock if turning on smooth, dry pavement. Damage to the axles may result.
The differential lock can supply increased traction on loose and/or slippery surfaces.
To engage the differential lock, press and hold the differential lock switch (22, Figure 47). Release the switch to disengage the differential lock.
Load Handling
Position the load as low as possible, especially while traveling. Never make turns with the load raised higher than the axles or tipping could occur, resulting in severe injury or death.
Do not exceed the capacity of the machine. See “Weights (Equipped w/ 2-Post ROPS)” on page30.
If the machine becomes unstable and starts to tip, keep the seat belt fastened, hold on firmly and brace yourself. Lean away from the point of impact and stay with the machine. If tipping occurs, DO NOT jump from the machine. The machine is equipped with rollover protection, which only protects the operator while in the operator’s seat. Trying to escape from a tipping machine can result in death or serious personal injury.
If a tipover occurs:
•Restore the loader to an upright position immediately to prevent oil and fuel leakage. Clean up any fluid leakage.
•Inspect and repair any damage before re-starting the engine.
Parking the Loader
Park the loader away from traffic on level ground. If this is not possible, park the loader across the incline and block the tires to prevent movement. See “Mandatory Safety Shutdown Procedure” on page8.
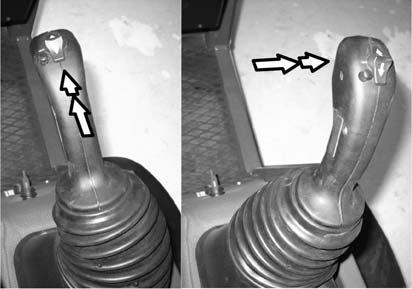
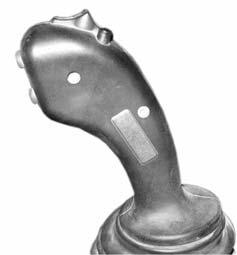
Multi-purpose Joystick
Use the multi-purpose joystick to control lift arm/attachment hydraulic movements. Speed of movement is proportional to how far the joystick is moved and engine speed.
Lift arm:
1.Move the joystick rearward (1, Figure 48, Figure 49) to raise.
2.Move the joystick forward (2) to lower.
Attachments:
3.Move the joystick to the left (3) to tilt rearward.
4.Move the joystick to the right (4) to tilt forward.
Control safety lock:
5.Move the joystick downward (5) to lock the controls, to prevent inadvertant movement of the attachment and lift arm. Pull the joystick upward to disengage the lock.
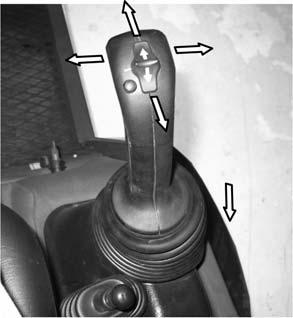
Float Positions
Never engage “float” with the lift arm raised. This will cause the lift arm to fall.
Push the joystick past the first position and into front detent (1, Figure 50, Figure 51) and right detent (2) positions to activate the lift (1) and tilt (2) float functions.
To disengage float functions, pull the joystick to center position.
Note: Lift float may decrease ability to turn.


