
3 minute read
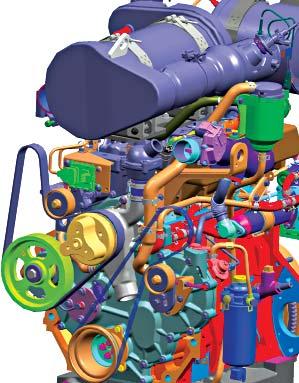
Cooling System

from Mahindra Tractor‘8000’ Series 8090 8100 4WD CABIN TIER-4 FINAL Operator's Manual - PDF DOWNLOAD

Water Pump
The water pump is equipped with a sealed bearing. Adjusting or greasing will not be necessary.
Hose Connections
Check periodically to ensure all the connections are in good order and the clips are tight. A leaking connection results in loss of coolant and thus engine efficiency.
When using antifreeze in the cooling system, it is absolutely essential to have efficient connection so check these and should there be any doubt as to their serviceability, renew.
Fan & Fan Belts
A plastic fan is mounted on water pump and is driven vide fan belt by the main drive pulley. While the engine is in operation, the fan sucks air through the radiator core.
Slippage of belt on pulley can cause over heating. The Fan belts shall always be dry and free from oil or Grease. Incorrect belt tension results in its rapid wear.
Main drive pulley is assembled on a roller bearing mounted shaft. Grease nipple is provided on front cover to grease the bearings. Grease the bearings every 250 hrs. of operation.
Draining the System
Two drain plugs must be opened. One is on L.H. side of crankcase and one on radiator bottom tank. To speed up draining, remove the radiator cap. Ensure that the drains are not clogged. Close the taps after draining is complete.
Cleaning out Dirt and Sludge
Drain cooling system as directed above. Fill the cooling system with a solution of 1.0 Kg. of ordinary baking soda to 8.0 litres (2.11 US Gallons) of water.
Do not replace the radiator cap. Operate the engine until the coolant is hot. Drain, flush with clean water and refill with a rust inhibitor or anti-freeze solution.
NOTE:Grease Specification: Mahindra’s Pro RED (or equivalent grease only to be used for greasing). Excessive greasing not recommended for bearings.
Adding Coolant to the System
Allow the engine to cool if it is hot.
1.Open the Hood.
2.Remove the radiator cap.
3.Fill the radiator from fill neck (A) with clean coolant upto a level approx. 2" below the radiator neck.
4.Start the engine and let it idle to remove air from the system. Coolant level in radiator will reduce.
5.Slowly pour coolant into the radiator till the coolant level in radiator does not go down further.
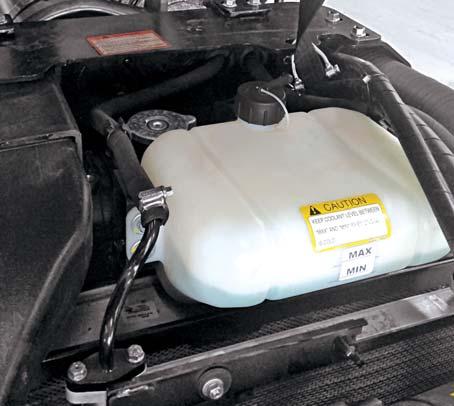
6.Fill coolant in surge tank from fill neck (B) upto the Max level mark.
7.Refit the radiator cap.
8.Shut down the Engine.
9.Close the Hood.
Ensure that the filler cap is clean and free of dirt particles before replacing.
Cooling System Protection
A common cause of the engine overheating is a rust clogged cooling system. Rust causes overheating by interfering with circulation and cooling. The tractors are filled with a mixture of new low silicate antifreeze (50% - antifreeze - 50% water) with a rust inhibitor in it. Fill upto the mark given.
Use of approved supplemental corrosion inhibitor along with ethylene glycol will add increased rust prevention, reduce scale formation, minimize cylinder wall erosion & reduce foaming or tendency to foam.
Antifreeze : There are numerous antifreeze products marketed today. Diesel engines are adversely affected by the additives added to protect the aluminum surfaces. Antifreeze suitable for diesel engines conforms to an industry recognised standards which limits silicates to 0.1%. Once silica-gel has formed it is very difficult and costly to remove.
Low silicate antifreeze is available through out the United States. We are listing below some low silicate antifreezes that meet GM 6038 M formulation specification. There may be other suppliers who can make available low silicate antifreezes.

No.CompanyProduct
1Texaco (1)2354 / 2055 Startex (Was JC-04)
2BASF WYANDOTTE241-7
3ShellShellZone-LS
4International HarvesterI.H. Antifreeze
5Old Water TradingFull Force
6ConocoFleet Antifreeze
7Northern PetrochemicalAll Weather (NPC 220)
Water50/50 water
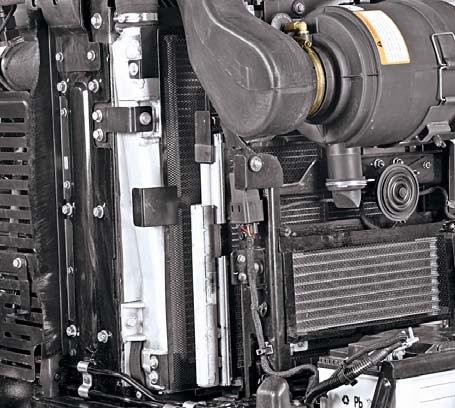
Thresh Guard for Radiator (A)
A wiremesh thresh guard is provided, at the front of the radiator which restricts thresh and other coarse particles from entering into Radiator fins. It thus prolongs the duration between two cleanings of radiator.
To clean thresh guard, Open the hood.
Then remove the thresh guard by pulling it away from the tractor. Clean it thoroughly.
Re-assemble the thresh guard after cleaning.
Thresh Guard for Condensor (B)
A wiremesh thresh guard is provided, at the front of the condensor. To clean thresh guard,


Open the hood.
Remove the condensor thresh guard by pulling it away from the tractor. Clean it thoroughly.

Re-assemble the thresh guard after cleaning.
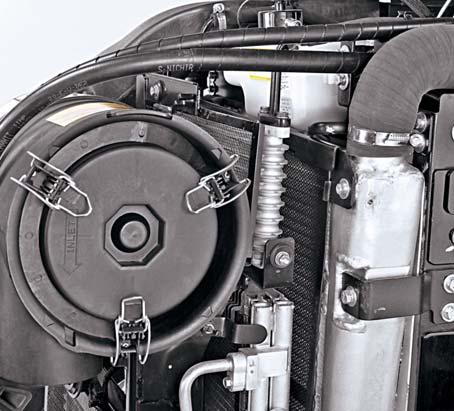
Thresh Guard for Transmission Oil Cooler (C)
A wiremesh thresh guard is provided, at the front of the transmission oil cooler. To clean thresh guard,
Open the hood.
Remove the wing nuts (D).
Remove the oil cooler thresh guard by pulling it away from the tractor. Clean it thoroughly.
Re-assemble the thresh guard after cleaning.
Thresh Guard for Fuel Cooler (E)
A wiremesh thresh guard is provided, at the front of the fuel cooler. To clean thresh guard,
Open the hood.
Remove the wing nut (F).
Remove the fuel cooler thresh guard by pulling it away from the tractor. Clean it thoroughly.
Re-assemble the thresh guard after cleaning.
Sealings (G)
Side Sealing brushes (G) needs to be checked after 600 hrs of operation or two years from date of purchase whichever is earlier and needs to be replaced if required for better sealing.


