
4 minute read
Instrument Cluster


Battery Charging Indicator
The indicator will glow if battery is not getting charged. Once the engine is running, this indicator should go OFF if the battery is getting charged. If the indicator glows continuously even when the engine is running above low idle rpm of engine, the cause should be investigated to prevent complete discharge of battery and possible damage of alternator.
High Beam Indicator
This indicator (C) glows when Head Lamps are operated in High Beam.
Parking Brake Indicator
This indicator (G) glows when either brakes or parking brake is applied.
Turn Signal Indicators
LH and RH turn signal indicators (A & F) are provided to indicate the direction of turning.
A blinking LH turn signal indicator (A) implies that the LH Turn Signal of tractor is ON whereas a blinking RH turn indicator (F) implies that the RH Turn Signal indicator of tractor is ON.
Heater Indicator
It glows for 60 seconds when key is in "ACC" position and would be activated from ECU only when the engine runs at a higher idle rpm (1200 rpm) until coolant temperature reaches to 20ºC (68ºF) from 0ºC.
Air Filter Clog Indicator
This indicator (B) is ON when Air filter requires cleaning.
Water In Fuel Indicator
This indicator (D) should be "ON" for 2 seconds when ignition switch is turned to second position. This indicator will remain "ON" if the water level in the Fuel Filter needs to be drained. The indicator will go "OFF" after draining water from Fuel Filter.
CHK ENG (Check Engine) Indicator
This indicator (E) will glow when the starter switch is turned to "ON" position. This indicator shall turn-off after engine is CRANKED.
A malfunction other than Emission, such as Sensor failures would be indicated by a continuously "GLOWING" or "BLINKING" Indicator, even past CRANKING of the engine. In such an event, get the problem rectified by an authorized Mahindra Dealer.
Non functional 4WD Indicator (H)
Not applicable for 2WD model.
MIL (Malfunction) Indicator
This indicator (J) will glow when the starter switch is turned to "ON" position. This indicator shall turn-off after engine is CRANKED.
A malfunction in the electronic emission control system (ECU) is indicated by a continuously "GLOWING" or "BLINKING" Indicator, even past CRANKING of the engine. In such an event, get the problem rectified by an authorized Mahindra Dealer.
Switches

Rotary Light Switch
This is 3-Way rotary switch located on LH side of Scuttle. It operates in clockwise direction and the positions give operations as follows:
1 st–OFF


2 nd–Parking Lamp & Instrument Cluster Illumination
3 rd–High Beam, Parking Lamp, Instrument Cluster illumination
Combination Switch

This switch is located on LH side of Steering column. The lever operates in Five positions as follows.
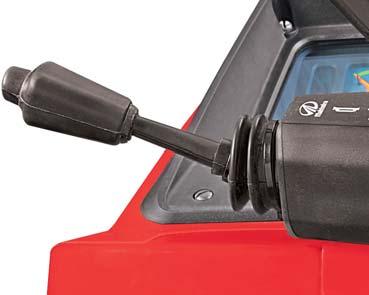
1.Towards the operator
Operates LH Turn signal in both up and down position
2.Away from the operator
Operates RH Turn signal in both up and down position

3.Upwards from Centre
Low Beam of Head Lamp with light switch in 3rd position
4.Downwards from Centre
High Beam of Head Lamp with light switch in 3rd position
5.Centre
Turn Off Turn Signal.
Horn Button
Press the Button (A) to blow horn.
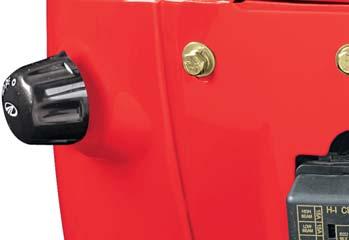
Plow Lamp Rotary Switch
This rotary switch when turned clockwise operates plow lamp.
Key
The Key operates the Key Switch.
Key Switch
This switch operates in three positions & carries out the following functions :
1.Off : The Engine and all electrical functions are Put-Off
2.Moving the key in clockwise direction brings electrical system to ‘On’ position to excite the charging circuit and activate the lighting circuit & other instruments.
3.Further movement of key against spring force energizes starter motor to crank the engine. The key should be released as soon as the engine fires. The Key springs back to its 2nd position.
Stopping the engine
Movement of the key in the anti-clockwise direction to the 1st position will discontinue the fuel supply to the engine thereby stopping the engine.
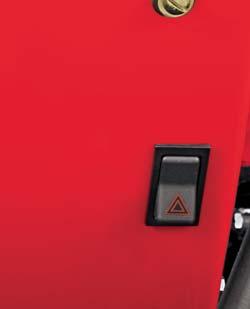
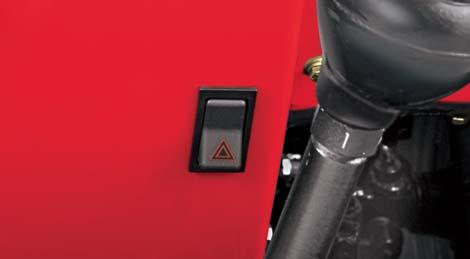
Hazard Switch
This is a Piano type switch and is located on the rear-scuttle in front of Operator’s Seat.
Operation of this switch will activate All the turn Signal Lamps.
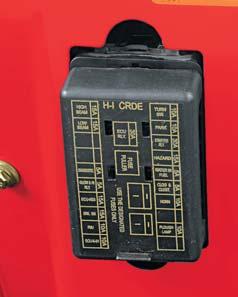
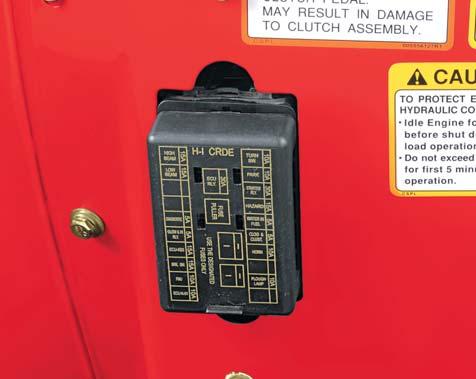
Fuse Box
The fuses protecting the circuits are mounted in a fuse Box. A blown fuse can be confirmed by examination of the fuse. If it has blown, the separate ends of the wire will be visible inside the glass housing.
A separate fuse is provided for Rotary pump starting solenoid. The blown fuse will not let the tractor to start. Before replacing a blown fuse, inspect the wiring of the circuit for evidence of short circuit or any other fault which may have caused the fuse to blow. If no fault can be detected and another fuse blows, have the equipment examined by your Mahindra tractor Dealer.


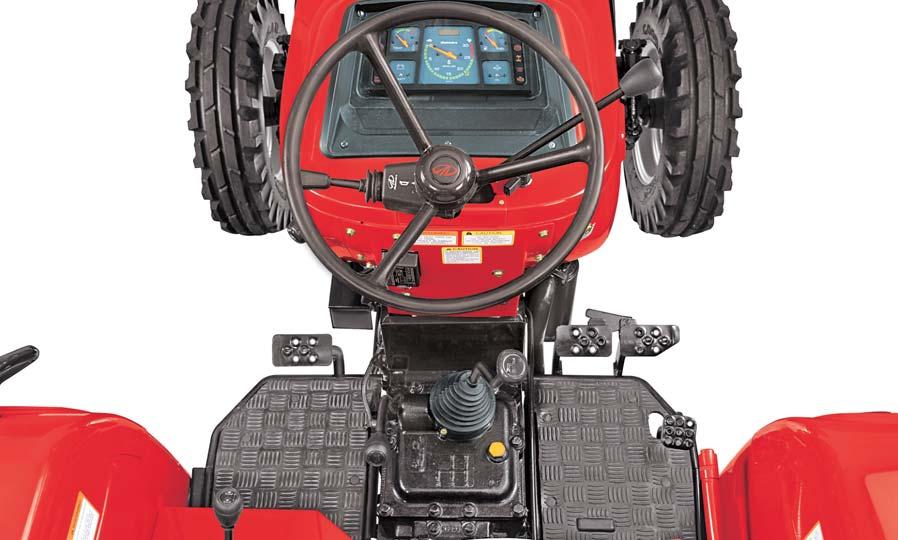

Seat
The operator seat can be adjusted for position, tilt and weight of operator. These adjustments are to be done prior to starting the engine.

Adjusting Seat Position
1.Sit on the operator seat.
2.Push the lever (A) towards RH side.
3.Slide seat forward or rearward to desired position.
4.Release Lever to lock seat in position. Ensure that all controls can be accessed easily.
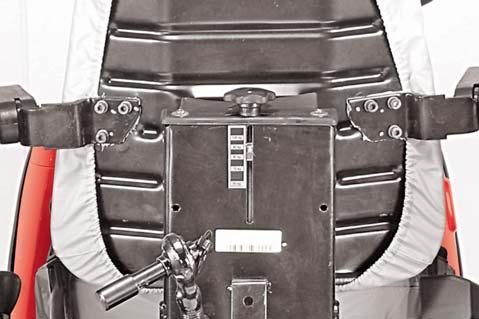
Weight Adjustment
To achieve optimum seat suspension, turn the knob (B) till the weight indicator registers your approximate weight on indicator (C).
Seat Belt
The seat belt is an essential safety feature. To fasten it, pull the belt-end across the lap, and install it in the buckle on the opposite side. A click will be heard when the buckle locks itself. To release the seat belt, press the red button on the buckle. The belt will retract on its own.
Do not use seat belt if operating without a ROPS or with an optional folding ROPS in the folded position.
Attempting to adjust the seat while driving the tractor may cause the operator to lose control of the tractor. Always ensure that the tractor is absolutely stationary while making any adjustment of seat.
Attempting to adjust the seat while driving the tractor may cause the operator to lose control of the tractor.
Belt fastening position-wise photos to be added after shot.
NOTE : The position of seat belt retract unit & seat belt lock is being swapped. However, operation of seat belt remains unchanged.