
1 minute read
Removal & Refitment of Fuel Tank


Description
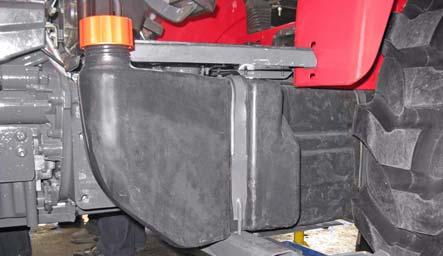
The fuel tank is bolted on the mounting bracket on the LH side and the bracket is bolted to clutch housing & Transmission case at the base. The filler cap incorporates an air vent hole and a gasket. A float type electrical fuel level indicator is mounted from top. A rheostat type sensor converts mechanical motion of float into electrical signals, which are indicated on the fuel level gauge. At the bottom of the tank wing bolt is provided for water trap, in which water and heavier dust particle settle down. The water drain trap screw is located in rear left hand corner of the fuel tank.
Removal of the Fuel Tank
1.Support the LH side rear axle by using suitable jack. Apply Tractor parking brakes and place wedges to hold the rear wheels.
2.Remove rear wheel of LH side (A) to access the fuel tank (B).
NOTE : In case of 29 / 33 / 38 PTO HP tractor - LH side fender required to be removed to access fuel tank. For 43 PTO HP tractor - No need to remove LH side fender, only remove rear wheel LH side (A) to access the fuel tank (B). Model-wise fender mounting positions identified on figure.
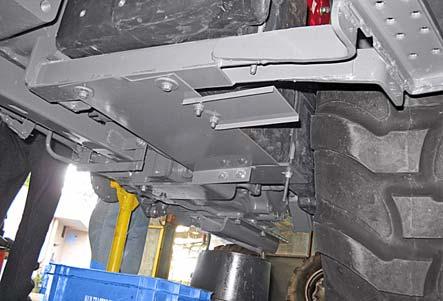
3.Drain the tank completely either through water trap or through fuel drain plug (C).
4.Open the hood & disconnect the fuel lines between fuel filter and fuel tank.
5.First remove the battery cable from its negative terminal & then remove battery cable from positive terminal.
6.Remove the nuts (D) from fuel tank mounting strap (E), and gently take out fuel tank.
7.Disconnect fuel tank gauge wire.
Cleaning and Inspection
1.Clean out the tank thoroughly with clean fuel.
2.Check the tank for leakages.
3.Check hose and clamps.
4.Check the "Tank Unit" fuel gauge sensor is working properly.
Refitment of the Fuel Tank
1.Reverse the removal procedure.
2.Fill the tank with clean fuel and bleed the system.


