5-101.bk Page 13 Friday, March 17, 2006 11:05 AM
200 TROUBLESHOOTING Cylinder Head and Cylinder Block Leak Test Procedure Verify suspected leaks in the cylinder heads or cylinder block by pressure testing before deciding to replace the cylinder head or block. Do not use magnaflux inspections alone as replacement criteria. Before proceeding with the following tests, make sure leakage is not from the oil cooler or air compressor. Watch for small bubbles indicating minor leaks that can develop into more severe leaks during engine operation.
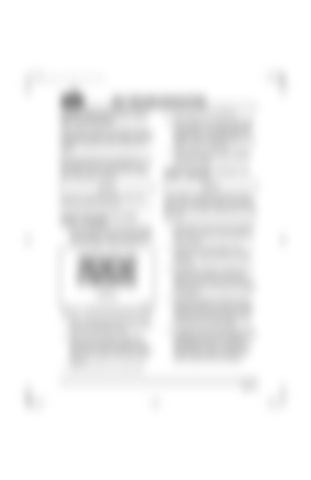
To prevent unnecessary engine disassembly, perform the simpler checks first. CYLINDER HEAD AND HEAD GASKET CHECK — IN CHASSIS 1. Look for coolant stains around the 3/4-inch NPT pipe plugs on top of the cylinder heads. Check plug torque. Plug torque specification is 28 lb-ft (38 N•m). Refer to Figure 9-3.
5. Start engine and run at 1000 rpm. 6. Observe coolant in the thermostat housing for air bubbles. This indicates combustion pressurization of the cooling system and possible cylinder head gasket failure. Air bubbles may also indicate leakage from the cylinder head or oil passage. 7. Apply a soap-and-water solution between two cylinder heads to check for external combustion leakage. CYLINDER HEAD FUEL PASSAGES LEAK CHECK — IN CHASSIS
The symptoms of coolant-in-fuel are a loss of coolant with no apparent external leak, together with one or more of the following: coolant in fuel tank, coolant in fuel filter or yellow fuel out of fuel return line. 1. Disconnect the return fuel inter-connecting tube between the front and rear cylinder heads. Run a line from each cylinder head into a container. 2. Pressurize the cooling system with a maximum of 15 psi (103 kPa) air pressure and look for coolant coming out of a fuel return line. 3. An alternative method is to disconnect the fuel return line at the front of the front cylinder head. Introduce a maximum air pressure of 25 psi (172 kPa) to the fitting in the cylinder head. Then look for air bubbles in the coolant.
Figure 9-3 — Cylinder Head Pipe Plugs (3/4-Inch NPT)
2. Before removing thermostat, drain coolant from the cooling system until coolant level is below the thermostat housing. 3. Remove the thermostat and leave the thermostat housing open. Install a short section of hose, approximately 6–8 inches (152–203 mm) long, on thermostat housing. Add enough coolant to fill the thermostat housing.
4. After determining which cylinder head is suspected of leaking, remove the nozzles from that cylinder head and pressurize the cooling system with a maximum of 15 psi (103 kPa). Look into each nozzle sleeve bore for signs of coolant leakage. 5. A cracked or leaking nozzle sleeve should be replaced as an on-engine repair using the procedures described in the ENGINE DISASSEMBLY section. If replacing the nozzle sleeve(s) and the re-pressure test shows that the problem still exists, the cylinder head(s) should be replaced.
4. Remove fan belts from the water pump.
Page 9-13
