3 minute read
OPTIONAL FEATURES & ACCESSORIES


NOTE: Installation information for all of the Optional Features & Accessories, described in this chapter is provided in the Set-up & Assembly chapter, except for the Safety Chain, which is described in the Transporting chapter.
Endgate 2nd Cylinder Kit
The Endgate 2nd Cylinder Kit (804492) is available for mounting on Spreaders that are used over very rough terrain. The Kit includes a Hydraulic Cylinder. attaching hardware and interconnecting Hoses and Piping.
Hydraulic Endgate
Hydraulic Endgate package (804489) is available for liquid manure handling or other applications.
Litter Pan
If the Spreader is going to be transported on a public highway. a Litter Pan (804867) should be obtained and installed to prevent manure from falling-out the back of the Spreader and onto the highway. The Litter Pan package is designed to be used in conjunction with an accessory Hydraulic Endgate or without an Endgate provided a Manual Trip Lever package is separately ordered and installed.
Litter Pan Manual Trip Lever Package
If the Spreader is equipped with a Litter Pan but NOT equipped with a Hydraulic Endgate package a Litter Pan Manual Trip Lever package (804864) MUST be ordered and installed separately.
Safety Chain
NOTE: If the Spreader is going to be transported on a public highway, a Safety Chain package (803098) should be obtained and installed per details in the Transporting chapter.
Shear Bolts
Additional Shear Bolts for both the Main Drive Shear Device and the Apron Transmission Driven Sprocket Shear Devices are available in packaged quantities of (8) Bolts and Locknuts per package.
Order Part Number 080079 for a package of (8) 1/4 x 1-1/2 Grade 8 Shear Bolts and Locknuts for the Main Drive Sprocket or Part Number 900091 for a package of (8) 1/4 x 1 Shear Bolts and Locknuts for Apron Transmission Driven Sprocket Shear Device.
SPLASH SHIELD & SIDE RAILS
When required or desired. the Spreader can be equipped with a Splash Shield and Side Rails package (804494). The Splash Shield can be conveniently attached to the top front edge of the Spreader using the hardware provided. The Side Rails are likewise conveniently attached to the top edges of each side of the Spreader Box using hardware provided.
WHEELS & WHEELS WITH TIRES
The following is a listing of the various Wheels and Wheels with Tires combinations for the various model Spreaders:
803027 Set of Two 8 x 20" Drop Center Truck 8-bolt Rims
803111 Set of Two 10.5 Used Tires Mounted on 8 x 20" Drop Center Truck Rims
803028 Set of Two 10.00 x 20 12-ply Ribbedtread. Recapped Tires Mounted on 8 x 20" Drop Center Truck Rims
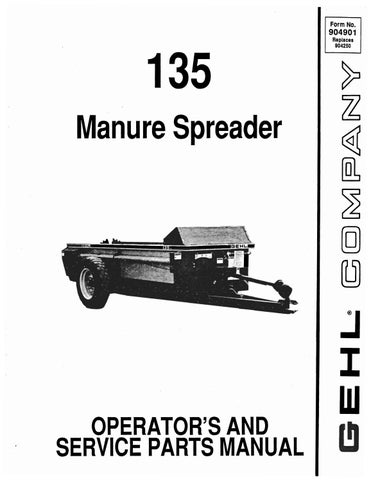
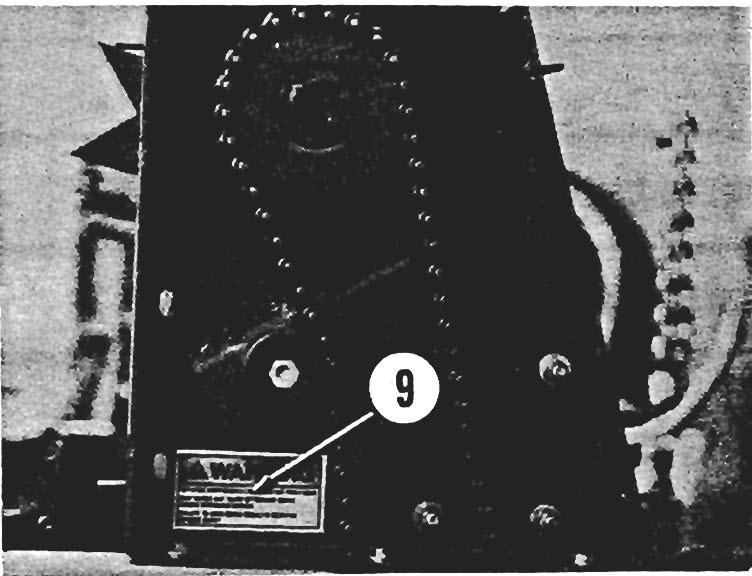
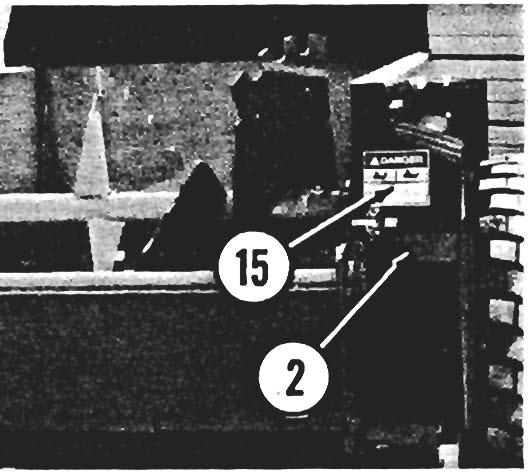
Chapter 16 Decal Locations
General Information
Decal Locations infonnation is provided to assist in the proper selection and application of new decals, in the event the original decal(s) become(s) damaged or the machine is repainted. Refer to the listing for the illustration reference number, part number, description and quantity of each decal provided in the Kit Refer to the appropriate illustration(s) for replacement location(s).
NOTE: Refer to the SAFETY Chapter of the Operator's Manual for the specific information provided on al/ of the various Safety Decals furnished in the Decal Kit(s).
To ensure proper selection for correct replacement decal(s), compare all of the various closeup location photographs to your machine BEFORE starting to refinish the unit Then, circle each pictured decal (applicable to your machine) while checking-off its part number in the listing. After you have verified all of the decal needed for replacement, set aside unneeded decals for disposal.
Paint Notice
Use this list to order paint for refinishing: 901225 One Gallon Blaze Paint
901226 One Gallon MaIze Paint
610239 6 (120z Spray cans) Blaze Paint
The Decal Set Number for the MS 135 Spreader is 117870. The Set includes the following:
New Decal Application
Surfaces MUST be free from dirt, dust, grease and other foreign material before applying the new decal. To apply a solidfonned decal, remove the smaller portion of the decal backing paper and apply this part of the exposed adhesive backing to the clean surface while maintaining proper position and alignment Slowly peel off the other portion of the backing paper while applying hand pressure to smooth-out the decal surface.
NOTE: For Stripe replacement, cut off appropriate length(s) from 2-7/8" high, 50 foot long rol/ of Striping, Part Number 090910.
Acaution
ALWAYS read and abide by the Safety Rules and Information shown on Decals. If Decal(s) become(s) damaged, unreadable or If the unit Is repainted, the Decal(s) MUST be replaced. If repainting, MAKE SURE ALL Decals which apply to your machine are properly affixed to your unit In their proper locations.
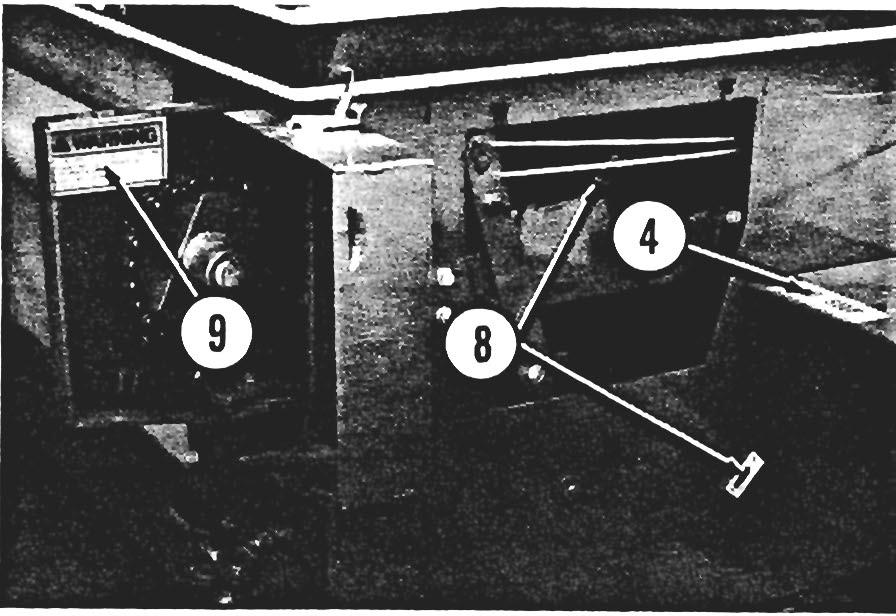
Optional Endgate


Chapter 17 Maintenance Log
COMPONENT and SERVICE REQUIRED
PROCEDURE and/or CHAPTER TOPIC REFERENCE (Check Pg. # In Index)
Service Every 10 Hours or Dally
Apply grease to appropriate Fittings as prescribed. Refer to Lubrication chapter for Grease Fitting locations and intervals.
Apply grease to Apron Transmission Shift Shaft Refer to Lubrication chapter. Slide surfaces.
Date After Service Is Completed
Service Every 50 Hours
Apply grease to appropriate Fittings as prescribed. Refer to Lubrication chapter tor Grease Fitting locations and intervals.
Check tension on all Drive Chains. Refer to Adjustments chapter.
Check Tire pressures and retorque Wheel Lugs. Refer to Service chapter.
Date After Service Is Completed
Service Annually
Repack Wheel Bearings. Refer to Lubrication chapter.
Date After Service Is Completed