4 minute read
MAINTENANCE1202

Using a Booster Battery (JumpStarting): New Battery Location
Warning
•Keep arcs, sparks, flames and lighted tobacco away from batteries. When jump-starting from a booster battery, make final connection (negative) at engine frame away from the battery. Batteries can create flammable gases. Sparks or open flames can cause this gas, and the battery, to explode.
•DO NOT jump-start or charge a frozen battery. Warm battery to 60°F (16°C) before connecting to a charger. Unplug charger before connecting or disconnecting cables to battery.
IMPORTANT: When jump-starting from another machine, be sure the second machine is not running while using the unstarted machine’s glow plugs. High voltage spikes from a running machine can burn out the glow plugs.
IMPORTANT: Damage to the alternator can occur if:
•The engine is operated with the battery cables disconnected.
•The battery cables are connected when using a fast charger or when welding on the machine (when welding on the machine, remove both cables from the battery and ground the welder to the machine frame near the repair area).
•Extra battery cables (booster cables) are connected incorrectly.
Be very careful when jump-starting the machine. The booster battery must be 12-volt.
Turn the ignition key to the off position.
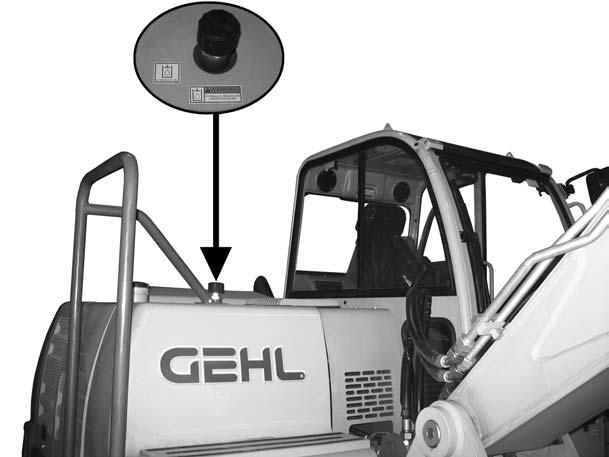
Use the key to open the hydraulic tank cover. See Figure 5-25.
First, connect one end of the cable to the positive (+) terminal on the booster battery. Connect the other end of the same cable to the positive (+) terminal on the discharged battery.
Connect one end of the second cable to the negative (-) terminal on the booster battery. Connect the other end of the same cable to the frame of the machine to be started.
Start the engine. After the engine is running, remove the cable connected to the frame first. Disconnect the other cable from the machine battery positive (+) terminal.
IMPORTANT:DO NOT allow the booster cable ends to touch when removing them from the batteries. Arcs and direct short circuits can cause severe damage to the electrical system.
Using a Booster Battery (JumpStarting): Old Battery Location
Warning
•Keep arcs, sparks, flames and lighted tobacco away from batteries. When jump starting from booster battery, make final connection (negative) at engine frame away from the battery. A discharged battery can created flammable gases. Sparks or open flames can cause this gas, and battery, to explode
•DO NOT jump start or charge a frozen battery. Warm battery to 60°F (16°C) before connecting to a charger. Unplug charger before connecting or disconnecting cables to battery.
IMPORTANT:When jump starting from another machine, be sure the second machine is not running while using the unstarted machine’s glow plugs. High voltage spikes from a running machine can burn out the glow plugs.
IMPORTANT:Damage to the alternator can occur if:
•Engine is operated with battery cables disconnected.
•Battery cables are connected when using a fast charger or when welding on the machine. Remove both cables from the battery and ground welder to machine frame near repair area.
•Extra battery cables (booster cables) are incorrectly connected. Be very careful when jump starting the machine. Booster battery must be 12 volt.
Turn ignition key to the off position.
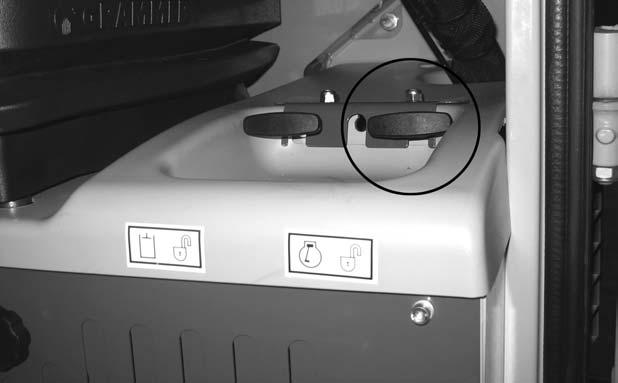
Pull the engine cover latch handle and open the engine cover. See Figure 4-3 – Cab Equipment and Controls on page30.
First, connect one end of the cable to the positive (+) terminal on the booster battery. Connect the other end of the same cable to the positive (+) terminal on the machine battery.
Connect one end of the second cable to the negative (-) terminal on the booster battery. Connect the other end of the same cable to the frame of the machine to be started.
Start the machine engine. Once the engine is running, remove the cable connected to the frame first. Disconnect the other cable from the machine battery positive (+) terminal.
IMPORTANT:DO NOT allow the cable ends to touch when removing them from the batteries. Arcs and dead short circuits can cause severe damage to the electrical system of the running machine.
Hydraulic System Warning
Thehydraulictankisunderpressure.Fluid leaksfromhydraulichosesorpressurized componentscanbedifficulttosee,but pressurizedoilcanhaveenoughforcetopierce theskinandcauseseriousinjury.
Alwaysuseapieceofwoodorcardboardto checkforsuspectedhydraulicleaks.Neveruse yourhands.Obtainimmediatemedicalattentionifpressurizedoilpiercestheskin.Failure toobtainpromptmedicalassistancecould resultingangreneorotherseriousdamageto tissue.
Checking Hydraulic Oil Level: New Style
1.Position the excavator on a level surface.
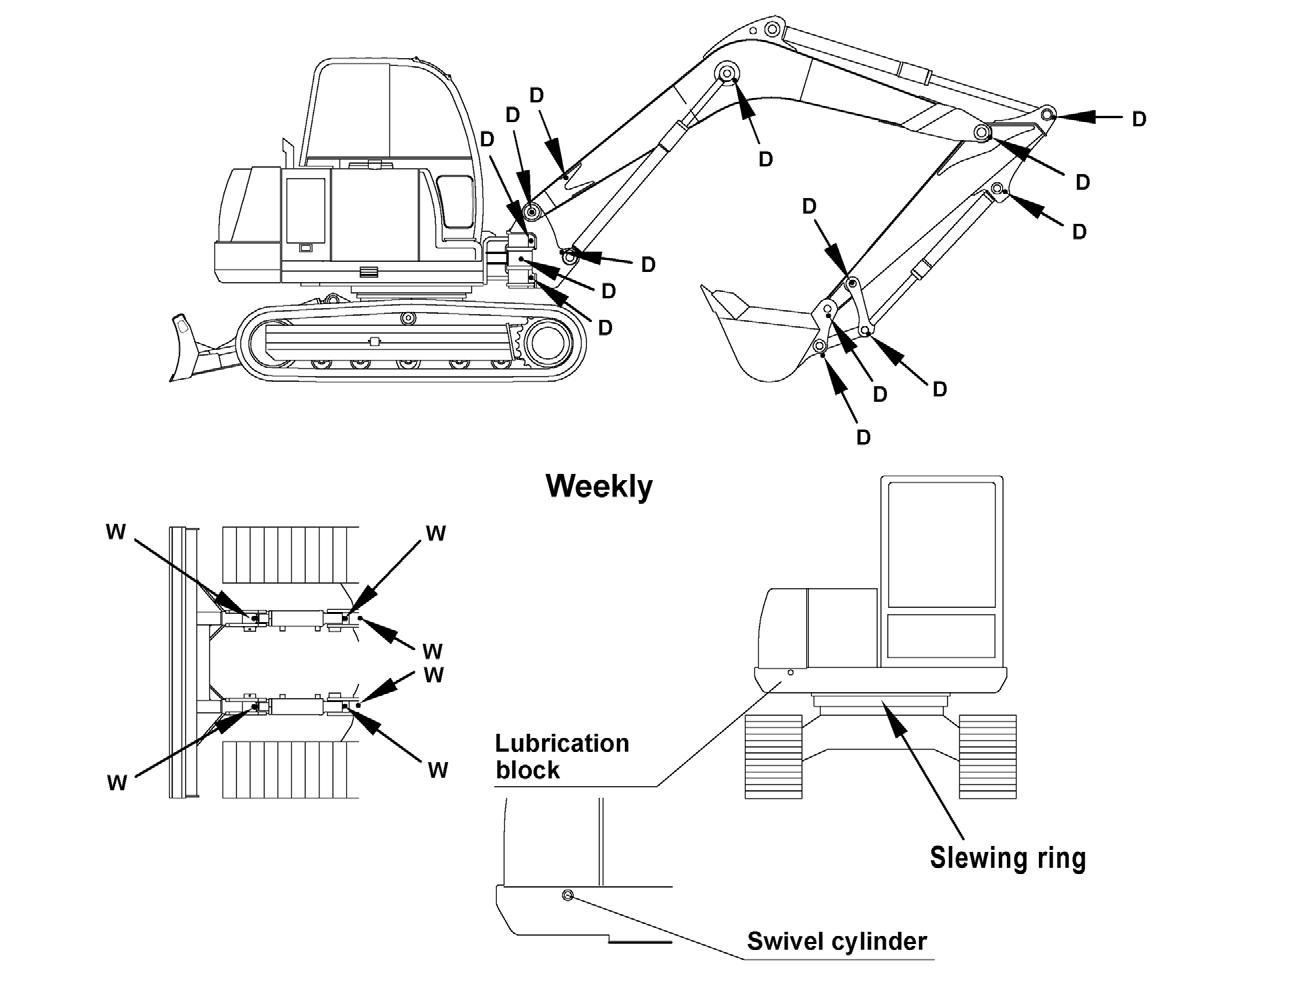
2.Fully extend the bucket and boom, retract the arm and position as shown in Figure 5-27.
3.Lower bucket and dozer blade to the ground. See Figure 5-27. Engage the parking brake. Shut off the engine. Remove the ignition key and take it with you.
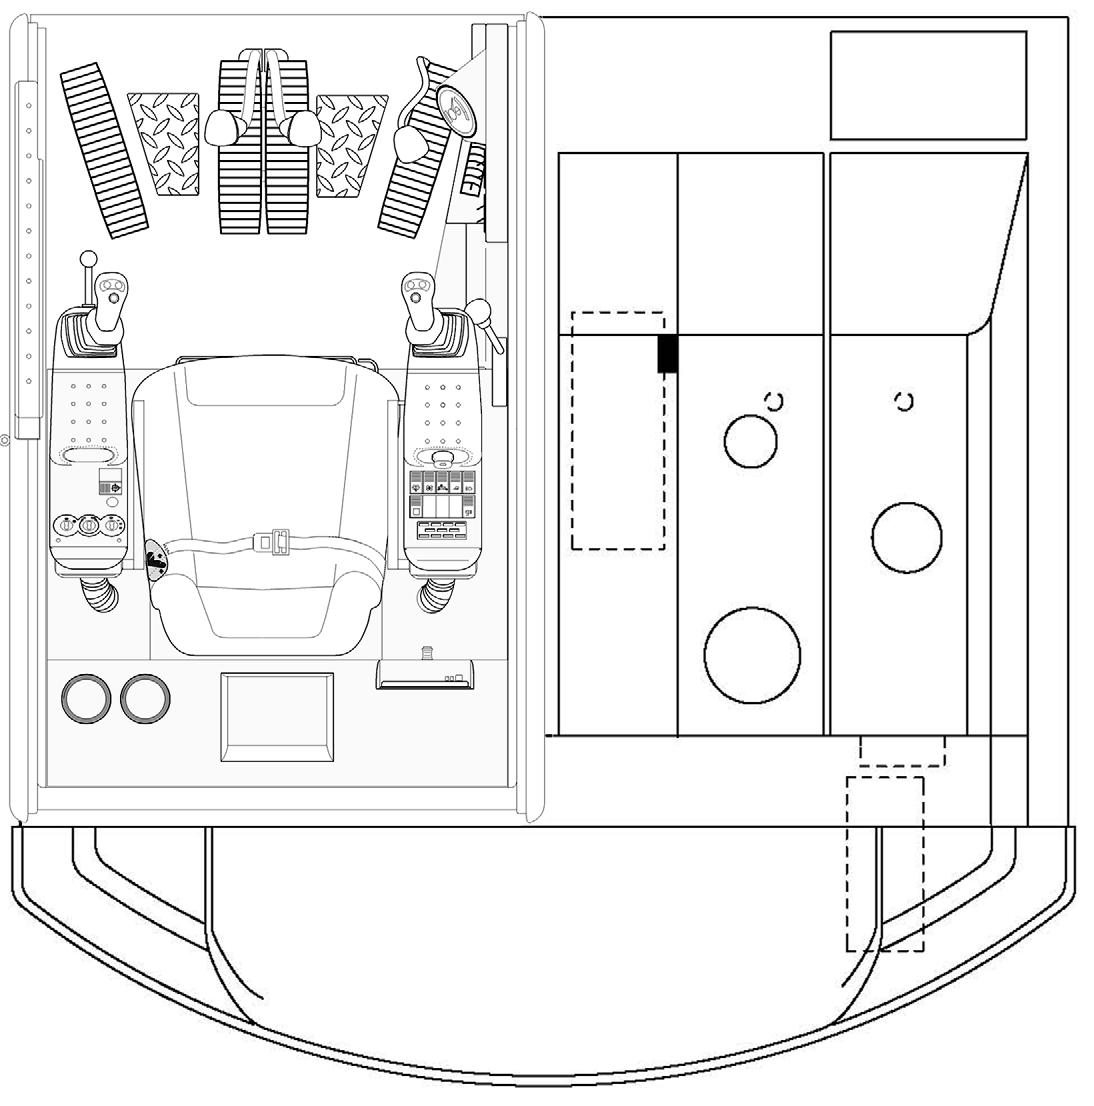
5.Check the hydraulic oil level sight gauge (1). See Figure 5-30. Oil level should be between black and red marks on the sight gauge. If hydraulic oil is required, proceed to step 6. Close the hydraulic valve cover.

Figure 5-27 Excavator Position for Checking and Changing Hydraulic Oil
4.Pull the hydraulic valve cover latch. See Figure 5-28. Exit the cab and open the hydraulic valve cover. See Figure 5-29.

6.Slowly open the hydraulic oil filler cap to relieve pressure, then remove cap. See Figure 5-31.
4.Check the hydraulic oil level indicator. Oil level should be between black and red marks on sight gauge. If hydraulic oil is required, proceed to step 5.
7.Add hydraulic oil until oil level is between red and black marks on sight gauge (1). See Figure 5-30. Open the hydraulic valve cover to check the oil level. See Figure 5-29.
8.Reinstall and securely tighten the filler cap.
9.Close the hydraulic valve cover.
10.Start the engine and let it idle for a few minutes.
11.Check hydraulic functions.
12.Repeat this procedure to recheck the hydraulic oil level.
Checking Hydraulic Oil Level: Old Style
1.Position the machine on a level surface.
5-33 Hydraulic Reservoir
5.Slowly open the hydraulic oil filler cap to relieve pressure, then remove cap.
6.Add hydraulic oil until oil level is between red and black marks on sight gauge.
7.Re-install hydraulic oil filler cap and tighten securely.
8.Start engine and let idle for a few minutes.
9.Check hydraulic functions. Recheck hydraulic oil level.
Figure 5-32 Checking and changing Hydraulic Oil
2.Fully extend the bucket and boom, and retract arm as shown in Figure 5-32.
3.Lower bucket and dozer blade to the ground. See Figure 5-32. Turn off the machine.