3 minute read
Shim Procedure without a Shim Tool for Tapered Bearings

Special Instructions
The shim procedure can be done in the horizontal or vertical position. The procedure is done the same.
CAUTION
Use genuine Eaton® replacement gaskets for the auxiliary housing and countershaft bearing cover. Do not omit the gaskets. Bearing endplay is influenced by the compressed thickness of the gasket (.011-.012" or .28-.30 mm.
The bearing endplay must be checked and adjusted any time a countershaft, bearing, or housing is replaced. If, during reassembly, the same countershaft, bearings, housing, and shims are reused and kept in the same location, it is not necessary to reset bearing endplay.
The following procedure is used to adjust the endplay for the auxiliary countershaft tapered bearings. By correctly following this procedure, each countershaft will have .001"-.005" (.03-.12 mm) endplay.
Shims must be aligned properly or else the rear bearing cover may be damaged when final torque is applied.
Procedure -
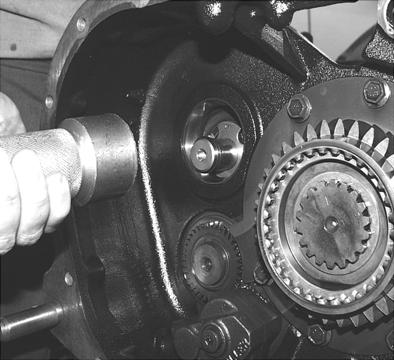
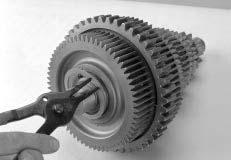
1. The auxiliary countershaft bearing covers or countershaft straps and shims should be removed. Make sure all old gasket material is cleaned from the gasket mounting surfaces on the countershaft bearing covers and the auxiliary housing.
2. Verify that the auxiliary section is in gear. When the output shaft is rotated, the countershafts must also rotate. If not shift the auxiliary into gear by applying shop air to the high range air port on range cylinder to shift into gear.
3. Make sure a 0.100 countershaft rear bearing shim is installed. Be sure the countershaft rear bearing races are seated in the bearing bores.
4. Install two (2) clean 3/8 " x 1" capscrews without washers directly across from each other in each bearing cover. Tapped holes in auxiliary case must be free of thread adhesive.
5. Evenly tighten the capscrews to 7 Lb·in of torque. Do not install the countershaft rear bearing cover gasket. The gap between the bearing cover and the housing surface should be even from side to side.
Note: 7 Lb·in is slightly more than finger tight. Do not overtighten the capscrews. If the capscrews are too tight, the bearing cover will become distorted.
6. Rotate the output shaft 4 times clockwise and 4 times counterclockwise. The rotation will seat and align the rollers in each tapered bearing. Re-torque the capscrews to 7 Lb·in.
If the countershafts do not rotate, the range sliding clutch or deep reduction sliding clutch is in neutral. Apply shop compressed air to shift cylinders to shift the sliding clutches into gear.
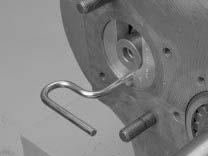
7. Use a feeler gauge, as close to each capscrew location as possible, and measure the gap between the countershaft rear bearing cover and the auxiliary housing gasket surface. Measure and record the gap at two capscrew locations.
8. Average the two feeler gauge measurements by adding the measurements together and dividing by 2 as shown in Example.
9. Locate the feeler gauge average measurement in the shim chart to determine the required shim and color code.
Note: The oil pump shim is used when an auxiliary oil pump or PTO is mounted on the countershaft. The oil pump shims have a smaller outside diameter.
10.Remove the countershaft rear bearing cover and gauging shim.
11.Place the selected shim on the rear countershaft bearing race.
12.Position a new gasket on countershaft rear bearing cover mounting surface.
13.Position the countershaft rear bearing cover over the new gasket.
14.Apply Eaton® Fuller® thread sealant #71205 or equivalent to the auxiliary countershaft rear bearing cover capscrews and auxiliary countershaft rear bearing cover.
Shim Chart
Gap 1 = .060 ; Gap 2 = .050 Total Gap = .060 + .050 = .110 Average = 110/2 = .055 Select yellow shim as indicated in the shim chart at the end of this selection.
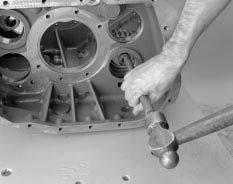
15.Install the auxiliary countershaft rear bearing cover and secure it with the capscrews. Make sure the shim is in the proper location and is not pinched between the cover and the housing. Tighten the capscrews to 40-45 Lb·ft (54-61
Nm).
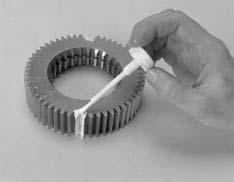
Note: Use a thick grease to hold the shim in position when installing the cover.
16.Repeat this procedure for the remaining countershaft.
Note: Make sure capscrews are properly torqued.
Note: Make sure the input shaft rotates. Shim Table
Feeler Gauge Average Gap Shim Thickness Standard Shim Part Number Oil Pump Shim Part Number Color Code
.072-.075 .033-.034 4302345 4302346 Gold .69-.0715 .036-.037 21452 21472 Red .066-.0685 .039-.040 21453 21473 Pink .063-.0655 .042-.043 21454 21474 Brown .060-.0625 .045-.046 21455 21475 Tan .057-.0595 .048-.049 21456 21476 Orange .054-.0565 .051-.052 21457 21477 Yellow .051-.0535 .054-.055 21458 21478 Green .048-.0505 .057-.058 21459 21479 Light Blue .045-.0475 .060-.061 21460 21480 Lavender .042-.0445 .063-.064 21461 21481 White .039-.0415 .066-.067 21684 21686 Black .036-.0385 .069-.070 21685 21687 Silver