1 minute read
Gear Assembly

How to Install the Upper Reverse Idler Gear Assembly
Special Instructions
The installation procedure is the same as that for the lower reverse idler shaft.
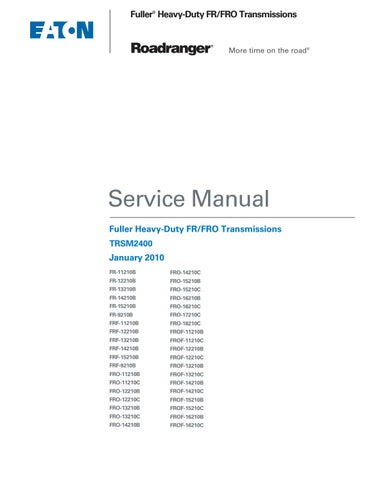
The new reverse idler shaft uses a snap-ring in place of the capscrew. Previous Design Current Design
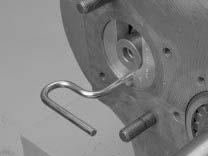
Slotted Thrust Washer Inner Race Snap Ring
Notched Thrust Washer
Capscrew Washer Bearing
Special Tools
• Typical service tools
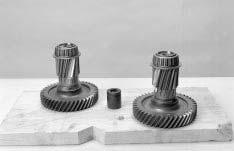
Reverse Idler Shaft
Reverse Idler Gear Slotted Thrust Washer Inner Race Snap Ring
Notched Thrust Washer
Washer
Snap Ring Bearing Reverse Idler Shaft
Reverse Idler Gear
Procedure -
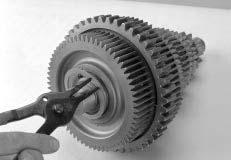
1. Lift the mainshaft reverse gear to allow the reverse idler gear to drop into mesh and into the proper position.
2. Place and hold the idler flat thrust washer at the back of the gear.
3. While holding the gear and washer in position, feed the reverse idler shaft through the flat thrust washer and gear.
4. Position the slotted thrust washer in front of the reverse idler gear with one of the slots facing up, and continue to feed the idler shaft forward. Make sure the word FRONT faces the front of the main case.
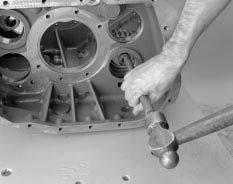
5. With a soft bar and driver, drive the reverse idler shaft fully into position.
6. Secure the shaft in position according to one of the procedures below:

Note: For Nut Fastener Design: Inspect the nylon locking insert in the nut, and replace the nut if it is excessively worn. After inspecting and/or replacing the nut, install the nut and washer on shaft front. Tighten the nut to 67-75 lb. ft. (90-101 N•m) of torque.
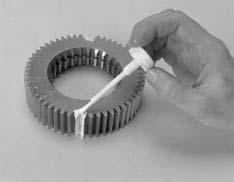
Note: For Capscrew Fastener Design: Apply Eaton®Fuller® thread sealant #71205 or equivalent to the capscrew threads, and install the capscrew and washer. Torque the capscrews to 67-75 lb. ft. (90-101 N•m).
Note: For Snap-ring design: Install the washer and snap ring on idler shaft using socket. Place snap-ring over front of reverse idler shaft seal, snapping into place by using a large socket. Tap lightly into place.