2 minute read
How to Assemble the Countershaft Assemblies


Special Instructions
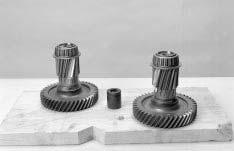
Determine if the countershaft is the upper or lower countershaft, and mark it if necessary. The lower countershaft has a larger 47 tooth PTO gear, and if the transmission has an oil pump, the rear of the shaft will be extended to support the oil pump drive gear.
Special Tools
• Press
3
Overdrive Model Configuration
Procedure -
1. If previously removed, install the key in the countershaft keyway.
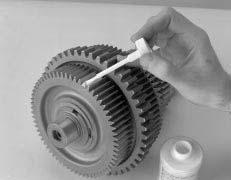
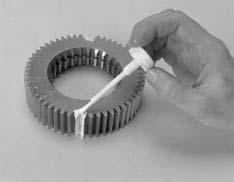
2. To ease assembly, lightly lubricate the shaft and inside diameter of each gear.
Note: Refer to the countershaft cross section while reassembling the countershaft and gears. If assembled correctly, the countershaft will have the same shape as that shown in the cross section.
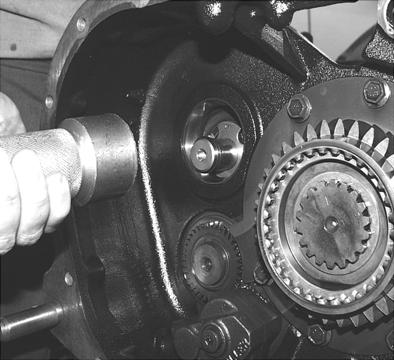
3. Install the 2nd speed gear (smallest gear). To install it, align the gear keyway with the countershaft key as shown, and press the gear on the countershaft as shown.
4. Install the 3rd speed gear (next smallest gear). To install it, align the gear keyway with the countershaft key, and press the gear on the countershaft.
5. Perform one of the two following steps: a. For overdrive transmissions, select the largest diameter gear, place it over the shaft, and press it into place. b. For direct drive transmissions, Install the 4th speed gear (next smallest gear). To install it, align the gear keyway with the countershaft key, long hub to countershaft front, and press the gear on the countershaft.
6. Install the PTO gear. This gear is identified by the rounded teeth on one side. To install the PTO gear, align the gear keyway with the countershaft key, rounded teeth facing up (shaft rear), and press the gear on the countershaft.
7. Install the countershaft drive gear. This gear is identified by the tooth marked with an “0.” To install the drive gear, align the gear keyway with the countershaft key, “0” to the front, and press the gear on the countershaft.
CAUTION
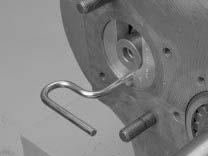
DO NOT try to install the countershaft in the transmission if you cannot install the snap ring.
8. Install the countershaft drive gear retaining snap ring in the groove on the shaft front. If the snap ring groove is not fully exposed, either the gears are not oriented properly or not seated properly. The countershaft may have to be disassembled partly or fully to correct the problem.
9. For timing purposes, use a highly visible toolmakers die to mark the tooth with an “0” or the tooth lined up with the keyway. 8
9