2 minute read
Tolerance Washers


How to Assemble the Mainshaft Assembly with Non-Selective (Non-Adjustable) Tolerance Washers
Special Instructions
The proper mainshaft key must always be used with the proper design mainshaft washers. If necessary, refer to the parts manual for your specific model to confirm the proper parts.
Previous design levels can be updated to the current design. Note: Any keyway on mainshaft may be used for mainshaft key location.
Special Tools
• A piece of 5/32" plastic air line, 1" long • Vise with brass jaws
Procedure -
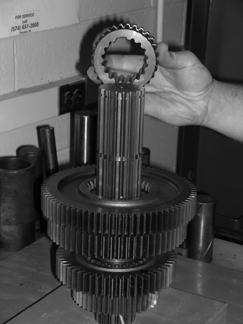
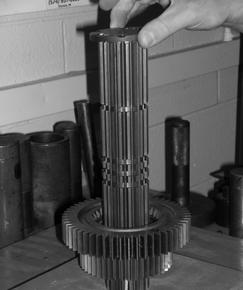
1. With mainshaft pilot-end down, secure the mainshaft in a vise equipped with brass jaws or wood blocks. Mark one keyway for reference to aid in assembly.
2. With mainshaft pilot-end down, install washer. Rotate the washer until the washer splines and mainshaft spIines align.
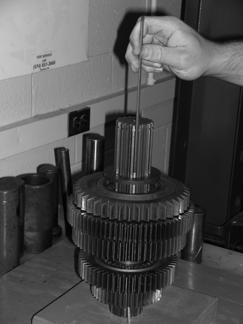
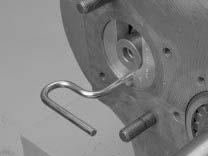
3. Start at the mainshaft bottom and install a plastic line from the bottom in the marked keyway to lock the washer in place.
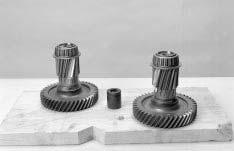
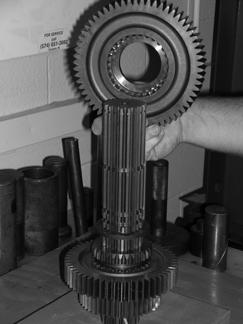
4. With clutching teeth down, position the direct/overdrive gear on the mainshaft. Refer to the illustrated parts list for correct gear.
5. Install a washer. Rotate the washer until the washer splines and mainshaft splines align. Push the plastic line up to lock the washer on the mainshaft.
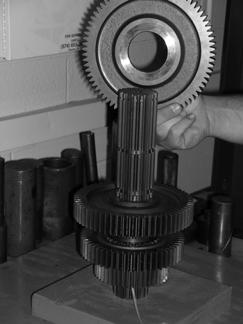
6. With clutching teeth up and against the spacer, install the 3rd gear.
7. Position the washer against the gear. Rotate the washer until the washer splines and mainshaft splines align. Push up the plastic line to lock the washer in place.
8. With the missing internal splines aligned with the plastic line, install the proper sliding clutch.
9. Position the next washer in the next available groove. Rotate the washer until the washer splines and mainshaft splines align.
10.With clutching teeth down, position the 2nd gear on the mainshaft.
11.Position the washer against the gear. Rotate the washer until the washer splines and mainshaft splines align. Push the plastic line up to lock the washer on the mainshaft.
12.With clutching teeth up, install 1st gear on the shaft against previously installed gear.
13.Position the washer against the gear. Rotate the washer until the washer splines and mainshaft splines align. Push the air line up to lock the washer on the mainshaft.
14.With the missing internal splines aligned with the plastic line, install the 1st/reverse sliding clutch.
15.From the rear, install the reverse gear over the sliding clutch teeth with snapring groove facing up.
16.Install the reverse gear washer in the last groove.
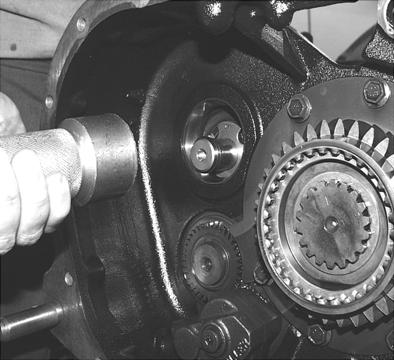
17.From the mainshaft rear, install the mainshaft key with raised end pointed up and facing out into the spline with the plastic line. Pull the plastic line from the spline while installing the key.
18.Remove the mainshaft from the vise and lay on its side.
19.Install the front sliding clutch into position.