1 minute read
ft AssembliesHow to Remove the Countersha How to Disassemble the


How to Remove the Countershaft Assemblies
Special Instructions
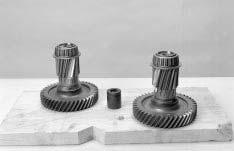
Except for the PTO gears, the upper and lower countershaft assemblies are the same. Mark the countershafts as UPPER or LOWER as you remove them.
The mainshaft and main drive gear must be removed before removing the countershaft assemblies.
Special Tools
• Soft bar and maul • Item T8: Countershaft Pusher • Item T9: Bearing Puller
Procedure -
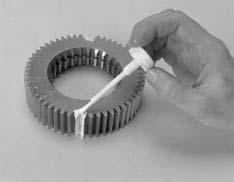
1. To keep the mainshaft pilot from falling out of the input shaft pocket, temporarily install the auxiliary drive gear on the mainshaft.
2. From each countershaft rear groove, remove the snap ring.
3. Remove bearing retainer bolts on front countershaft and install the counershaft pusher assembly Tool T8 to the studs on the front of the maincase. Push the countershaft back until it stops.
4. Use a bearing puller to remove the rear bearing from the countershaft.
CAUTION
Damage will likely occur to this bearing during removal. It is strongly recommended that this bearing is discarded.
5. Remove tool T8 from the front countershaft.
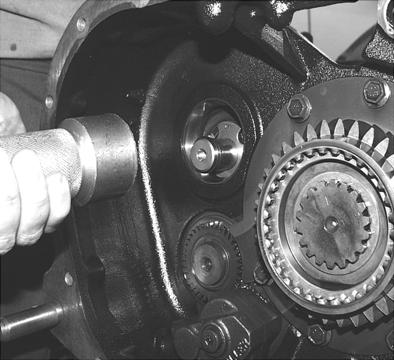
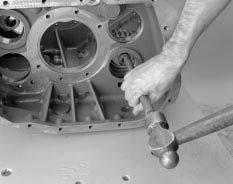
6. Return to the case rear, and drive each countershaft forward as far as possible. This exposes the external snap ring.
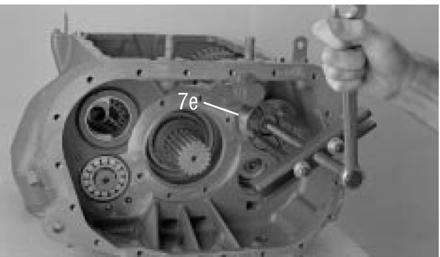
7. Use the appropriate bearing puller T9 to remove the countershaft front bearings.
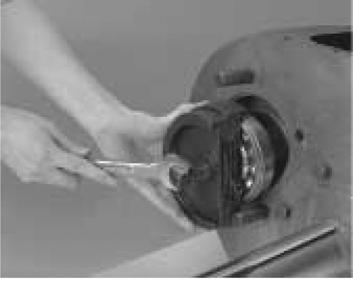
8. Move the upper countershaft to the rear until the front bearing journal clears the front case bore.
9. Swing the front of the countershaft to the center of the case, and lift out the countershaft assembly.
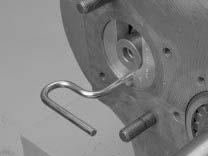
Note: A large hook or piece of rope may help support the countershaft.
Note: Follow the same procedure for lower countershaft removal.