2 minute read
How to Remove the Auxiliary Section


Special Instructions
None
Special Tools
• Output Yoke Puller T1 (see Table 6) • Auxiliary Section hanger T2 (see Table 6) • Auxiliary countershaft support plates T3
2
Procedure -
1. If not previously removed, remove the shift bar housing according to the “Shift Bar Housing Removal” instructions in this section.
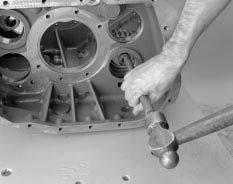
2. If not previously removed, remove the output yoke according to the following instructions:. a. Remove the output nut using a 70 mm or 2 3/4” socket. Note: To prevent the output shaft and yoke from rotating while removing the nut, shift the transmission into two gears or use a yoke holding tool. b. Remove the output yoke. Use the output yoke puller (Tool ref. ID T1).
IMPORTANT
If the shift bar housing is still installed, the following two steps must be performed before removing the auxiliary section.
This only applies to units with the lock cover. New units don’t contain the cover and require removal of the shiftbar housing to remove the auxiliary section.
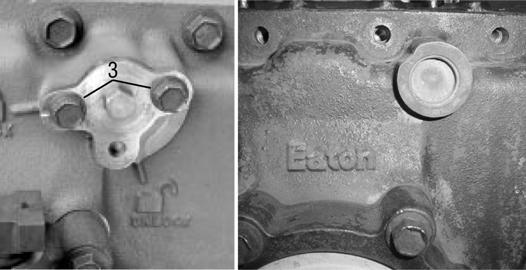
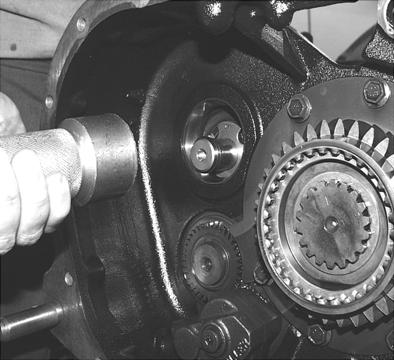
3. Remove the two capscrews from the range bar lock cover (only applies if it’s the old style cover).
Note: Left is old style and right is the new style.
4. Rotate the lock cover counterclockwise until the indication notch lines up with the unlock symbol, and secure the cover in position by inserting one of the capscrews into the rightside hole.
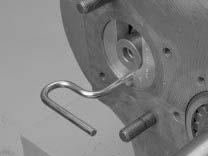
Note: The dowel pins may have to be driven forward and removed to assist in the removal of the auxiliary section.
5. Remove the auxiliary countershaft covers and install the support plates T3.
6. Remove the 19 capscrews securing the auxiliary section to the main case.
7. Run an M10x1.5 tap into the three threaded pusher holes in the auxiliary section flange to clean paint, rust, and other debris from the holes. Oil the holes.
8. Thread three (3) capscrews evenly into the three pusher holes on the auxiliary section flange to break the gasket seal.
9. Continue threading the capscrews in until the housing is moved rearward 1/4,” and then remove the pusher screws.
10.Install an auxiliary section hanger bracket on the top of the auxiliary section, and attach a chain to the hanger bracket. (Tool ref. ID T2)
11.Using the chain to support the weight of the auxiliary section, move the auxiliary section rearward until it is free of the main case. 4

1
2 1
6
5
9
10
6
6