1 minute read
How to Disassemble the Gear Shift Lever


Special Instructions
If total disassembly is needed, the Roadranger valve, must be removed first.
Release the spring one coil at a time.
Special Tools
• Vise with brass jaws or wood blocks
1. Pin 2. Bushing 3. Upper Lever 4. Snap Ring 5. Rubber Boot 6. Spade Pin 7. Housing 8. Capscrew 9. Gasket 10. O-Ring 11. Washer 12. Lower Lever 13. Stepped Washer 14. Tension Spring
Procedure -
1. On a non-isolated shift lever, remove the Roadranger valve using the “How to Remove the Roadranger valve” instructions in In-Vehicle Service Procedures. If the shift lever is equipped with a lever isolator, remove the snap ring, bushing, and cross pin to disconnect and remove the upper lever.
2. Slide the rubber boot up and off the shift lever shaft.
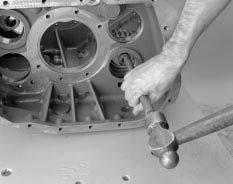
3. With housing bottom facing up, secure the assembly in a vise.
4. Use large screwdriver to twist between the spring and housing, forcing the spring from under the housing lugs one coil at a time.
5. From inside the housing tower, remove the tension spring, washer, and gear shift lever.
6. In models so equipped, from the housing bore, remove the nut and washer.
7. From the housing tower spade pin bore, remove and inspect the spade pin, discard if damaged.
8. From the housing tower inside groove, inspect the O-ring, discard if damaged.