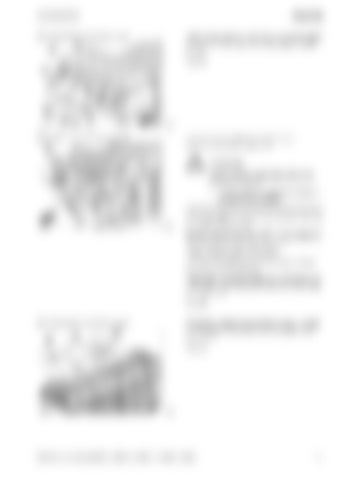
Assembly Install the top plate (40) with rod (55) on the front plate and fasten on both sides with washer (54) and split pin (53).
QUANTUM 6800 S / 5500 S-18 from serial no. 614 0 02243
40
(Fig. 13) 53
54 55 13
73073
Install fill indicators (60) (reed contacts) on bracket (41) with two screws each.
QUANTUM 6800 S / 5500 S-18 from serial no. 614 0 02243
40
56
41
ON OFF
ATTENTION! Look out for pinch and crush points when laying out the wiring.
56 ON
61
– Lay out wiring so it cannot be pinched or crushed during operation.
OFF
60 59
58
57 14
73074
Install wiring (56) through the cross member of the top plate (40) on the right side. Connect wires (ON-ON; OFF-OFF). The top reed contact is connected to the “ON” connection. Fasten wiring with self-locking straps. Insert the strap (59) with the sensor magnet through the guides of the bracket (41). Fasten strap (59) and roof plate (40) with the pins (61) to the bracket (41). Secure pins (61) with washer (58) and roll pin (57). (Fig. 14)
Wind tension ropes (63) around the hoops (44) at the rear and attach at the front to the hooks (62) of the bracket (41).
QUANTUM 6800 S / 5500 S-18 from serial no. 614 0 02243
62
63
44
(Fig. 15) 41
73075
15
0299 615.8 - BA QUANTUM 6800 S / 5500 S-18 / 5500 S-16 / 5500 S / 4500 S
7.7


