


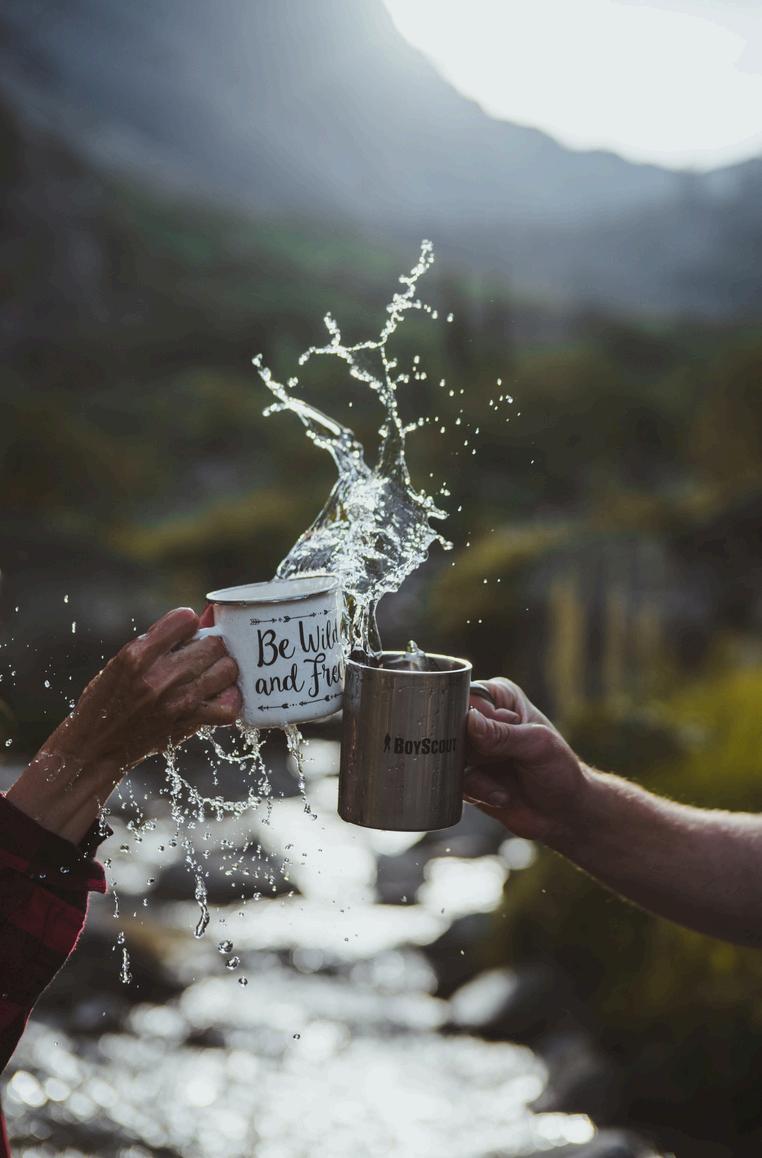
EXPLORERS GUIDE TO


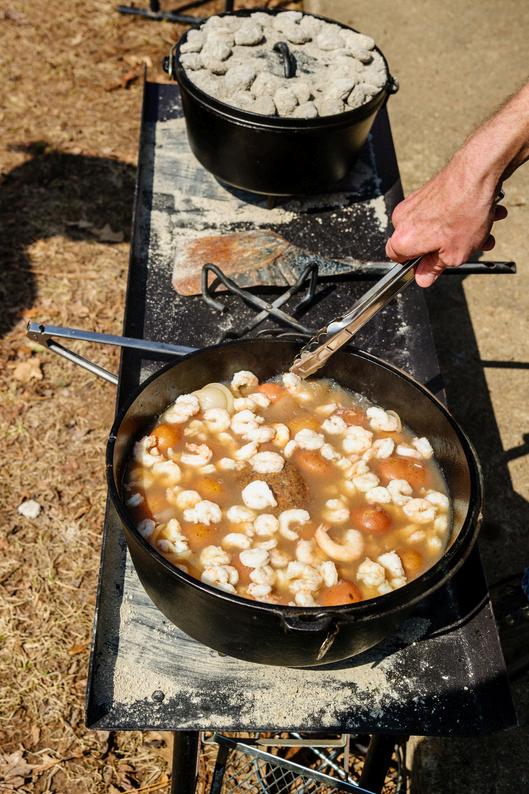
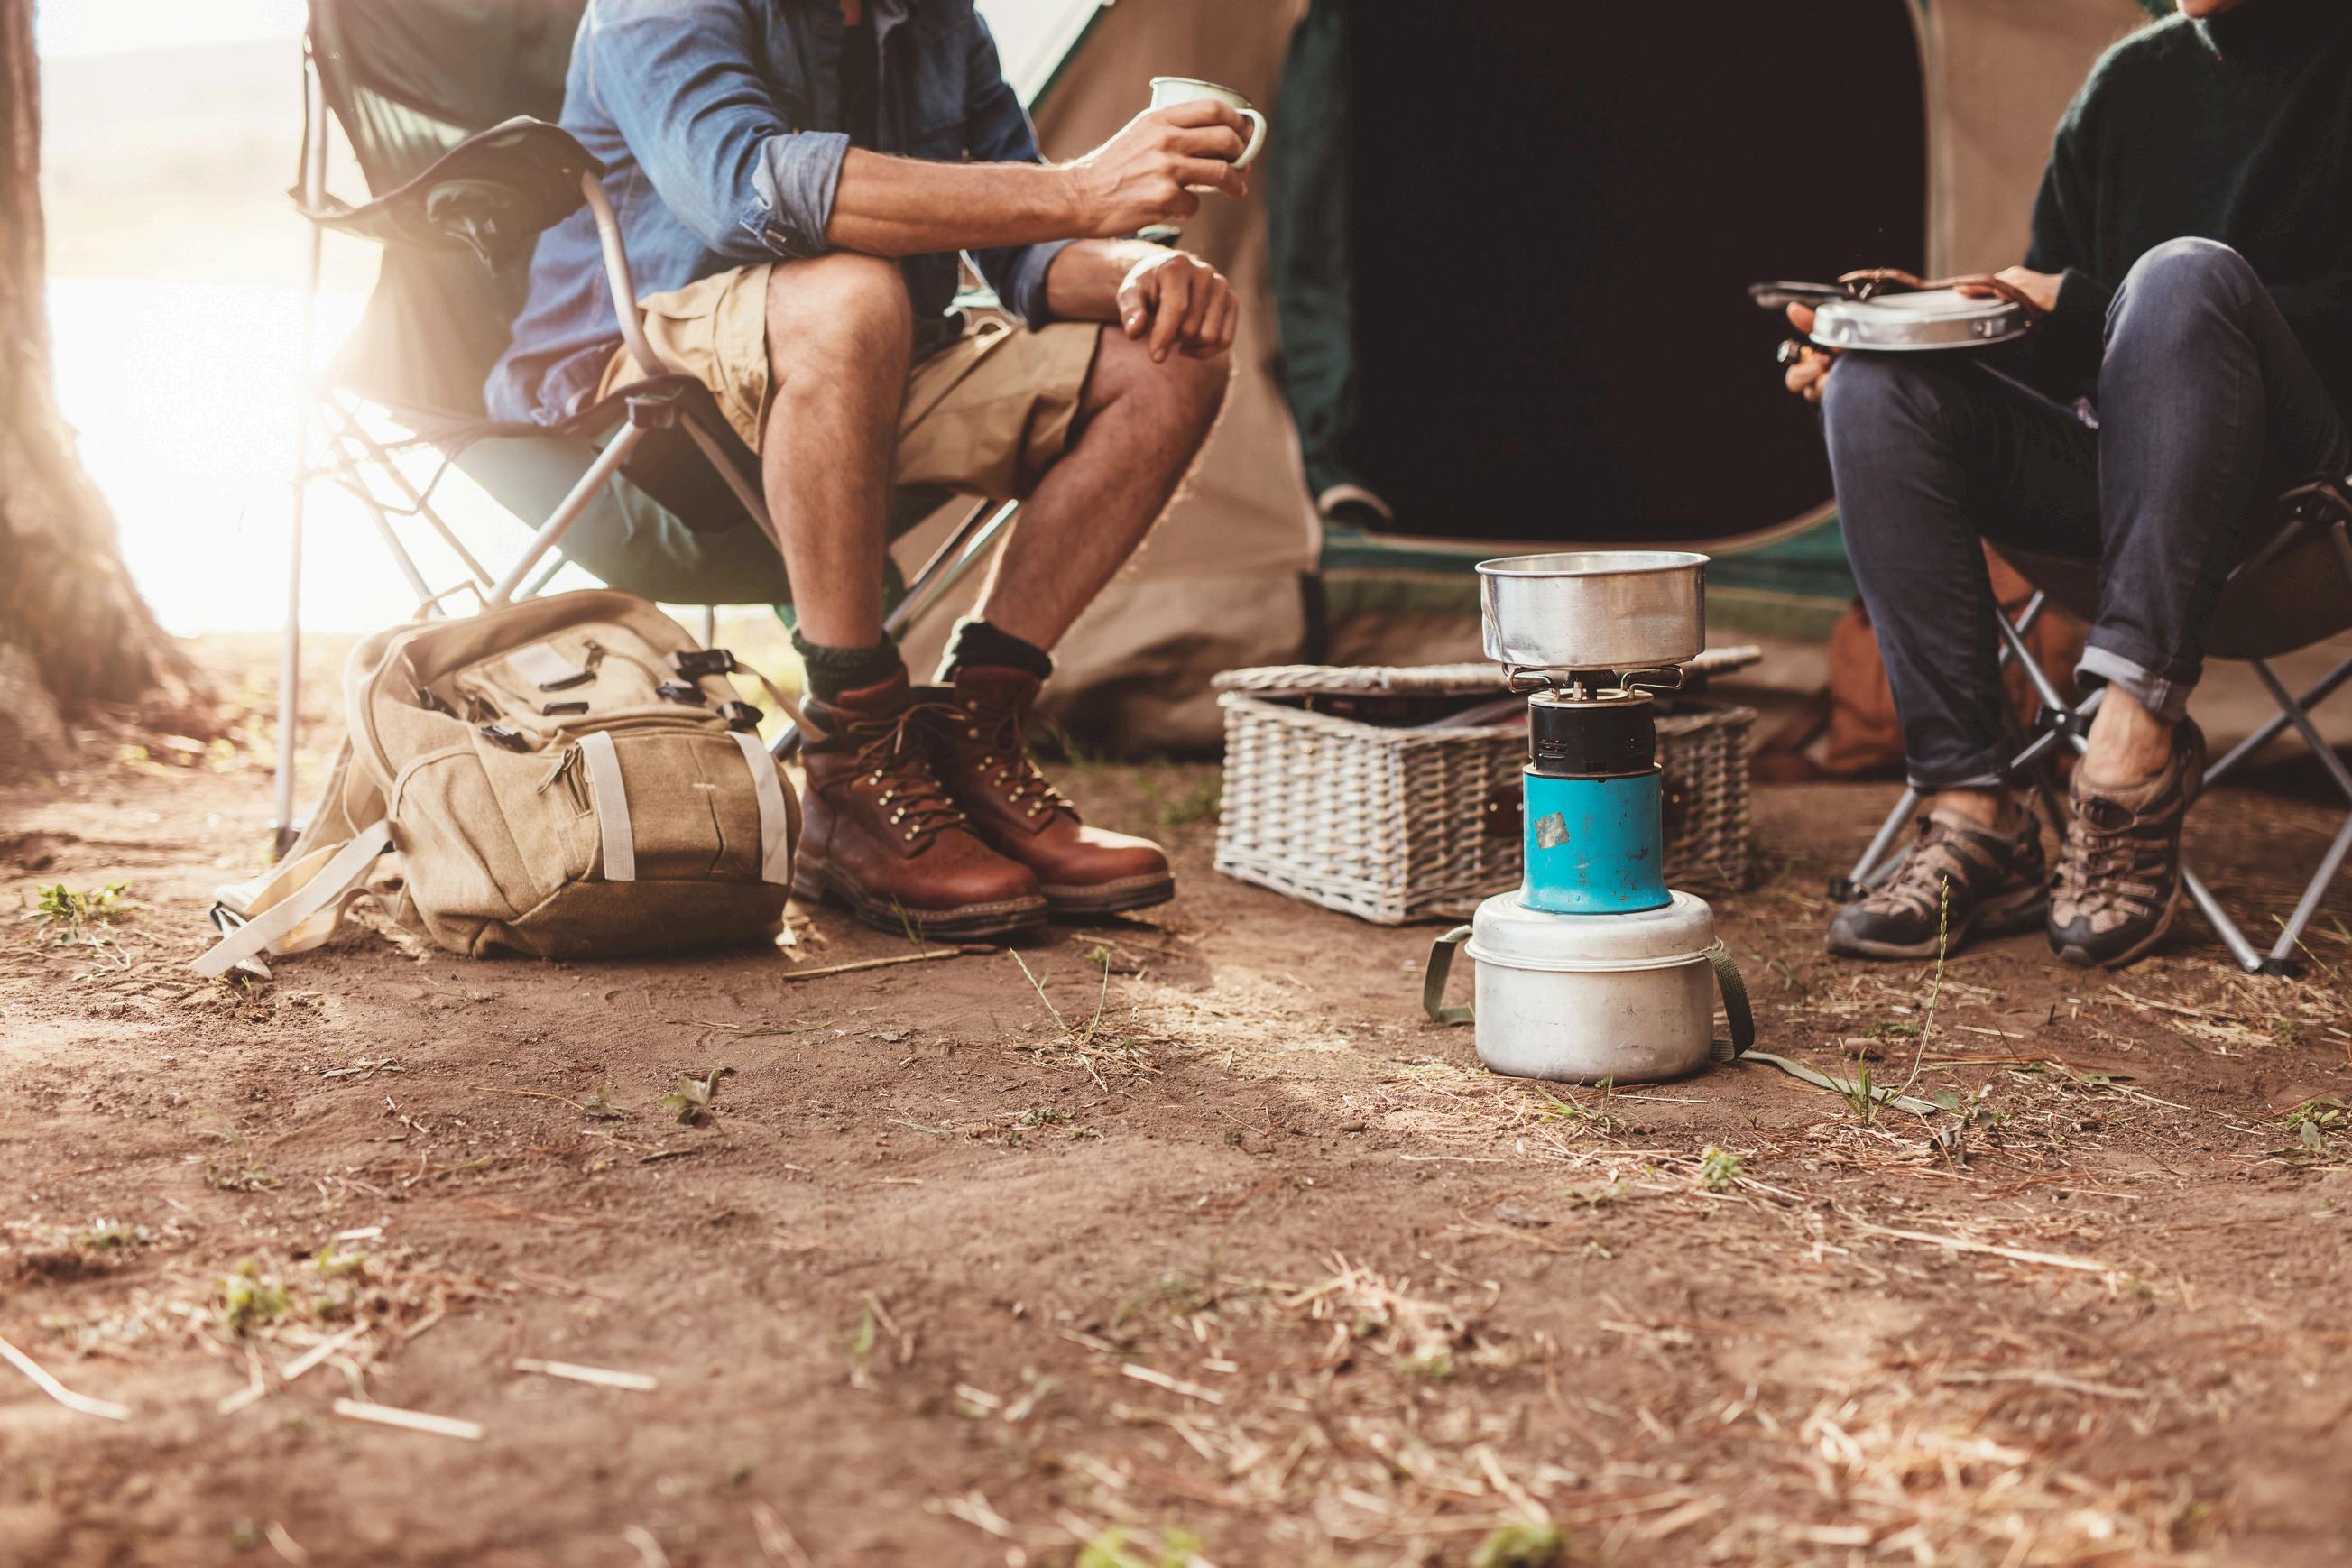
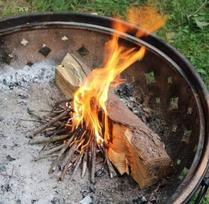
Dutch Ovens are a favorite for car camping in the wild for the simple reason of allowing function to meet diversity...with a dose of pride in having concocted an absolute FEAST in the middle of nowhere! There is nothing to impress a crowd like lasagna on a cold desert night, or a warm gooey chocolate cake around the camp fire! While too hefty to lug in a backpack, Dutch ovens are the ideal car camping accessory for a minimalist wilderness chef! This little accessory can bake break, heat campfire nachos, boil soups or cook casseroles like a trusty camping oven!
Utilizing condensed heat, Dutch ovens can replace a traditional cooktop as they can be used as a skillet, pot or stove, allowing incredible diversity in the feasts they can provide!
Dutch Oven Tools:
Lid Lifter
Dutch Oven equipped to fit the size of your party’s needs.
Animal fats or cooking oils to keep oven seasoned
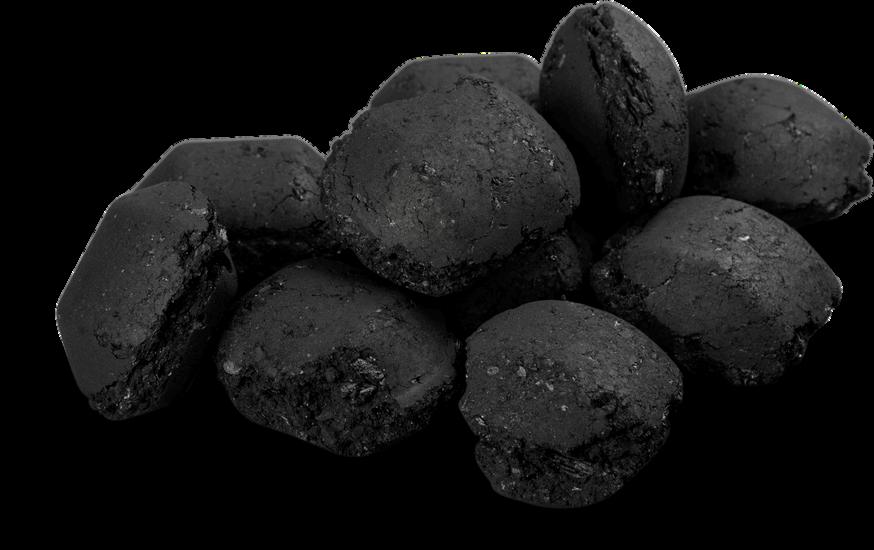
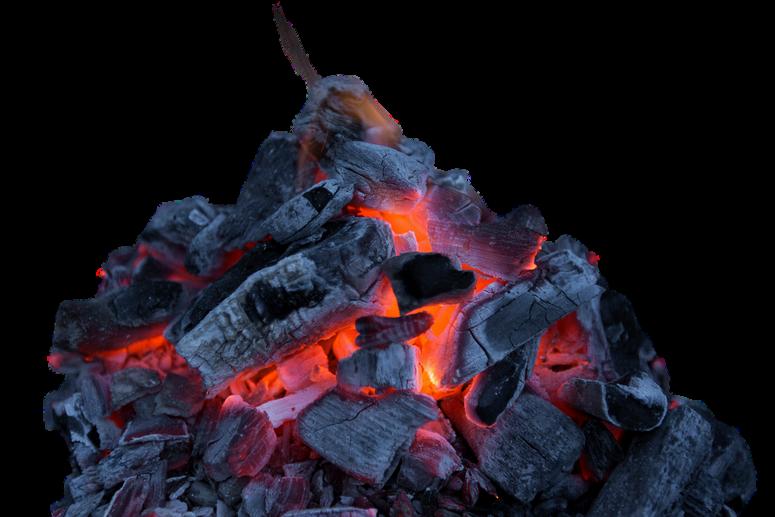
Coals or Cowboy charcoal
Metal spatula
Chain mail scrubber or steel wool for cleaning
Parchment Paper or Aluminum Tins for liners (for easy cleanup!)
PRO TIPS:
PRE SEASON your pan according to manufacturer instructions This involves heating with an oil inside to create a natural non stick surface.
Cook meals with a parchment paper liner. Easy to pre-cut and save, can be burned immediately after, keeps oven easy to clean and re-use while camping. Aluminum liners can be purchased as sets.
Chain mail scrubber, metal spatula, etc are all you need along with water to scrub any residue Do not use soaps in Dutch ovens because they will deteriorate the seasoned pan and create a sticky surface. Wash and let air dry or BEST- allow to heat dry near the fire or on the stove,
Add fats to the pan after use to maintain seasoning- ideal to return to heat for a few minutes to dry and allow oil to saturate
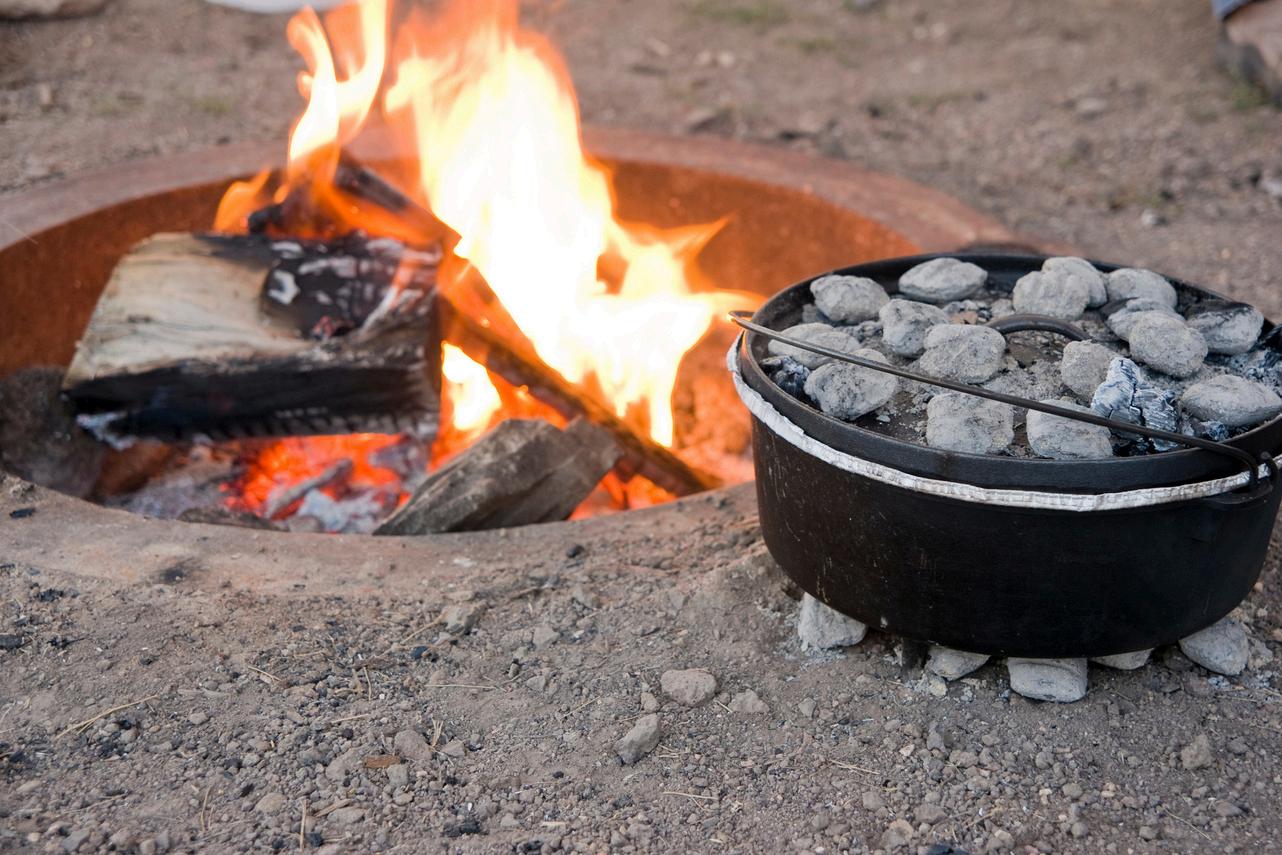
Keep a lid lifter handy for fire operations Allows you to safely check the food without disturbing the coals
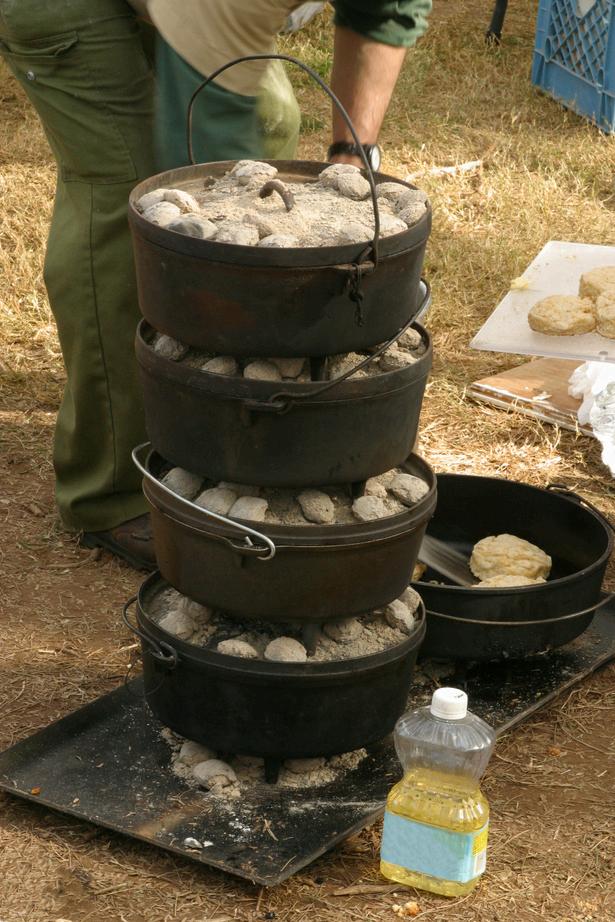
Get multiple sizes and stack your ovens to cook the main course, a side and dessert all at once!

325°F 15coals10lid5under 19coals13lid6under 23coals16lid7under
350°F 16coals11lid5under 21coals14lid7under 25coals17lid8under
375°F 17coals11lid6under 23coals16lid7under 27coals18lid9under
400°F 18coals12lid6under 25coals17lid8under 29coals19lid10under
425°F 19coals13lid6under 27coals18lid9under 31coals21lid10under
450°F 20coals14lid6under 29coals19lid10under 33coals22lid11under
3 tablespoons extra virgin olive oil
1 medium onion, finely diced
3 stalks celery, finely diced
3 carrots, peeled and diced
2 tablespoons fresh garlic, minced
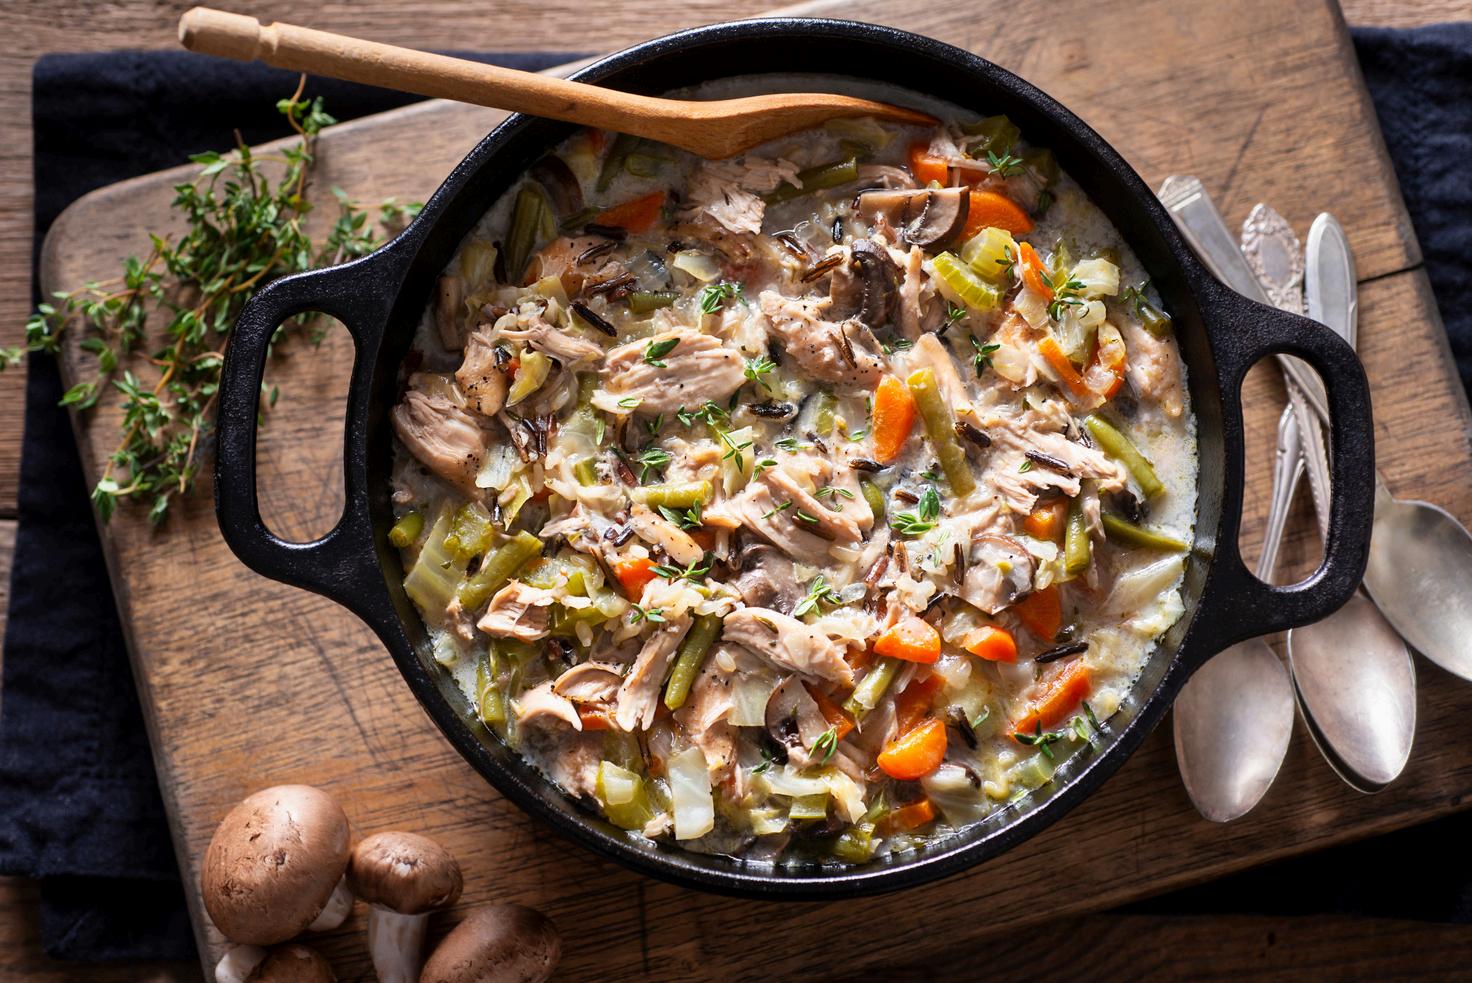
2 cups cooked chicken breast, shredded (rotisserie is ideal!)
2 cups steamed white rice
16 ounces prepared wild rice
1 teaspoon kosher salt
1/2 teaspoon black pepper
1/4 teaspoon garlic salt
4 tablespoons butter
1/4 Cup all purpose flour
1/4 teaspoon kosher salt
1/4 teaspoon black pepper
2 cups chicken broth
2 cups cheddar cheese, shredded
1 1/2 cups cheddar cheese, shredded for topping

(cont’d)
Prepare all ingredients prior to travel. Shred & package chicken
Prepare rice according to directions on package. Saute vegetables lightly, package for travel. Combine additional seasonings & flour into a baggie
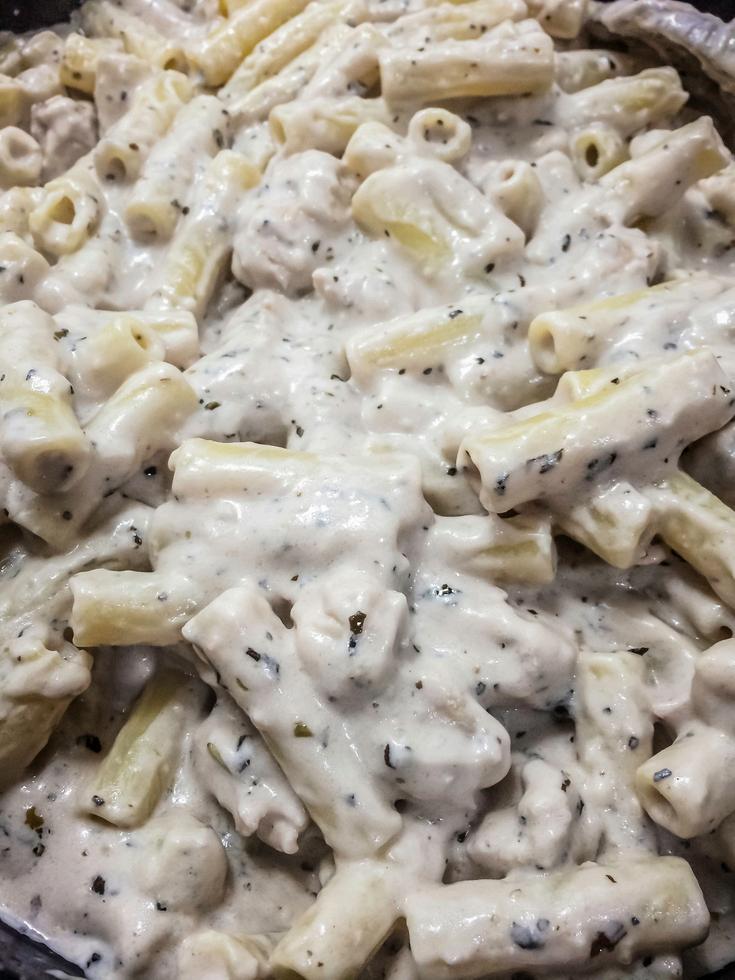
Once ready to prepare dish, add all ingredients to dutch oven. Stir in chicken, both cooked rices, salt, pepper and garlic salt, cheese portion & broth. Stir until well combined.
Top with additional cheddar cheese Cover and add 8 and bake for 25-30 minutes or until cheese is melted through. Serve and enjoy.
Rotisserie chicken pulled & bagged is ideal for easy pre-camp prep! ALWAYS prepare your wild rice ahead of adventuring for instant readiness & fastest campside cooking!
4 tablespoons butter
1 cup EACH: chopped onions, carrots, sliced celery, and peas.
¼ cup all-purpose flour
A few sprigs of fresh thyme + bay leaf
1 teaspoon garlic powder
2 teaspoons all-purpose seasoning (salt-free)
1 ½ cups EACH: chicken broth AND half and half (or whole milk)
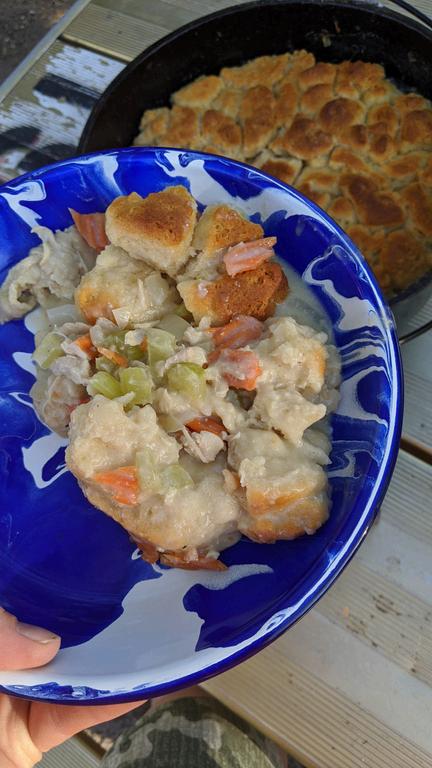
3 ½ cups cooked shredded chicken
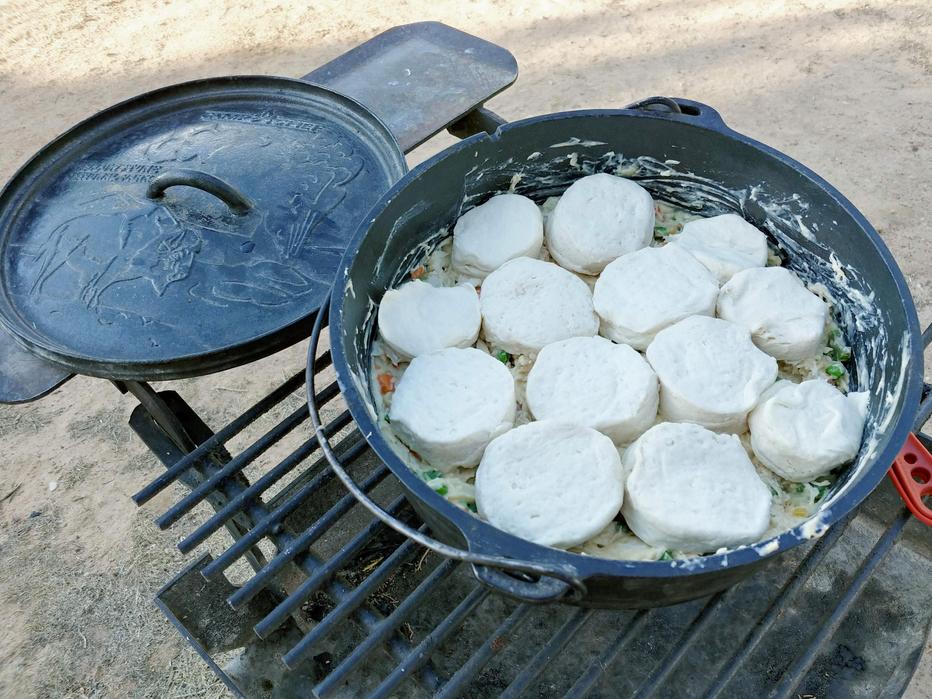
Pre-made biscuit dough
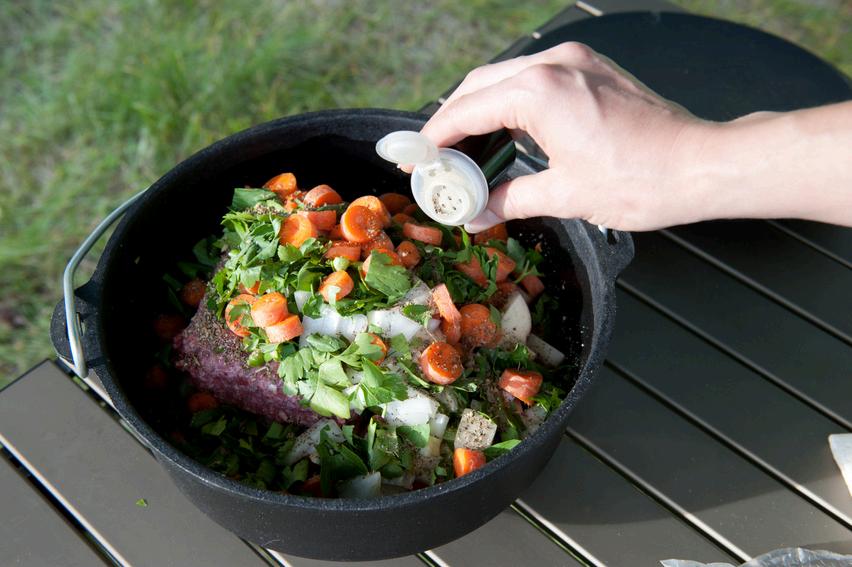
Prepare about two dozen coals or fire and pre-heat Dutch Oven
Melt the butter in a 4-quart pot over about 6-8 coals, aiming for a gentle simmer Add the onions, celery, peas, and carrots Let it cook for 5-7 minutes or until slightly softened. Sprinkle the flour over the veggies and stir to coat evenly You’ll notice it starts getting dry and crumbly, let cook for 1 minute, stirring as needed.
Season with all the herbs and seasonings.
Slowly stream the milk or half and half while you use a whisk to work out the lumps. Add the chicken stock and allow it to reach a simmer, and thicken; this will take 6-10 minutes
When pot pie is simmering, stir in the shredded chicken. Let it heat through, then remove from heat
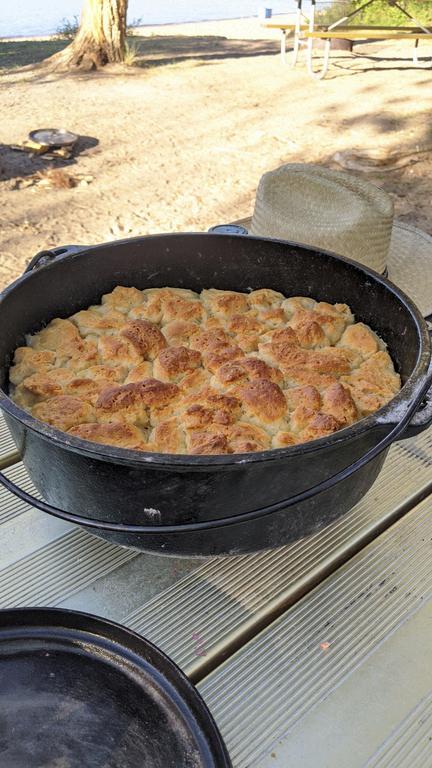
Add biscuits on top, cover and 6 underneath. Cook until biscuits are golden brown,
THIS RECIPE IS SO EASY & WOWS CAMPERS! DUMP THE INGREDIENTS IN LAYERS AND THEN BAKE
cherry pie filling, 1 can chocolate cake mix, 1 box lemon-lime soda, 1 12 oz can chocolate chips, 1 bag
Prepare 24+ pieces of charcoal. Line the dutch oven with a liner or spray with cooking oil.
Open the pie filling and dump it into the bottom of the dutch oven.
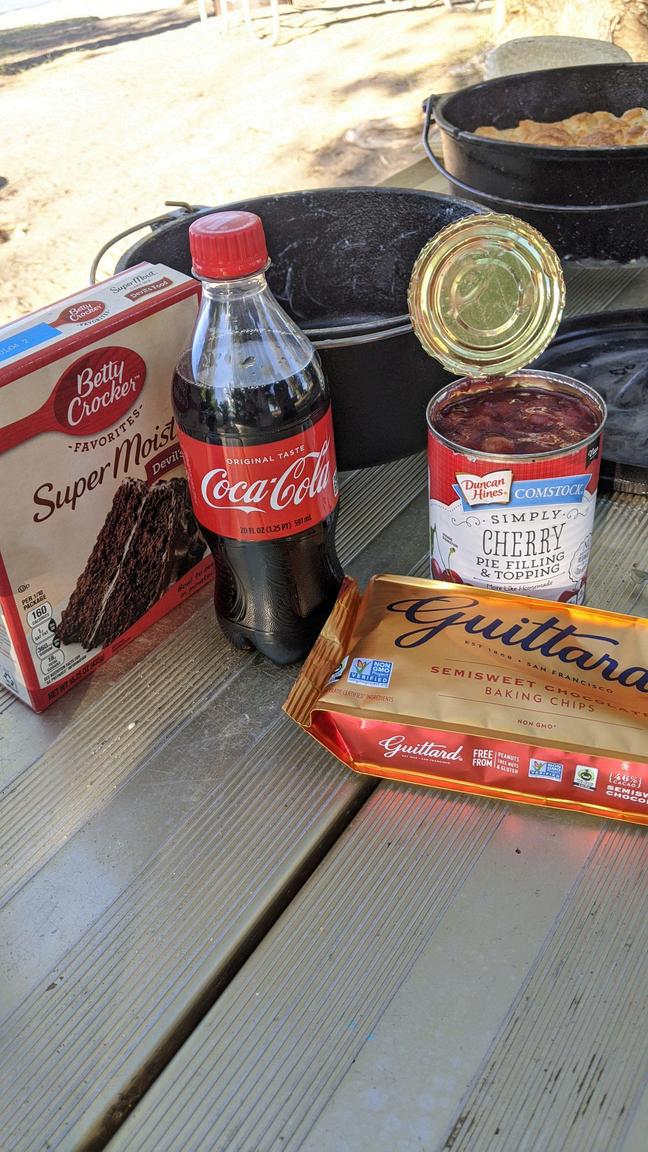
Layer the chocolate cake mix on top of the cherry filling.
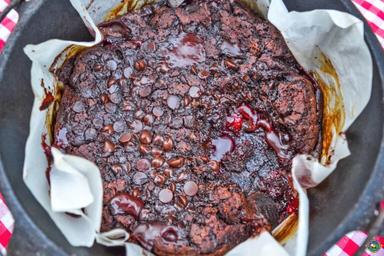
Open the soda and slowly pour over the cake mix. It will foam but should not overflow if you go slowly. Sprinkle the chocolate chips on top of the soda. Put the lid on the dutch oven. Place 16 charcoal on the lid of the oven. Make a circle of 8 charcoal that will serve as the base heat for baking the cake.
Place the dutch oven over the circle and let the cake bake for approximately an hour. It might be more or less depending on the size of your dutch oven and the heat of the coals.
Remove the dutch oven from the coals and enjoy.
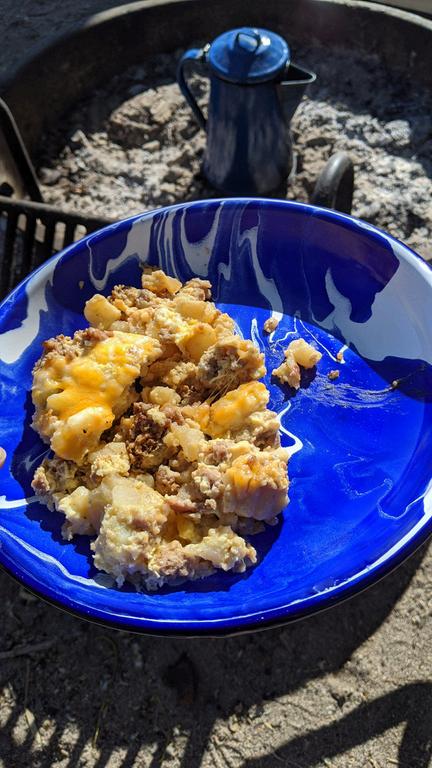
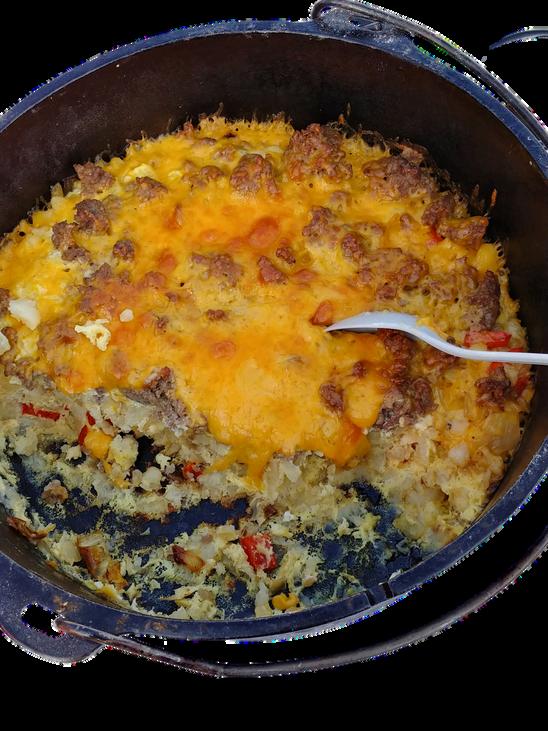
1 lb Ground Sausage (prepared)
1 Medium Onion, Diced
1 green bell pepper
1 bag hash browns or tater tots
8 Eggs, Beaten
1/2 cup cheese
ground red pepper or hot sauce to taste
2 tsp dried oregano
Salt and Pepper, to taste
Line dutch oven with parchment paper or an aluminum liner for easy cleanup!
Add ground sausage to Dutch oven first. (if uncooked, saute first over a bed of 8-10 hot coals. Next, layer hashbrowns/tots, onions & peppers over the top. Crack eggs in separate bowl, adding spices to eggs. Mix eggs & spices. Pour egg mixture evenly over all. Top with shredded cheese.
Place 16 coals on top of lid, rest on a bed of 8-10 coals underneath. Let cook for 20 minutes until cheese is melted and top is crispy!


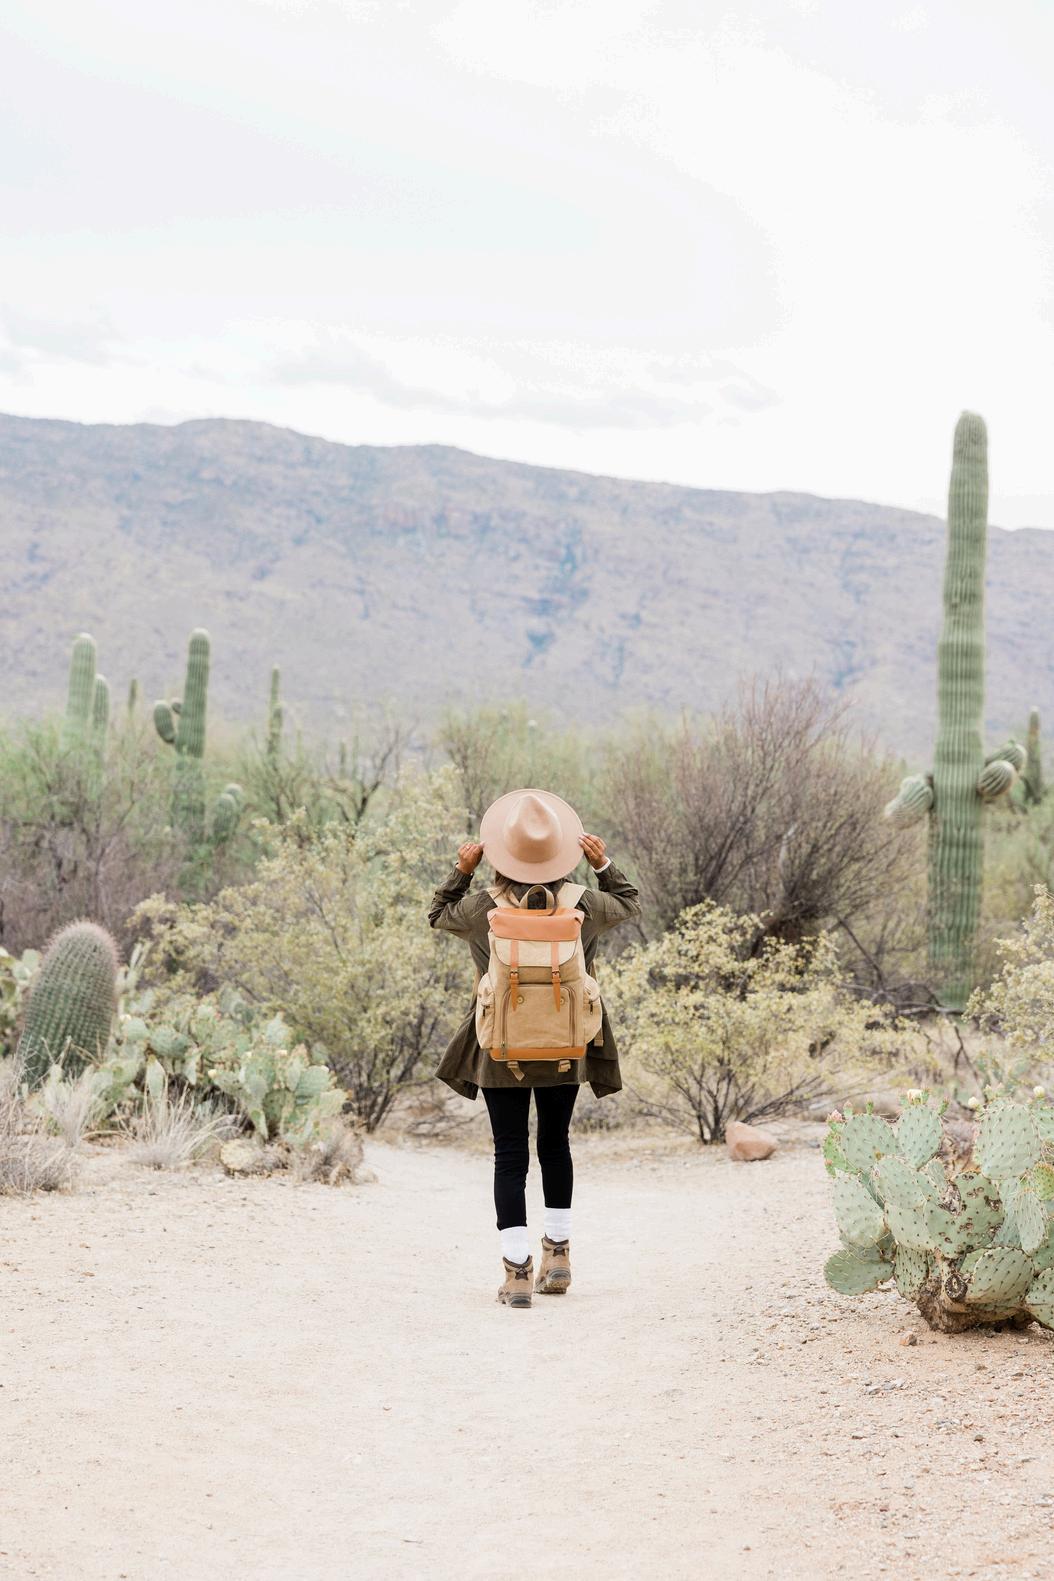
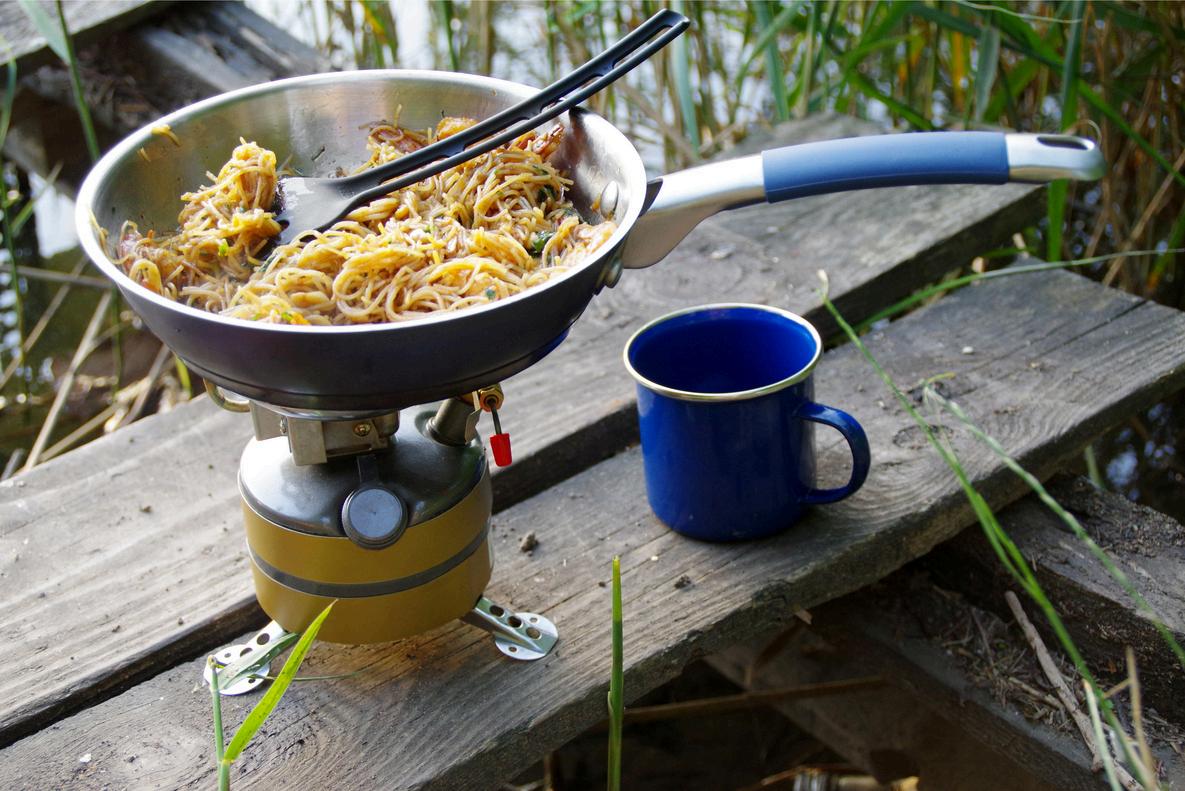
Backpacking is the ultimate suffer-fest! The time to discover what you are made of as you set out with everything you need to survive on your back, and days ahead to traverse wonder-filled wild lands. In backpacking, food is FUEL to power you through the long days, however two standout functions need to be met when planning your meals:
Planning your backpacking meals requires a little creativity and thinking ahead, with a focus on how you can keep the impact on your back LIGHT and MAXIIZE the impact on your energy to get you through! Sourcing dry ingredients is the secret, with just adding water at the end of a long day to rehydrate & feast!
There are multiple ways to attain freeze-dried components to your meals! In fact you can make ahead entire meals, freeze and rent access to a private freeze dryer for around $10 a tray, getting several meals per tray to store in mylar bags. Or you can order freeze dried meats & veggies from freeze drying companies, and order the necessary components to build recipes from scratch with, adding carbohydrates like quick-boil pastas or grains like rice, couscous, etc & blending with your favorite custom seasonings! Fully cooking and pre-seasoning your grains, and then dehydrating in an at-home dehydrator is another hack to maximize flavor and function with ready to go quick boil meals!
Just add boiling water for an instant, nutrit perfect for backpacking, camping, dorms,
1/3 cup whole wheat cous cous
1 teaspoon chia seeds or ground flaxseed (optional)
1/3 cup freeze dried chopped chicken
½ cup freeze dried mixed vegetables
1 tablespoon freeze dried onions (or 1 teaspoon dried onion flakes)
1-1/2 teaspoons powdered chicken flavor base (or boullion granules)
1-1/2 teaspoons freeze dried poultry herb blend (or 1/4 teaspoon each dried thyme, sage, & parsley)
¼ teaspoon garlic powder
1/8 teaspoon ground black pepper
¼ teaspoon salt (or more to taste)
1-1/2 cups water
TO ASSEMBLE: Add all ingredients except the water to a quart freezer or reusable Ziploc bag. Seal bag and store until ready to use.
TO COOK IN BAG: Bring water to a boil With opened bag resting on plate or bowl, pour in boiling water. Seal bag and let soak for 9 minutes, turning bag upside down after 3-4 minutes to redistribute & mix ingredients Open bag and eat directly from bag, if desired Or, transfer to a bowl or mug for eating
TO COOK IN MUG OR BOWL: Transfer dry ingredients to a mug or bowl; add boiling water Cover and let rest until ingredients have softened (4-5 minutes)
½ cup dried or instant rice
¼ cup dried chicken
¼ cup dried vegetables; try a mix of carrots, red & yellow bell peppers, and onions
1 Tbsp powdered milk
1 tsp curry powder
¼ tsp chili powder
1¼ cup water to rehydrate
Cook white or brown rice in chicken broth and dehydrate; or use instant rice.
Pack powdered milk and seasonings in a small plastic bag and enclose with other ingredients in plastic bag.
For an interesting vegetarian meal, substitute dried apples and raisins for chicken.
Or, substitute dried shrimp for dried chicken.
TO COOK IN BAG: Bring water to a boil With opened bag resting on plate or bowl, pour in boiling water. Seal bag and let soak for 9 minutes, turning bag upside down after 3-4 minutes to redistribute & mix ingredients Open bag and eat directly from bag, if desired Or, transfer to a bowl or mug for eating
TO COOK IN MUG OR BOWL: Transfer dry ingredients to a mug or bowl; add boiling water Cover and let rest until ingredients have softened (4-5 minutes)
3/4 cup pre-cooked and dehydrated pasta
1/2 cup dehydrated beef mince
3 tablespoons freeze-dried Cheddar cheese
1 tablespoon milk powder
1 teaspoon all-purpose flour
1/2 teaspoon garlic powder
Salt Pepper
1 teaspoon ghee
Combine pasta and dehydrated beef mince in a medium-sized zip lock bag
Mix cheese, milk powder, garlic powder and flour in other bag.
Pack ghee separately
Pour Beef Alfredo mixture into a pot Add in 3/4 cup water, stir well and let soak for 5 minutes.
Bring to a boil and season to taste
Reduce heat to low and cook, stirring regularly, until rehydrated
Take the pot off the heat and stir in cheese sauce mixture and ghee.
Note: You can make this recipe also with regular, non-dehydrated macaroni too. Just cook them in salted, boiling water according to package instructions.
Drain the water off reserving about 2/3 cup , then stir in sauce mixture and ghee
2/3 cup pre-cooked and dehydrated pasta
1 handful dehydrated mushrooms
1/2 teaspoon Italian seasoning iHerb
1 tablespoon milk powder
3 tablespoons freeze-dried Cheddar cheese (powdered)
1 teaspoon all-purpose flour
Salt, to taste
1 teaspoon ghee

Combine pasta, mushrooms and thyme in a medium-sized zip lock bag
Mix milk powder, flour and cheese in other bag
Pack ghee separately.
Pour Mushroom Mac mixture into a pot. Add in 1/3 cup water, stir well and let soak for 5 minutes
Bring to a boil and season to taste
Reduce heat to low and cook, stirring regularly, until rehydrated. Take the pot off the heat and stir in ghee and cheese sauce mixture
Note: You can make this recipe also with regular, non-dehydrated macaroni too. Just cook them in salted, boiling water according to package instructions. Drain the water off reserving about ¼ cup , then stir in sauce mixture and ghee

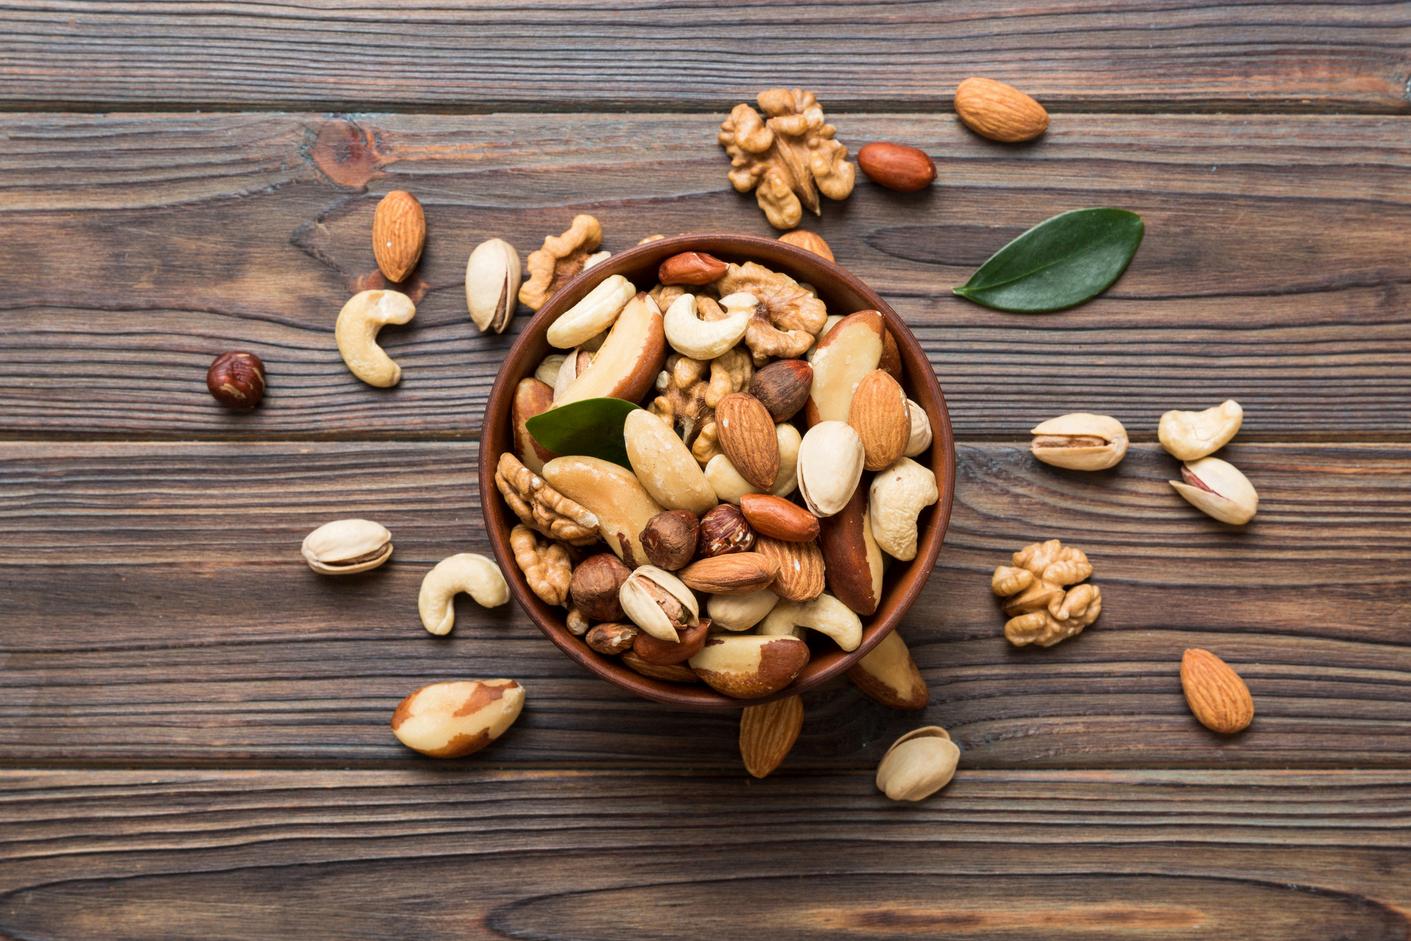
1 Cup Pecans
1 Cup Walnuts
3/4 Cup Raw Pumpkin Seeds
2 Tbsp Chia Seeds
1 Egg White
1 Tsp Molasses
3/4 Tsp Salt
1/2 Tsp Garlic Powder
1/2 Onion Powder
2 Tsp Sweetener powdered swerve
2 Tsp Melted Butter
Preheat oven to 325 F Roast Pumpkin seeds for 2 minutes or until you hear them start pop Remove from the oven, stir them around then return to the oven until you start to hear the pop again(approx. 2 mins). Remove from the oven, then set aside Spread the pecans, walnuts and chia seeds on the baking pan Roast until aromatic, approx 4 - 5 minutes
In a large mixing bowl, beat the egg white until frothy Add the molasses, sweetener, 1/2 a tsp of salt, garlic and onion powder to the beaten egg white Mix until well combined. Pour the trail mix into the bowl with the egg whites, them mix until the trail mix is fully coated
Reduce oven to 250 F. Spead the trail mix evenly over the baking pan, then drizzle with the melted butter Sprinkle with the remaining salt Bake for 20 - 25 minutes, stirring a few times throughout
1 rounded cup cashews (145g)
1 cup almonds (145g)

2 cups pitted dates, about 18-20 large dates (340g)
1/4 cup unsweetened raisins (https://amzn to/3wMi8qC) (35g)
1/4 cup unsweetened craisins (dried cranberries)
(https://amzn.to/44PPGk2) (35g)
1/4 cup chocolate chips (45g)
Several pinches of salt
1 Add the cashews and almonds to the food processor and process on low for 15 seconds They should be crushed but not completely ground up.
2 Take the pits out of the dates and make sure each date is fresh. Add pitted dates and the salt to the food processor and process on low for 10-15 seconds
3 Finally, add the raisins, craisins, and chocolate chips and pulse 3-4 times just to incorporate them. The mixture will still be coarse, but it should easily stick together when you pinch it
4 Transfer the mixture to a large bowl
5 Wet your hands with water, then take a small handful of the mixture and squeeze tightly to make it stick together, then form into a ball, squishing it together as you form it. Make sure you are also grabbing from the bottom of the bowl because some of the crushed almonds and cashews have a tendency to collect at the bottom.
6 Repeat for each energy ball, re-wetting your hands after every few (this helps prevent the mixture from sticking)
7 It’ll make 16 large energy balls, but you can make them as little or large as you want, so it’s up to you how many you make! Store in an airtight container in the refrigerator for up to 2 weeks
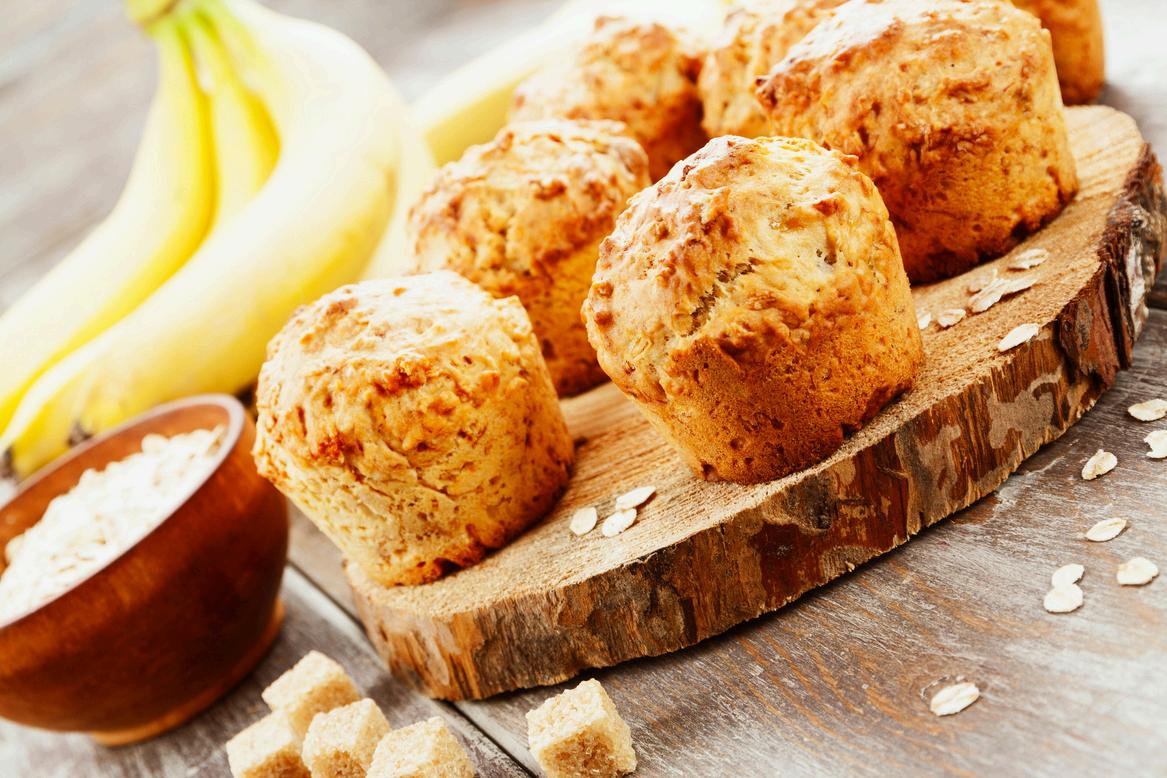
These muffins are to-die-for and are perfect to prep for your backpacking or hiking trip! I usually make a bunch of them in advance and it can last me a week
• 3 cups rolled oats
• 2 teaspoons baking powder
• 1 teaspoon cinnamon
• 1/2 teaspoon salt
• 1 cup mashed banana (2-3 bananas)
• 2 eggs
• 1 5 cups of unsweetened milk (or any milk you prefer)
• 1 tablespoon chia seeds
• Mini choc chip (garnish - optional)
Mix all ingredients thoroughly in a blender or food processor, pour into cupcake tins with liners. Bake for 20-25 minute at 180 degrees!
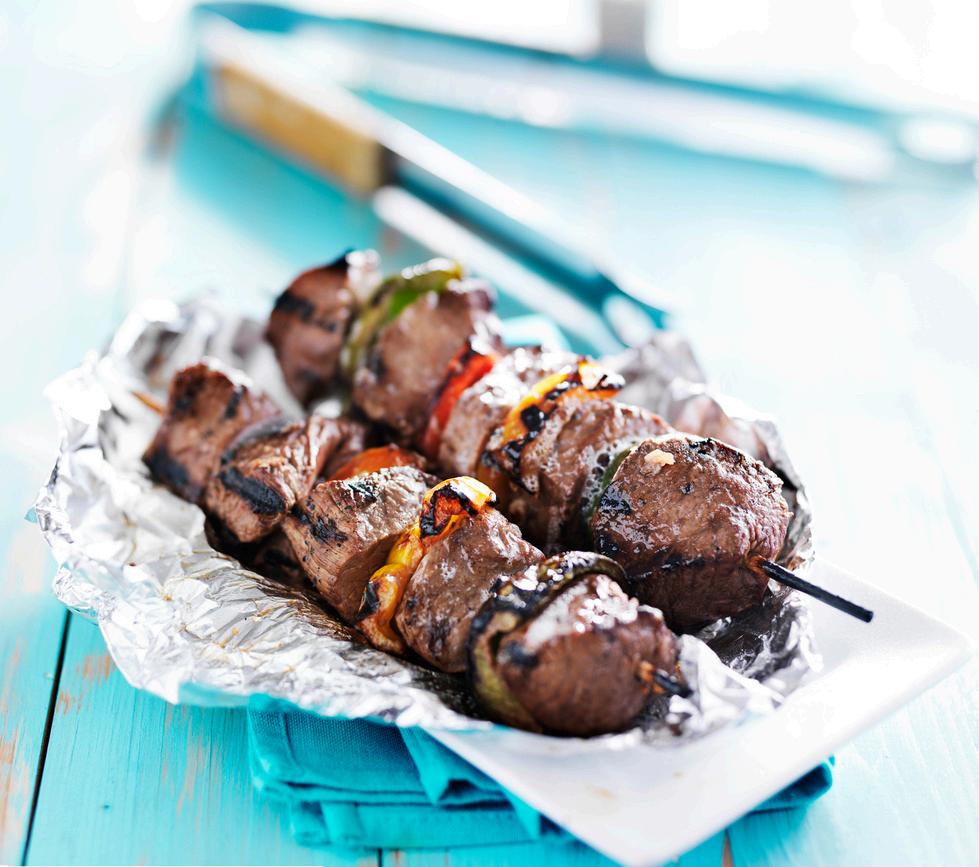
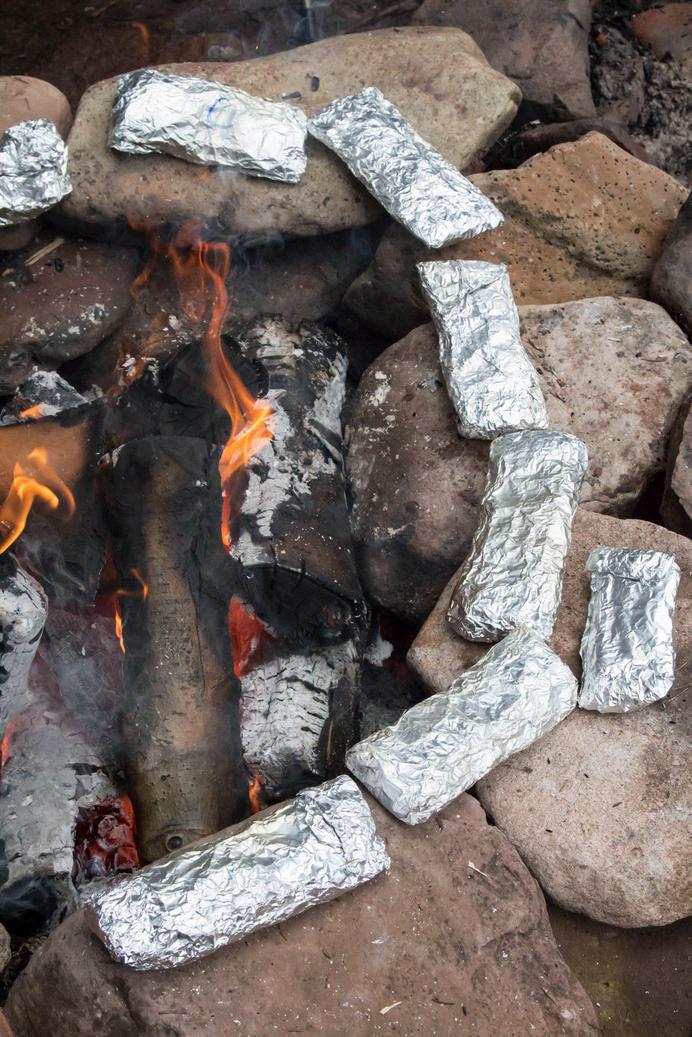
Tin-Foil Dinners are a DELIGHT to make! The principles are simple: Pile your meats, veg, oils/fats & seasonings onto aluminum foil , fold, and heat alongside the coals or hot stones of your campfire.
Enjoy those summer sips while the feast literally cooks itself! Rotate every 15-20 mins to keep cooking even Check for done-ness and VOILA....a fresh foodie feast like no other!
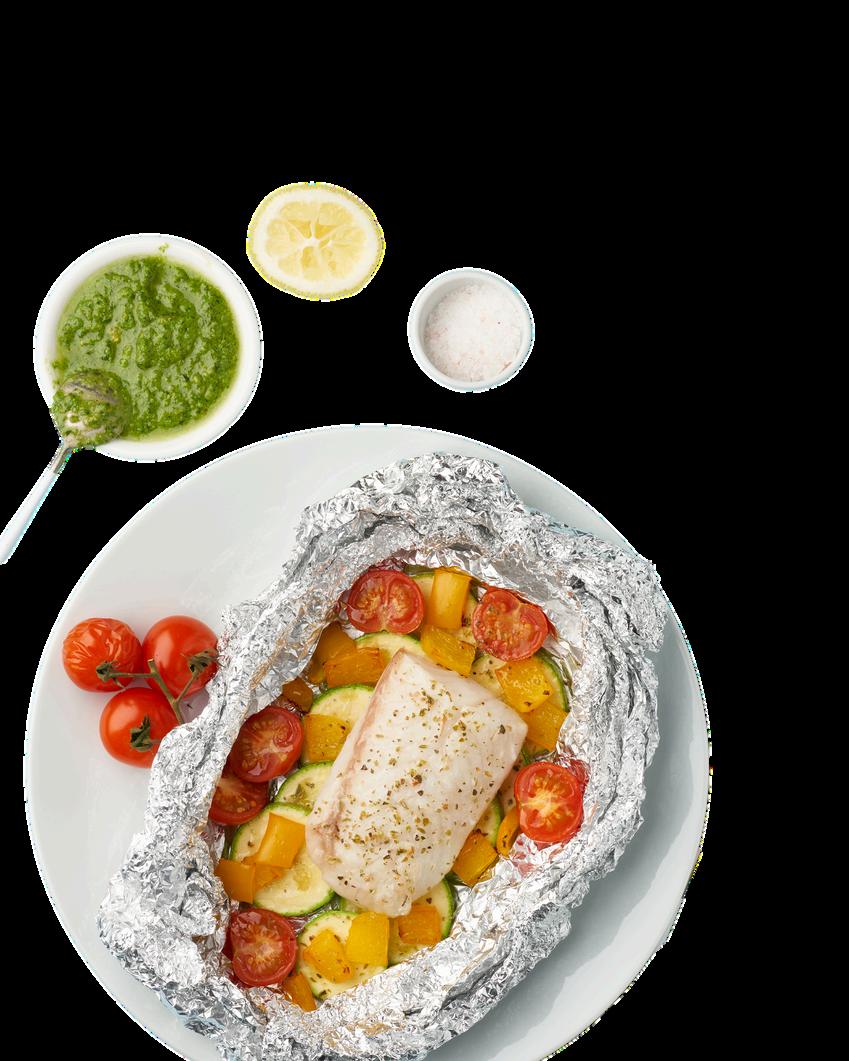
The only limit is your imagination as you can assemble any combination of favorite ingredients!
These are ideal for campfire meetups in the canyons or having food ready to go right from cooler to fire when car camping an arriving at your destination! Less ideal for long backpacking as meat temps need to be maintained for safety.
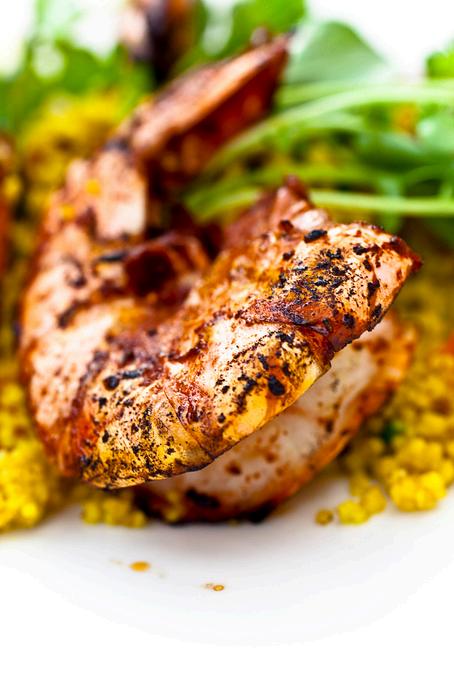
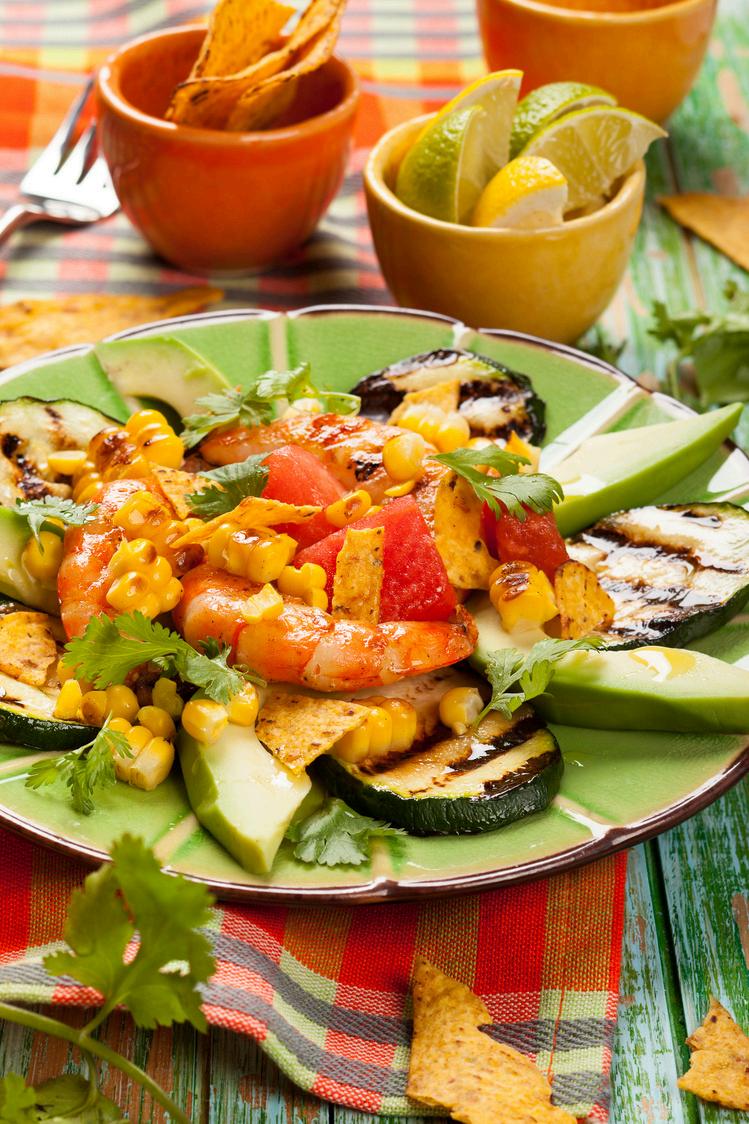
1 lb large shrimp, peeled and deveined
2 ears of corn, cut into 1-inch rounds
1 red bell pepper, sliced
1 zucchini, sliced
1 lemon, sliced
2 cloves garlic, minced
2 tbsp olive oil
2 tsp Old Bay seasoning (or your favorite seafood seasoning)
1 tsp smoked paprika
Salt and pepper to taste
2 tbsp fresh parsley, chopped (optional)
Heavy-duty aluminum foil
Peel and devein the shrimp if not already done
Slice the corn into rounds, the bell pepper, and the zucchini into thin slices
Mince the garlic and slice the lemon
Season the Ingredients
In a large bowl, combine the shrimp, corn, bell pepper, zucchini, minced garlic, olive oil, Old Bay seasoning, smoked paprika, salt, and pepper.
Toss everything together to ensure even coating of the seasoning and oil
Tear off four large sheets of heavy-duty aluminum foil (about 12x18 inches each).
Divide the shrimp and vegetable mixture evenly among the four sheets of foil, placing the mixture in the center of each sheet.
Top each packet with a couple of lemon slices
Tear off four large sheets of heavy-duty aluminum foil (about 12x18 inches each).
Divide the shrimp and vegetable mixture evenly among the four sheets of foil, placing the mixture in the center of each sheet.
Top each packet with a couple of lemon slices
Seal the Foil Packets:
Fold the long sides of the foil up over the food and seal tightly by folding the edges over several times
Fold the short ends in towards the center and seal tightly as well, creating a packet that is securely closed on all sides
Place the foil packets on a grill over medium heat or on the hot coals or hot stones of a campfire
Cook for about 15-20 minutes, turning the packets occasionally to ensure even cooking.
The meal is ready when the shrimp is pink and opaque, and the vegetables are tender
Feel free to cu vegetables or
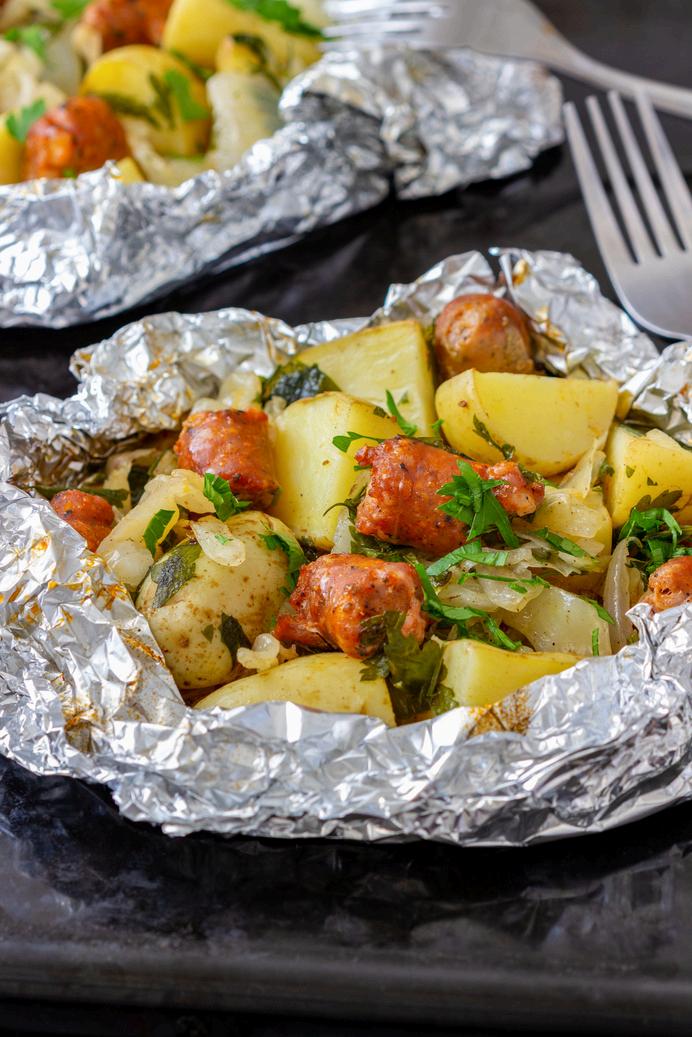
1 lb ground beef, or ground turkey, or sliced sausage
4 medium potatoes, thinly sliced
2 carrots, thinly sliced
1 onion, thinly sliced
1 bell pepper, thinly sliced
2 cloves garlic, minced
1 cup sliced mushrooms (optional)
2 tbsp olive oil
Salt and pepper to taste
1 tsp garlic powder
1 tsp onion powder
1 tsp dried thyme or rosemary (optional)
Heavy-duty aluminum foil
Slice the potatoes, carrots, onion, and bell pepper thinly so they cook evenly.
If using mushrooms, slice them as well
Mince the garlic Season the Ingredients
In a large bowl, combine the ground beef with salt, pepper, garlic powder, onion powder, and thyme or rosemary if using Mix well to ensure the seasoning is evenly distributed
Tear off four large sheets of heavy-duty aluminum foil (about 12x18 inches each).
Place an equal portion of sliced potatoes, carrots, onion, and bell pepper in the center of each sheet of foil
Add minced garlic and sliced mushrooms on top of the vegetables
Drizzle with a bit of olive oil and season with salt and pepper.
Divide the seasoned ground beef into four portions and place each portion on top of the vegetables in each foil packet.
Seal the Foil Packets:
Fold the long sides of the foil up over the food and seal tightly by folding the edges over several times
Fold the short ends in towards the center and seal tightly as well, creating a packet that is securely closed on all sides.
Cook the Foil Packets:
Place the foil packets on a grill over medium heat or on the hot coals of a campfire.
Cook for about 25-30 minutes, turning the packets occasionally to ensure even cooking
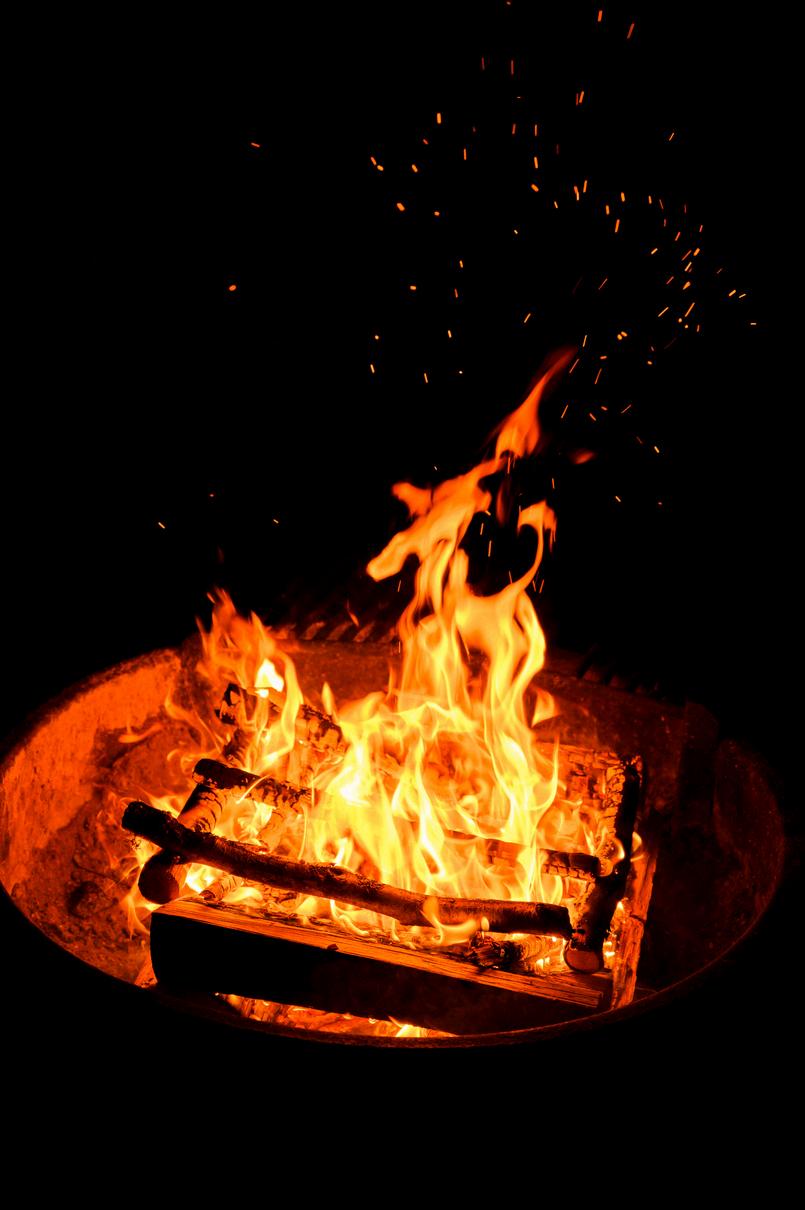
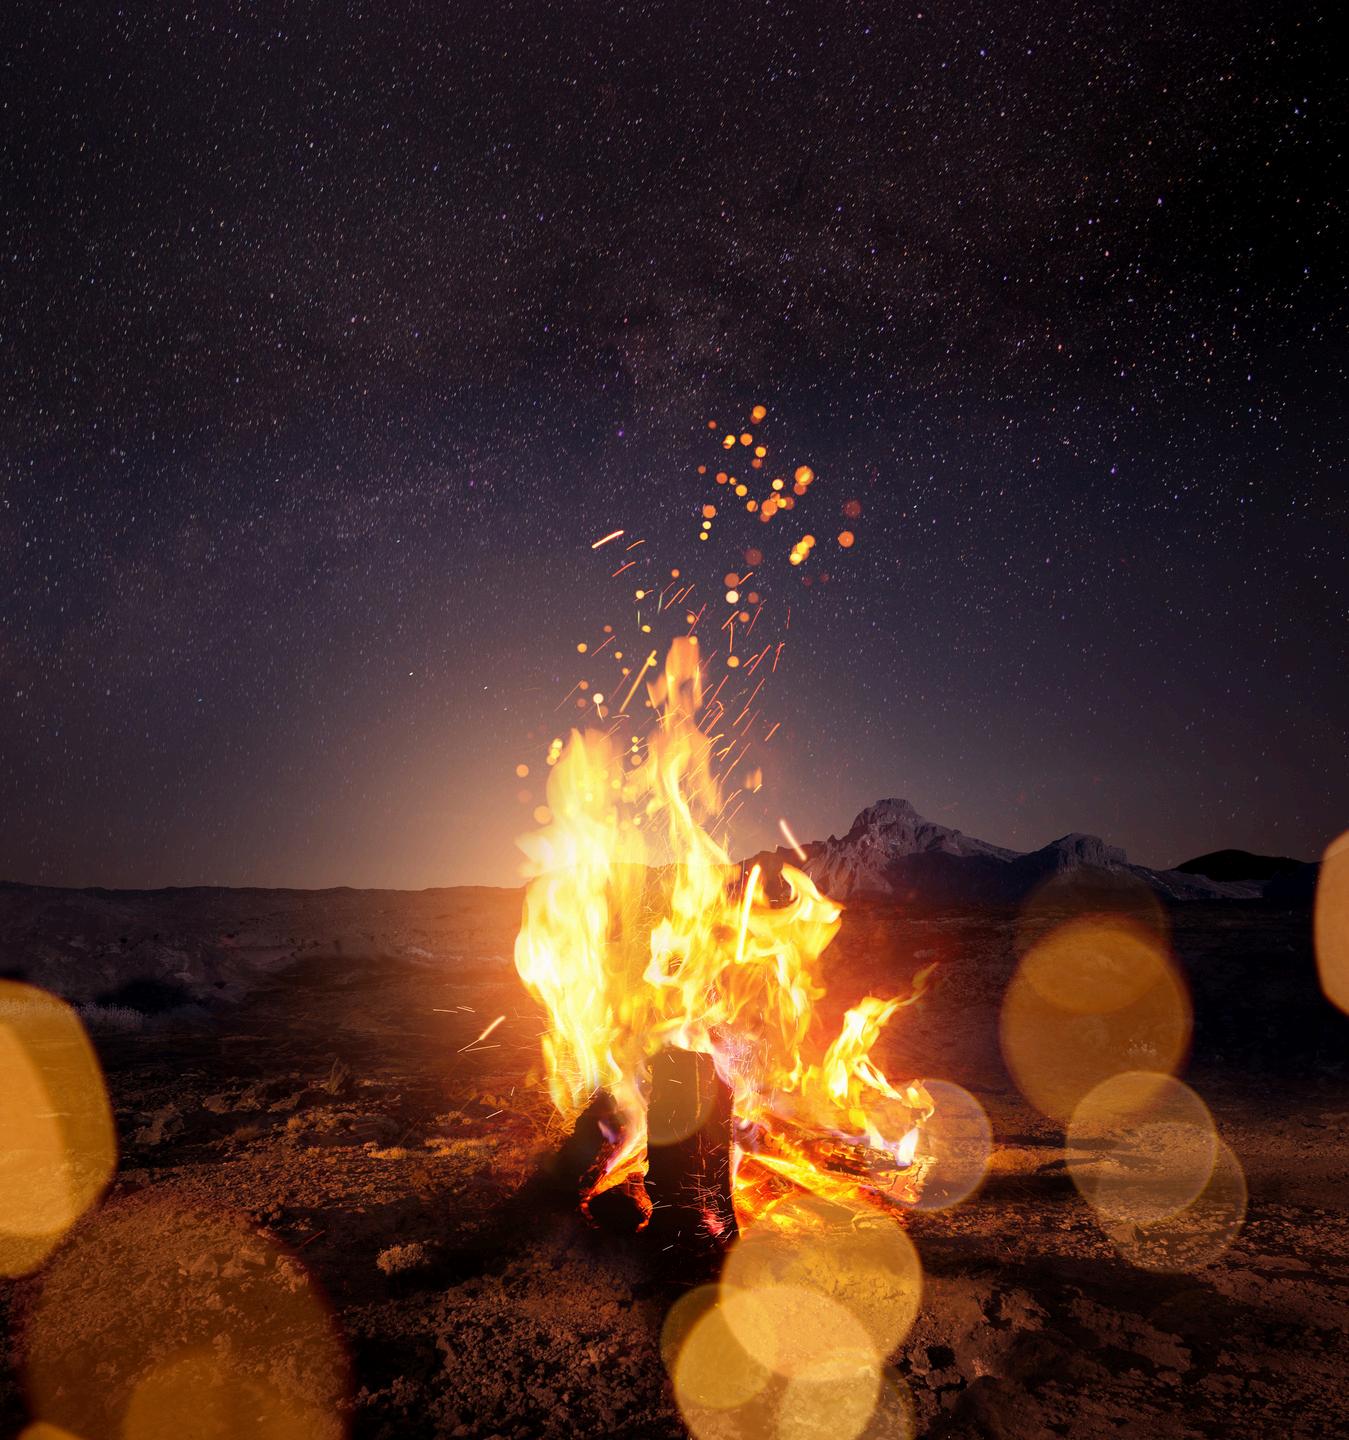
Whatafirewants Whatafireneeds: FiresneedanIGNITIONSOURCE,FUEL,&OXYGEN
Toburnasuccessfulfire,you'llneedthreetypesfuel:tinder, kindlingandfirewood
Tinderincludessmalltwigs,dryleaves,needlesorforestduff. Kindlingconsistsofsmallsticks,typicallylessthanoneinch around
Firewoodisanylargerpieceofwoodandiswhatwillkeep yourfiregoinglongintothenight
Starterfuels: newspaper,drykindling,dryer-lint,firestartersquare,dry grasses,smallsticks,pineneedles

BACKPACKINGTIP:Incaseofbadweatherlooming,gathera handfulofkindlingbefore
Goodtoalwayskeepacoupleoffirestartersquaresaswellasa littlebitofnewspaper Alwayskeepalighterplusabackupin yourbag!Considerkeepingaflintkitinyouremergencyfirstaid kitalways,andlighterinyourbackpack(inaziplockorwater protectorincaseofmoisture/rain.
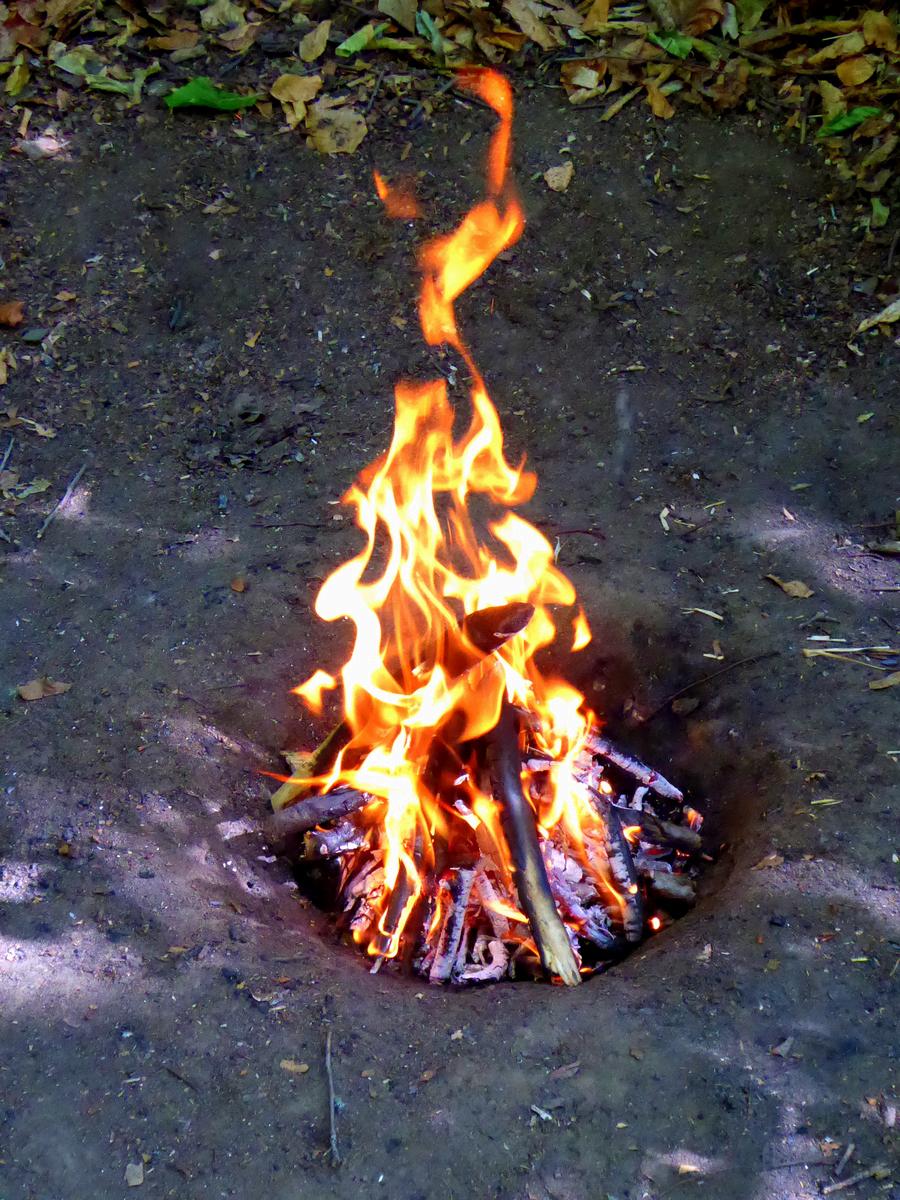
Softwoodforstartingfires,Hardwoodfor maintainingfires
Drywoodisbetterthandampwood
Avoidrottenwoods
Dothesnaptest,makesureitsnapswell
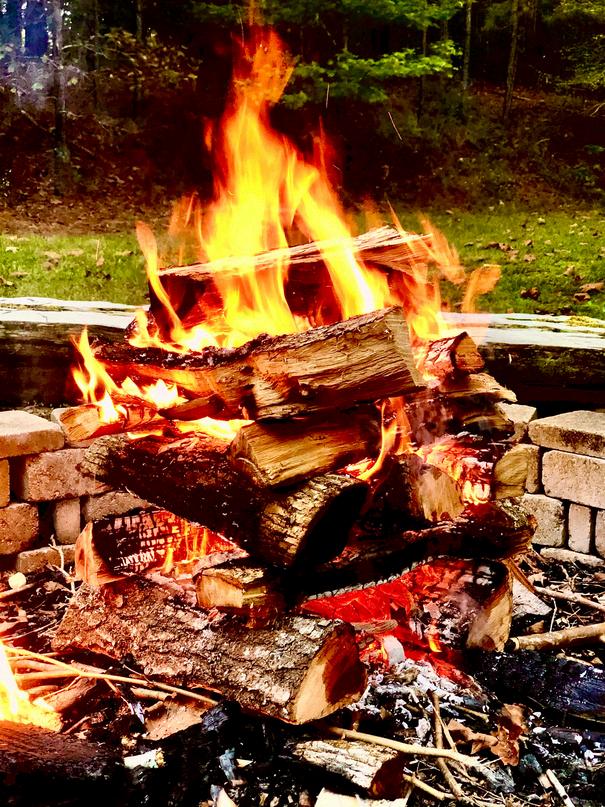
Wood(commonUtahwoods):Makesureyourwoodis dry Differentwoodsburnatdifferentratesandheat levels Pine,spruceandaspen(includingthosebundles youcanbuy)aresoftandwillburnhotandquickly.Pine’s fastburnratemeansyou’llneedtokeepfeedingitlogsifyou wantyourwarmcampfiretolast Hardwoodslikeoak,maple, ash,aspen&birchwillburnlongbutheatwillvary. Juniperisslowtoburnandburnsatweakerheatlevels Willowisleastdesirable,weakheatandslowburn

DON’T BRING WOOD FROM OTHER AREAS, ESPECIALLY OTHER STATES THERE ARE LOTS OF DISEASES AND PESTS THAT TRAVEL IN WOOD (EX. PINE BEETLE), THAT CAN INFEST A DISEASEFREE FOREST AND KILL THE ENTIRE FOREST AVOID BURNING DRIFTWOOD AS SALT VAPORIZES TO DANGEROUS CHLORINE VAPORS. AVOID BURNING POISONOUS PLANTS LIKE POISON IVY & OAK AS VAPORS CAN CAUSE TOXICITY TO LUNGS
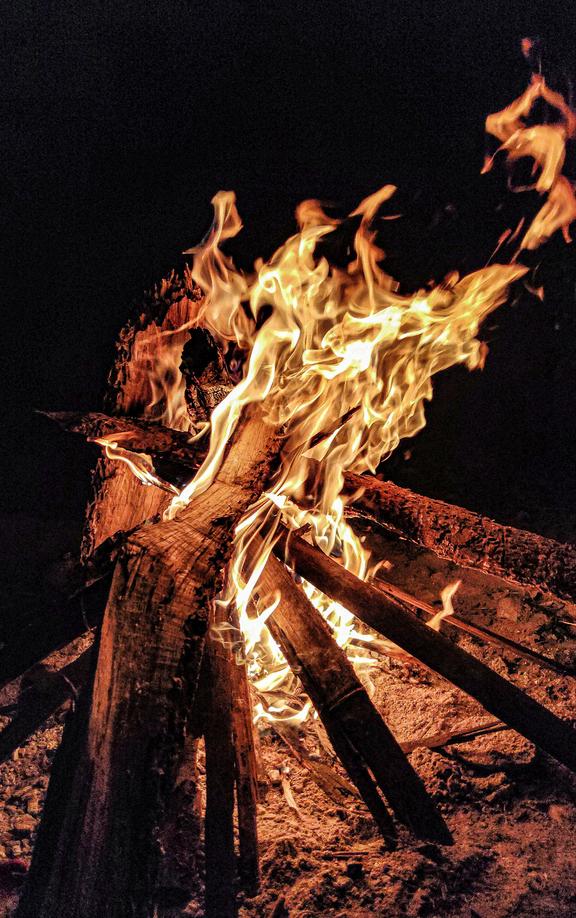
B u i l d i n g M e t h o d s
LOG CABIN TEEPEE
LOG CABIN
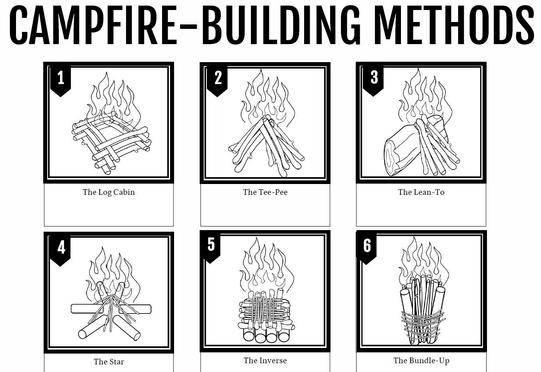
THE STAR
LOG CABIN
PLATFORM
LEAN-TO
TEEPEE
LEAN-TO
THE STAR
PLATFORM
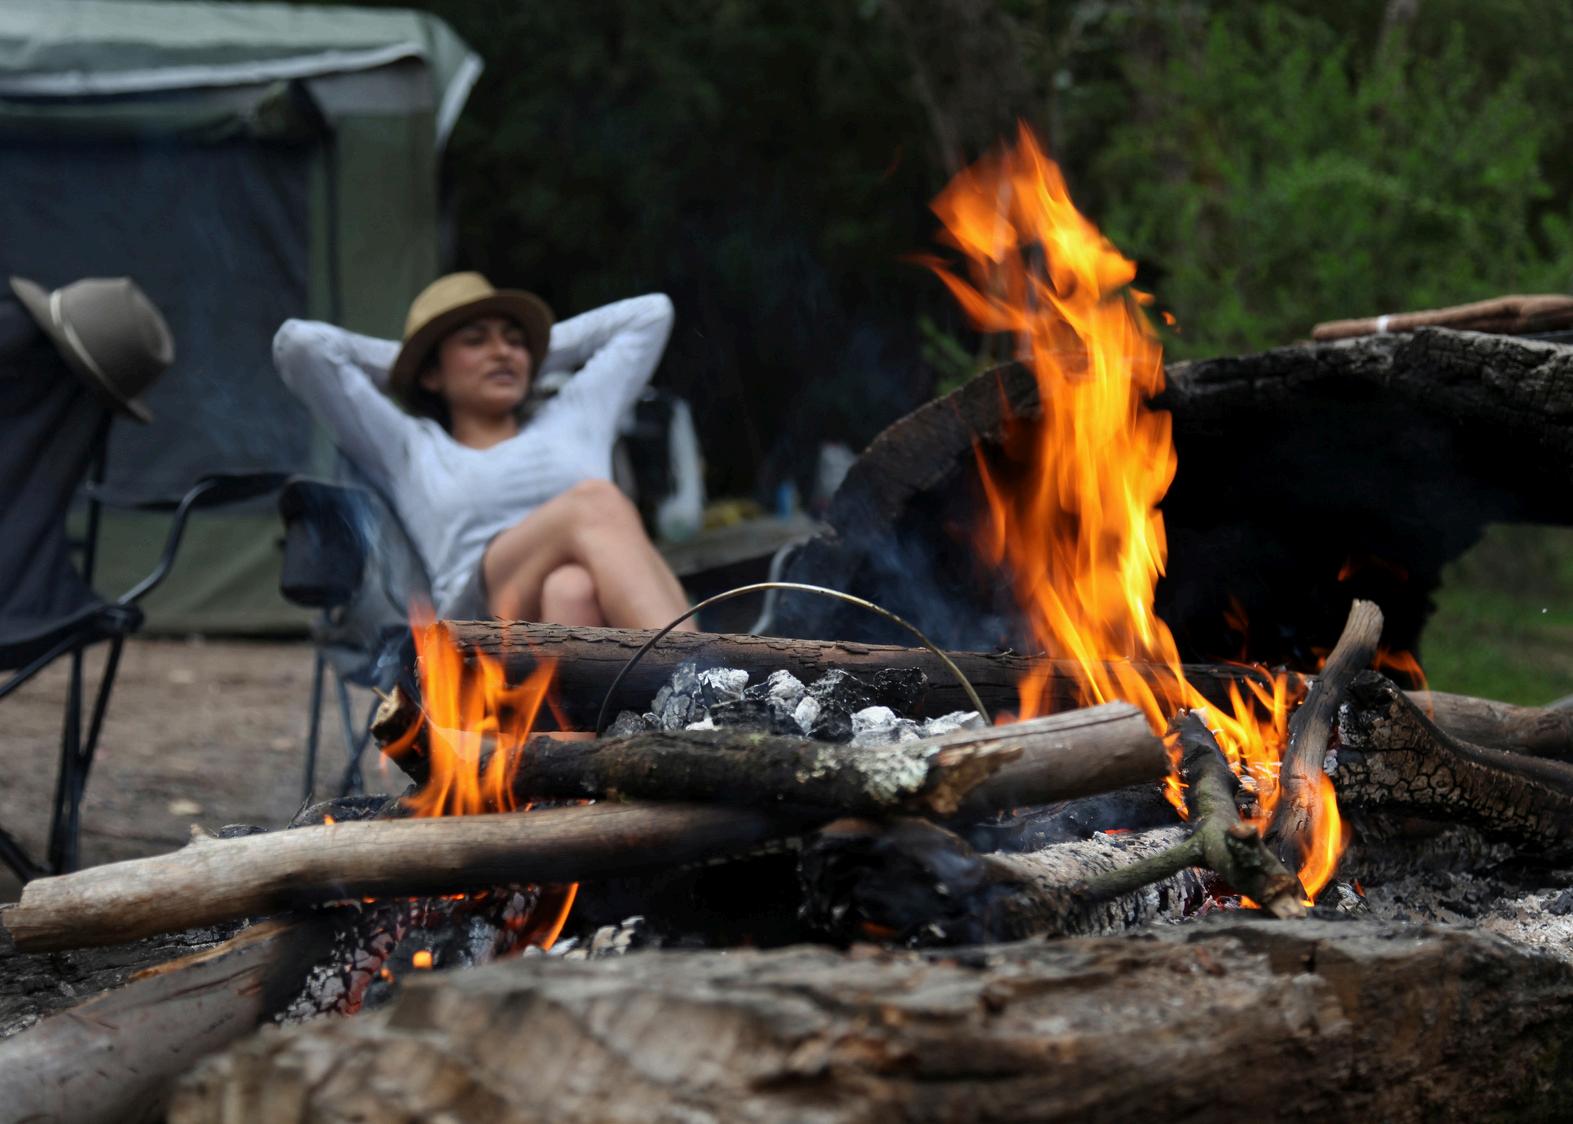
Sustained burn that requires minimal effort
Quick & simple, fast burning
Ideal in poor weatherlarge log acts as a wind break
The star fire was used by western Native American tribes with low supplies of wood
By burning it down from the top, the fire creates a solid, flat “platform” of coals upon which you can place your pots and pans to cook
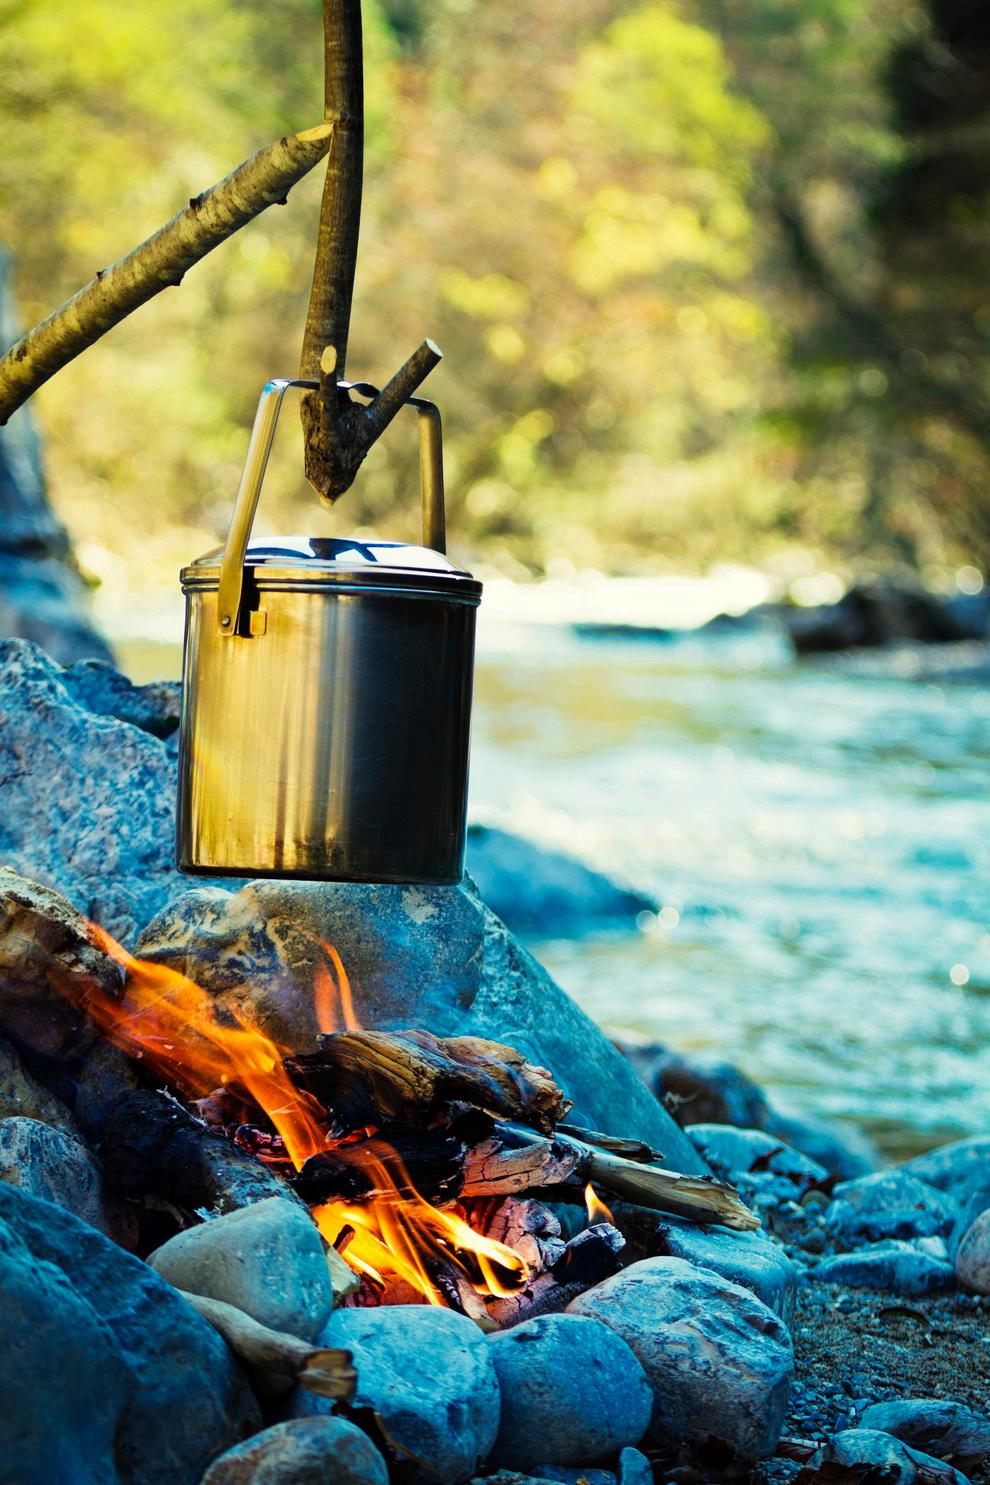
Cooking over fires requires some kind of consistency Start your main fire to create coals, then move those coals to your cooking fire Add and subtract coals from your cooking fire as necessary. Platform log stack can allow you to use logs as the actual cooktop Or you can nestle kettles next to fire or heat up a flat rock and cook on that! Ash can smother a fire to help control the heat when cooking, but it won’t put it out.
How to check the heat level?
Hold your hand 4 inches from the fire until it gets TOO HOT.
2-3 seconds, HOT FIRE: good for steaks
5-7 seconds, MEDIUM FIRE: breads, puddings, frying veggies
Use rocks or wood to adjust the level of your grate Cast iron pans and pots are best for cooking over fires
Be aware of your surroundings, wind, weather, what fire could reach
1 Use a designated firepit or make one - ringed with rocks or dig one
2. Clear all vegetation away from your firepit.
3 Make sure there are no overhanging trees
4 Watch the wind – embers travel If there is wind, either don’t build a fire or build it behind a windbreak.
5 Don’t build it too big Smaller
6 DON’T burn trash, especially toxic, but it’s also smoky.
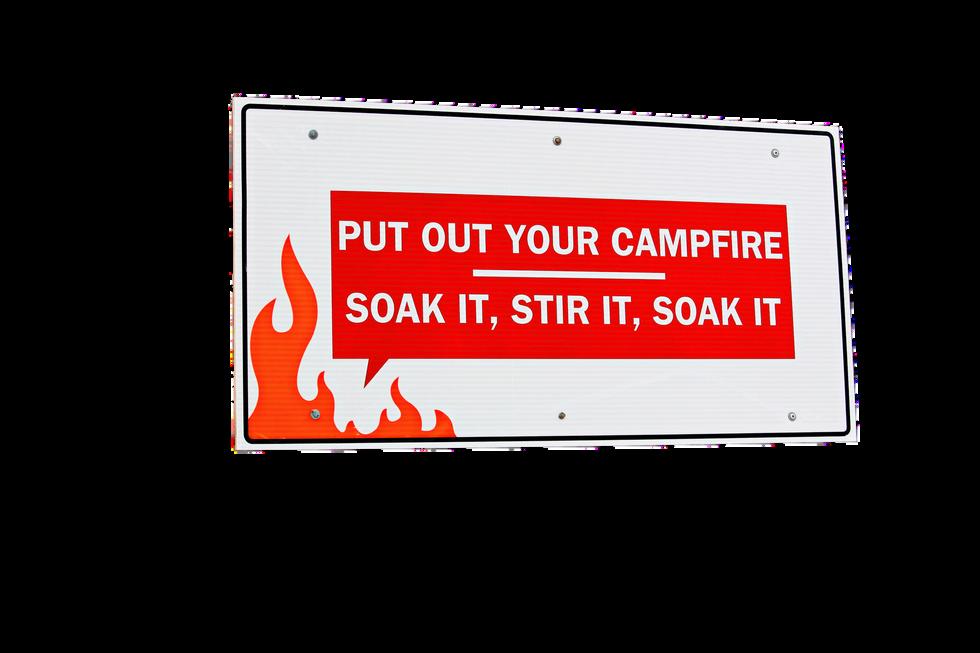
DROWN IT! STIR IT! FEEL IT! YOU MUST PUT OUT YOUR FIRE


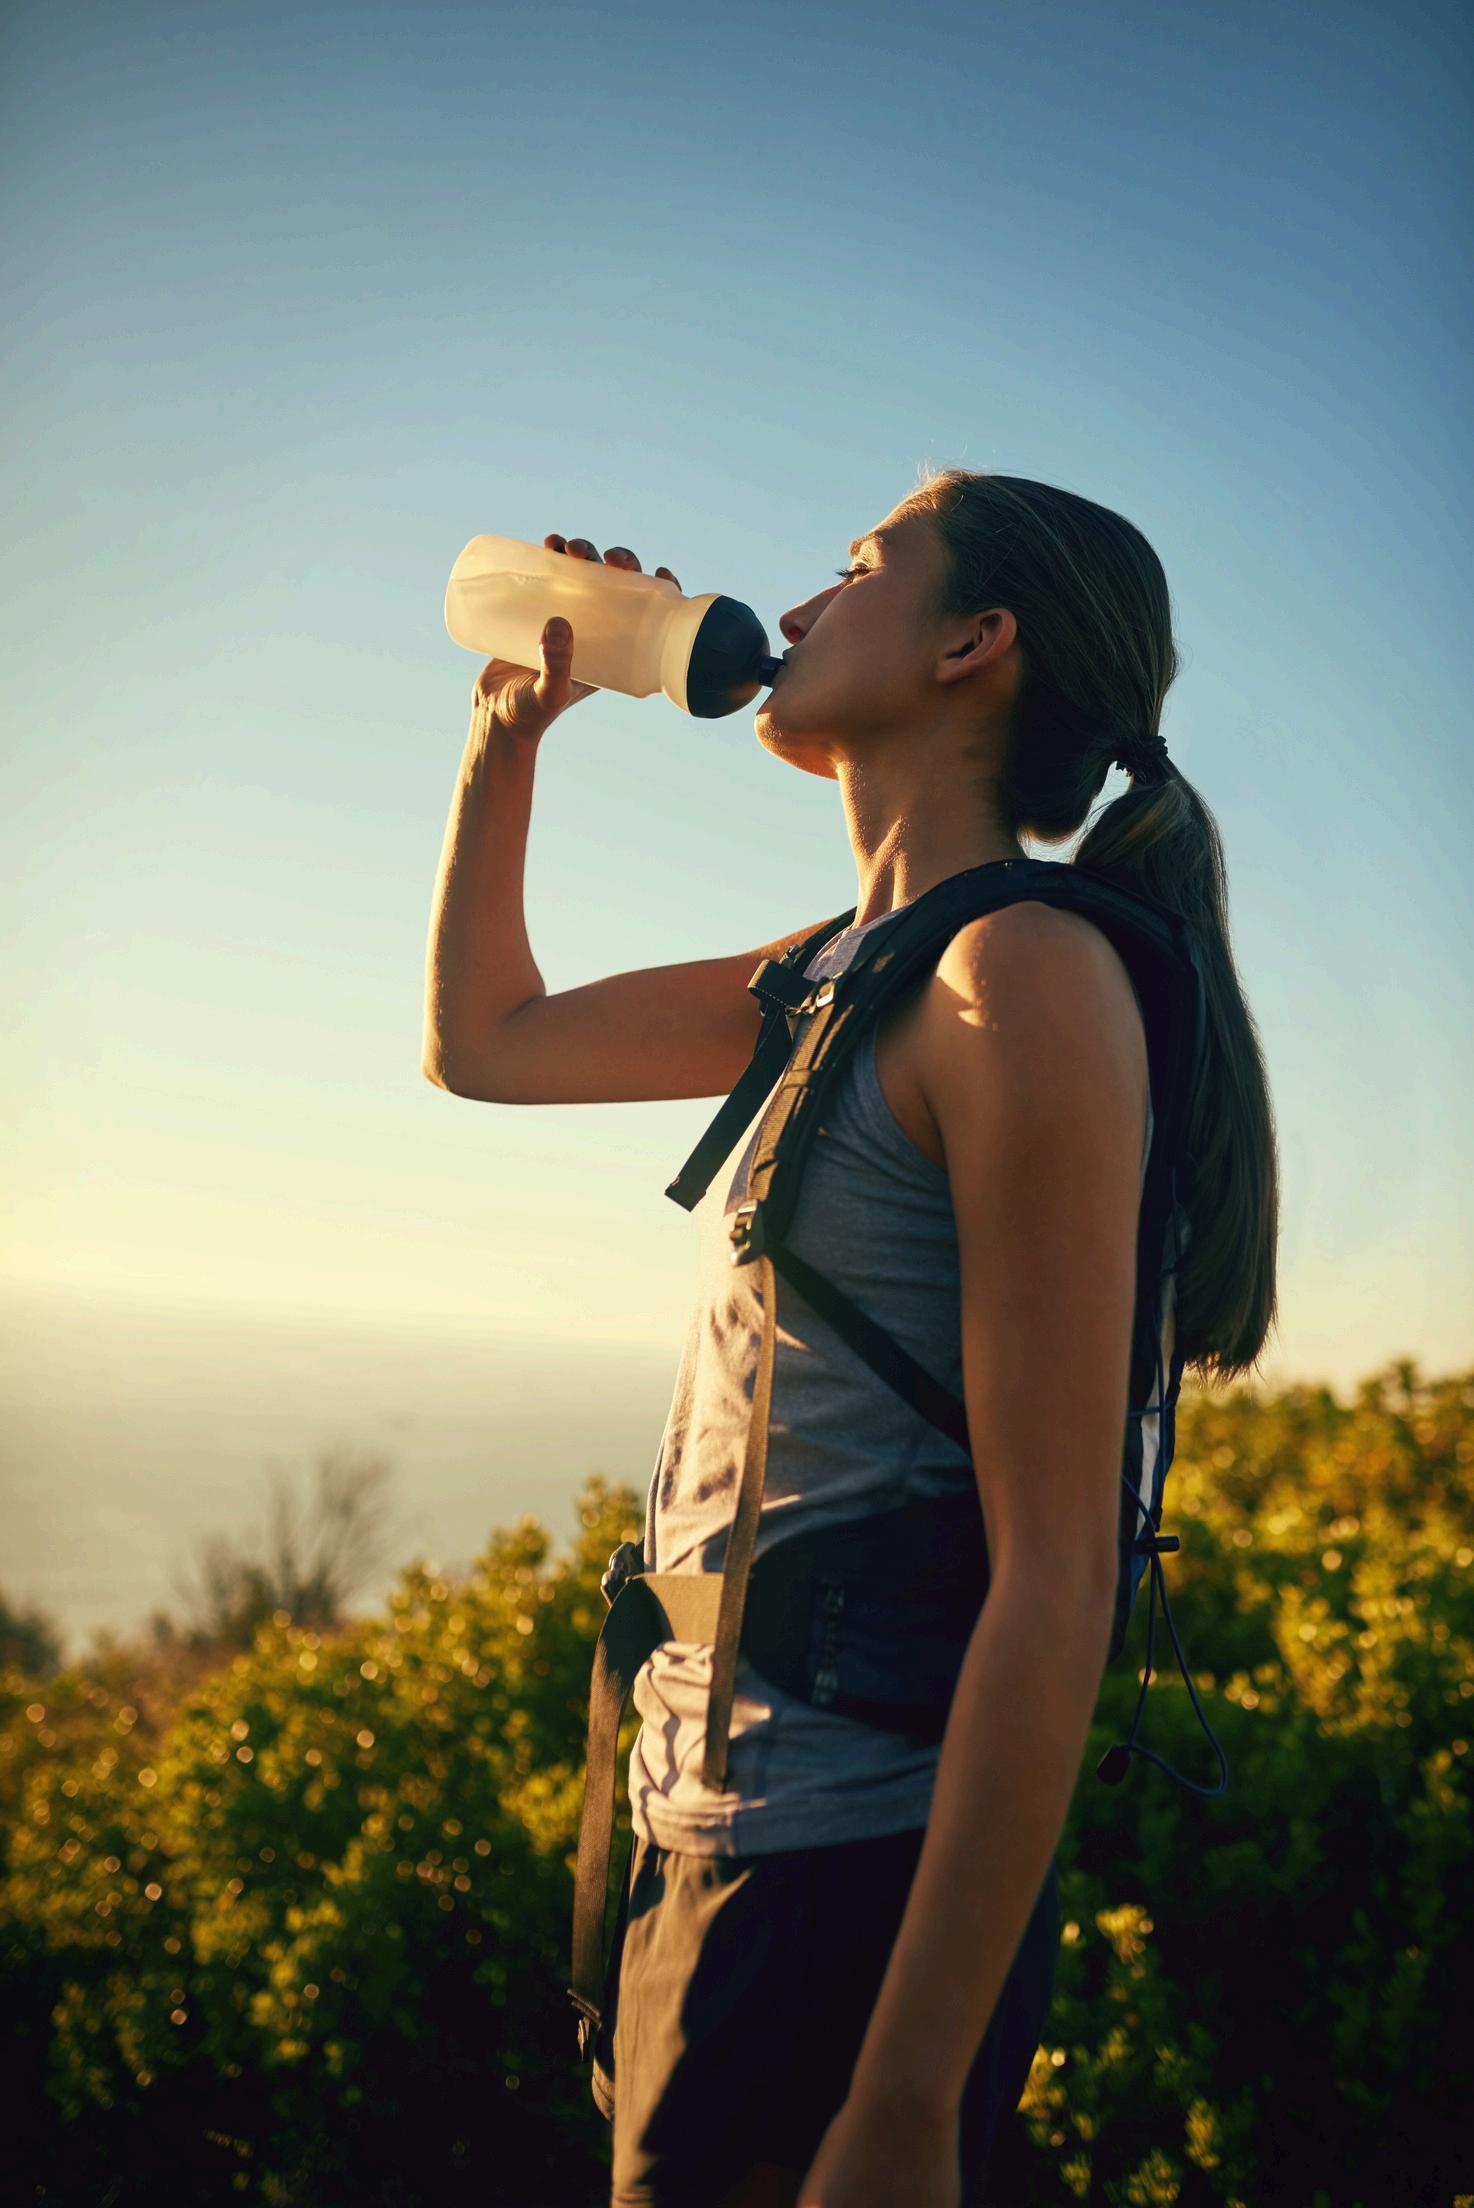

When venturing into the backcountry, one of the most important factors to consider is access to clean drinking water. Water sources in the wilderness can be contaminated with bacteria, parasites, and other harmful microorganisms that can cause illness if ingested To ensure safe hydration during outdoor adventures, there are several methods of water purification available.
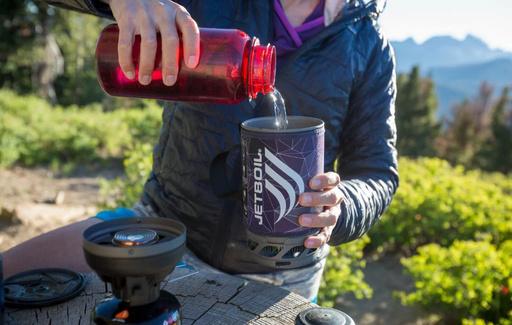
Boiling water is one of the oldest and most reliable methods of purifying water. By bringing water to a rolling boil for at least one minute (or longer at higher altitudes), the heat kills off harmful pathogens, making the water safe to drink Boiling water is effective at neutralizing most bacteria, viruses, and parasites, making it a trusted method for wilderness enthusiasts. One of the main advantages of boiling water is that it does not require any additional equipment – just a heat source and a container However, boiling water can be time-consuming and may not be practical in all situations, especially when resources are limited.
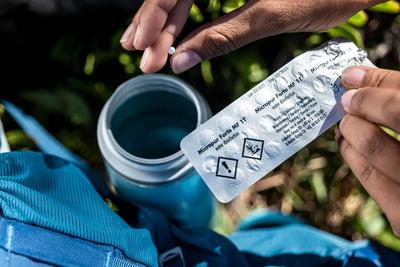
Water purification tablets are another popular choice for treating water in the backcou These small, lightweight tablets con chemicals such as chlorine dioxide or io that kill off harmful microorganisms in w Simply drop a tablet into your water conta wait the recommended amount of time, you have safe drinking water. W purification tablets are convenient, eas use, and effective at killing a wide rang pathogens However, some people may find the taste of chemically treated water unpleasant, and these tablets may not be as effective at filtering out larger particles or sediments.
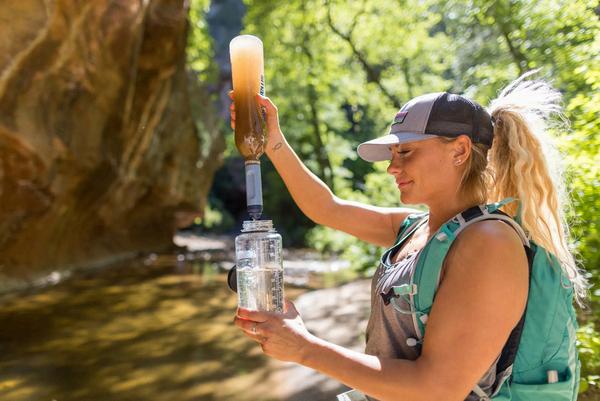
Another popular method of water purification in the backcountry is using a filtration straw These compact devices are designed to remove bacteria, parasites, and other contaminants from water as you drink through them. Filtration straws typically use a combination of physical filtration and chemical treatment to ensure safe drinking water They are lightweight, easy to use, and require no waiting time like boiling water Filtration straws are a convenient option for hikers and backpackers who want a quick and efficient way to purify water on the go. However, these devices may not be suitable for filtering large volumes of water or dealing with extremely turbid water sources.
Whichever method you choose, the most important thing is to ensure that your drinking water is safe and free from harmful contaminants. Stay hydrated and stay safe on your outdoor adventures!
BE INSPIRED
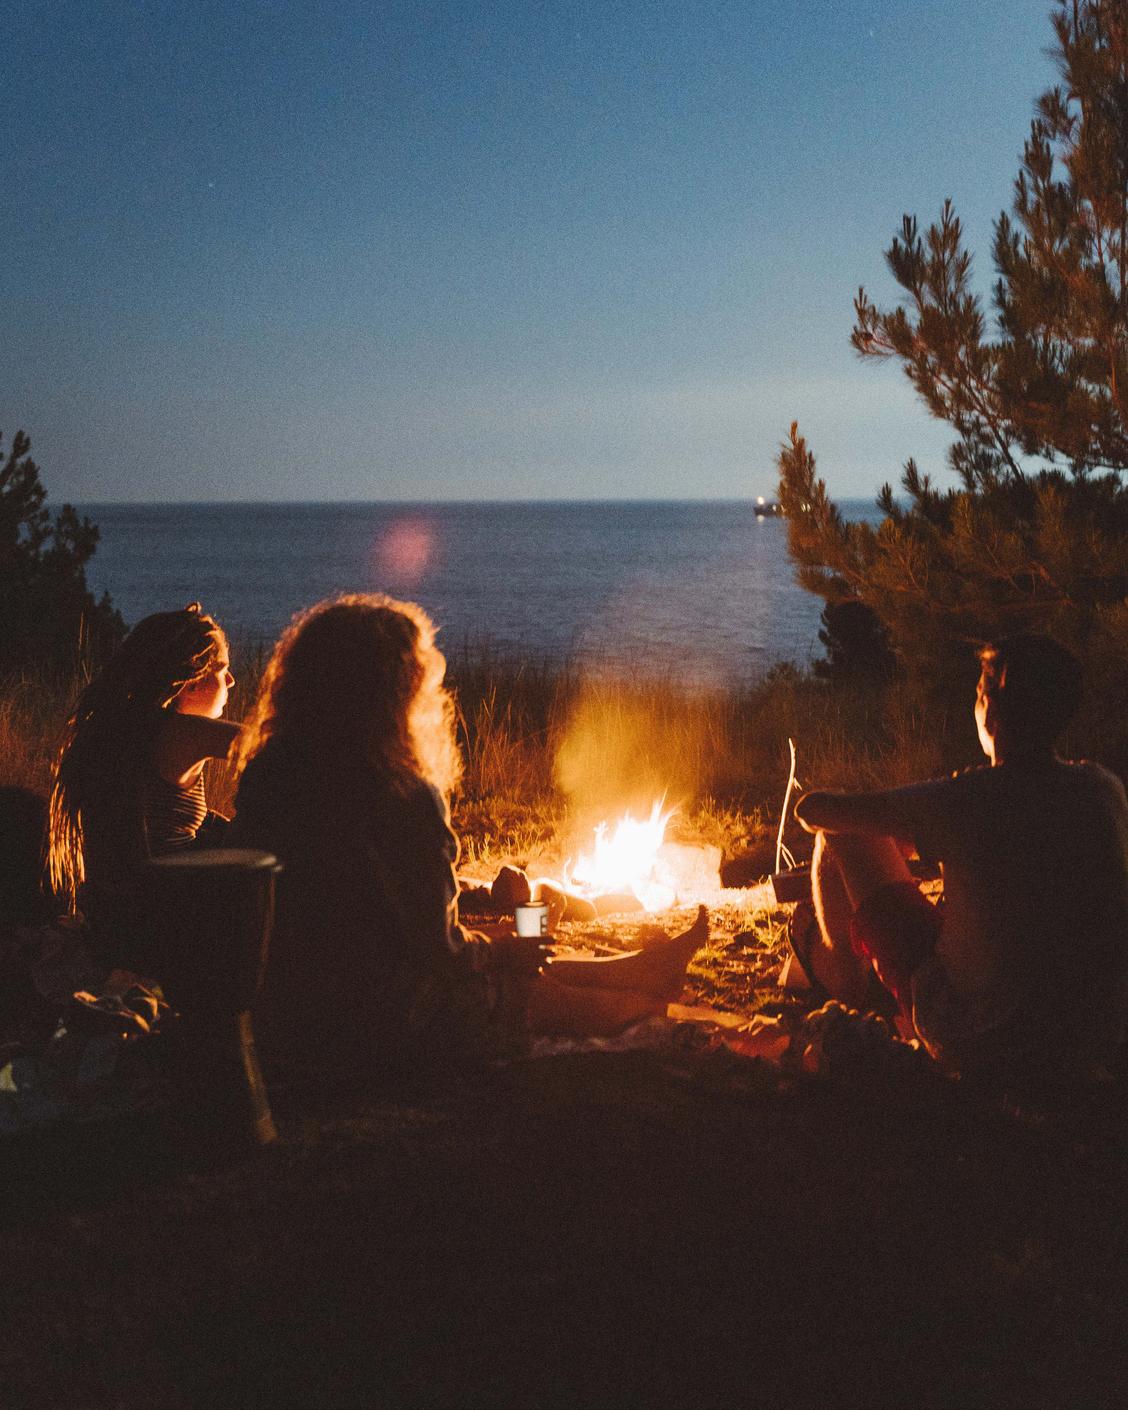
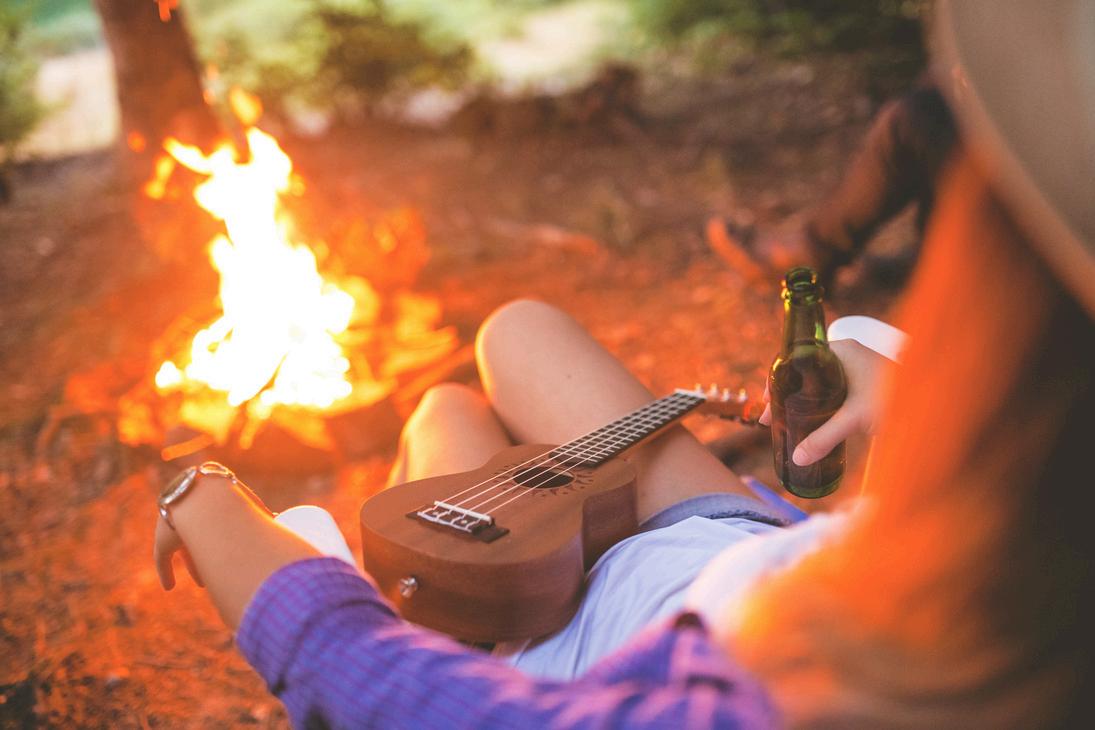
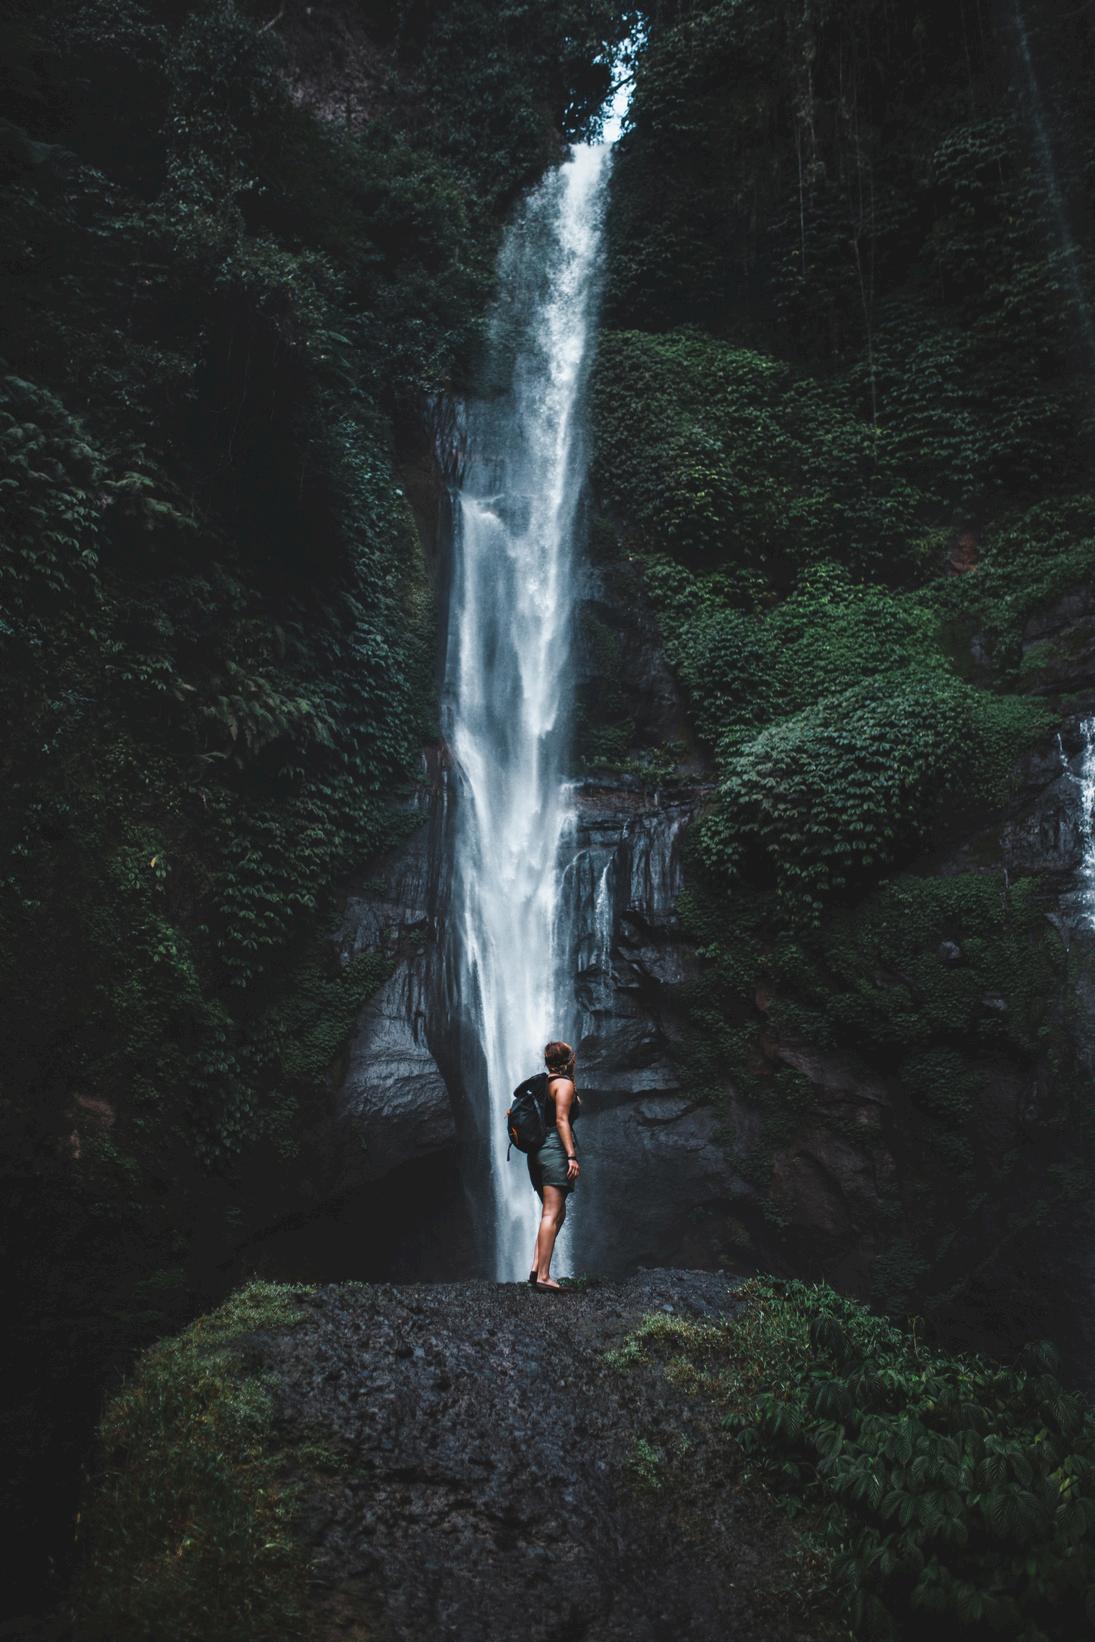
We hope that you are inspired to wander where ever your heart may take you, and along the way savor some of the best meals you will ever eat! There is nothing like testing your physical & mental endurance in the exploration of our beautiful wilderness followed by feasting by the campfire at night. There is something to be said about camp food being the best food! Meals hard -earned are worth savoring!
Now get out there and explore!