


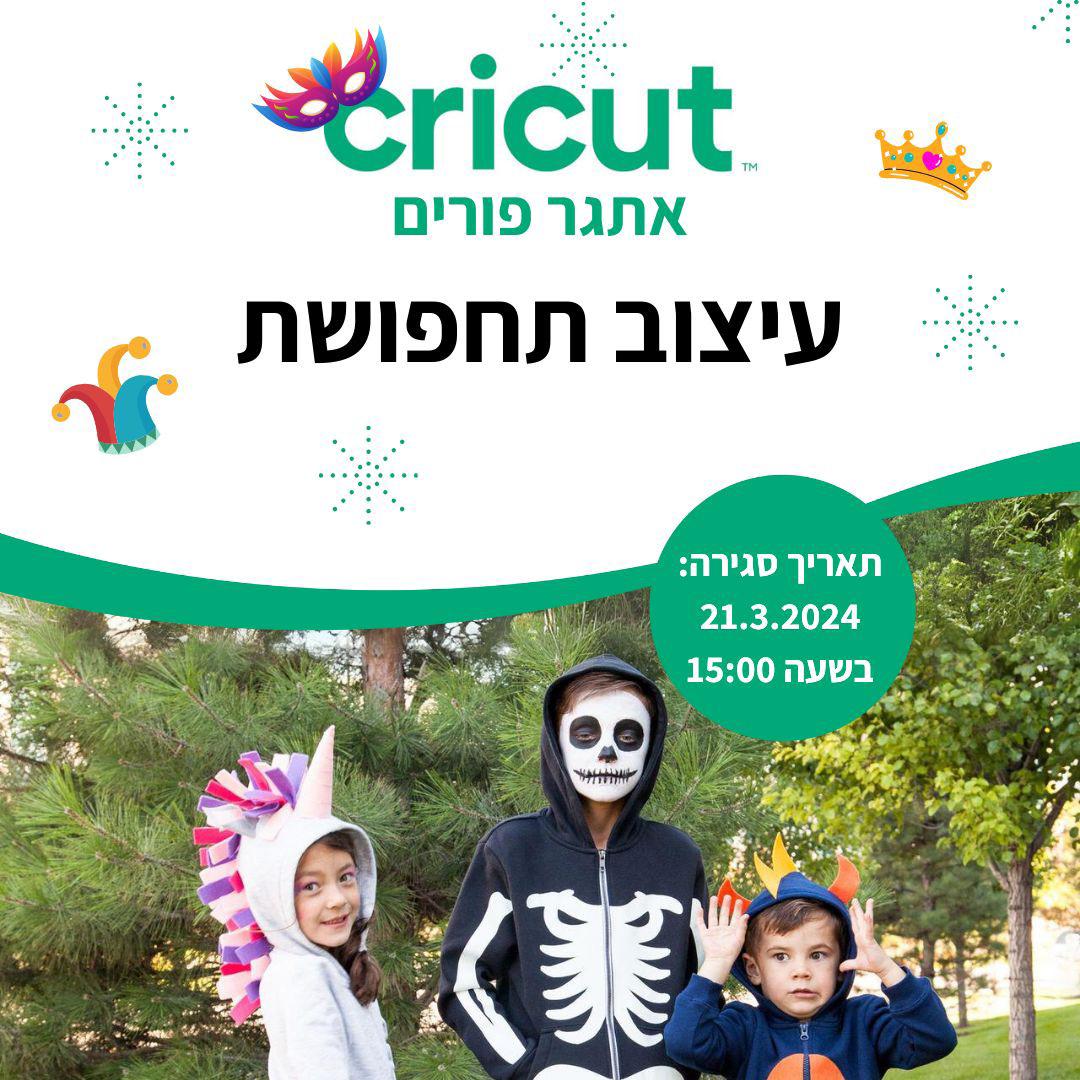
Purim today is celebrated with joyous singing, drinking, and merriment.
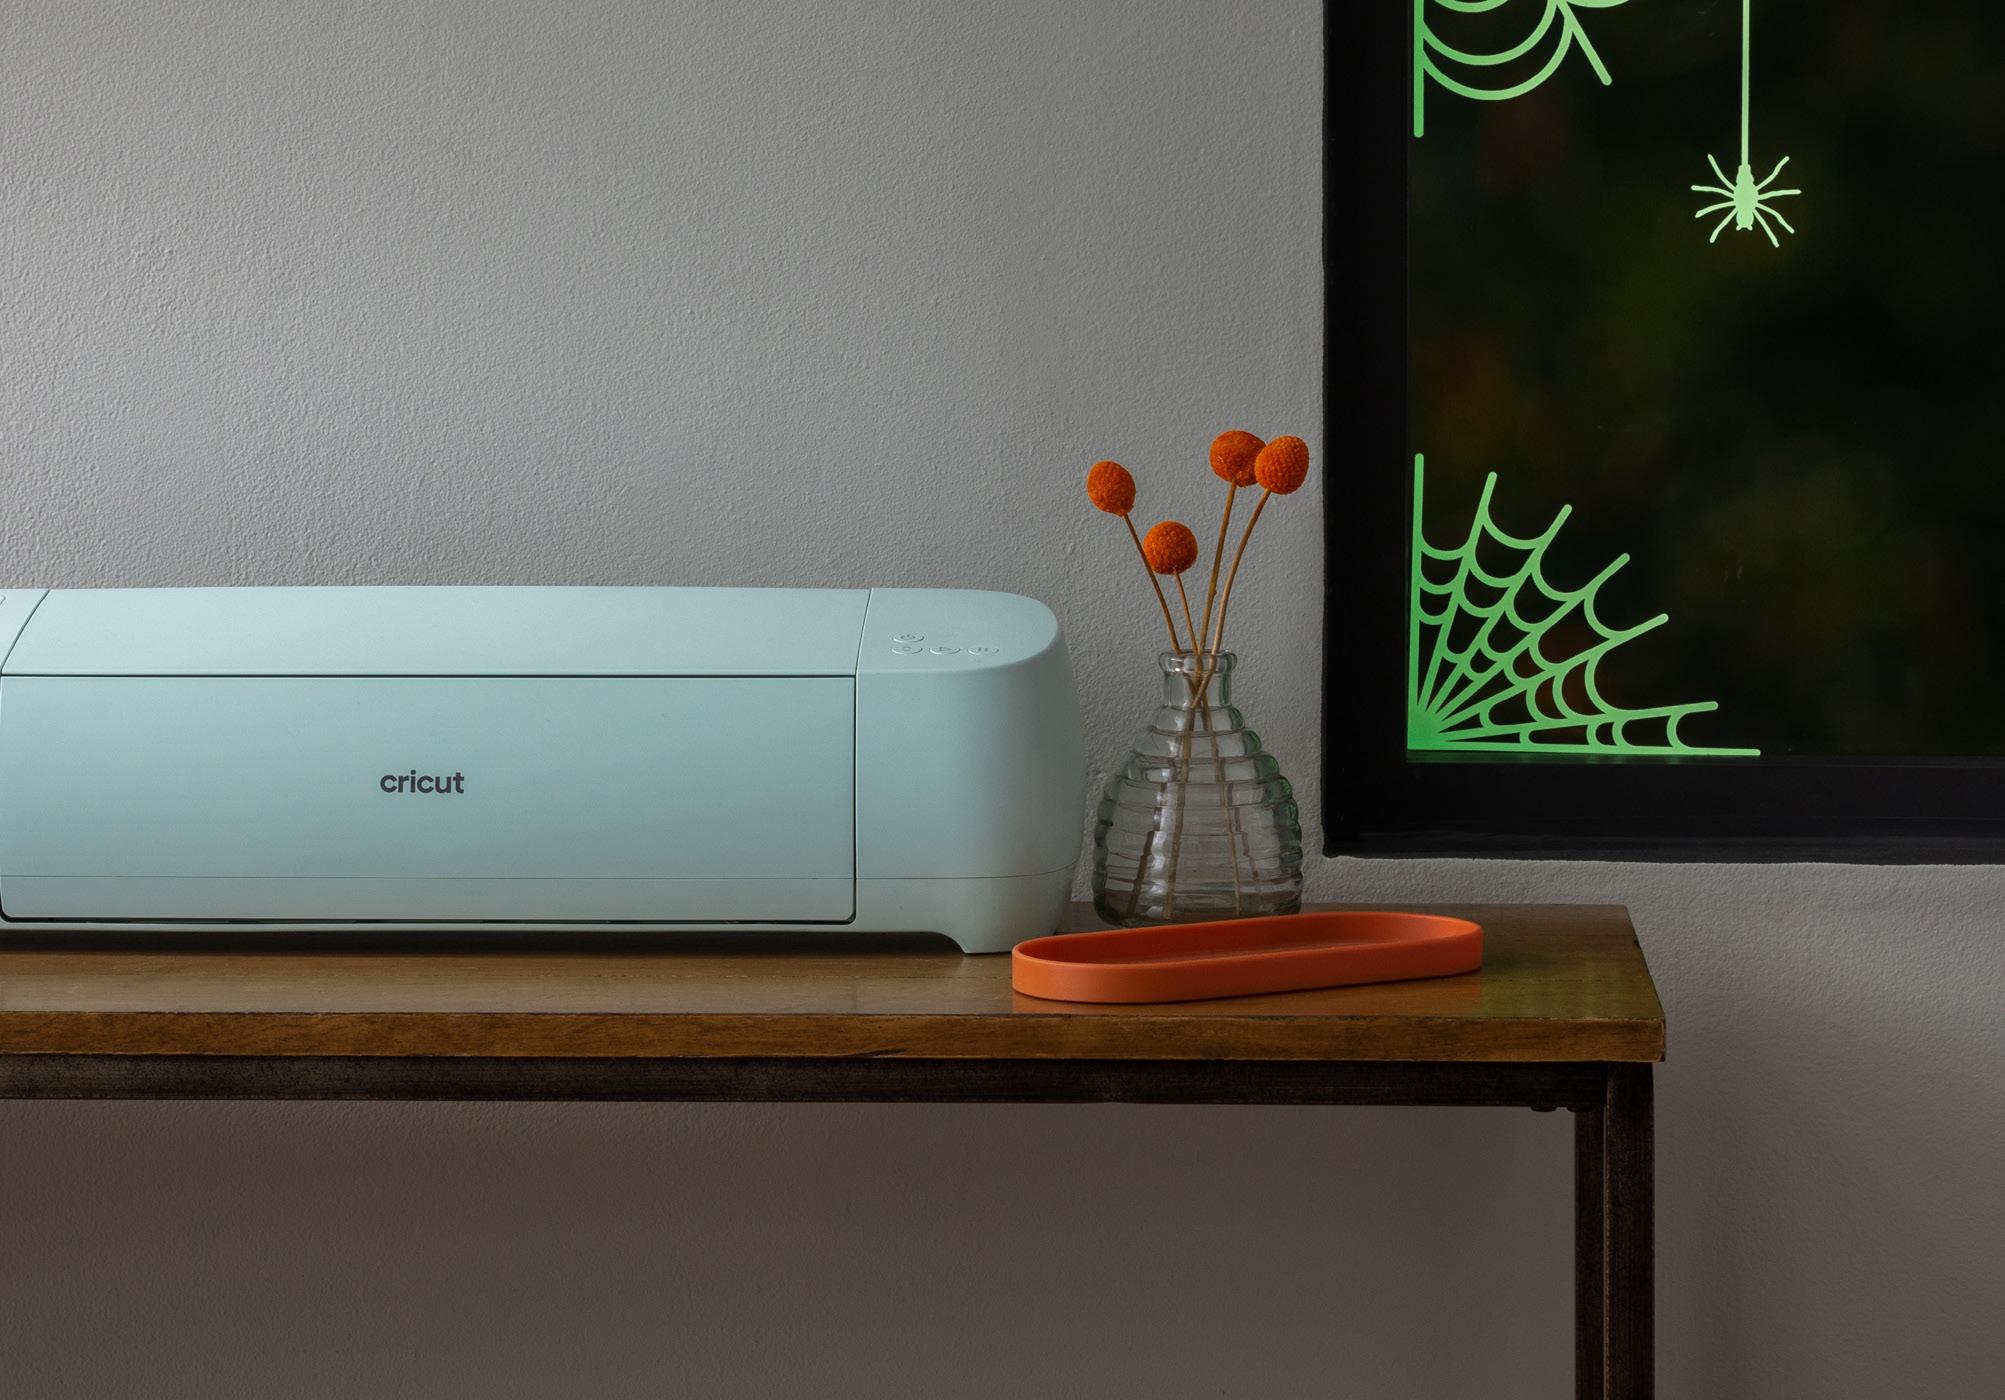
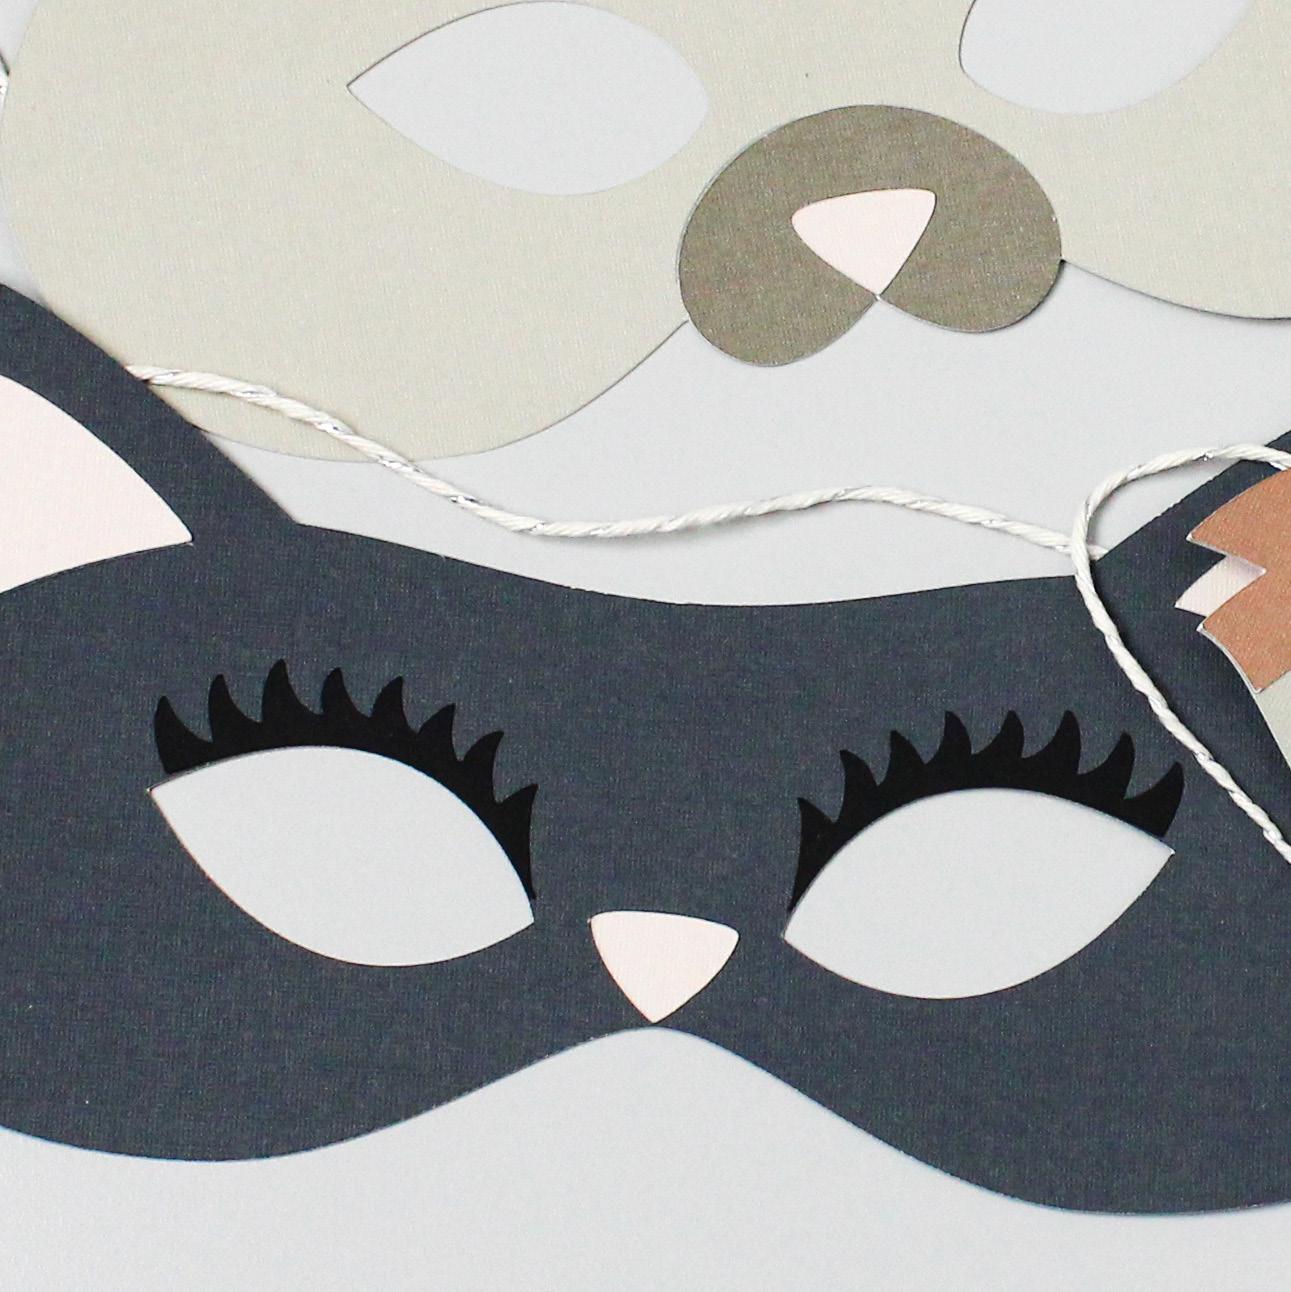
Create beautiful costumes, dress up or wear masks created using your favourite colours and creative elements on your Cricut machine. Create decorations and treats to partake in this special celebration.
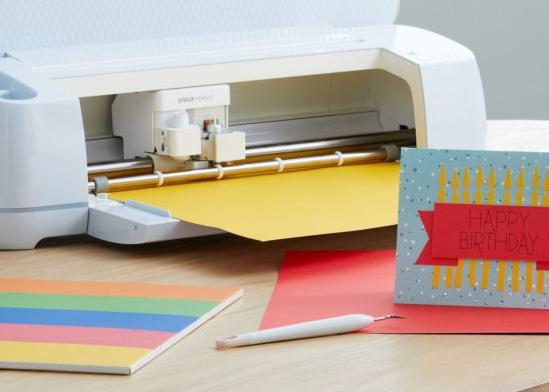
With minimal effort you can create amazing elements for every occasion.
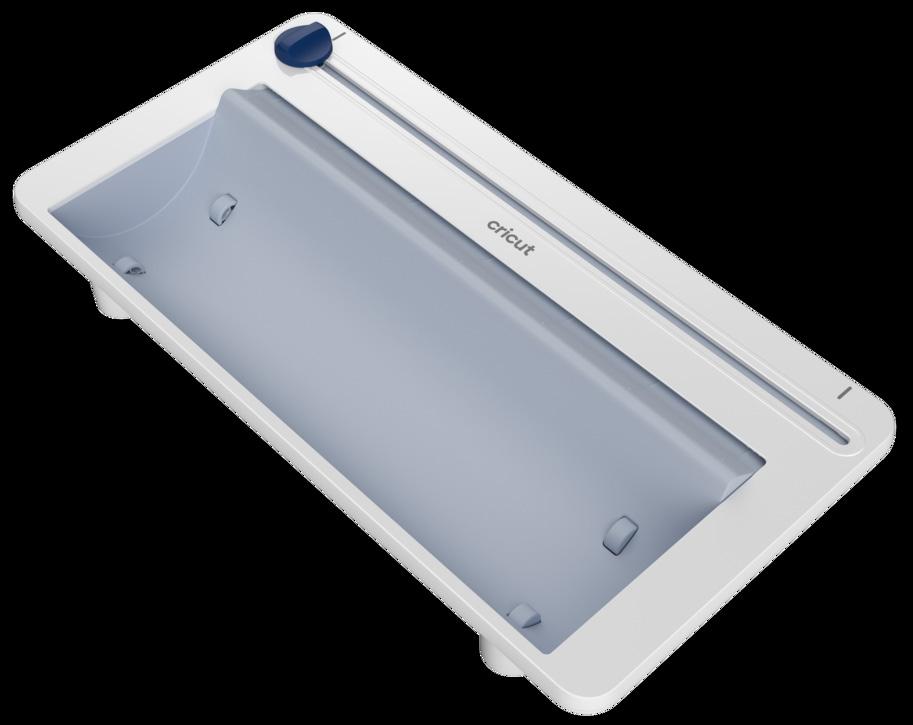
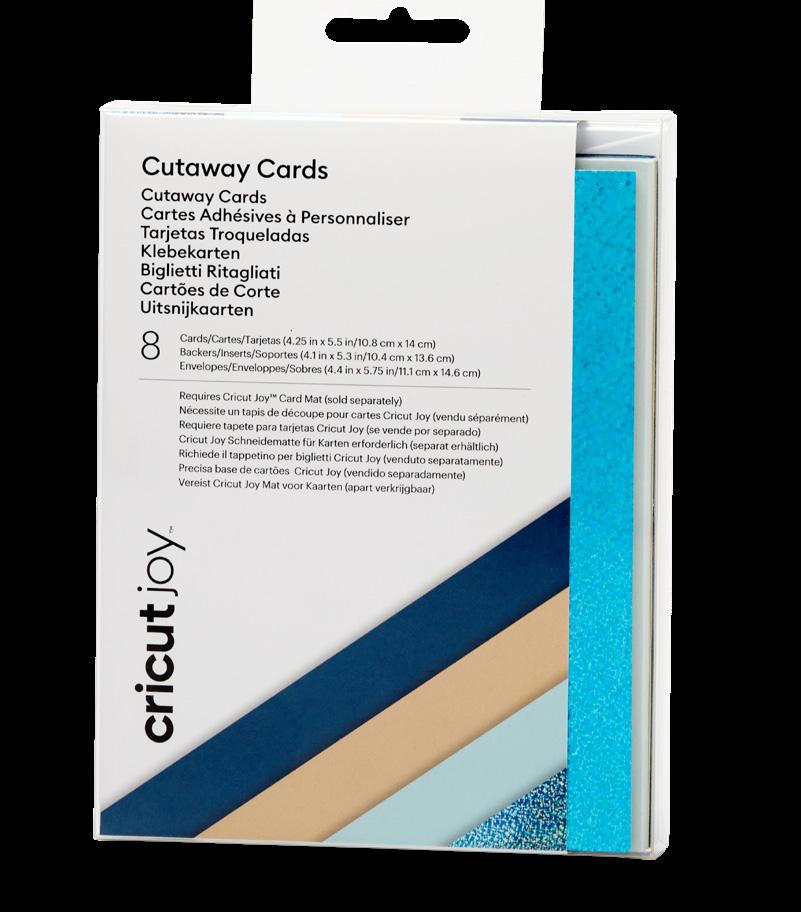
Enhance your DIY journey with Cricut® consumables — now up to 25% off.


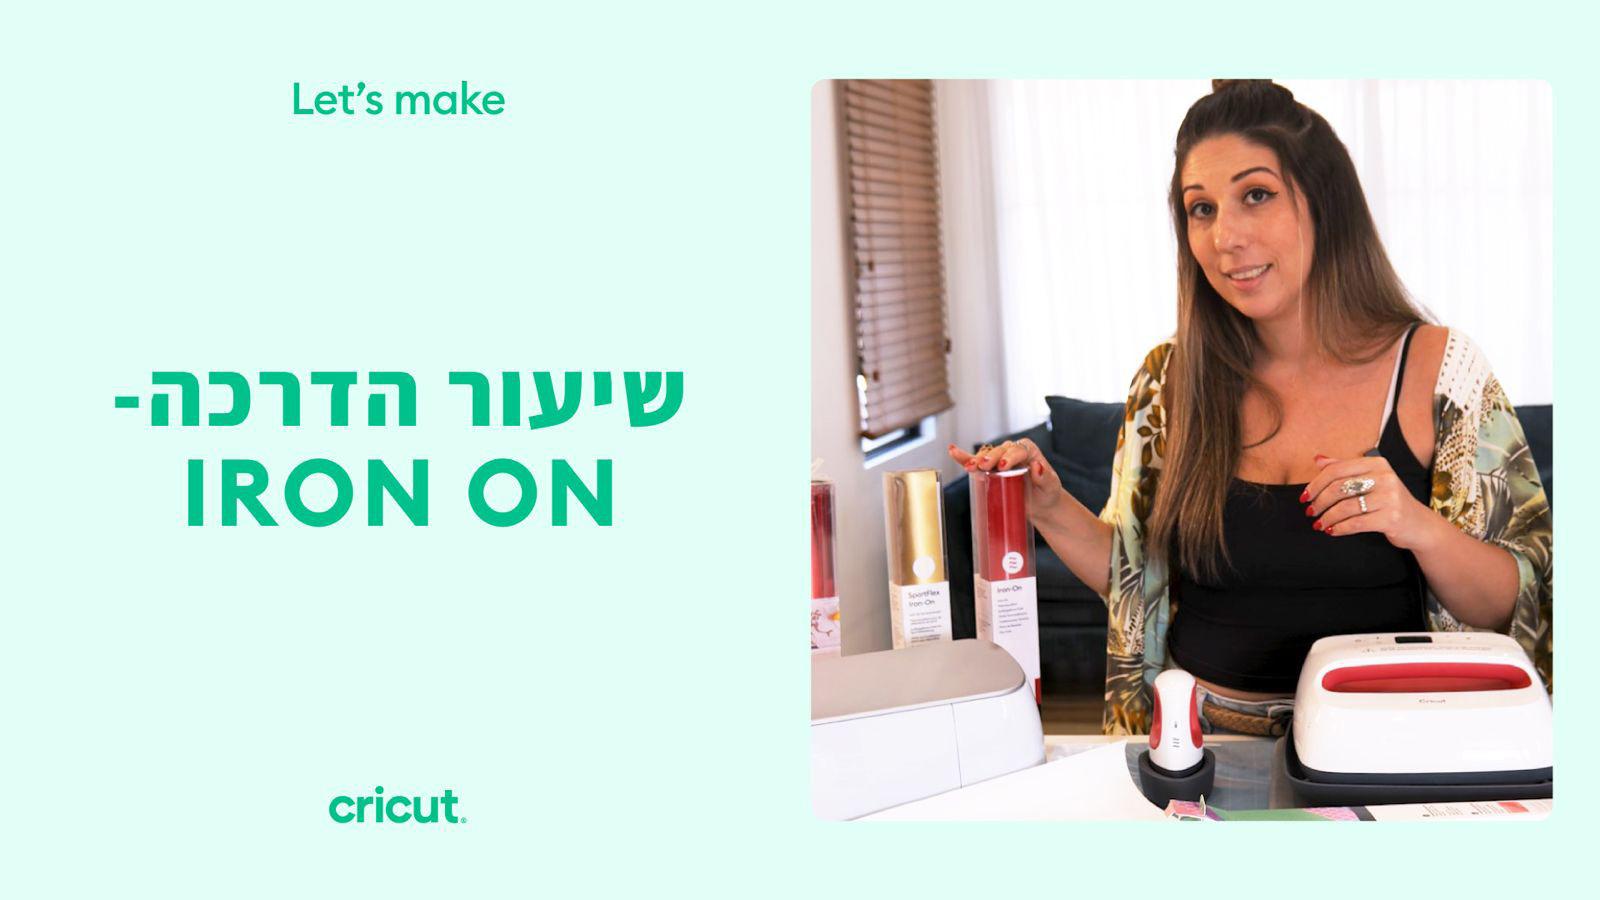

Learn how to personalize your Purim costume or make a Purim mask from start to finish with Cricut and our amazing ambassadors. Learn how to use Iron-on, select the right product as well as tips and tricks.
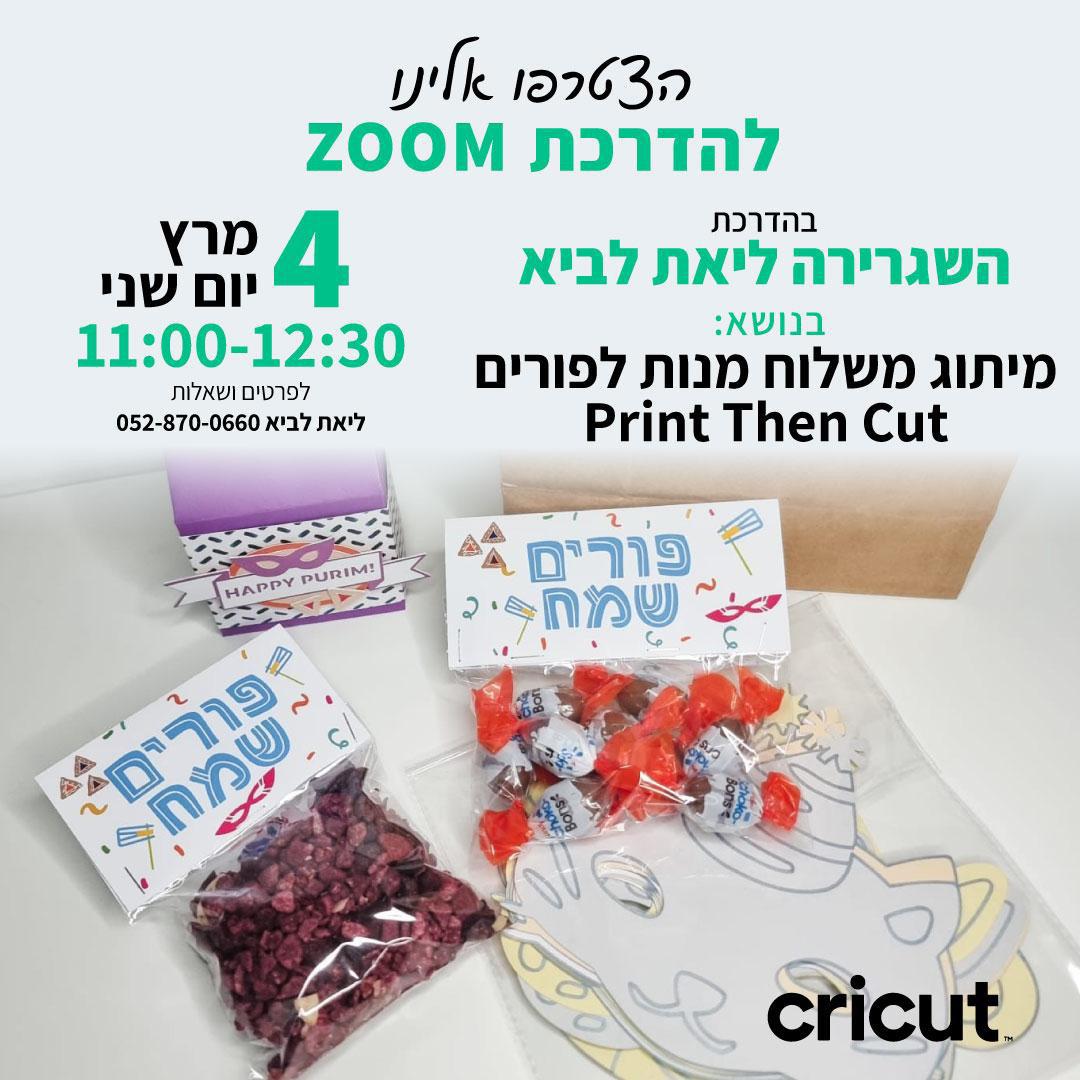
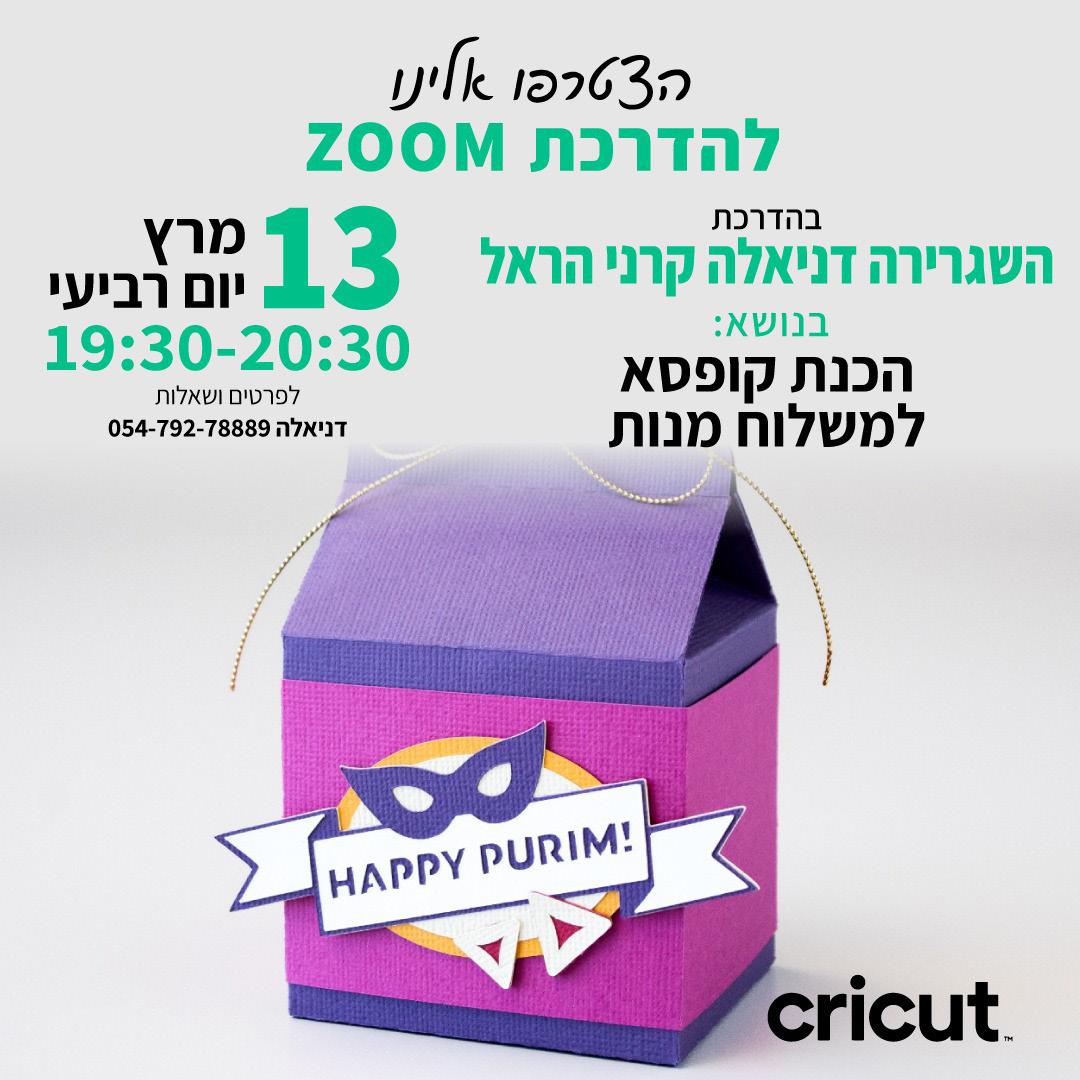
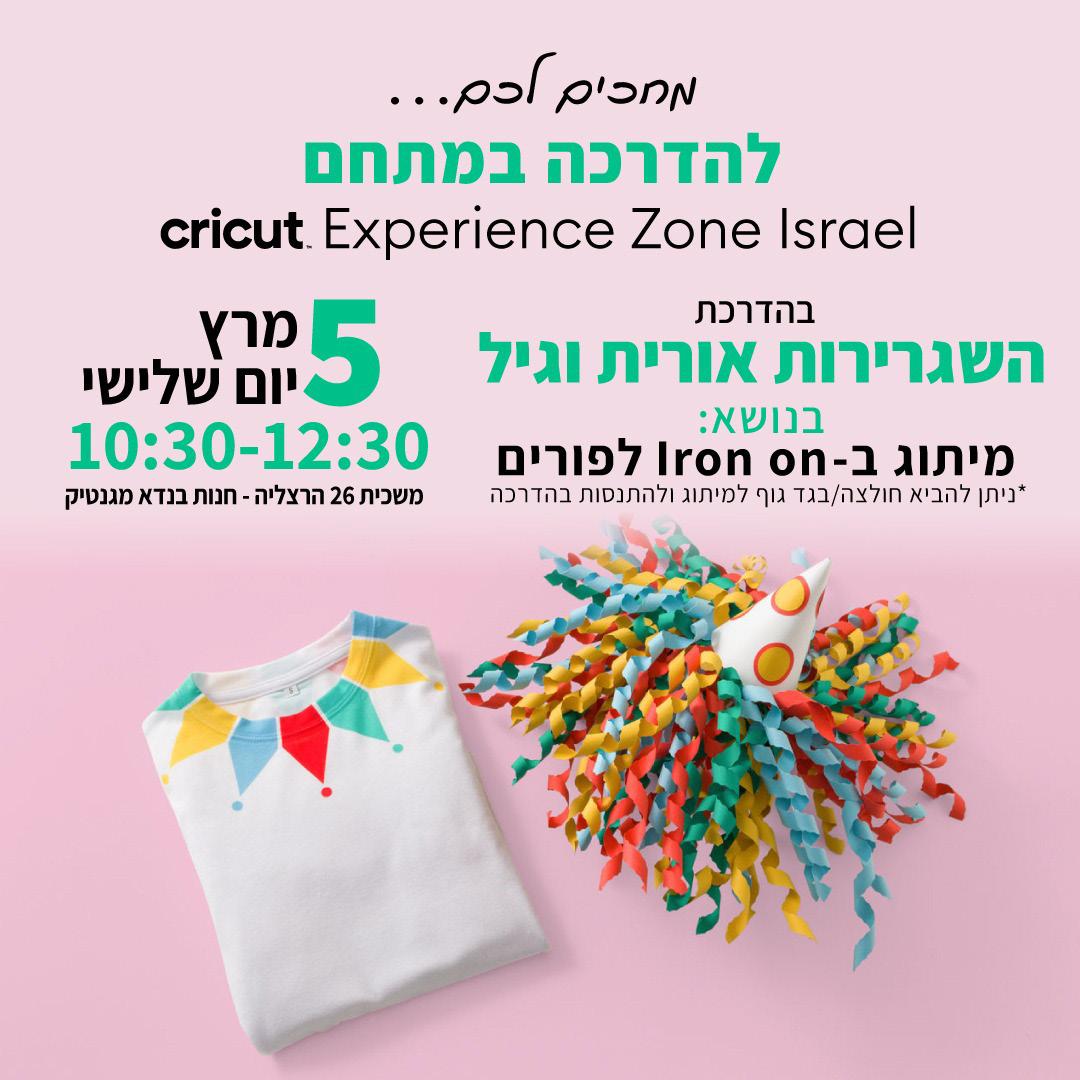
Come and explore the creative world of Cricut. Briefed on creating Purim content our team of creatives will share a myriad of design ideas and projects for this celebration - inspiring members but also offering classes where we as a community learn together. In our dedicated classes the Ambassadors will share their knowledge of Cricut and how to create specific projects to celebrate Purim and make this occasion even more special.
Home
Stationery
Party
Fine-Point
Scraper
Fine-Point Blade For
Green
Holds
Weeding
To
Heat
Fine-Point
Blue
Holds
Prep/clean transfer surface with rubbing alcohol prior to vinyl application
Weed (remove) unwanted vinyl before using Transfer Tape
For vinyl that has a textured nish, such as gli er, shimmer & true brushed, use StrongGrip Transfer Tape
Permanent Vinyl is weatherand fade-resistant & dishwasher friendly
Removable Vinyl easily removes without residue
To prevent curling, ip mat over a er cu ing & peel away from cardstock
Create clean creases with Cricut Scoring Tools
Create dimension by layering pa erns and prints
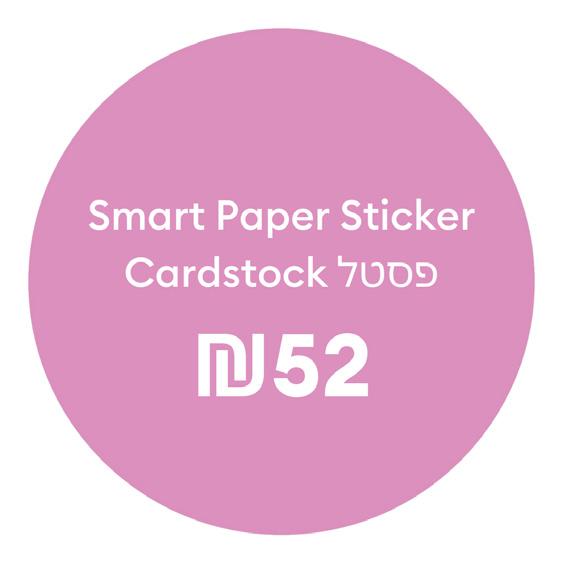
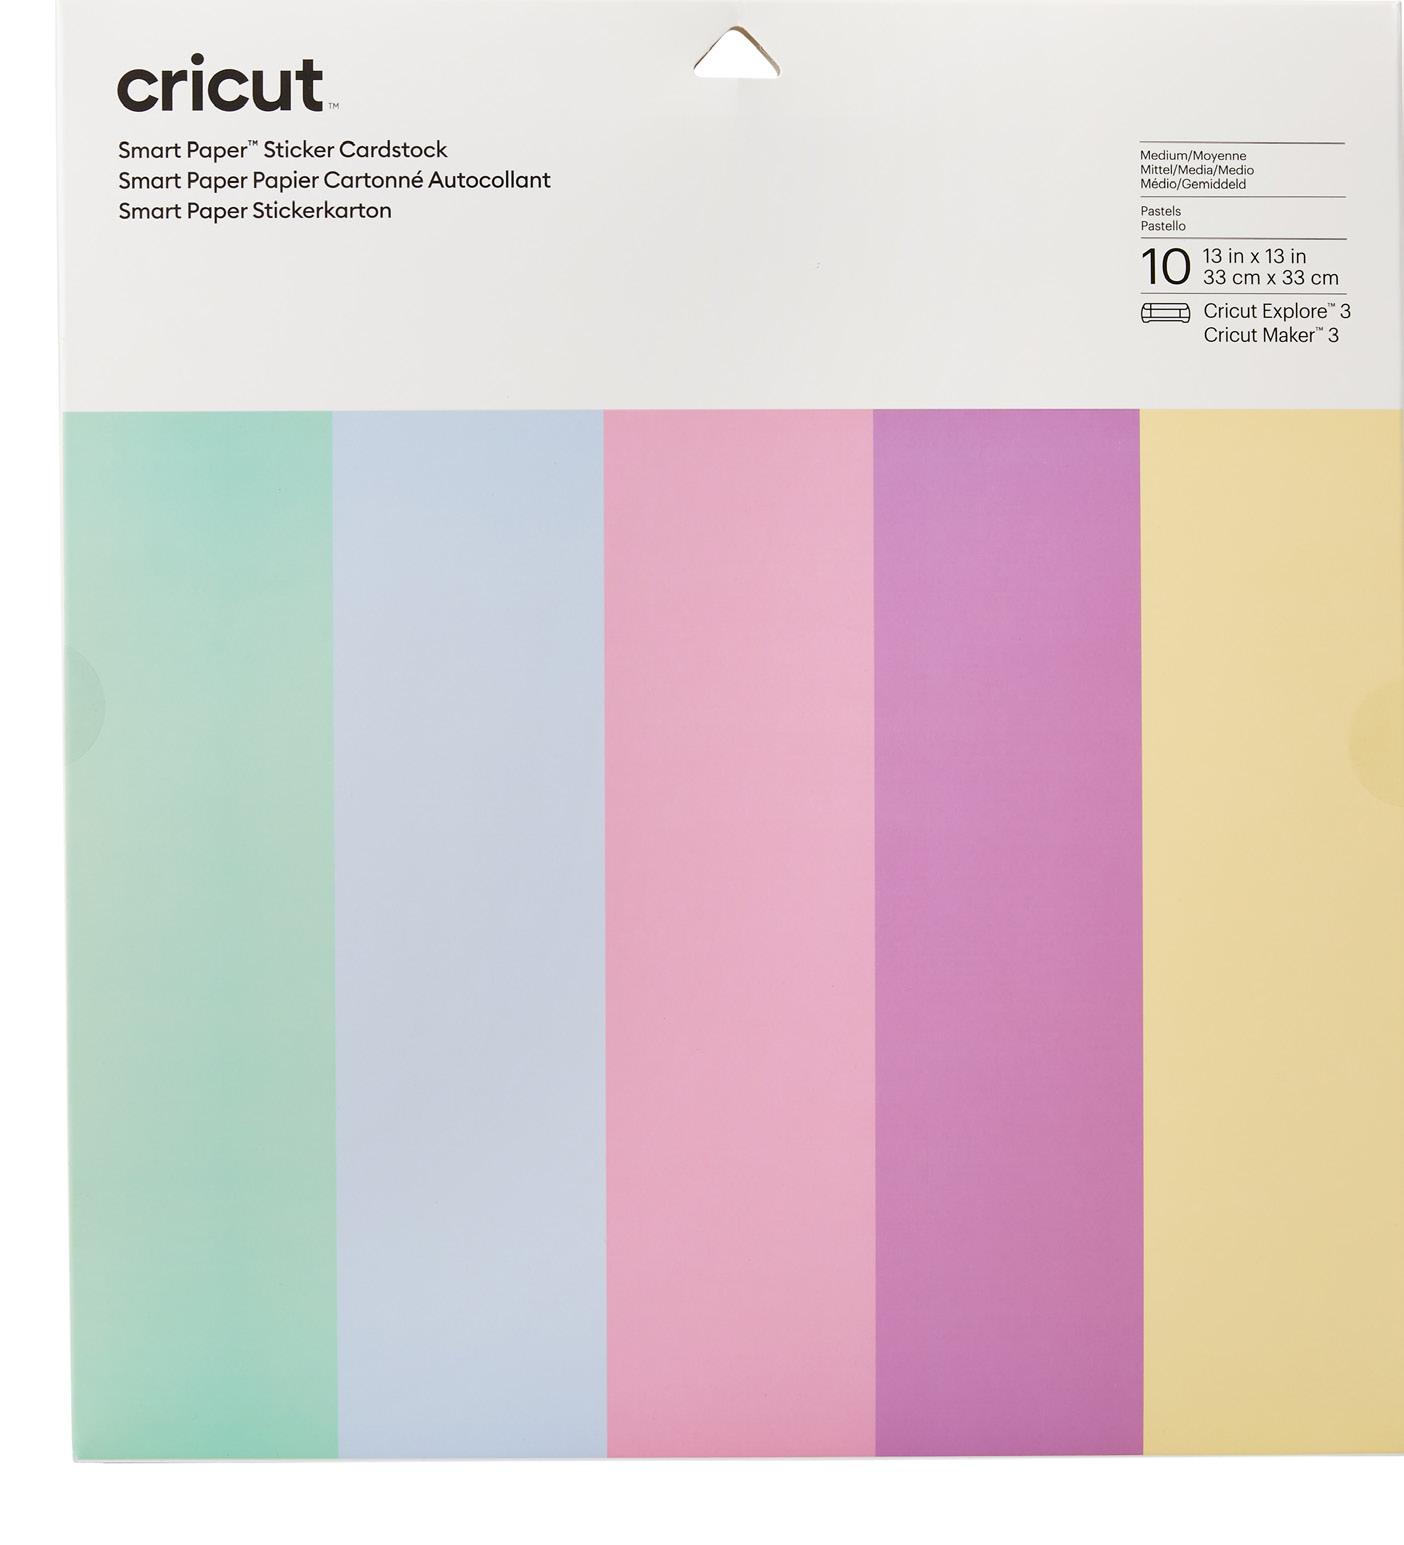
Non-adhesive cardstock is textured, but Smart Paper Sticker Cardstock
elements

Community
Join us for our Challenges on our FB Family Page to learn and WIN with Cricut. Participate in creativity and fun.


Craft-a-long
Join our Live Craft-a-long Classes or Zoom Classes. Spend time with us and learn together while in a creative and supportiuve environment
Join our Cricut community where you can learn alongside us. This safe and creative environment lets you play along with our weekly challenge themes where you could stand the chance of winning some amazing Cricut prizes. Not only will you be inspired by our Ambassador team, CAP Artists and public members participating in these challenges - you get to push your own creative limits, try new products, experiment with new techniques and just have fun while crafting. We would love for you to play along with us, enter your projects and you could be a winner. Creativity is for everyone and we can’t wait to see what our amazing community will inspire us with.
Click here to join our community


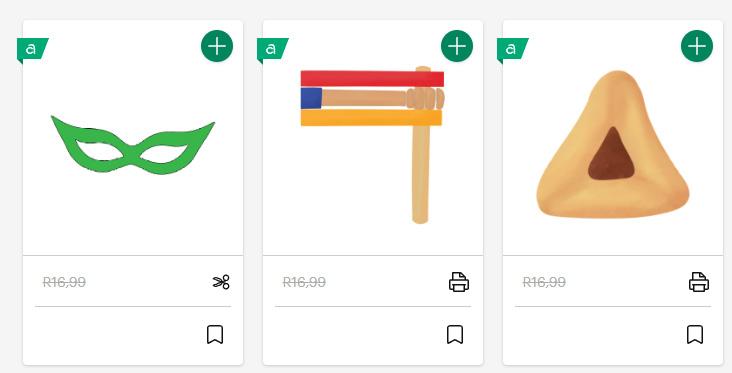
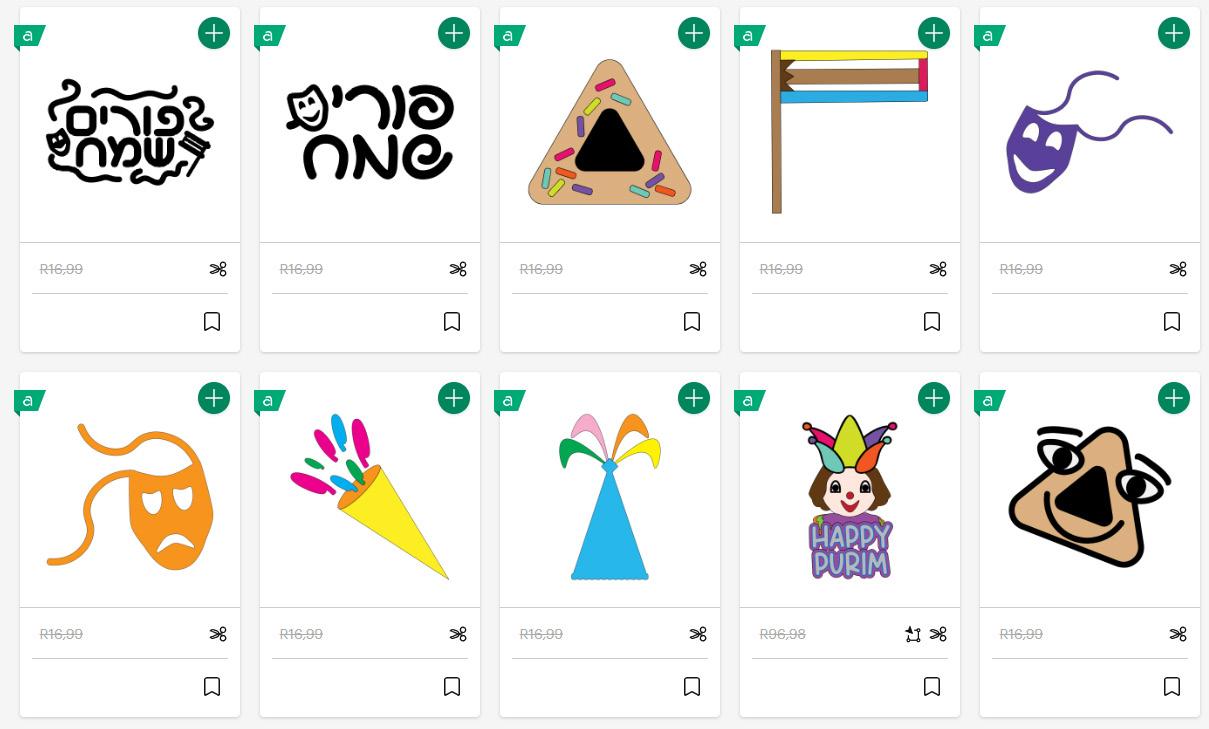
If you have a Cricut Access plan, then you already know that your design potential is exponential with a growing library of images, fonts and projects ready at your fingertips. We’ve curated some Purim Designs from Design Space as well as a selection of images and fonts to inspire your making. See something you like, then click on it and you will magically be taken to Design Space to re-create the project for yourself.


Our dedicated CAP Artists form an integral Part of our creative process and we look forward to being inspired even more by these talented artists. Look out for more amazing themed designs from our Artists for our campaigns where they will inspire you to be even more creative. Explore, follow and like their designs on Cricut design Space and lets support them. Have a specific design request? Let them know so they can design something specific just for you, and of course for us too.


Fresh designs for Purim just launched on design Space by our amazing CAP Artists. Look out for even more new designs coming soon.

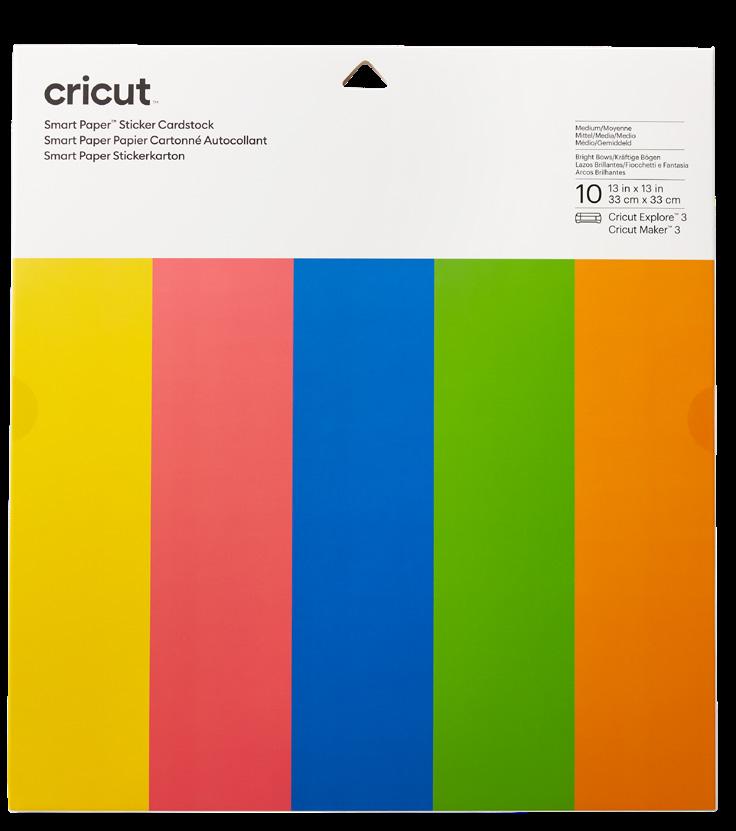
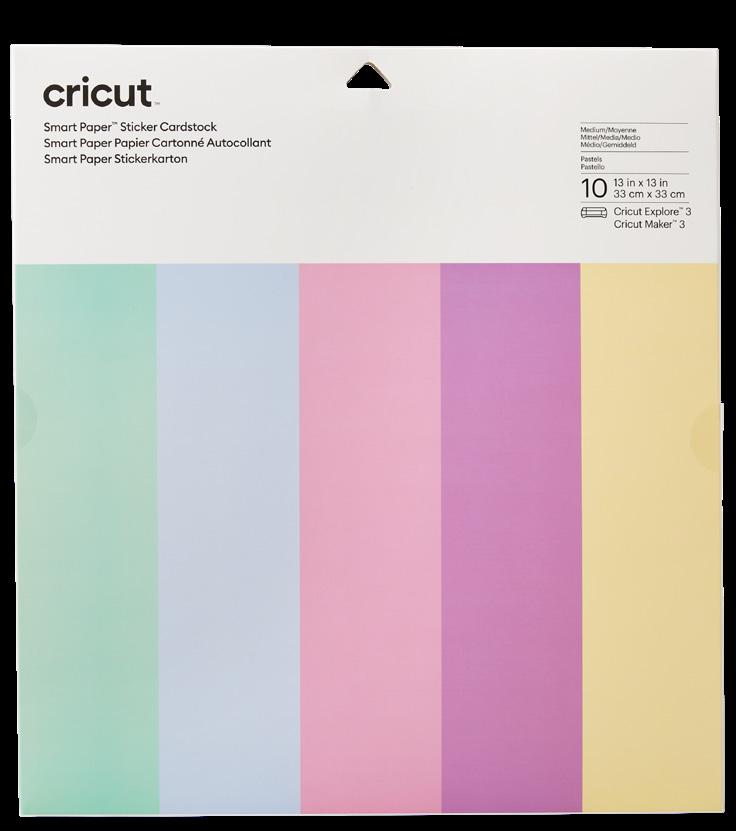
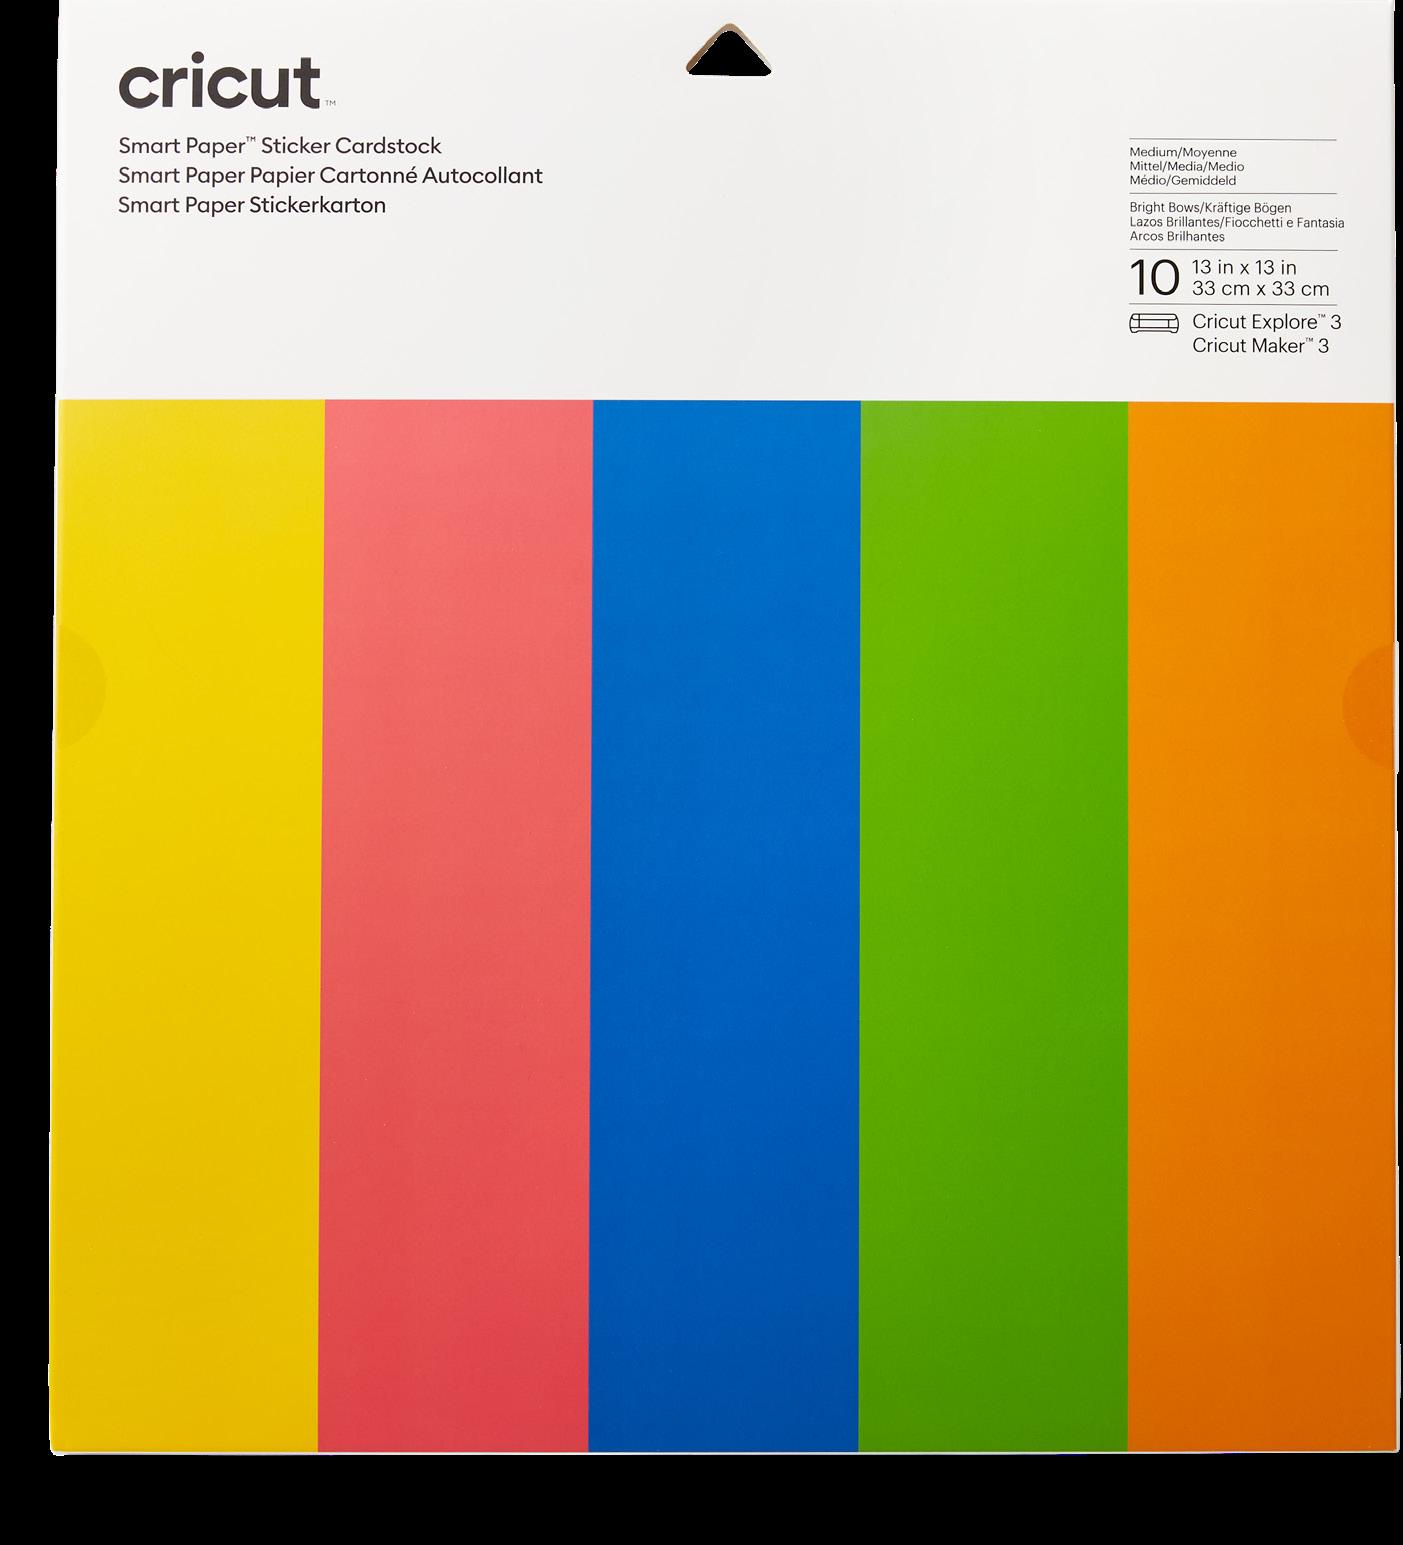
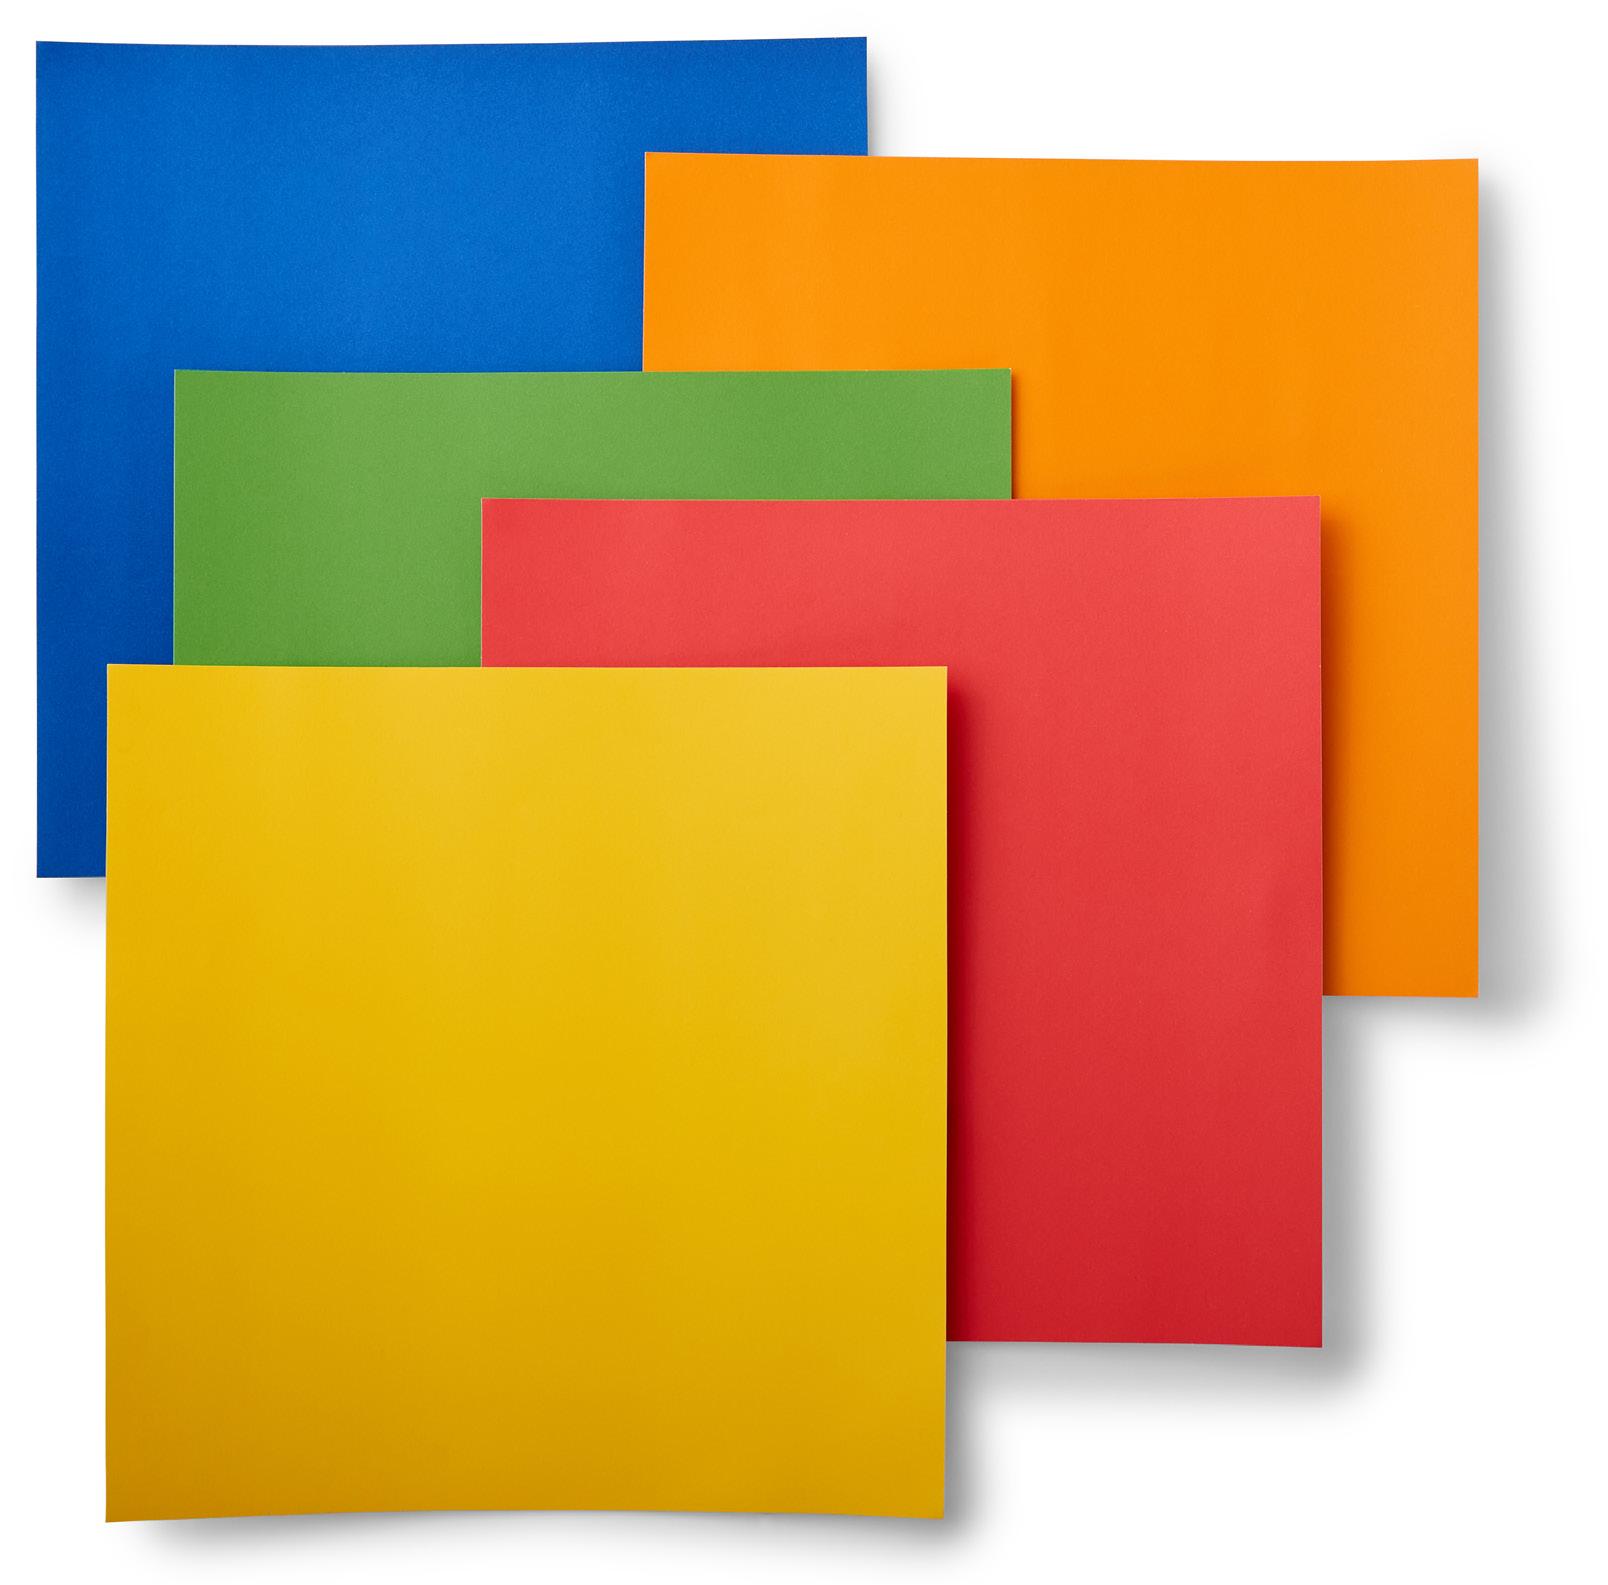
Cricut Smart Sticker Cardstock makes crafting so much easier. Woo-hoo, no need for glue! This clever adhesivebacked paper works without a cutting mat, so you can just load and go. Just cut, peel, and stick to create fun cards, bold banners, attractive posters, and layered paper projects of all sorts. For use with Cricut Maker® 3 and Cricut Explore® 3 machines. Machine mat required for use with Cricut Maker, Cricut Explore,Cricut Explore Air 2, and Cricut Expression machines.

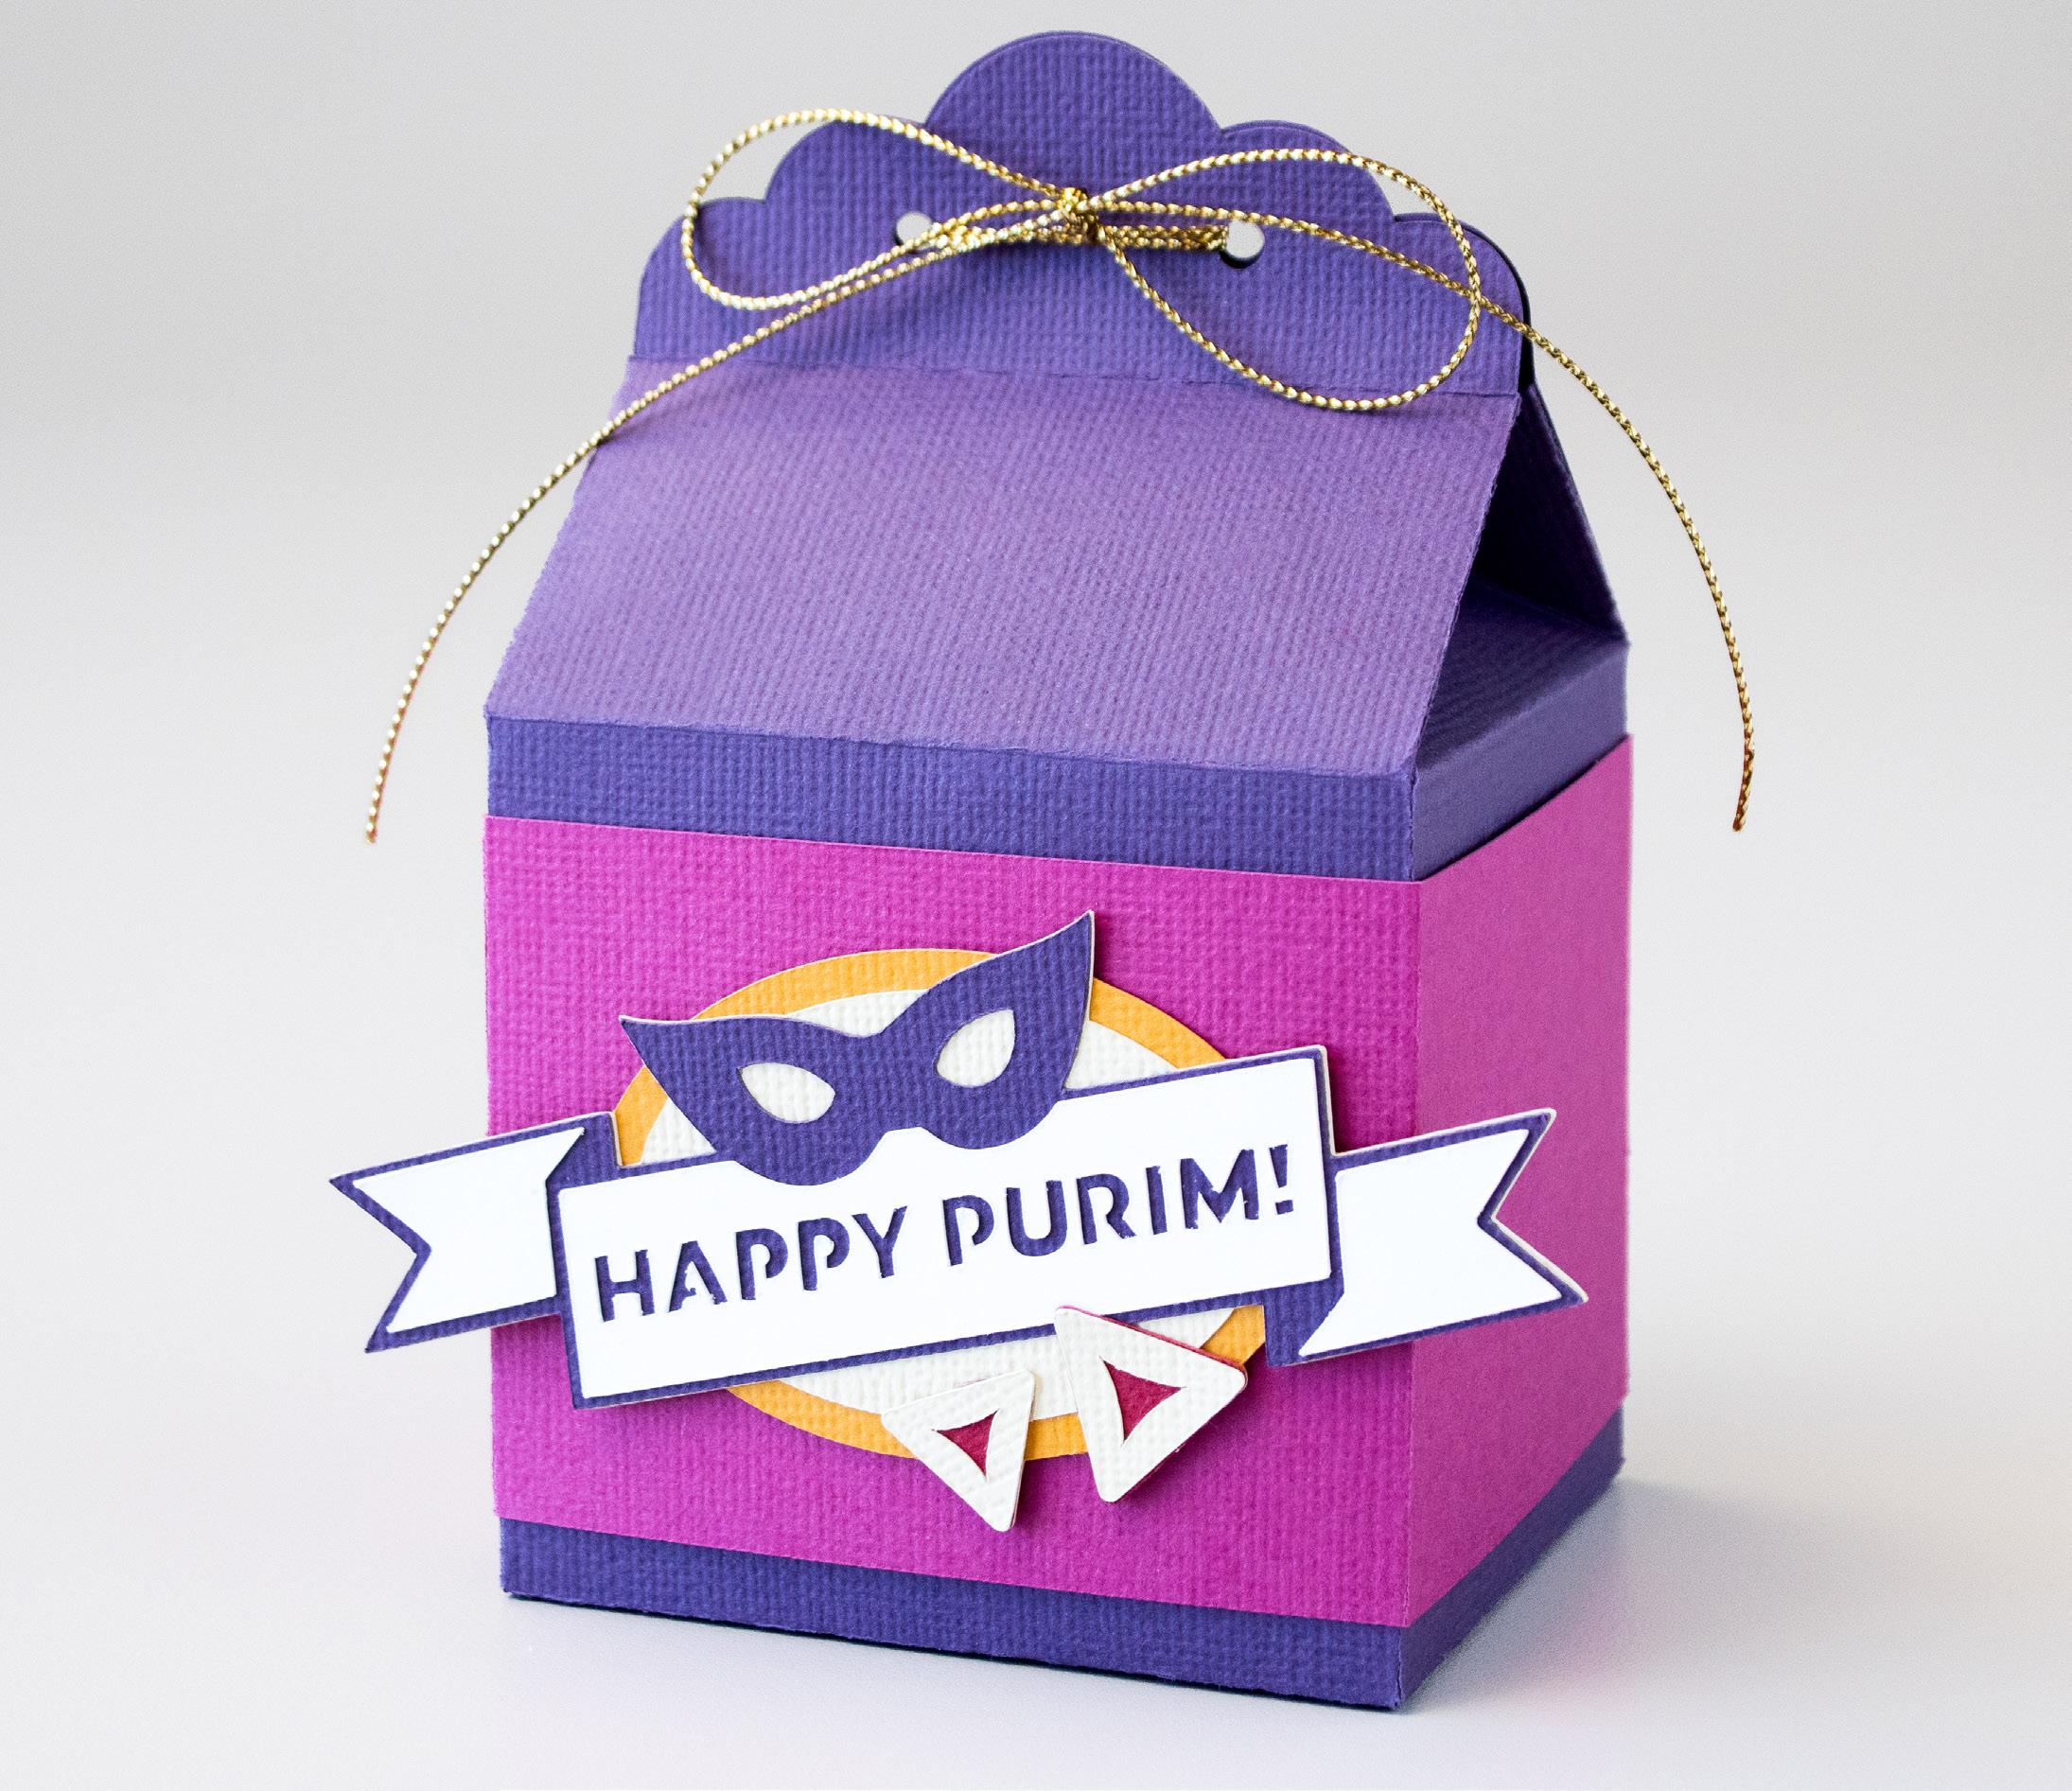
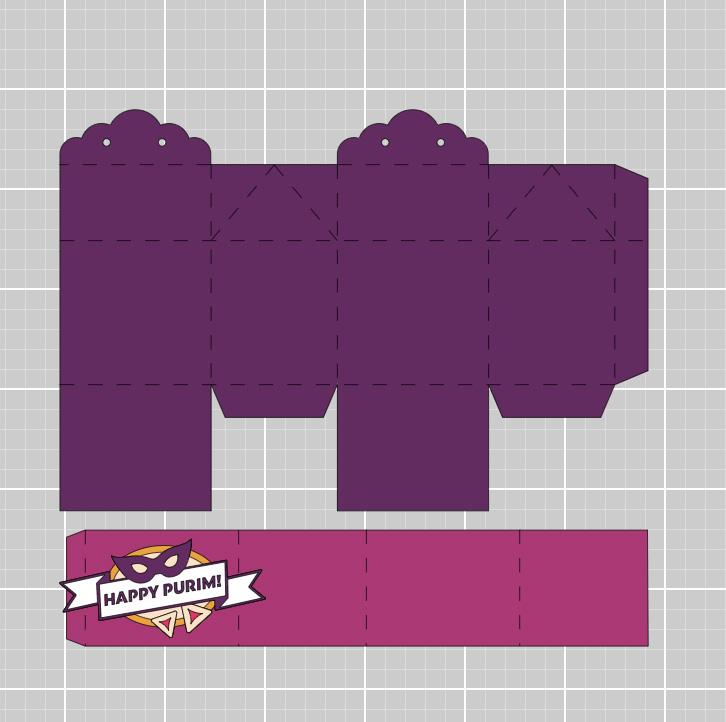
Make this Project with us from Scratch
by Clicking on the image above and going to Design Space to follow along with us.
What you need Materials To Cut
Cardstock in Magenta, Orange, Purple, Cream, White and Red
Everything Else
LightGrip Machine Mat - 12 in x 12 in Single Scoring Wheel + QuickSwap Housing or Scoring Stylus
Adhesive for Paper
Gold StringWeeder
T-Shirt
Preparation
Step 1
To alter the project, select Customize, then use the Edit panel to make changes.
Step 2
Cut - When you’re ready, select Make It. Then follow Design Space® prompts.
TIP: Refer to the Step by Step images to visually see how to complete the project.
Assemble
Step 3
Remove cardstock from mat. Try gently bending and pulling the mat from cardstock, not the cardstock from mat. Cut and organize all materials.
Step 4
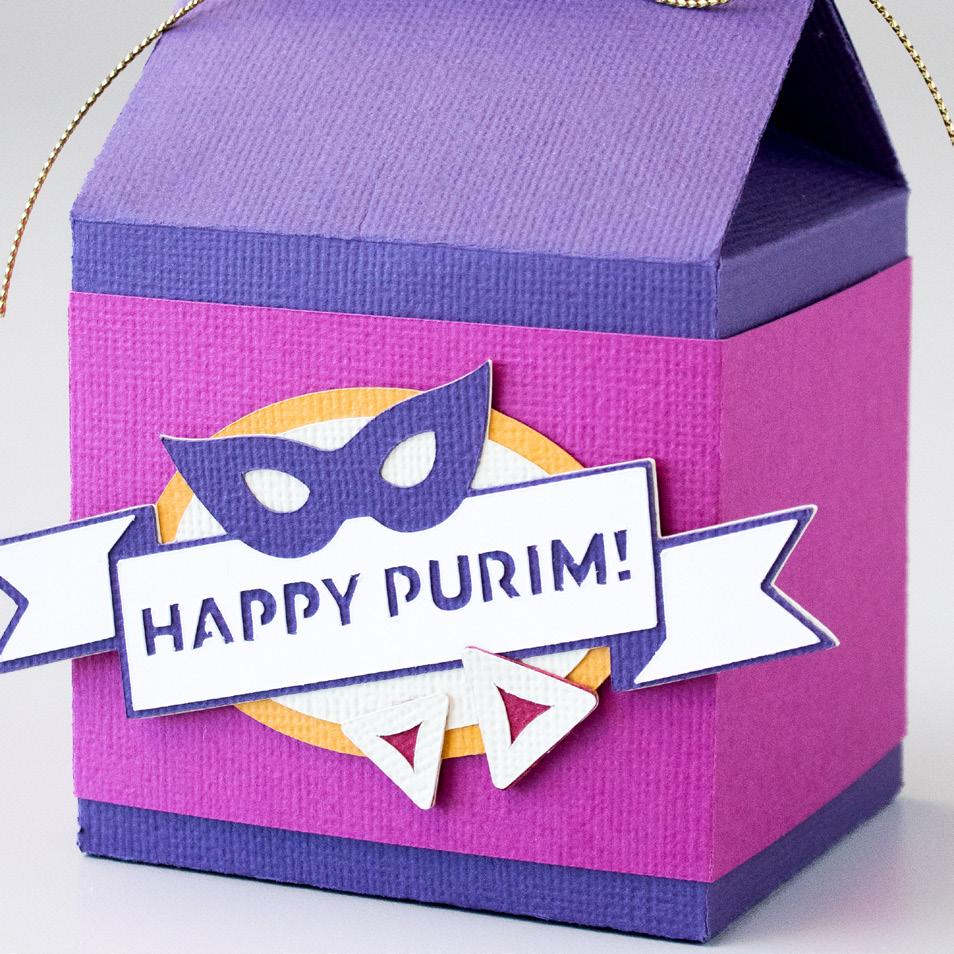
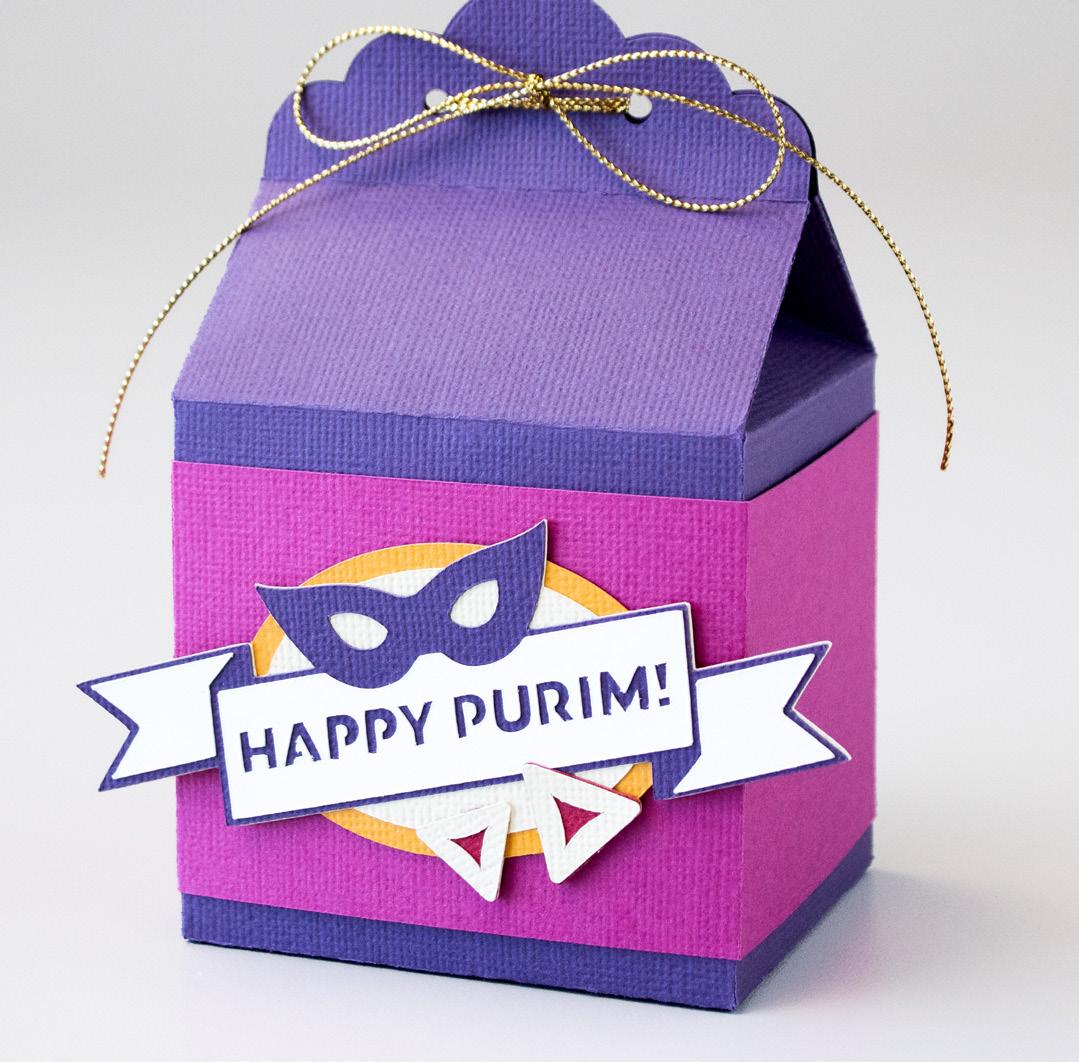
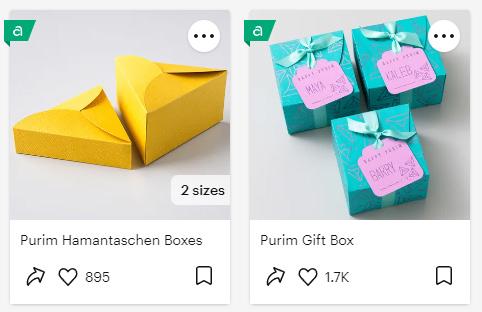
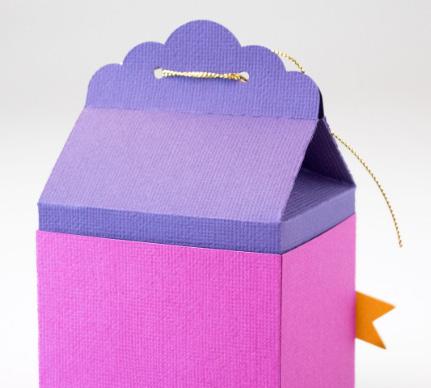
Begin to form the tag piece by gluing the cream layer to the front of the orange layer. Glue the purple layer on top of the cream layer. Attach the white piece to the top of the purple layer. Find the two red triangles and glue in place below the phrase. Find the remaining two cream pieces and glue over the red triangles to form the Hamantaschen. Now the tag is complete!
Step 5
Find the large purple box piece and fold along the score lines. Glue the tabs on the side and the bottom of the box. Fold the bottom square flap over and glue in place to hide the bottom tabs.
Find the last remaining piece and fold along the score lines.
Step 6
Fold the rectangle piece around the box and glue the side tab to secure in place.
Step 7
Attach the tag to the front of the box. Tie a string through the top holes to close and complete the box.

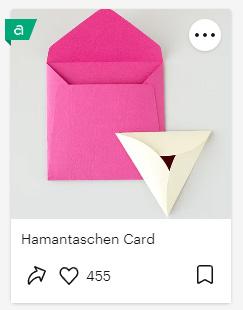
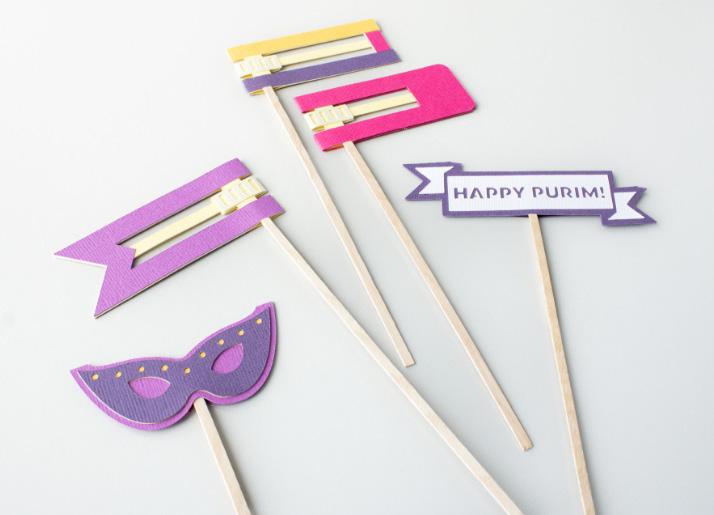
Make this Project with us from Scratch by Clicking on the image above and going to Design Space to follow along with us.
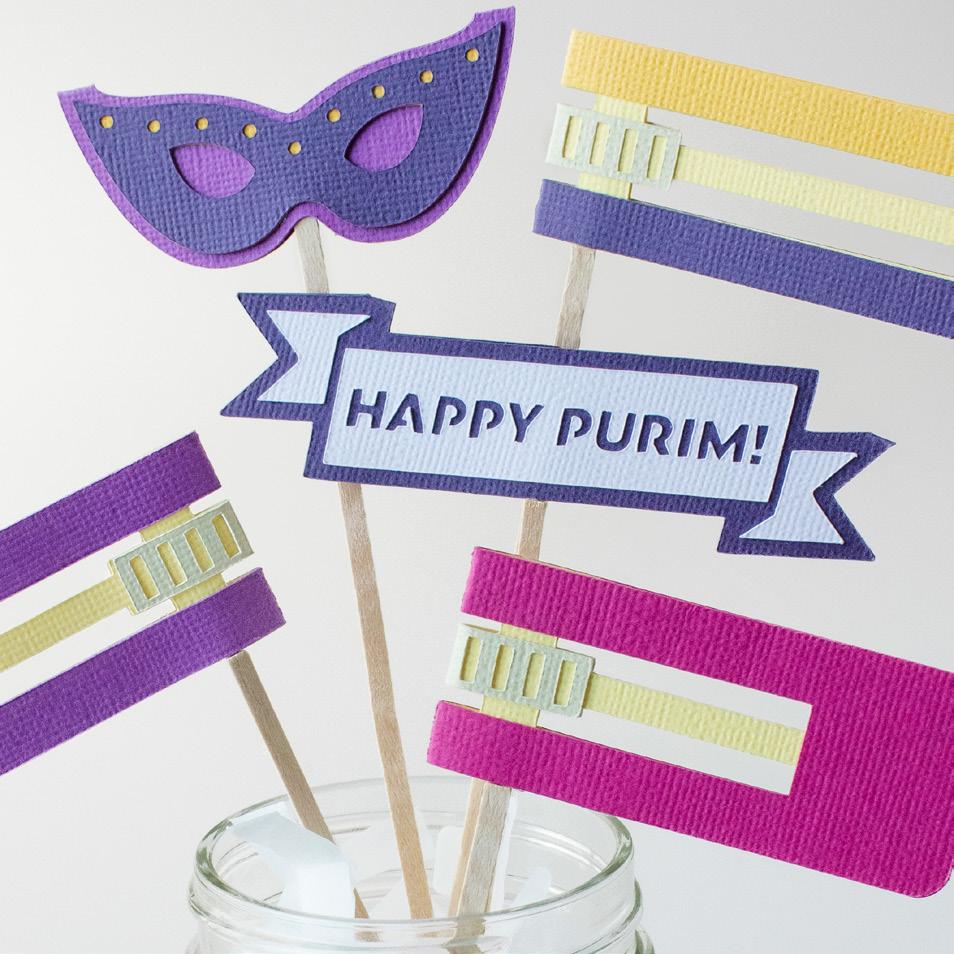
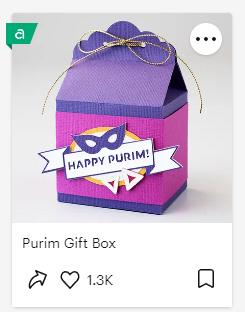
What you need
Materials To Cut Cardstock, Sunflower, Magenta Cardstock, Fuschia, Peach Cardstock, White Cardstock, Gold
Cardstock, Plum
Everything Else
LightGrip Machine Mat - 12 in x 12 in
Scoring Stylus
Gold String
Weeder
Adhesive
Preparation
Step 1
To alter the project, select Customize, then use the Edit panel to make changes.
Step 2
To edit text, double-click the text you want to change, then update as needed. To fasten text to another layer, use Attach.
TIP: If you’ve yet to use the Text tools, see link below in the More Help section.
Cut
Step 3
When you’re ready, select Make It. Then follow Design Space® prompts.
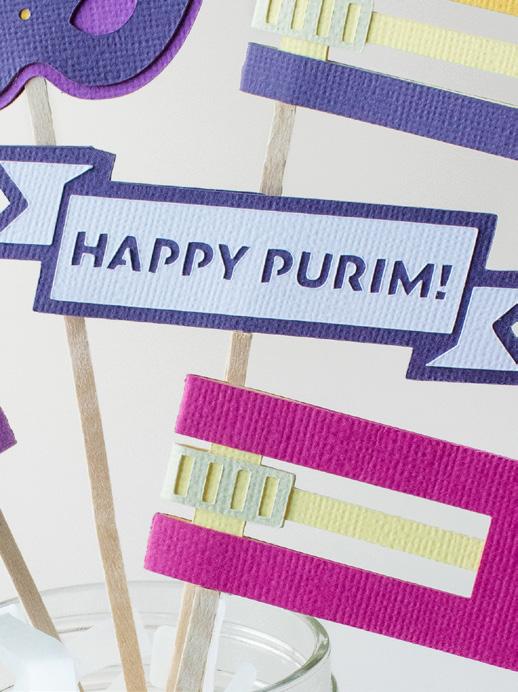
Assemble
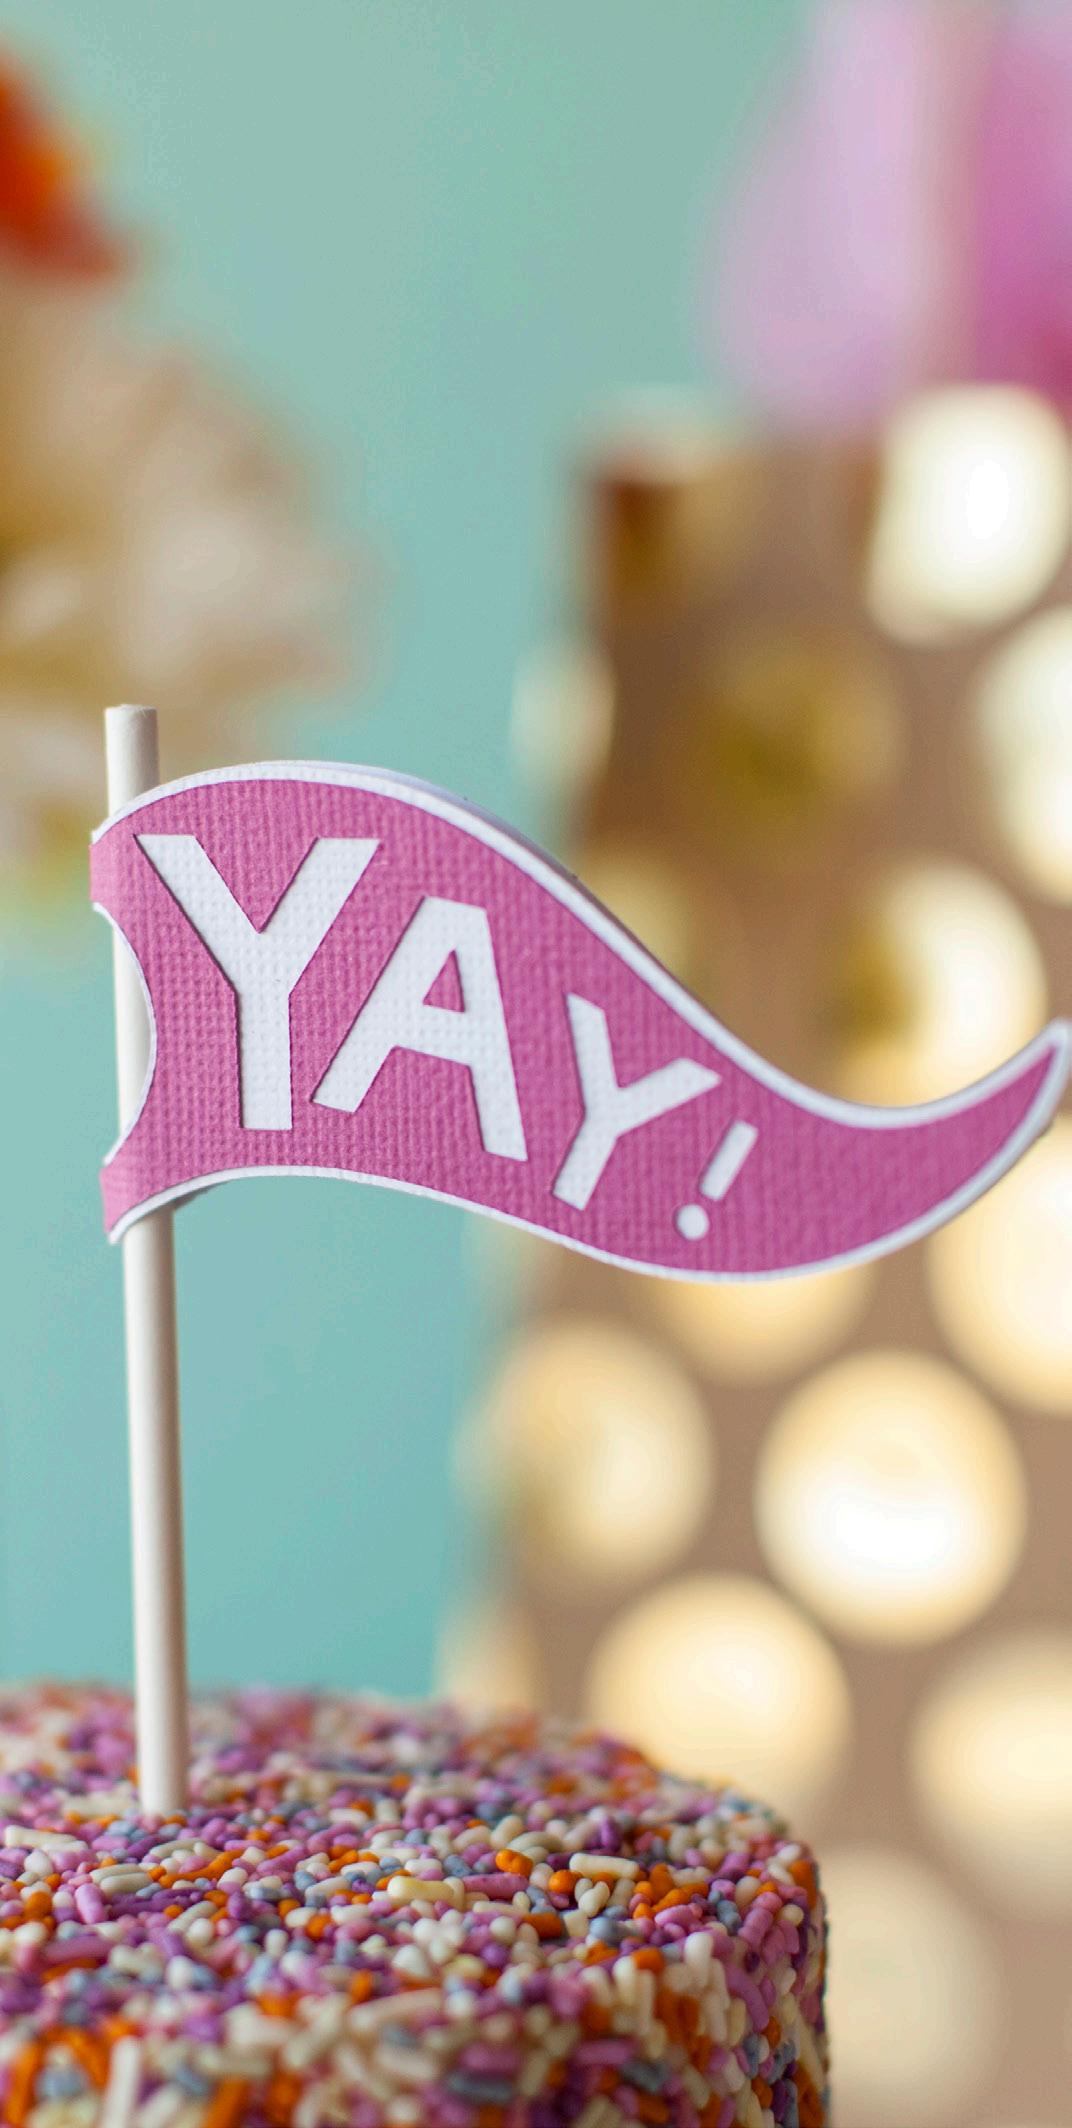
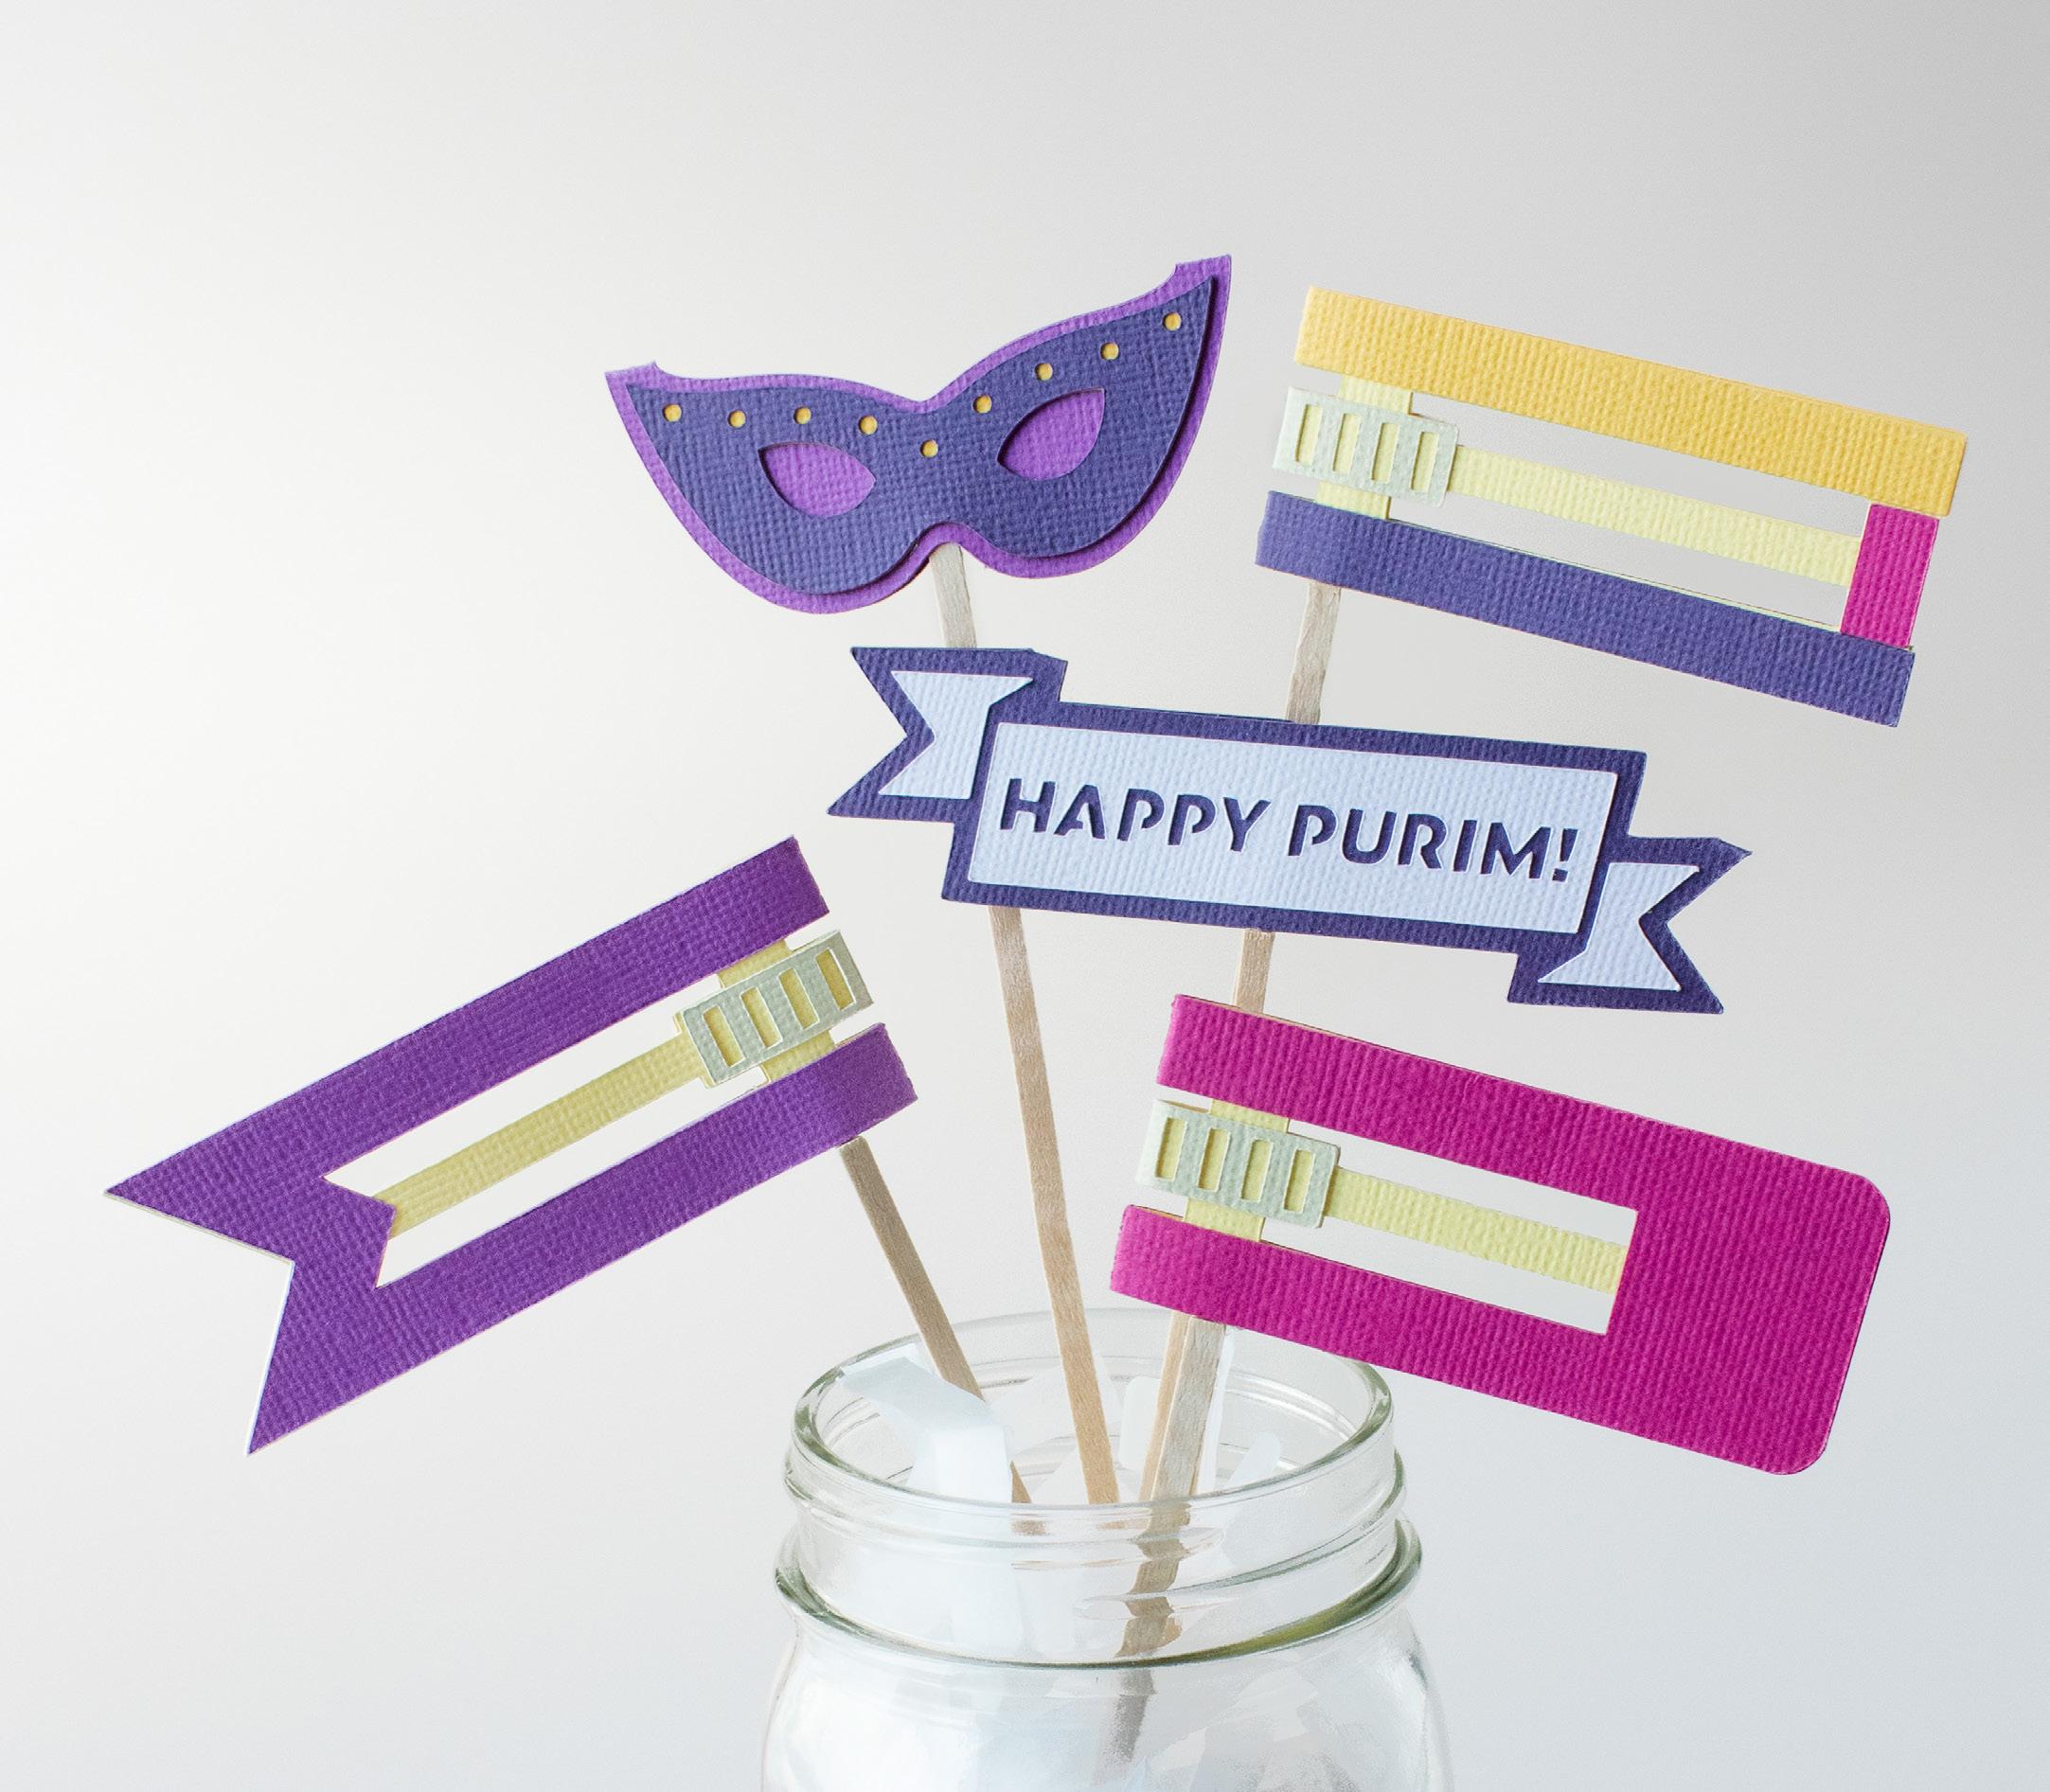
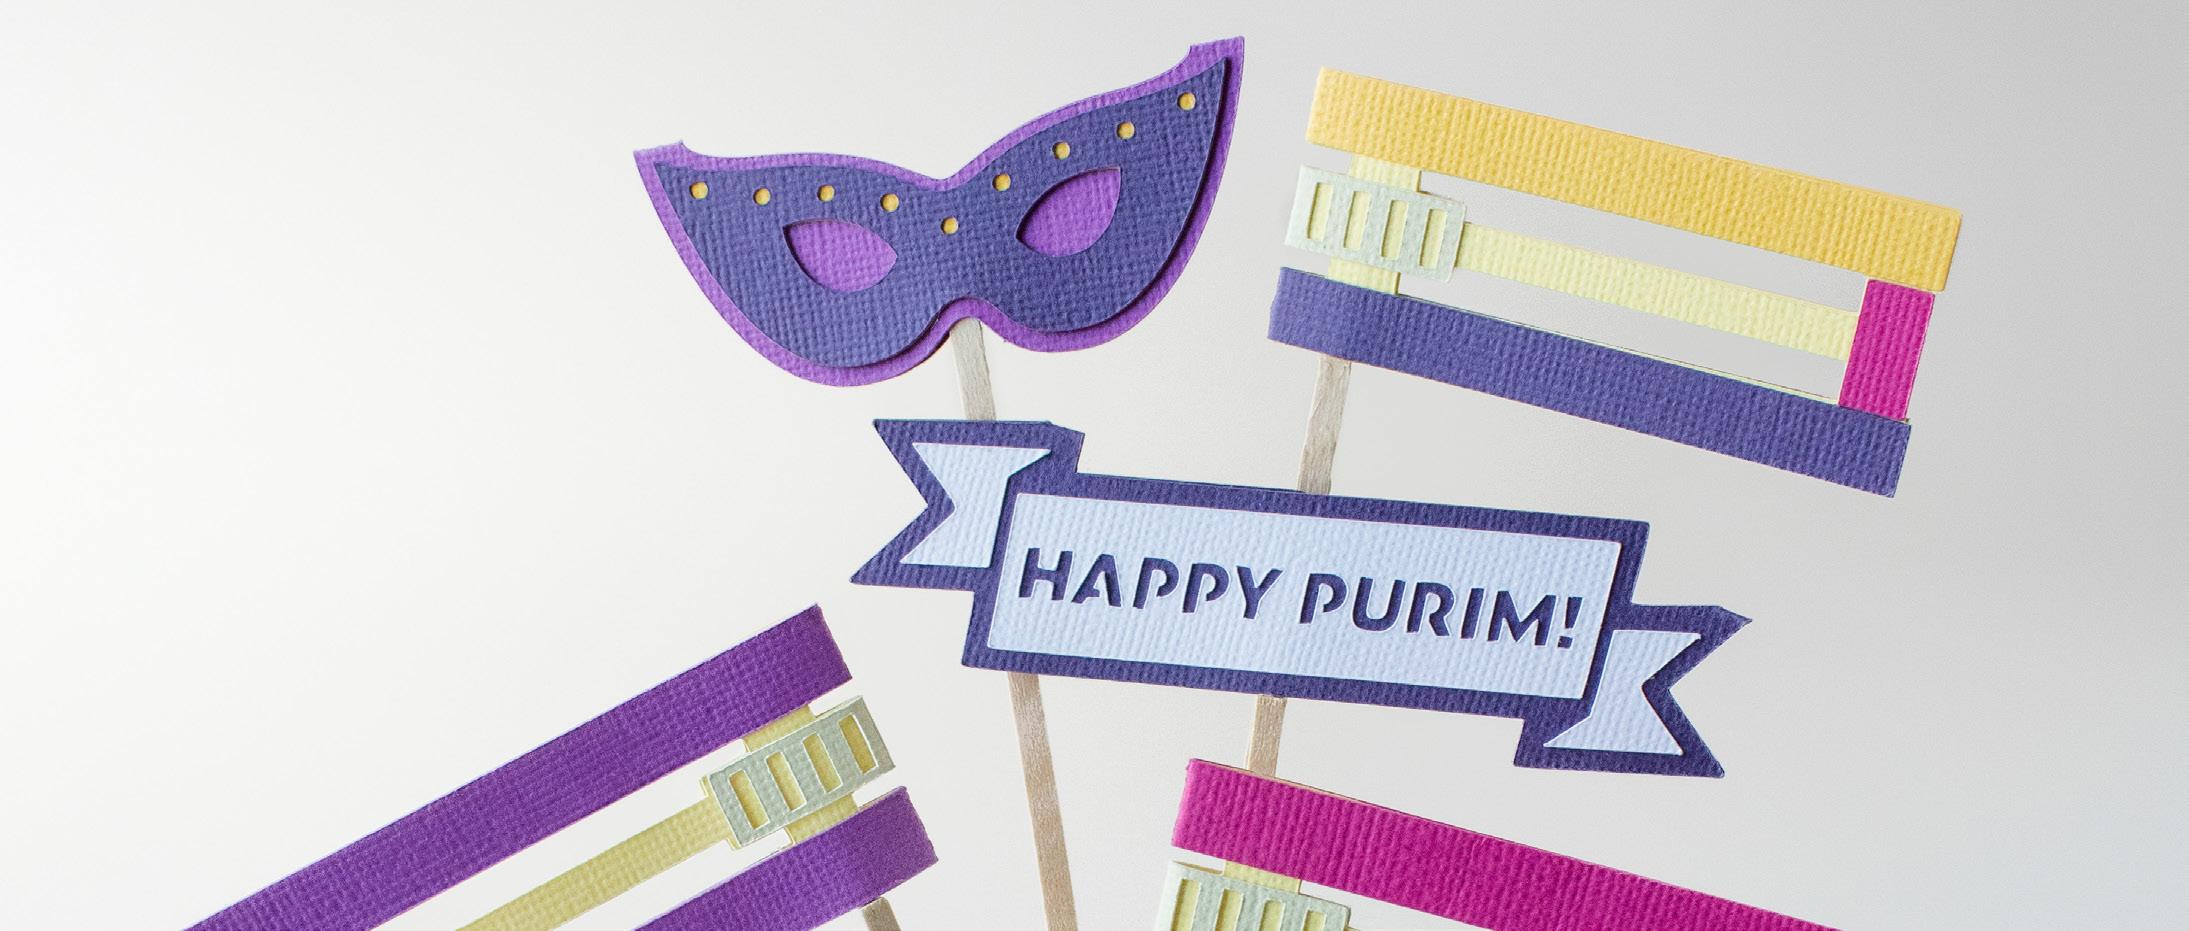
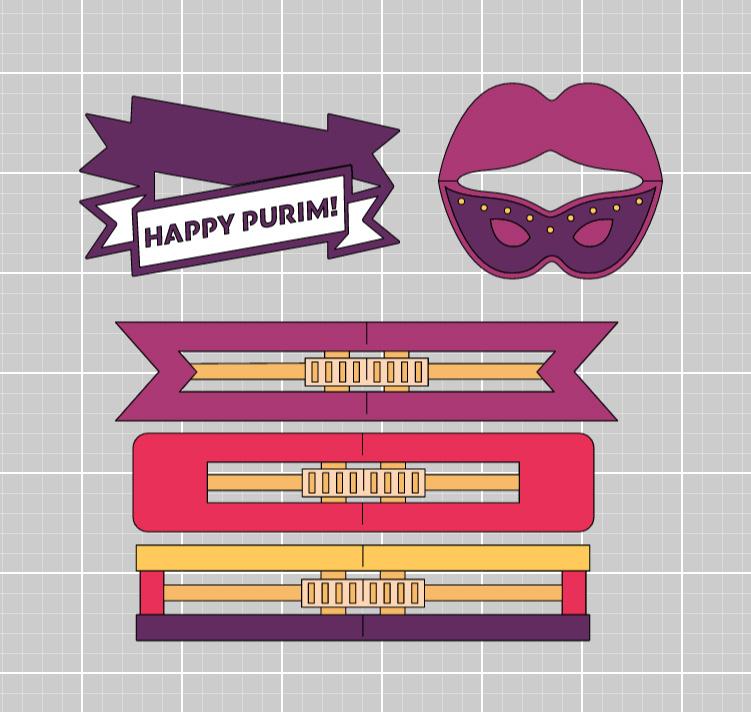
Step 4
Remove cardstock from mat. Try gently bending and pulling the mat from cardstock, not the cardstock from mat.
Step 5
Gather all materials.
Step 6
Fold all pieces inward along score lines. Glue all pieces on top of matching base. Place toothpick/skewer inside the fold and glue closed.
Start Learning!
What is Cricut Learn? It’s your onestop learning platform for short, expert-led video education as well as live, interactive virtual classes. It’s a searchable and easy to browse platform where you can learn anything in under 10 minutes. Cricut Learn offers new and seasoned crafters a quick look into learning a specific project, about a machine, materials and even how to design. In just a few minutes, accessible anywhere and anytime, you too can become a Cricut crafting pro.