30 Easy Easter Projects to make Which Machine is right for you? Hot Easter Deals on machines and consumables 17 WIN! Join our community to win

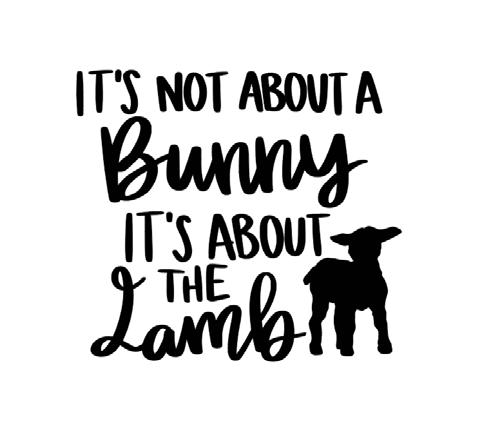
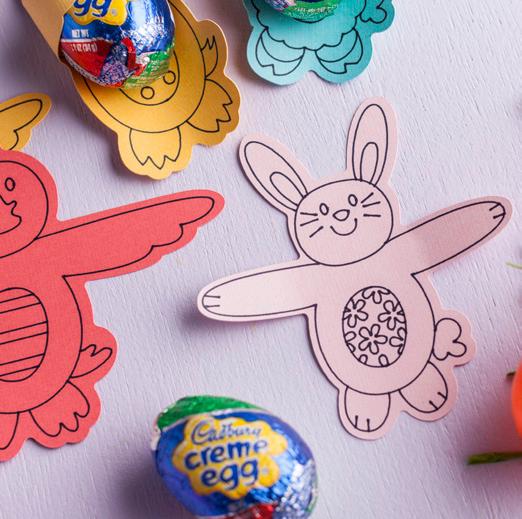
Easter is a time of celebrating family , friends and faith. No matter how you celebrate its a time associated with chocolate bunnies, lambs and all things fluffy and adorable. Let us show you how to make your Easter a memorable one with Cricut, from start to finish.

Cricut™ makes smart cutting machines that work with an easy-to-use app to help you design and personalize almost anything — custom cards, unique apparel, everyday items, and so much more.
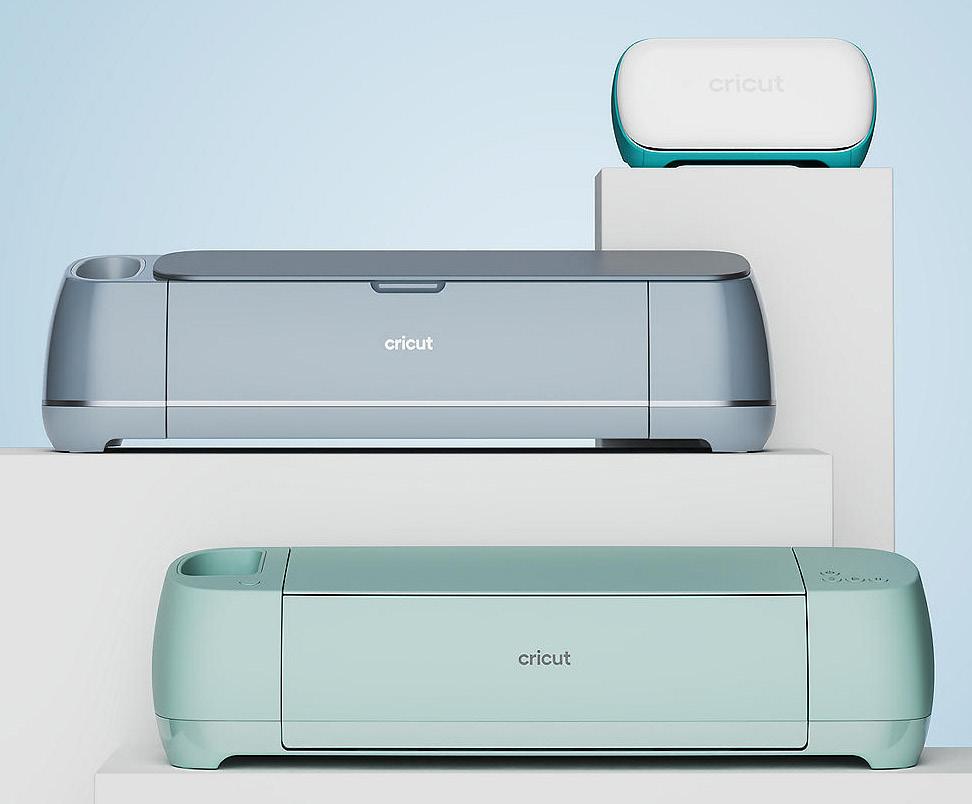
Get ready to meet your Cricut match. To discover which Cricut cutting machine is right for you, just take this short quiz
Scan here to take the quiz


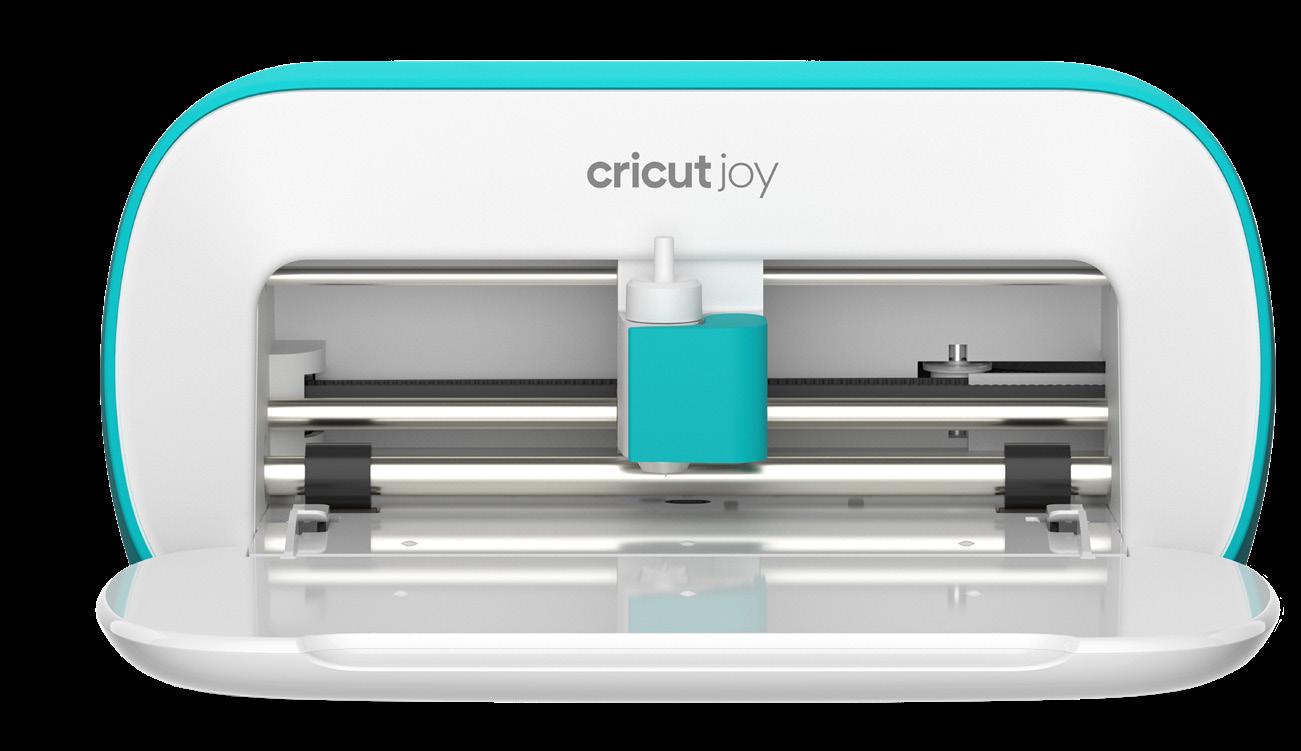

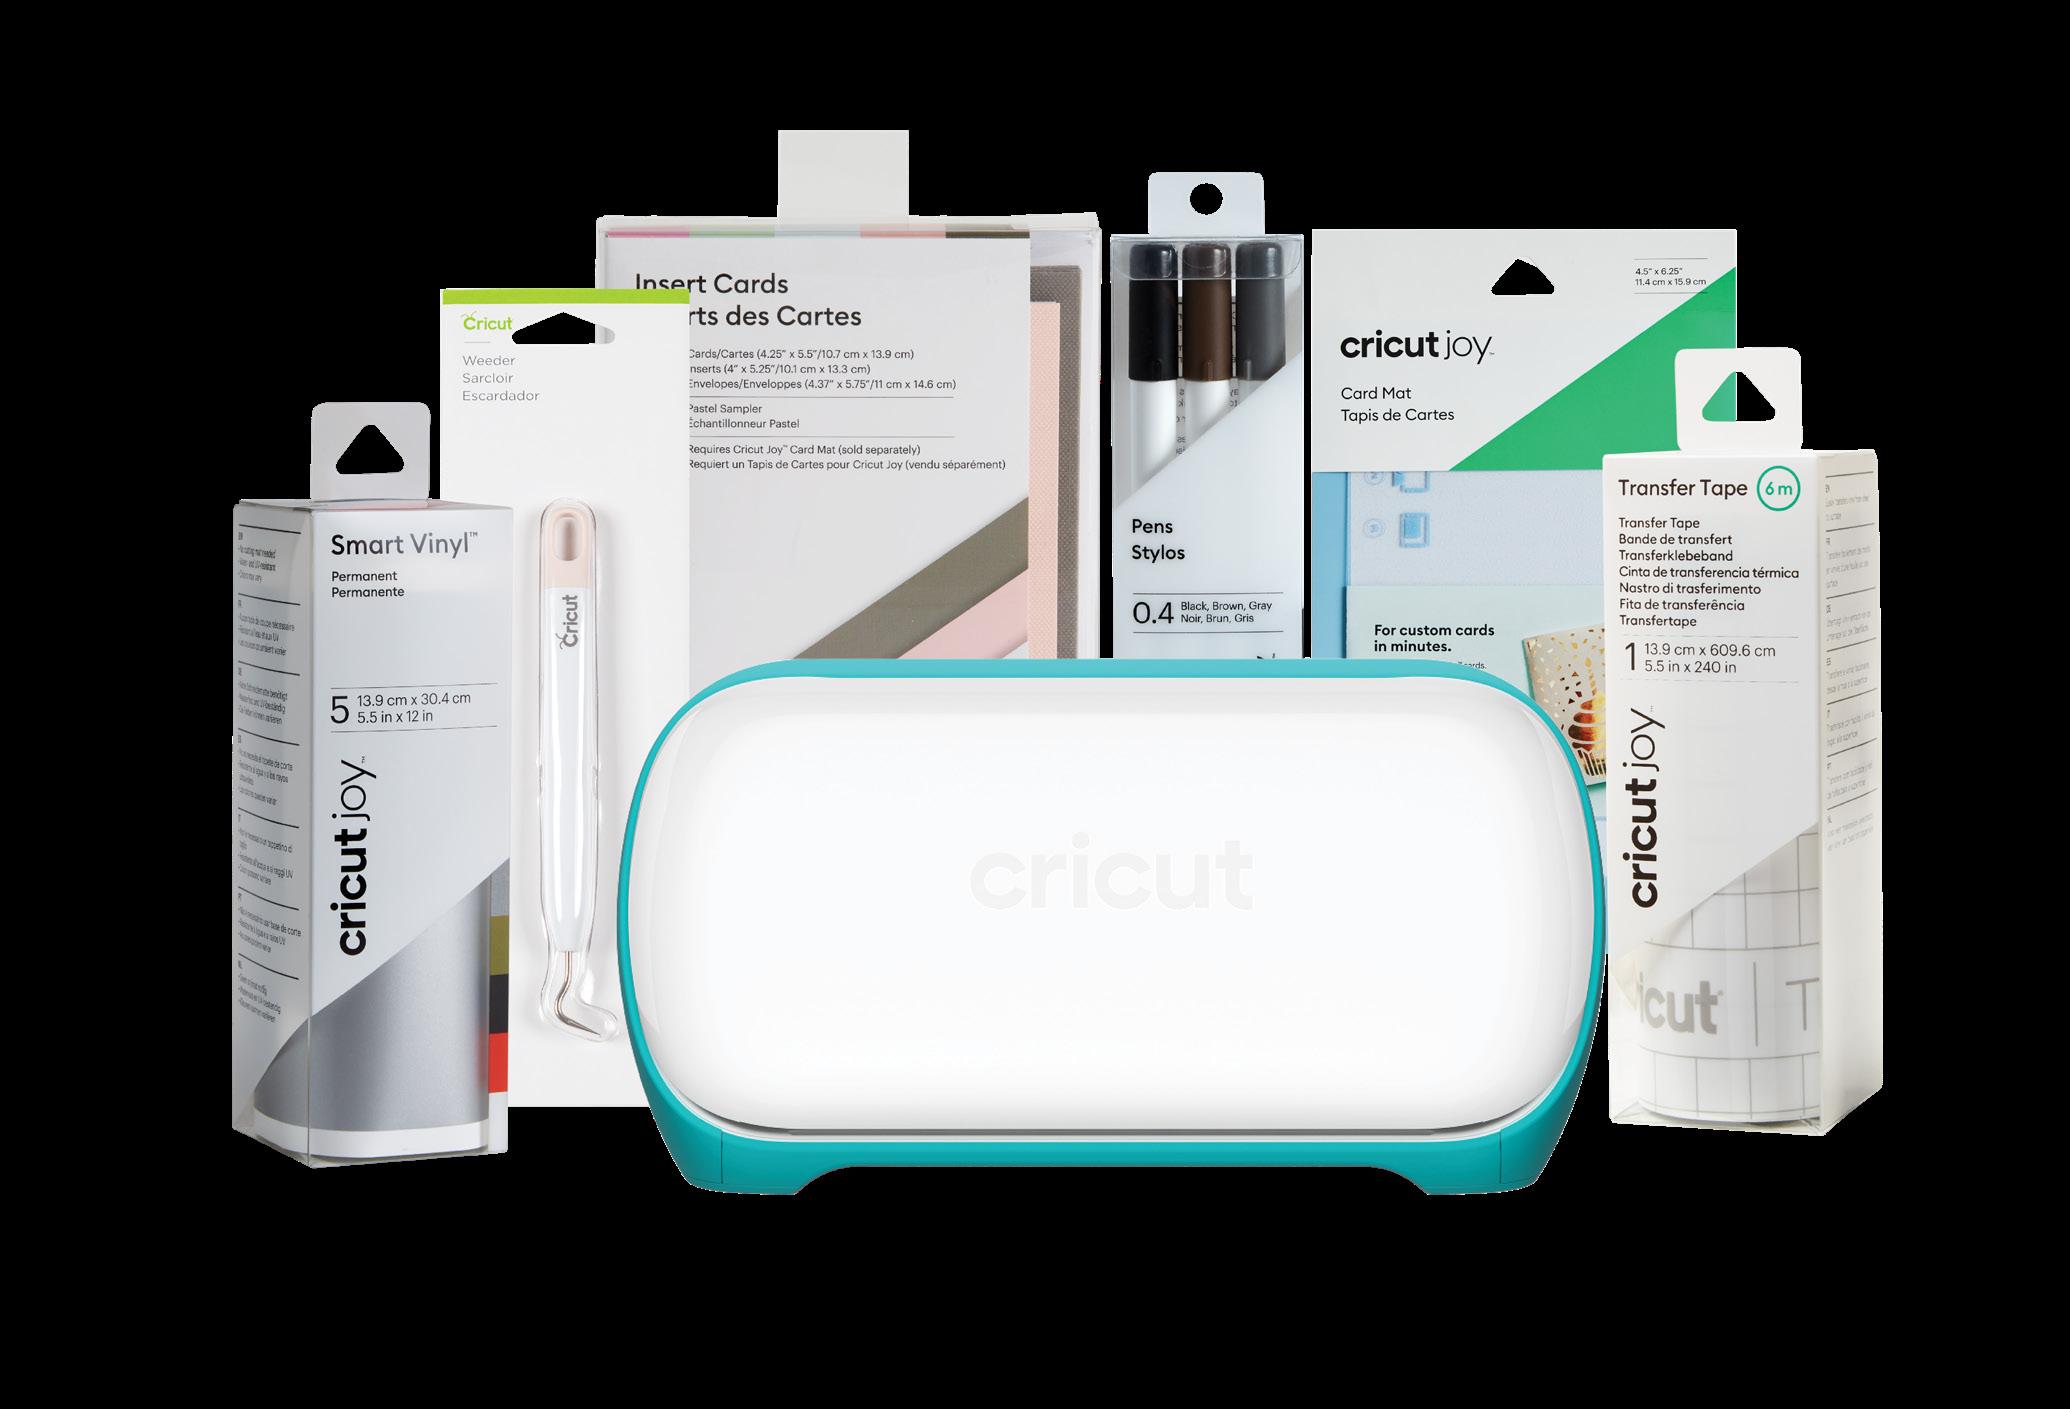
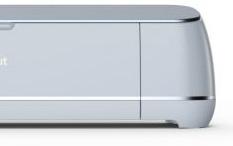
With Cricut Joy™, it’s a snap to create custom cards, pro-looking labels, and personalized decals. Make


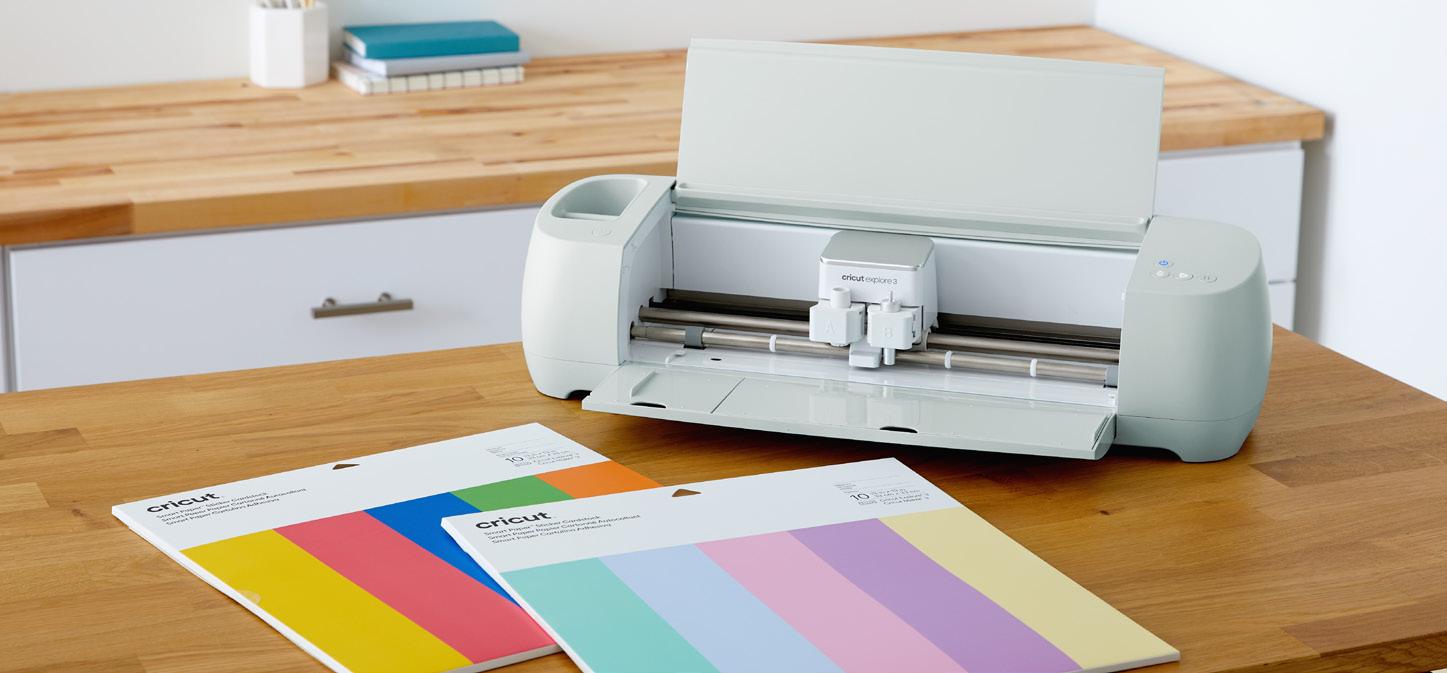
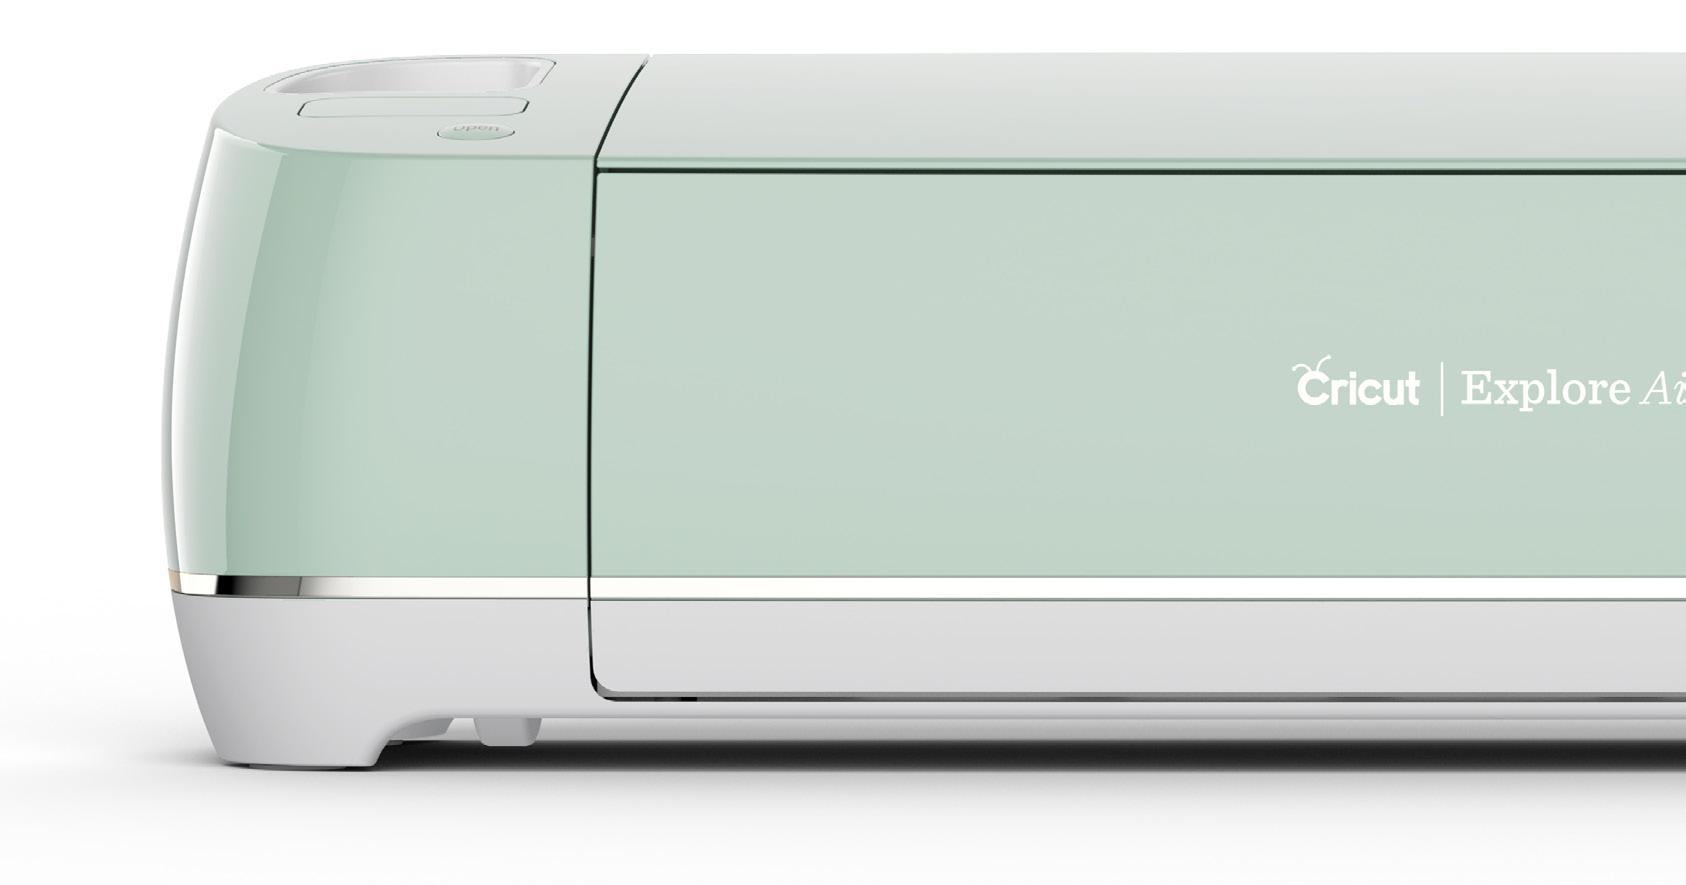
Make popular projects like vinyl decals, stickers, cards, and T-shirts with the Cricut™ Explore 3 cutting machine. You can even make in multiples. No design experience required. Works with our free Design Space app.


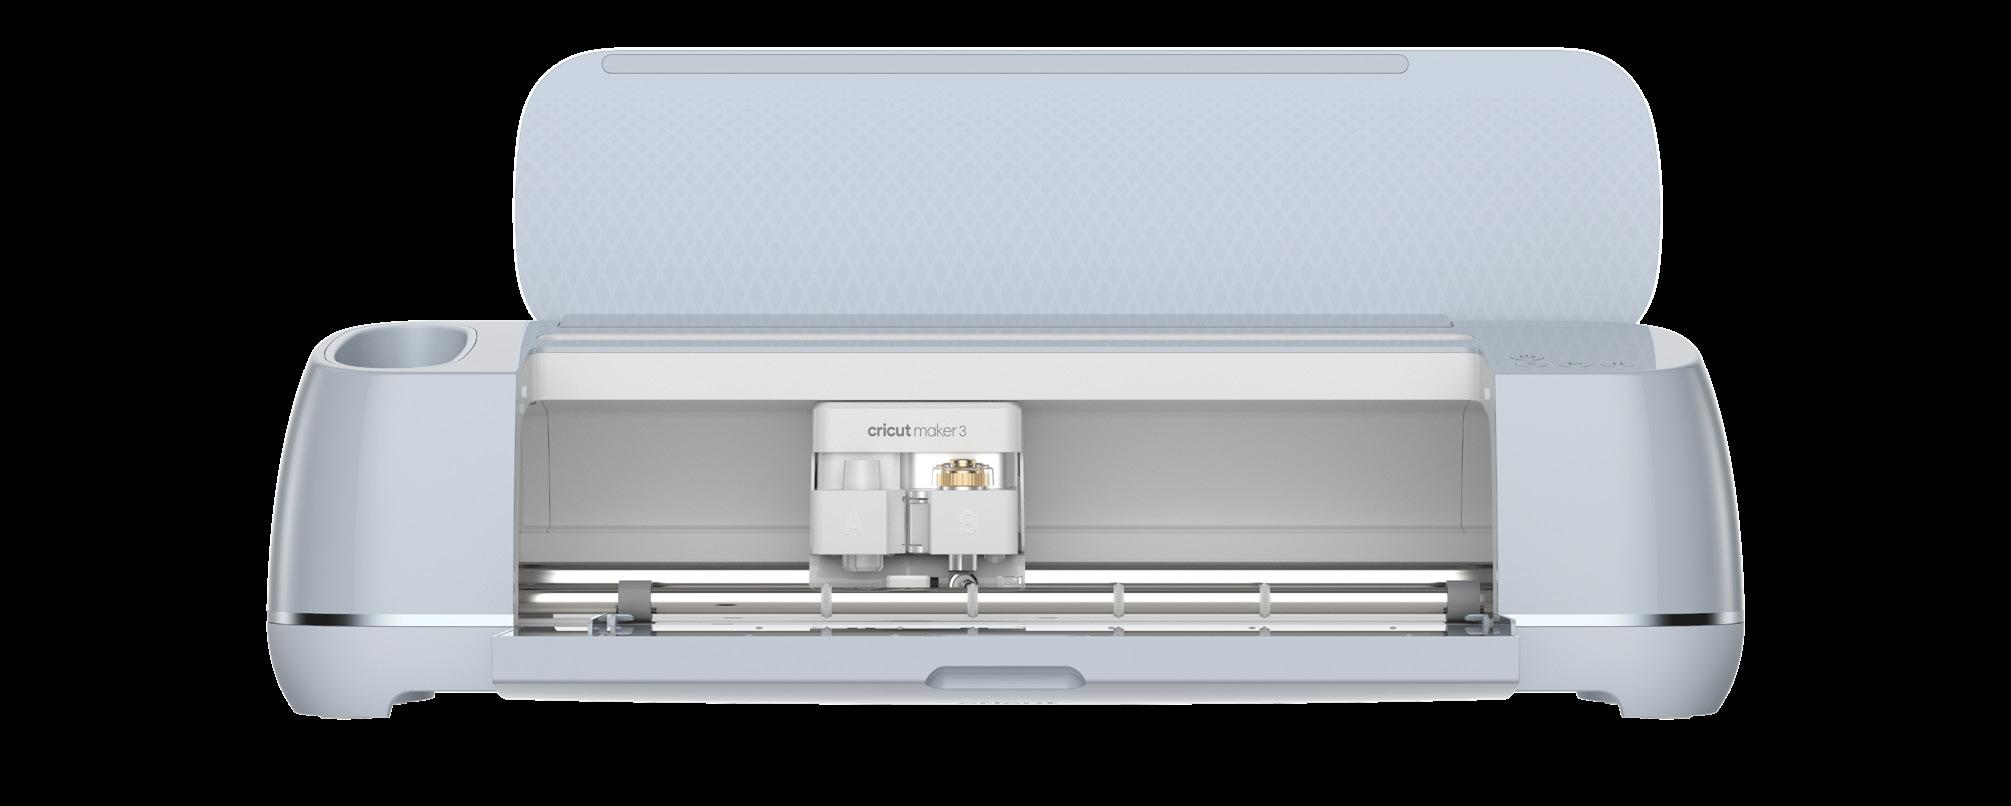
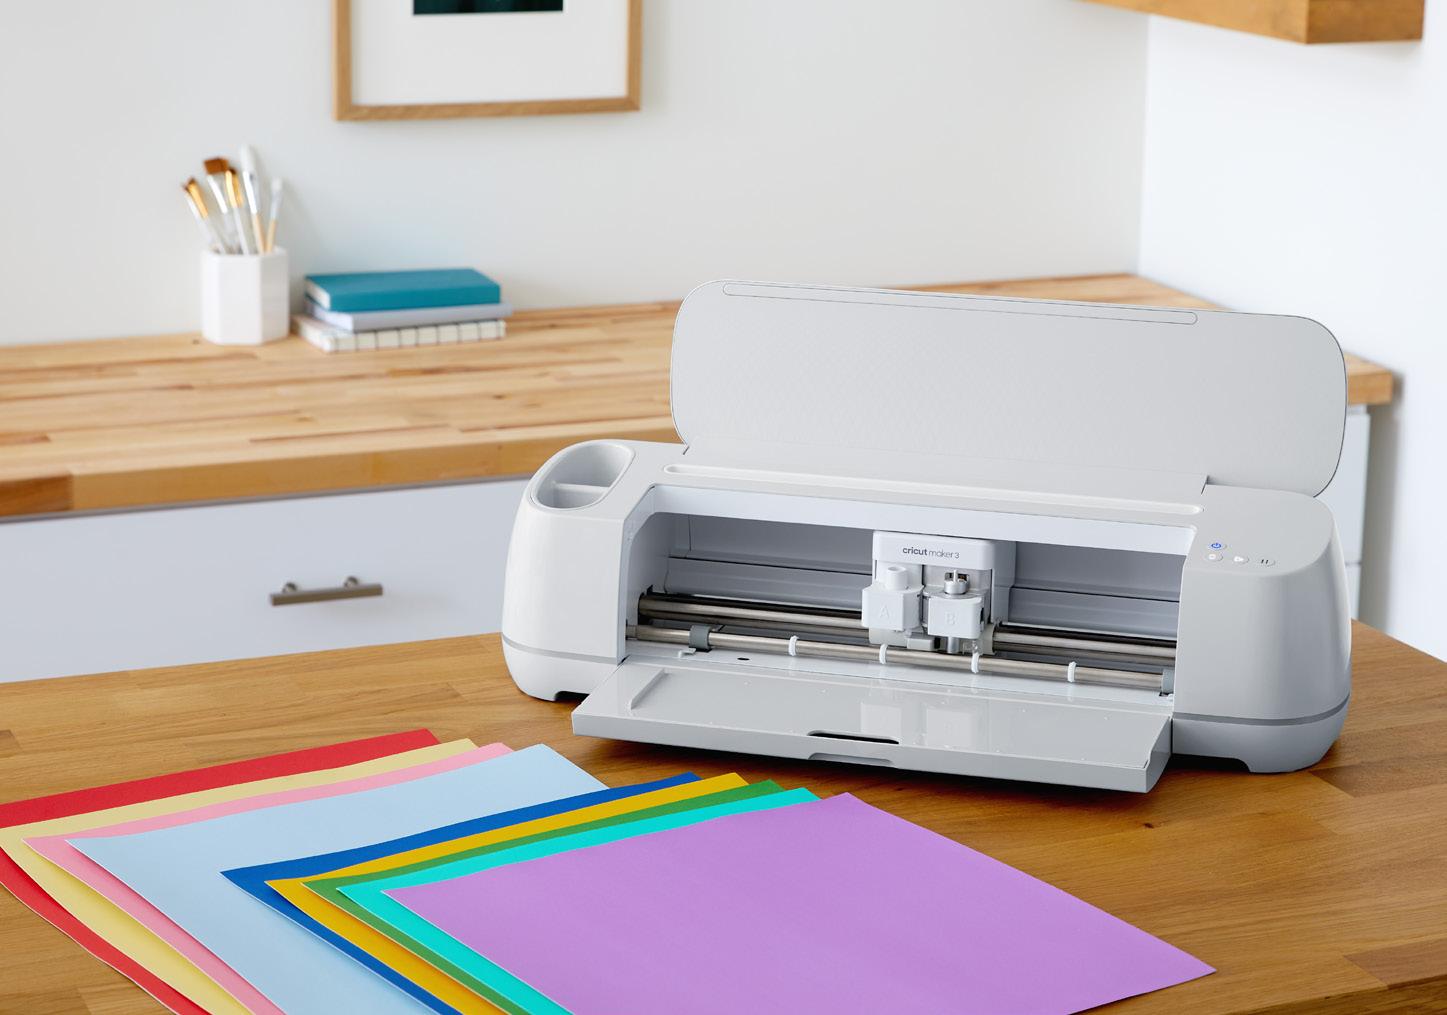
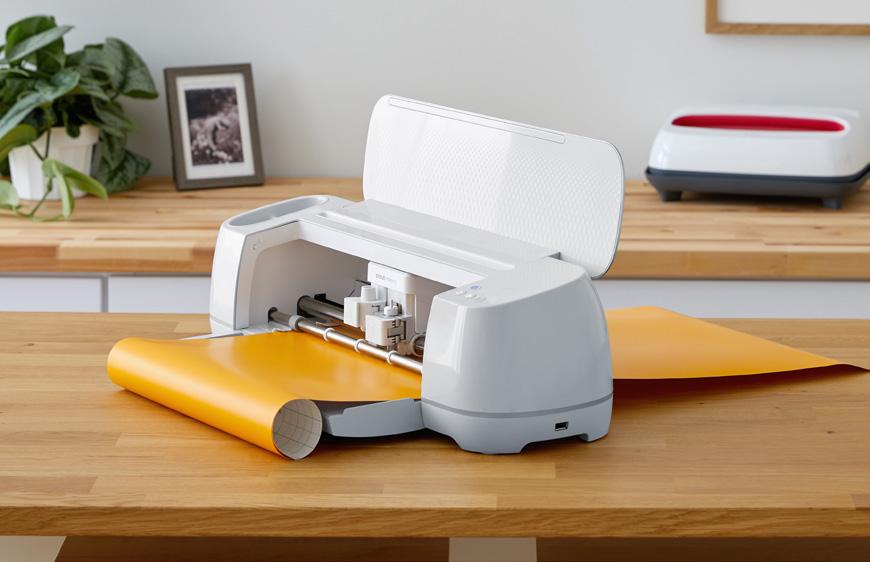
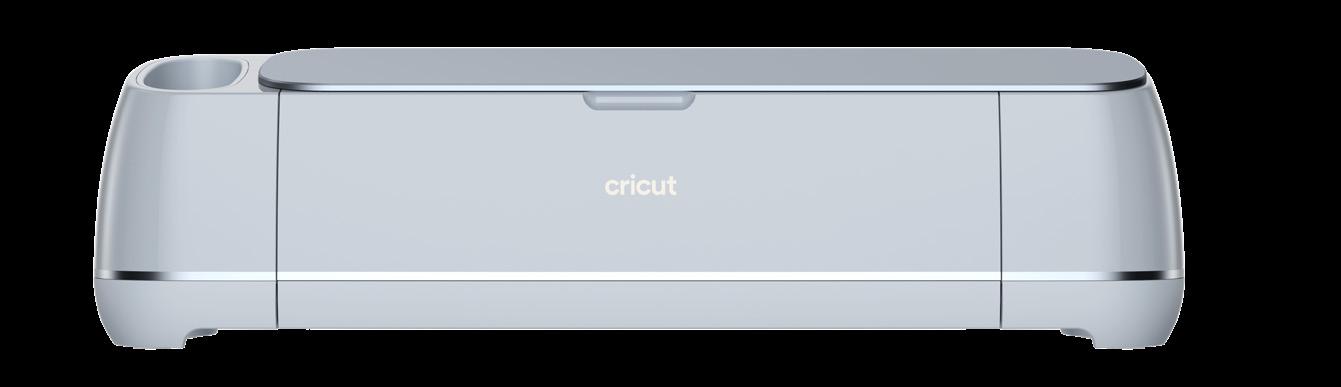
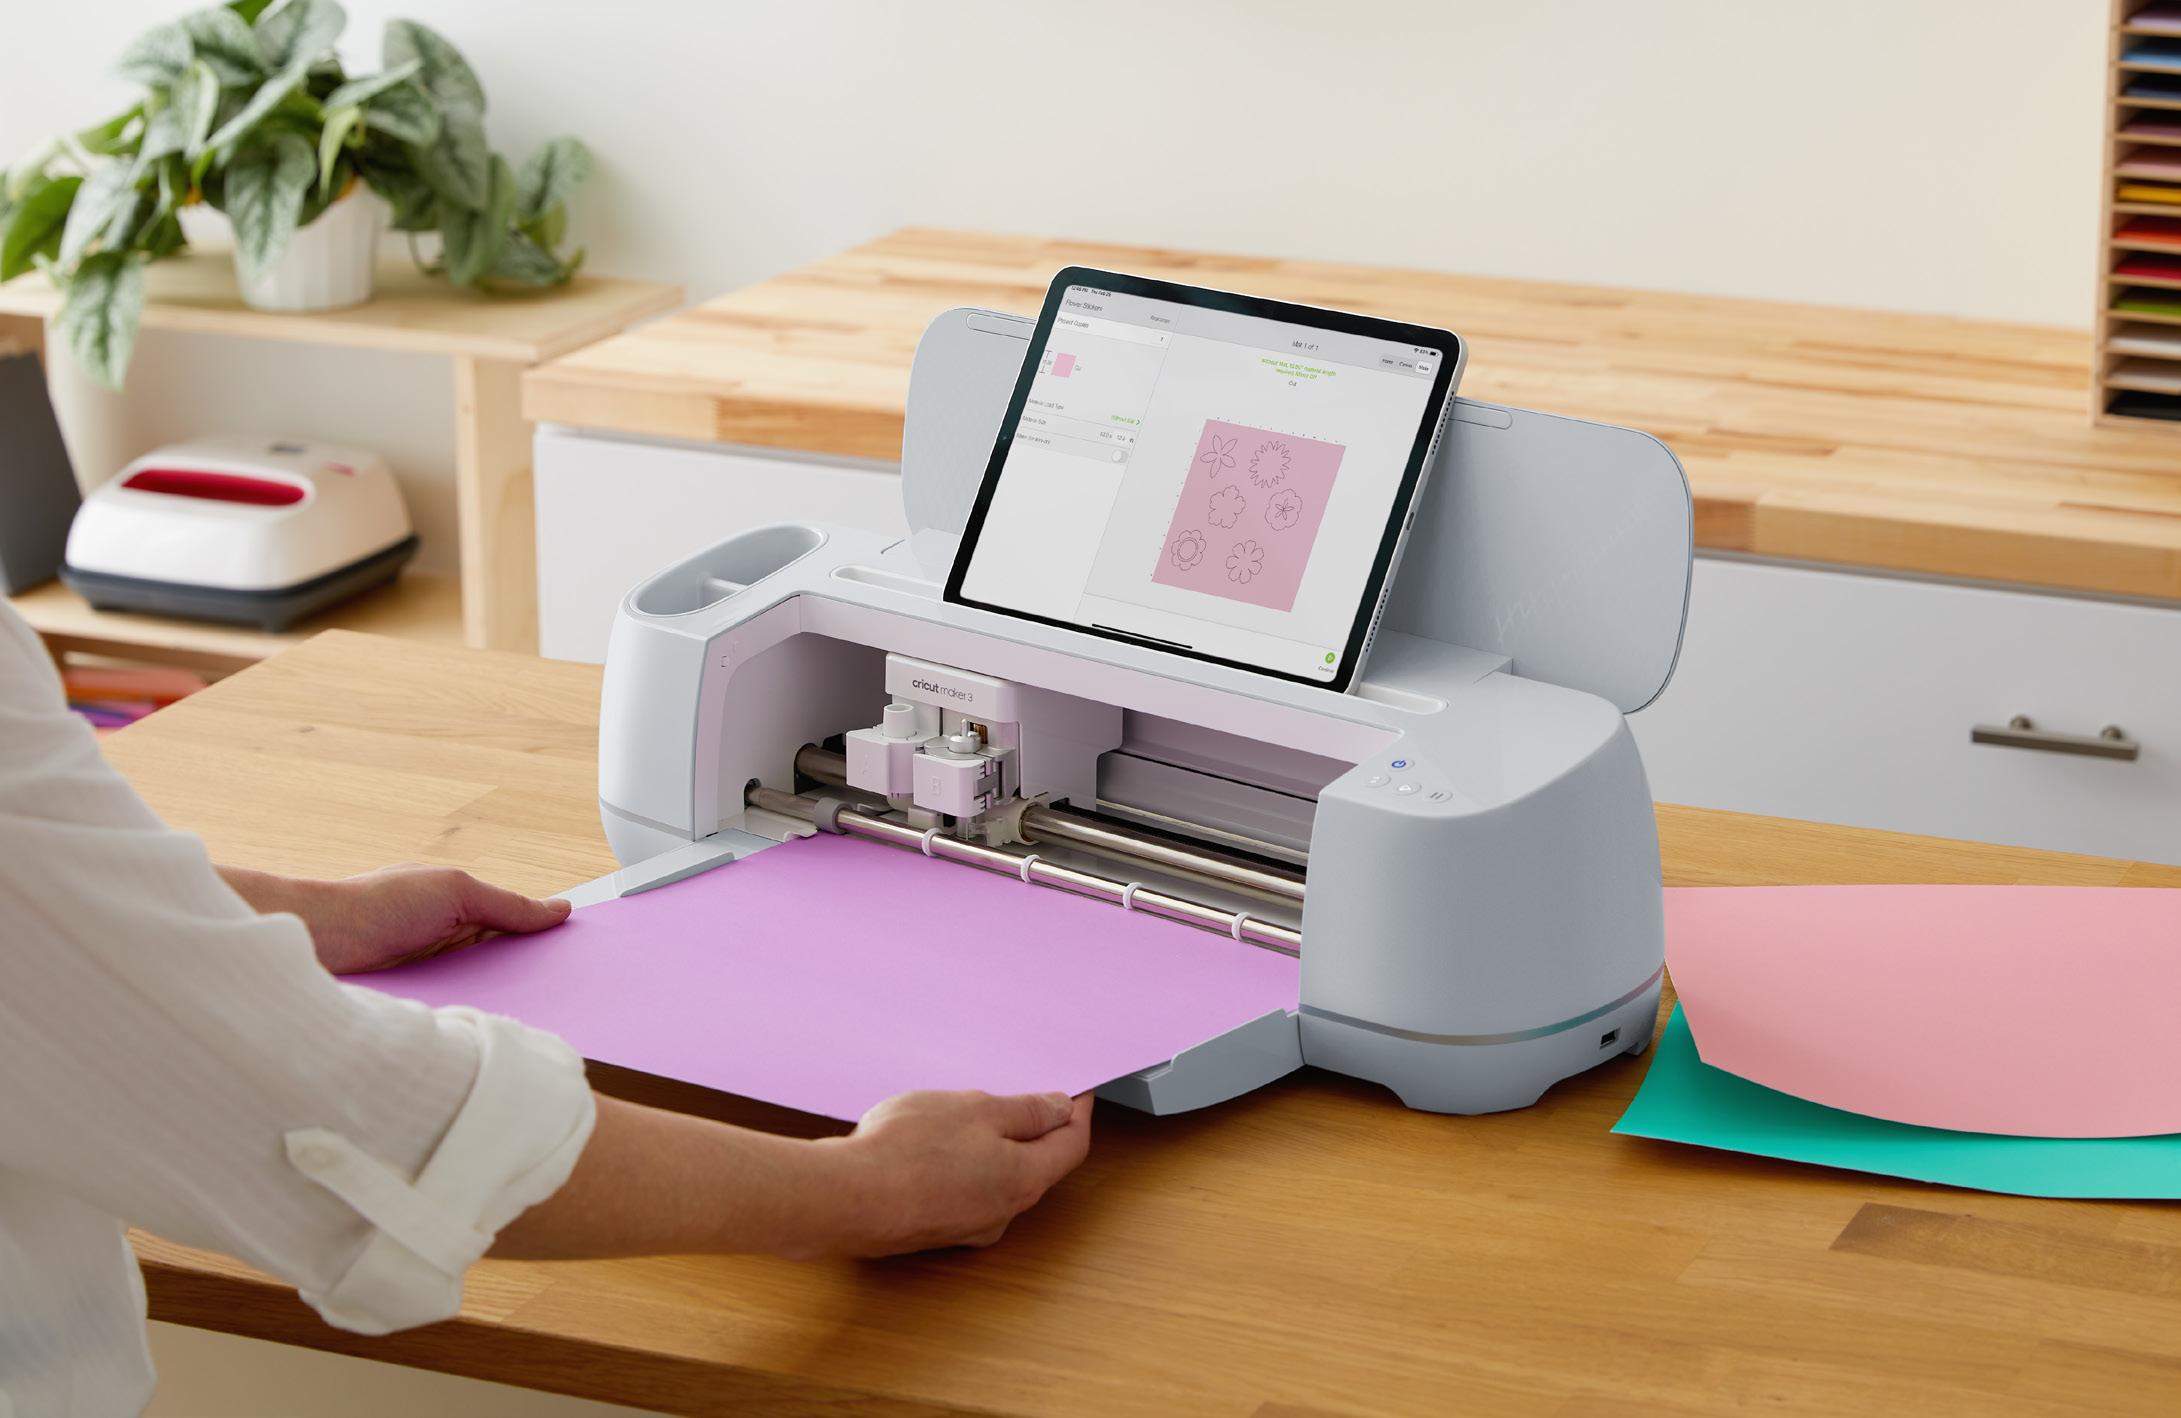
From lovely leather jewelry to personal picture puzzles, make it all with Cricut Maker 3 - the ultimate smart cutting machine.


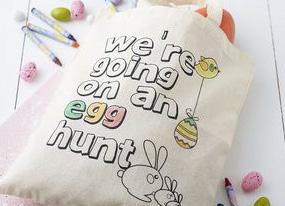
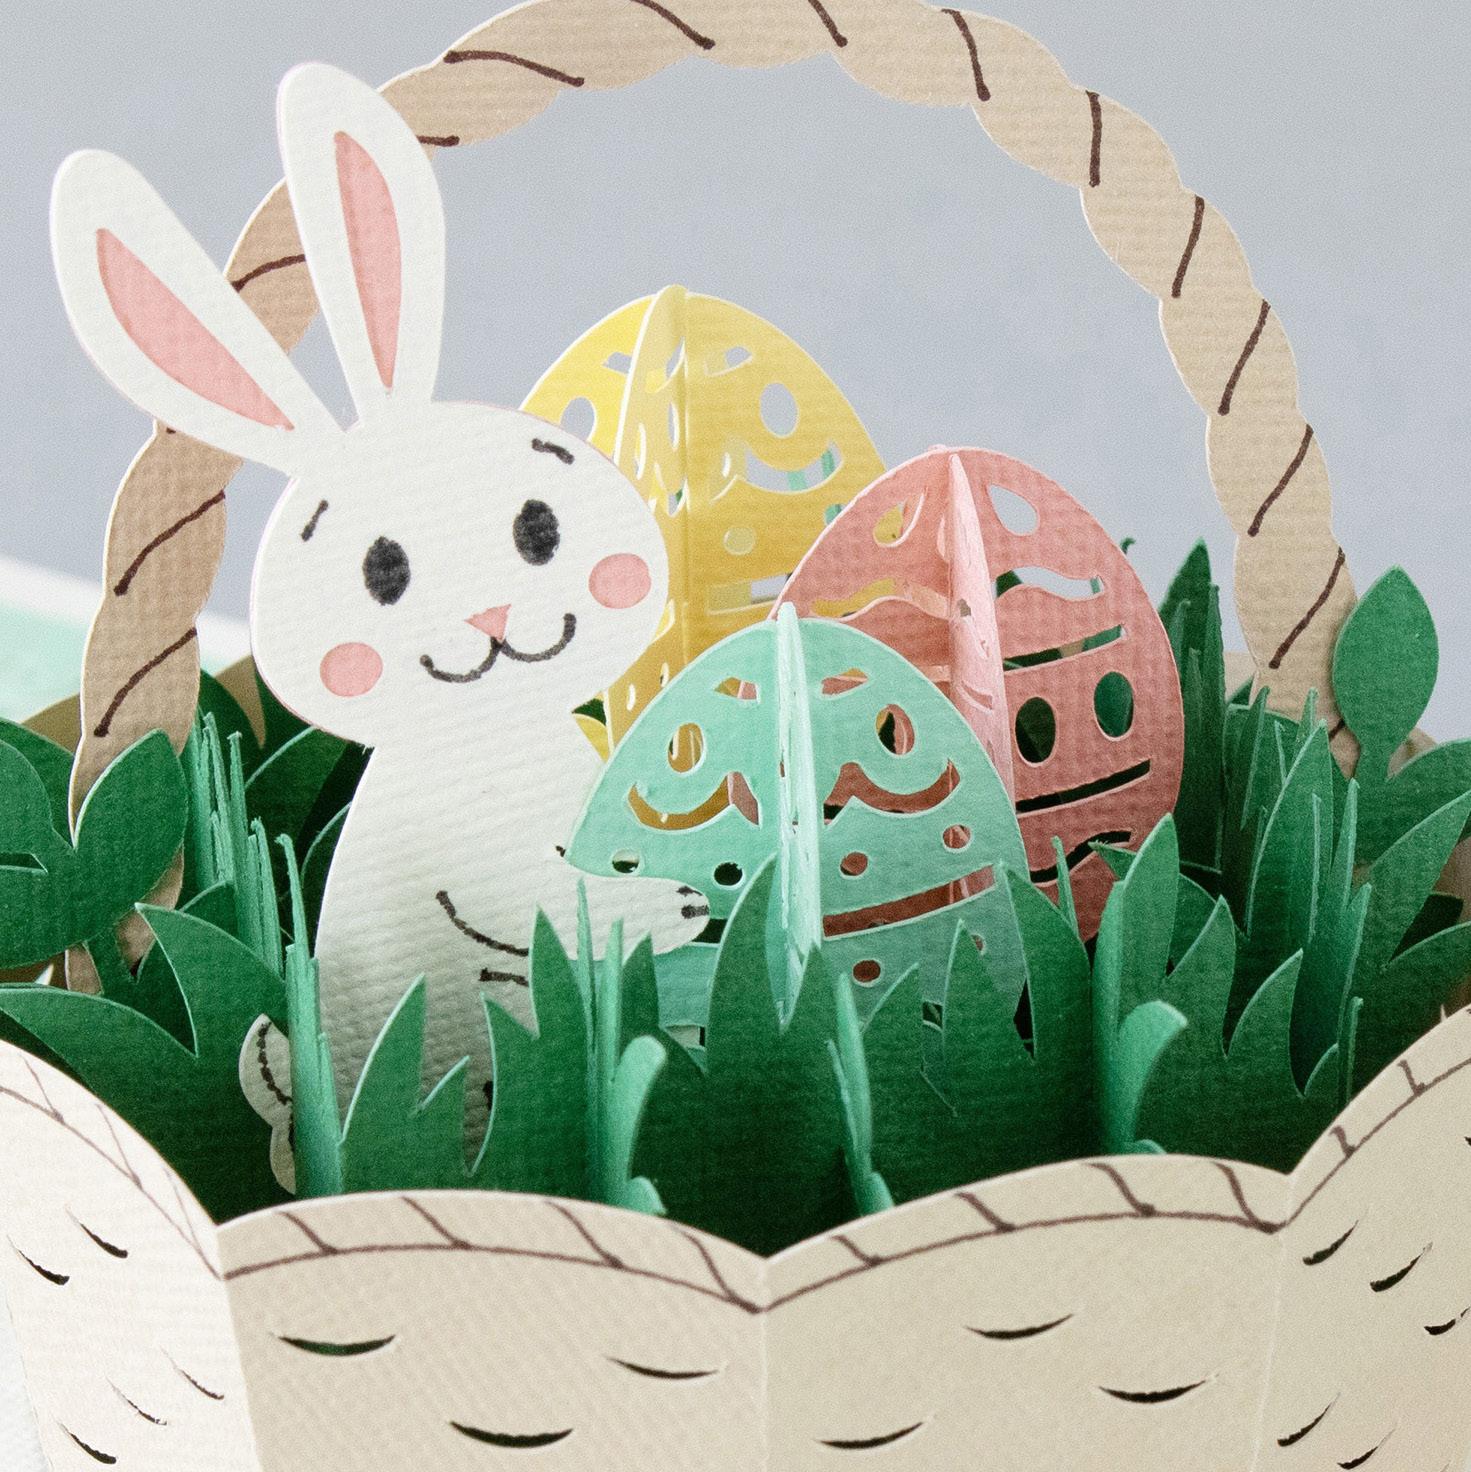
Create a customized and personalized Easter for the kids with Cricut. From cute activities to beautiful treats, this is sure to be a memorable occasion.
With any Cricut machine.
With Cricut any occasion becomes a special event. Still in need of inspiration what to make for Easter, then you are in luck. Cricut takes the stress out of creating with a myriad of designs ready to inspire and be made in vinyl, cardstock or using iron-on. Be inspired, let’s make.


Every Cricut cutting machine connects to Design Space® — our free, easy-to-learn app. It’s where you can discover, design, and make custom projects. No need to feel overwhelmed, Design Space offers thousands of ready to make designs and projects just for you. You can upload your own image or find inspiration in the design library to customize to your liking. Then, use your machine to make your projects come to life. No design experience needed — learn as you make!


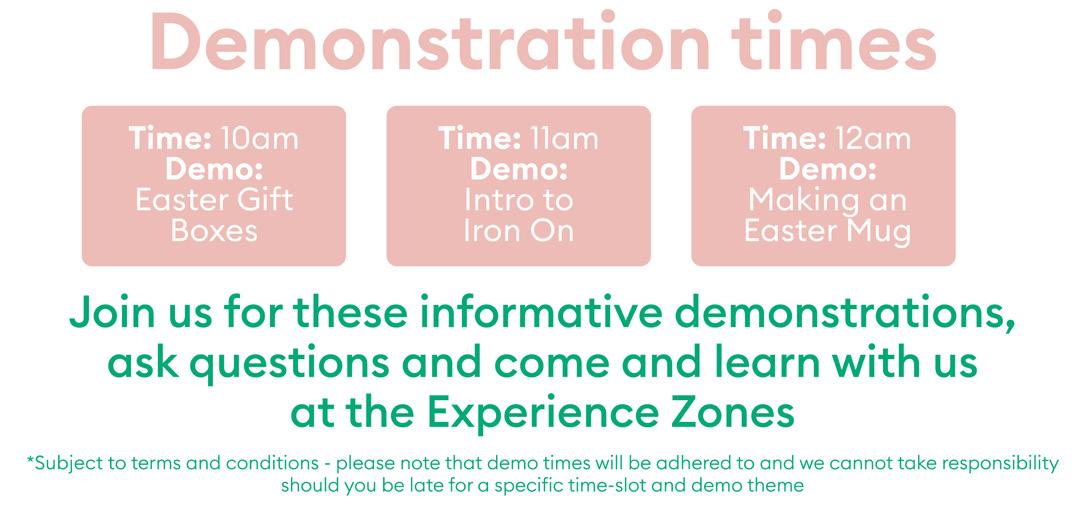
Join us as we hop into March with our Special Members Experience Zone Easter Day. Filled with Easter treats, members not only join in the fun but are inspired to create their own festive treats for family and friends. Our special demos done in store focus on easy Easter inspiration you can easily follow at home. Give-aways, personalization and o much more fills the day with creativity and excitement. Join us for free as we celebrate.
23.3

Join us for our exciting Facebook Live classes where you can craft along with us, learn tips and tricks from our dedicated teachers, be inspired, ask questions and so much more. Every Tuesday night at 7pm - Let’s make together.

Book a FREE Beginners with us, make your first project and learn the basics. Or book and advanced class and create like a Pro. We now offer 1:1 sessions to tell you all about Cricut and to help set up your machine for you.

Join us for our weekly Live Facebook Class where you can craft along with us, learn, ask questions or just get familiar with Design Space.

“Coming soon! Weekly Live Zoom Classes as well as our new Craft-a-long Classes
Join our community.
Join our community of like-minded crafters and creatives. Here you will find inspiration, projects to try, news, challenges and stand the chance to win amazing prizes. Need help? We have an entire army of creatives to support and guide you on this exciting journey.


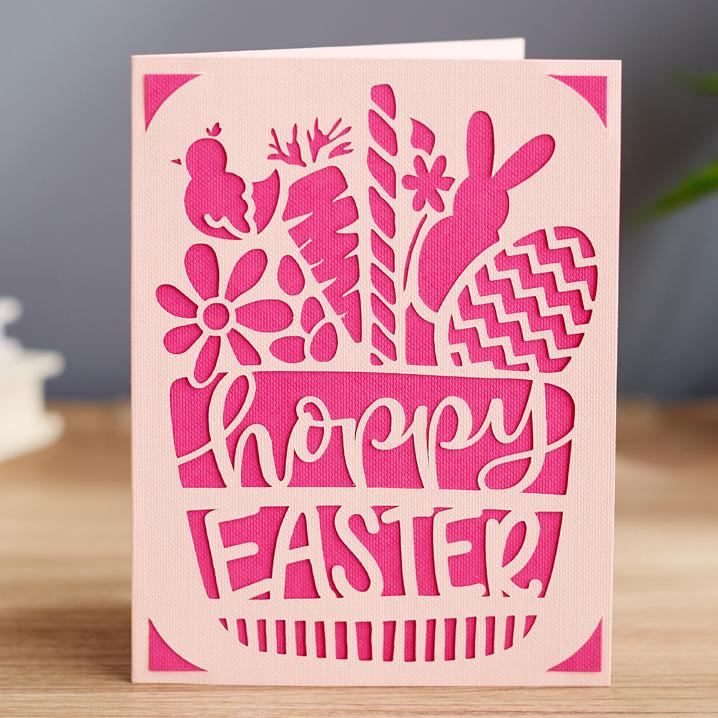
How to make:
This project uses cardstock
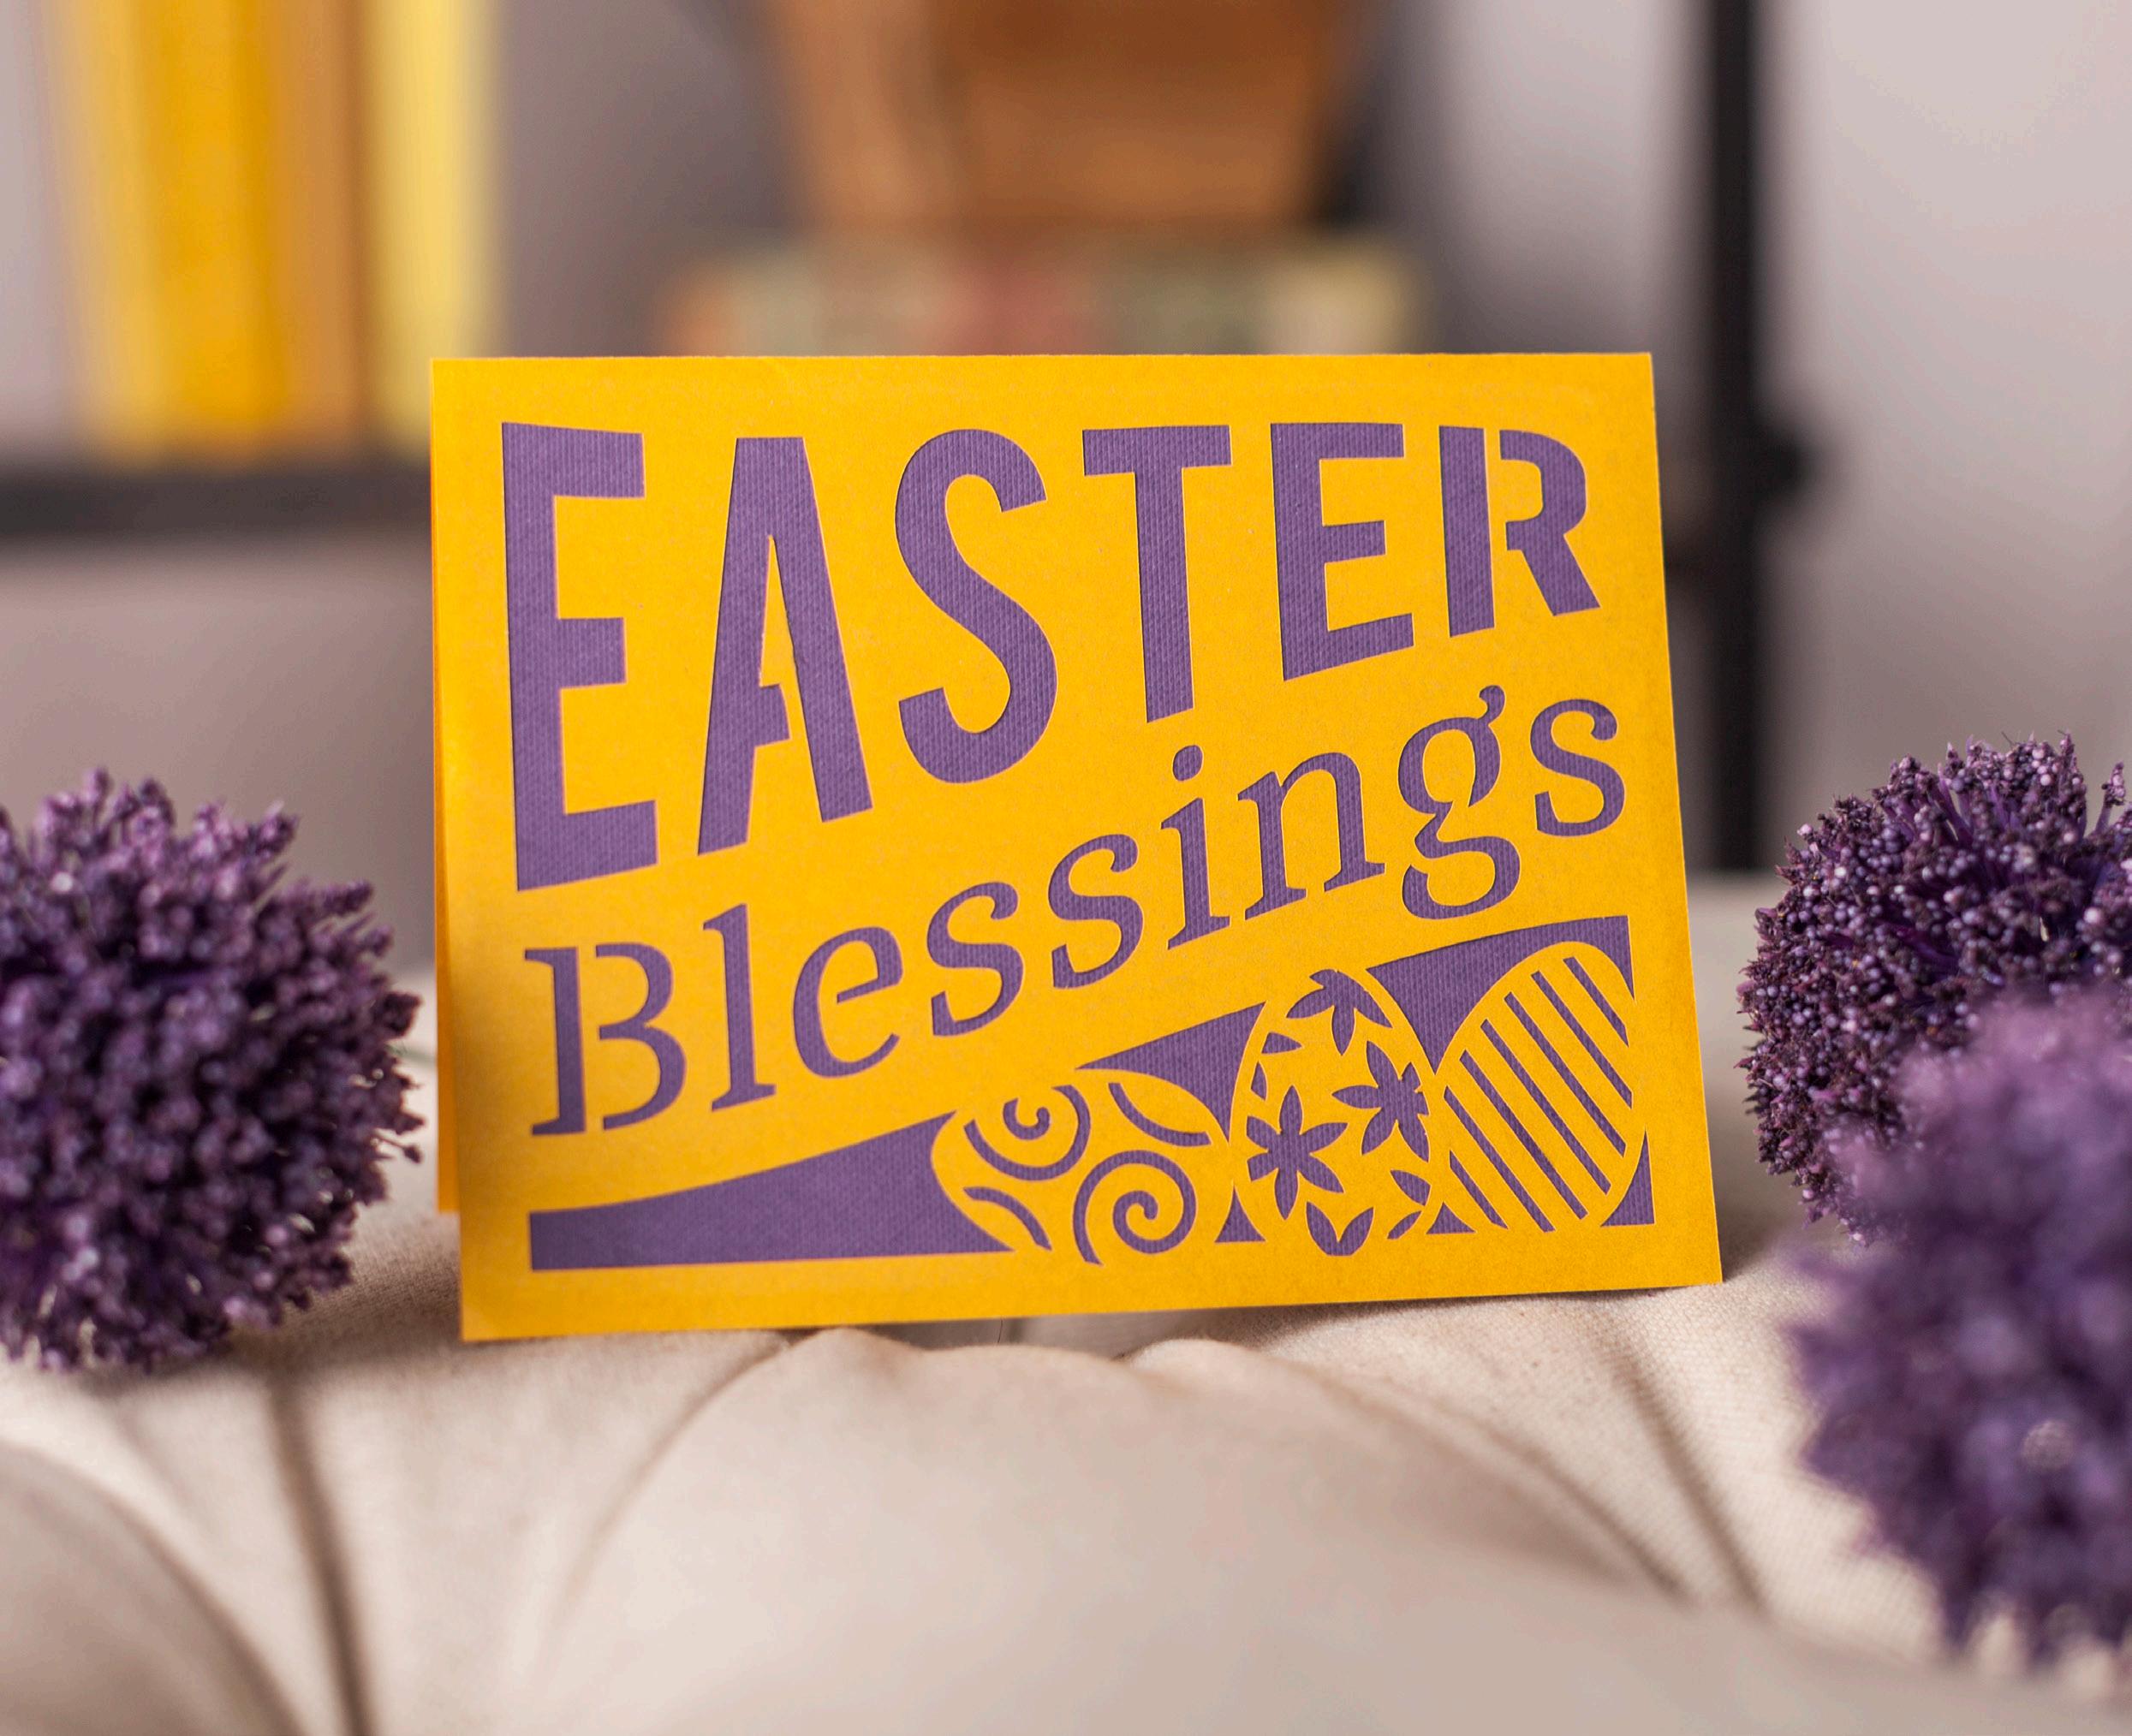
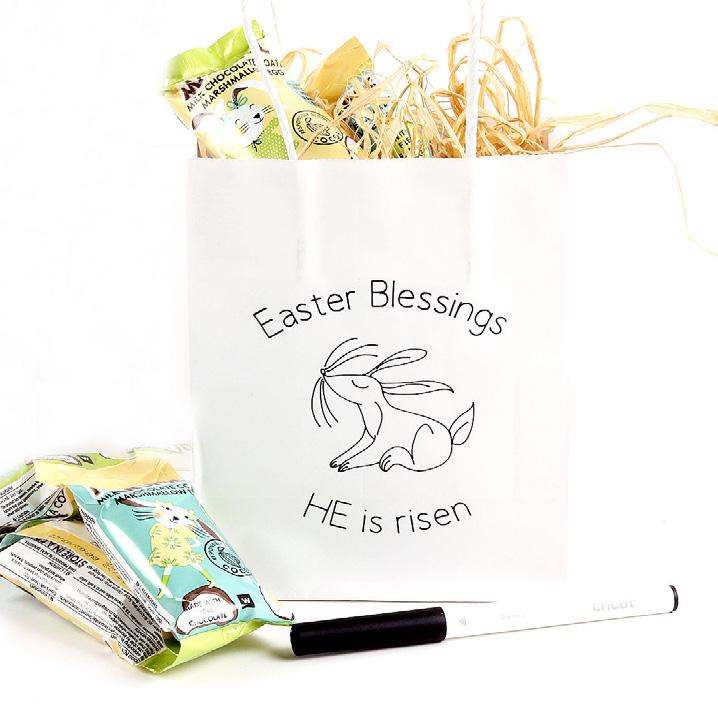
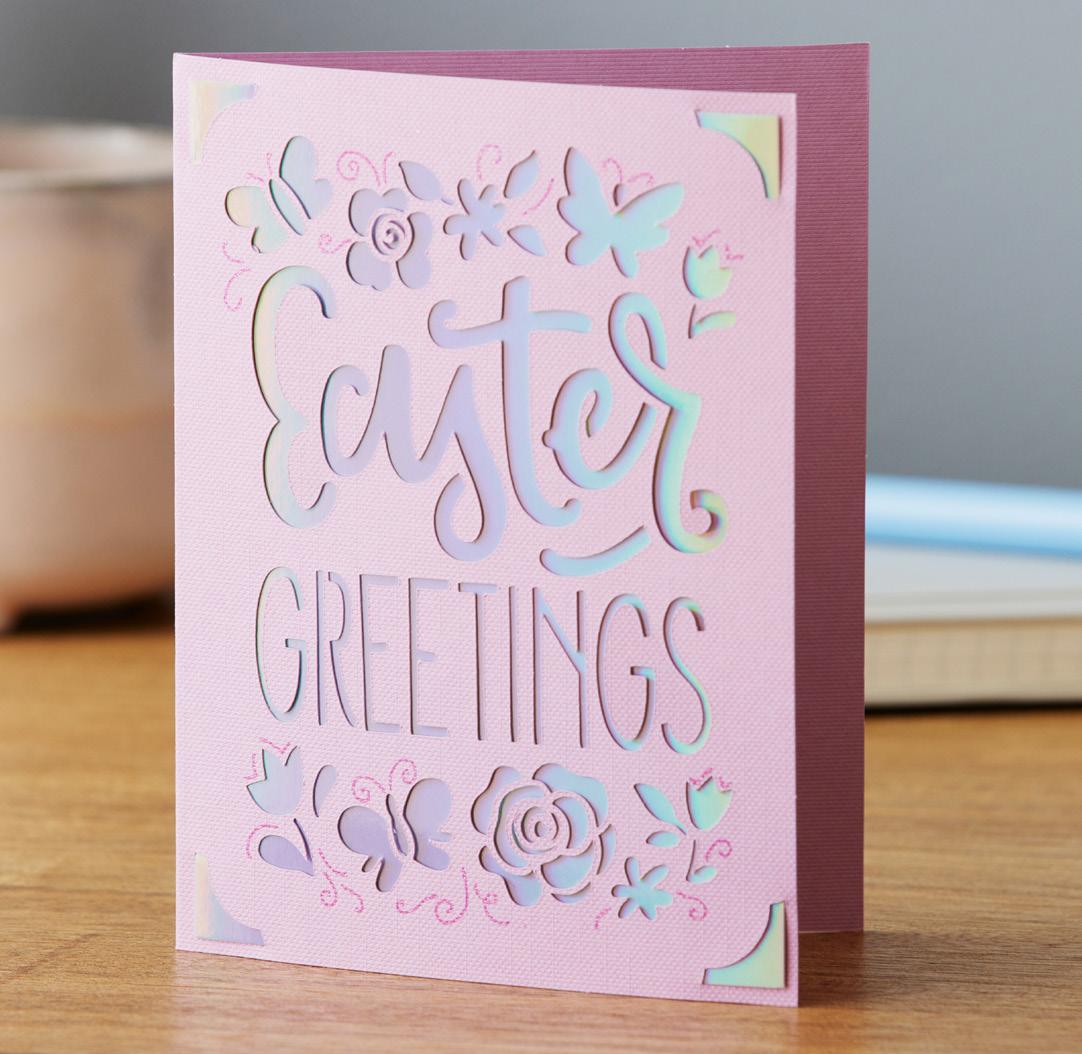
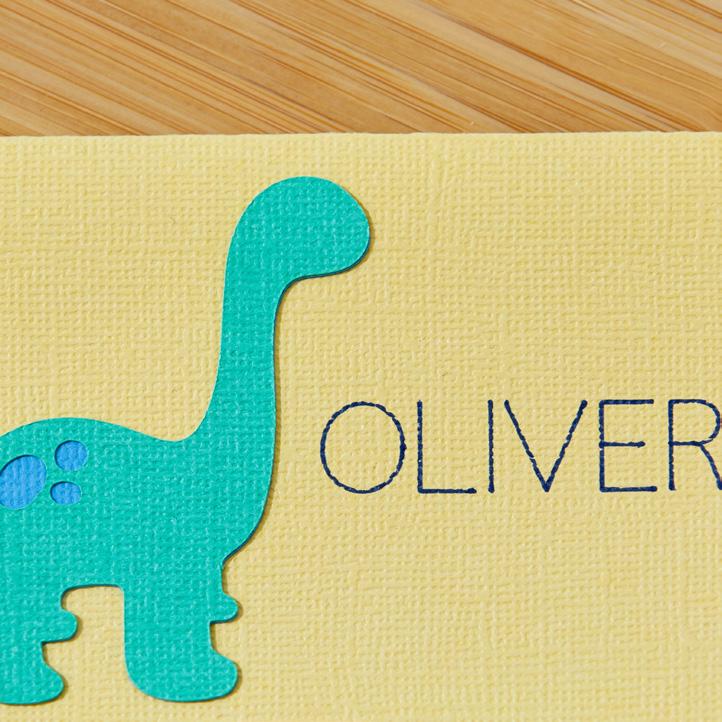
Sending Easter greetings and blessings with a handmade card. Made easy with Cricut - anyone can make quick and easy greeting cards in just 3 easy steps.
Materials To Cut
Cardstock, Purple
Double-sided Patterned Cardstock
Pearl Paper, Yellow
Everything Else
LightGrip Machine Mat
Single Scoring Wheel + QuickSwap Housing or Scoring Stylus Adhesive for Paper
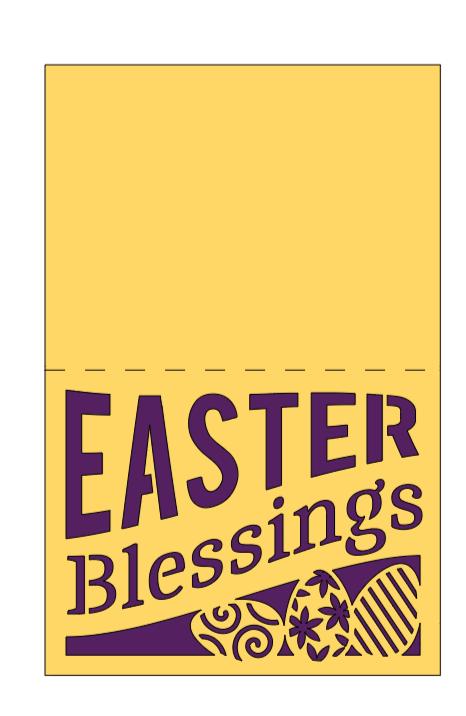
#M3648B

If you want to alter the project, select Customize, then use the tools in the Edit panel to make changes before you cut.
Cut Assemble
Follow the prompts in Design Space® to cut the images from the cardstock and pearl paper.
Fold along the score lines of the card and envelope.
Assemble the pieces of the card, using adhesive and adhesive foam dots, then embellish if desired.
Fold the envelope into shape and glue the flaps.
How to make:
This project uses cardstock
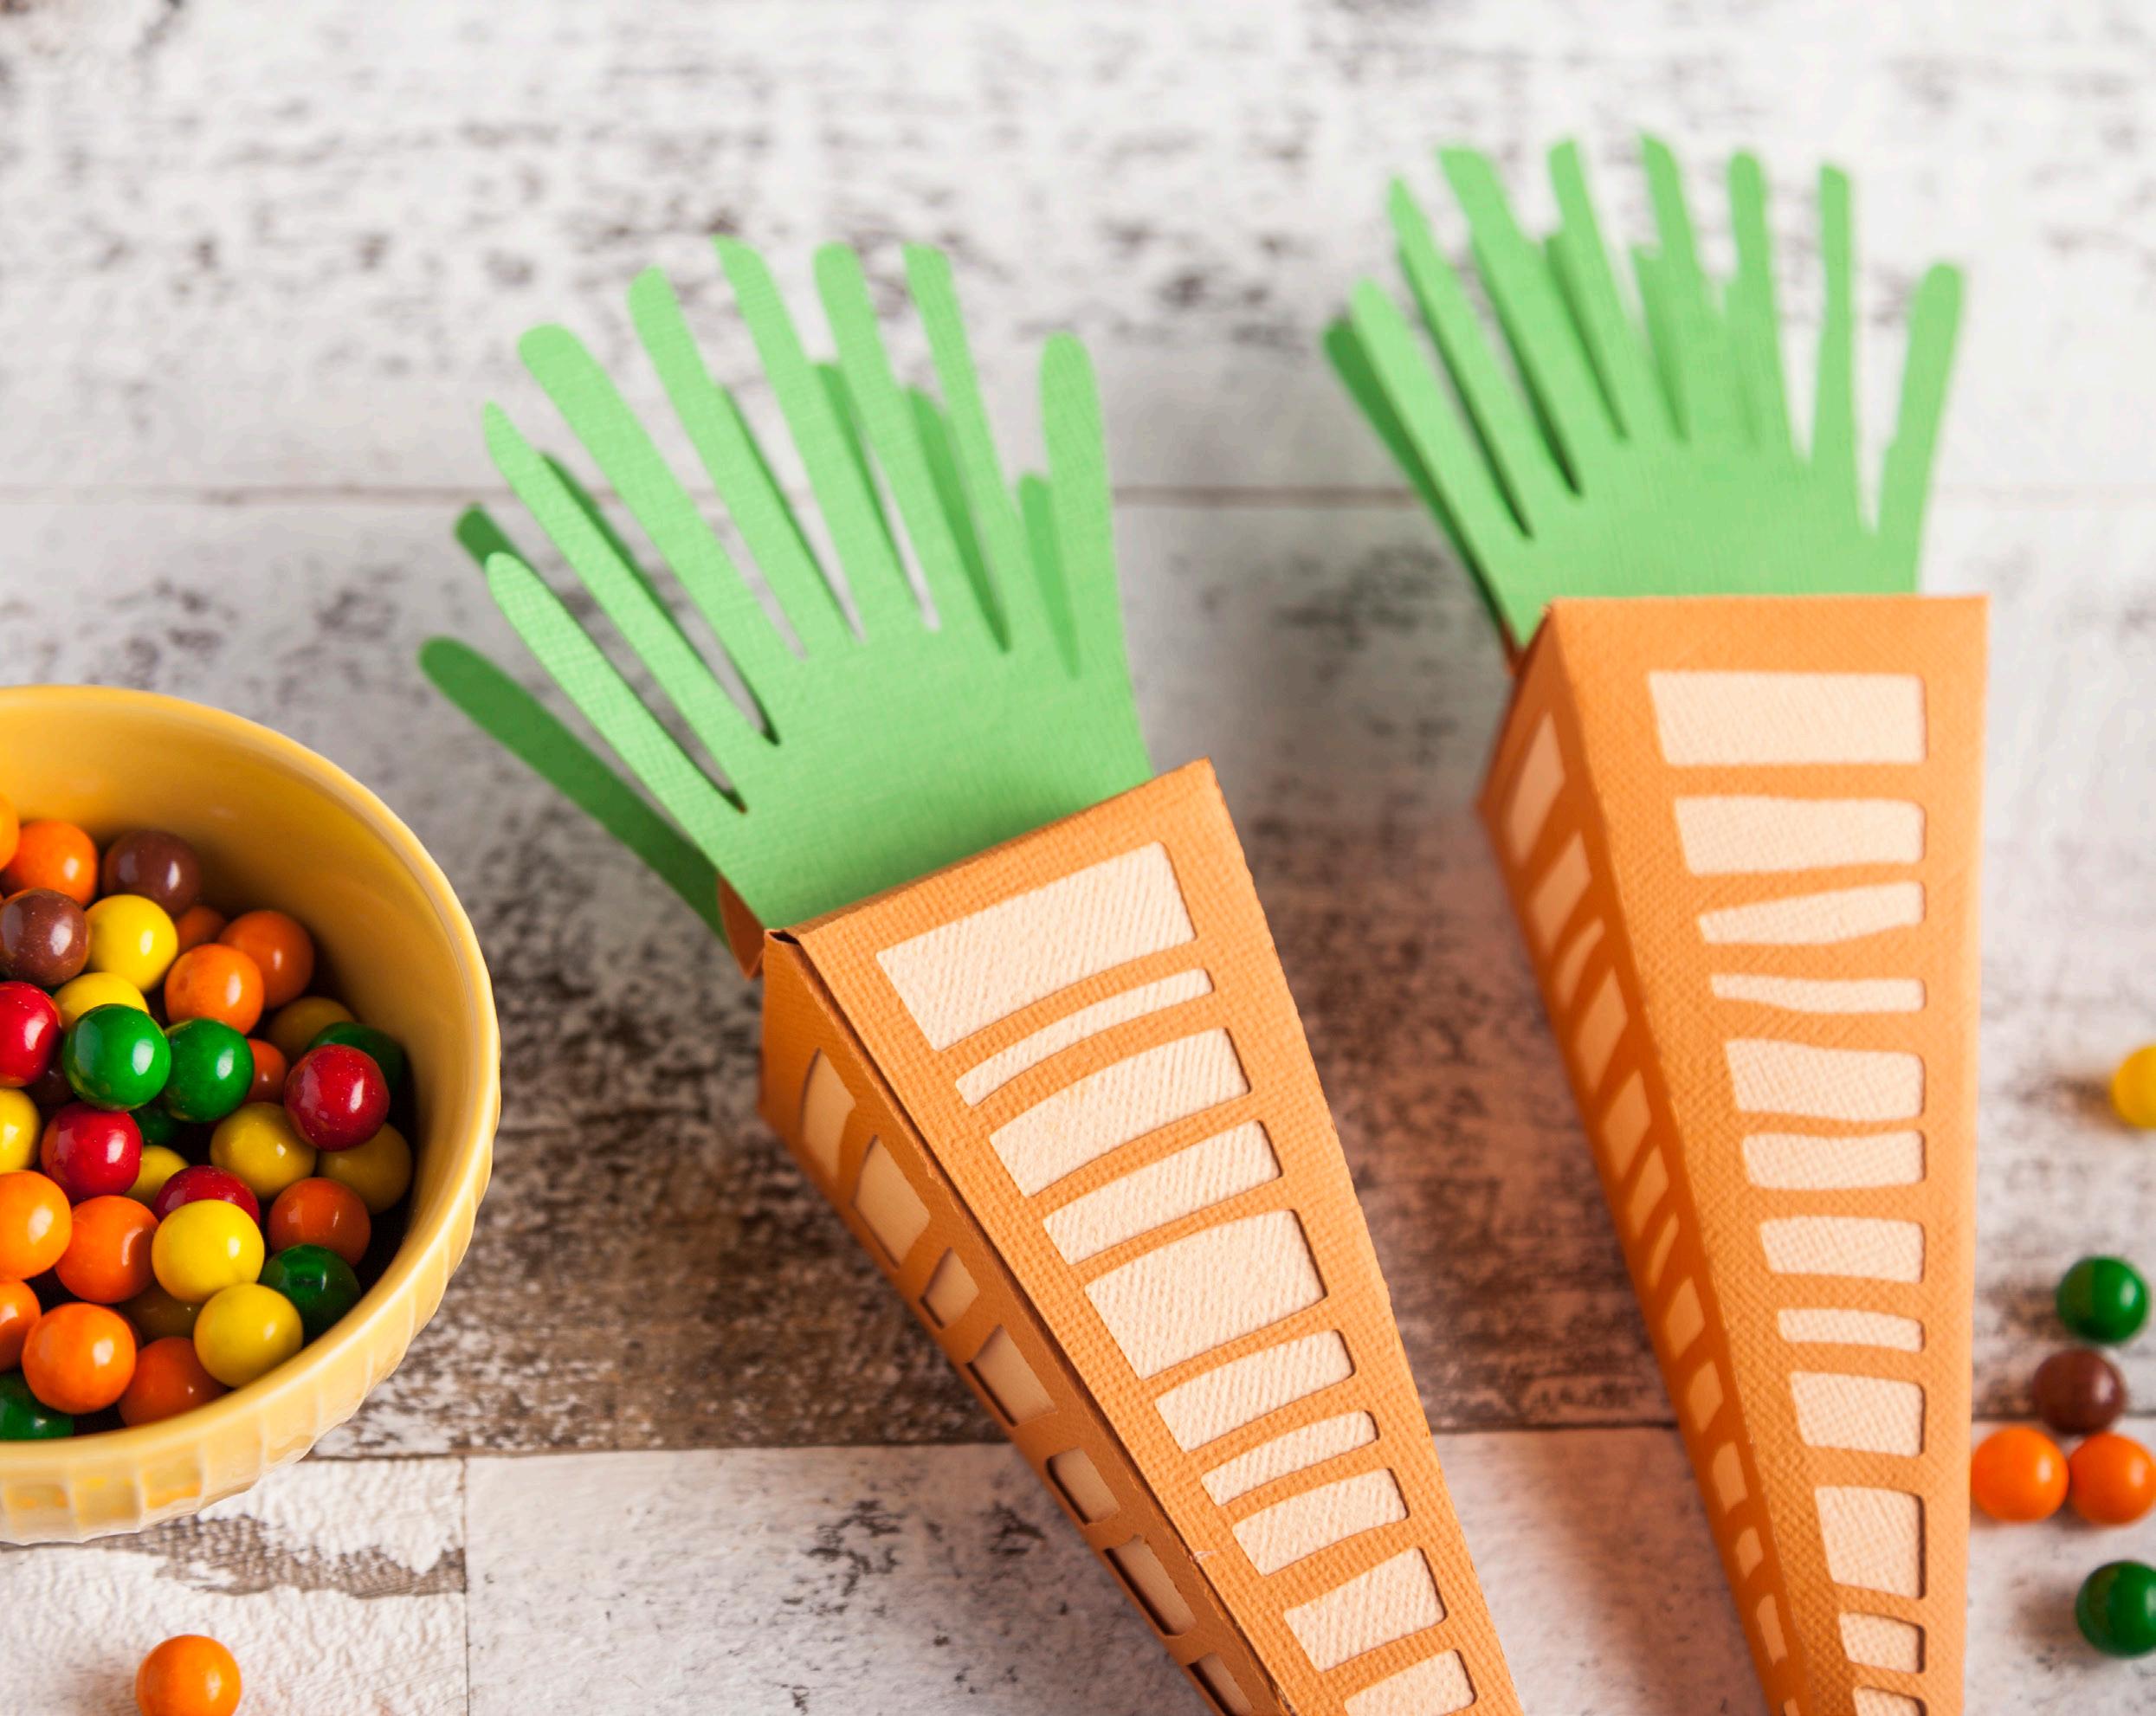
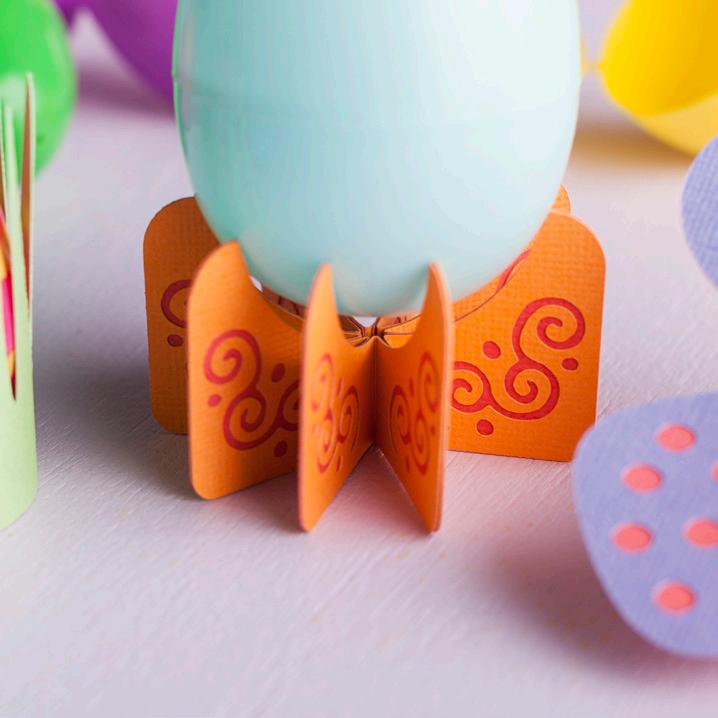
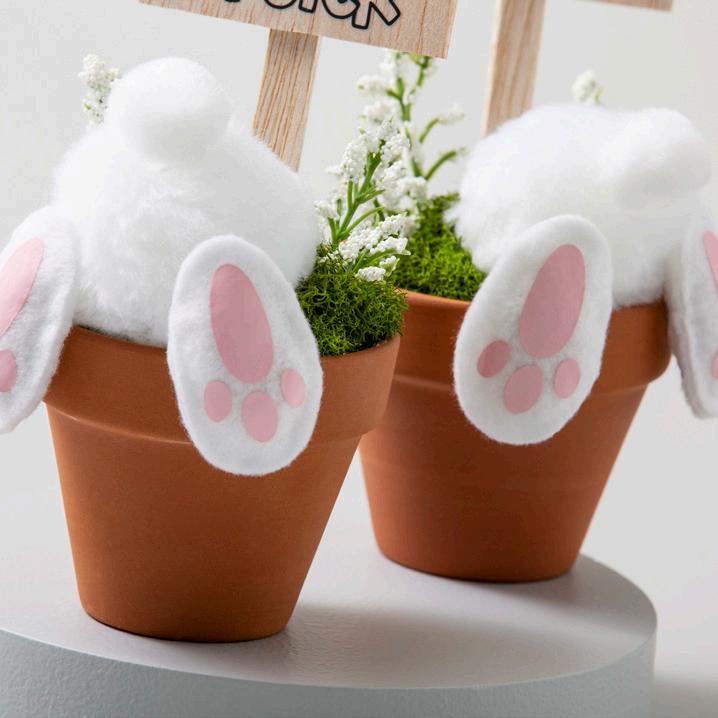
Set yourself apart from the rest with these custom made candy carrots for Easter. Filled with Candy these are perfect for the kids, unexpected visitors, neighbours and friends alike. Made easy with Cricut.
Materials To Cut
Cardstock in orange
Cardstock in light orange
Everything Else
StandardGrip Machine Mat - 12” x 12”
Cricut® Scoring Stylus
Spray adhesive
Hot glue gun
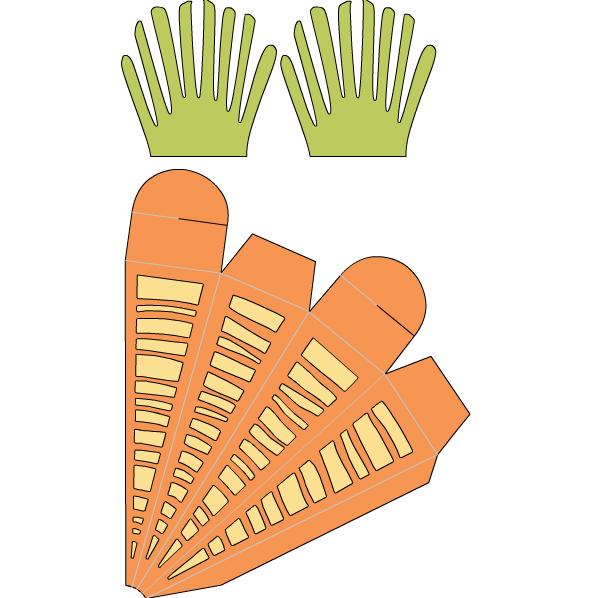
#M21938D2
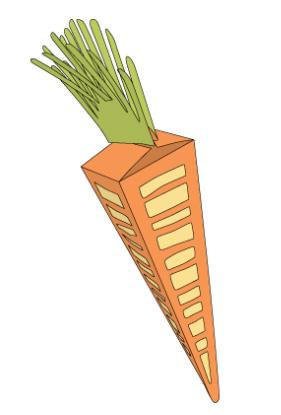
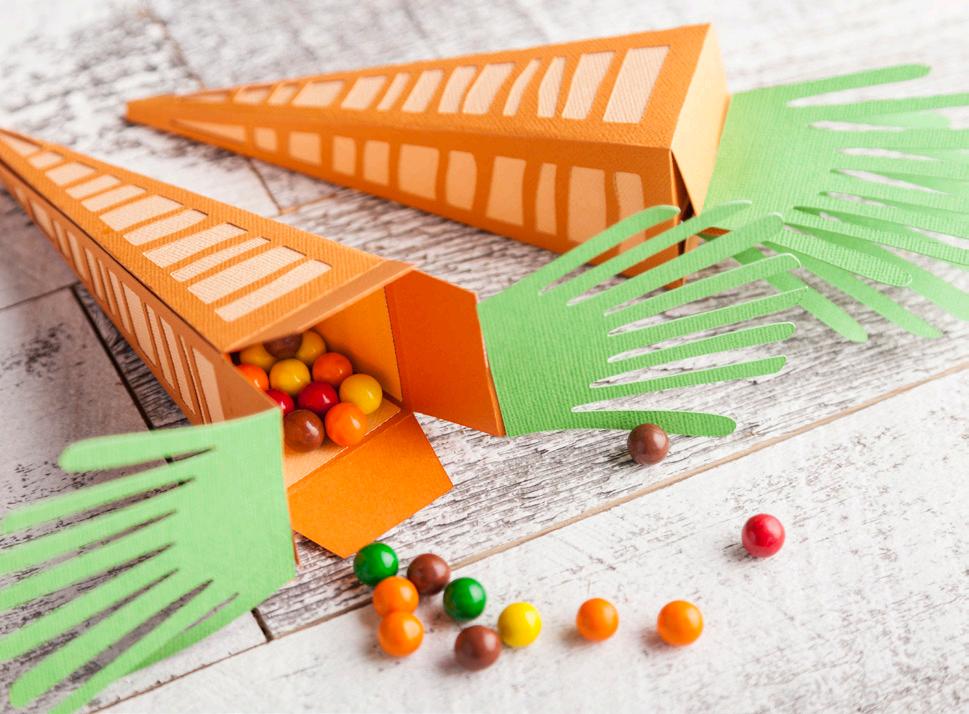
This project makes one carrot box that measures about 9.5” x 2”.
If you need to adjust the dimensions click Customize to open the project canvas.
Resize the image in the Edit tab before clicking Go.
Cut Assemble
In Design Space, cut images from the cardstock.
Make sure to use the correct setting for the materials being cut.
Fold orange carrot on score lines.
Adhere the light orange triangles on the inside of each segmented of the folded carrot side.
Adhere the tab of the carrot cut to the other side of the carrot to form a box.
Fold the top square tabs. Then fold the Rounded tabs. Use the slits to hook the two tabs together.
Adhere the greenery cuts to the curved tabs.
Make
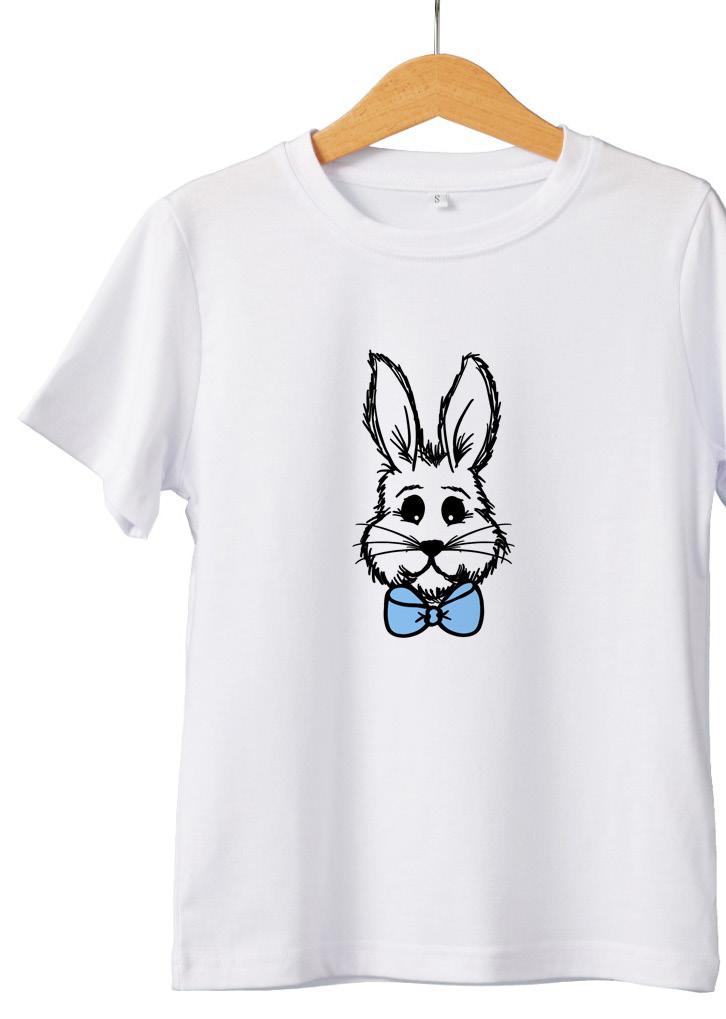
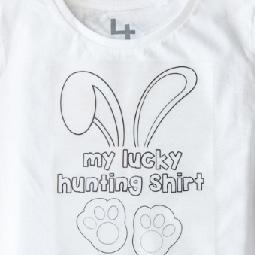
Gone are the days of spending a small fortune on seasonal apparel! Custom-made t-shirts can be yours with Cricut and a little spare time. The decision between making something yourself or buying it readymade has never been easier.
*Make price does not include the upfront machine buying price

BUY R335.43

Why buy it when you can make it? From truly custom decor to one-of-a-kind gifts and t-shirts on demand, you can make it all, and save with Cricut.
What you need

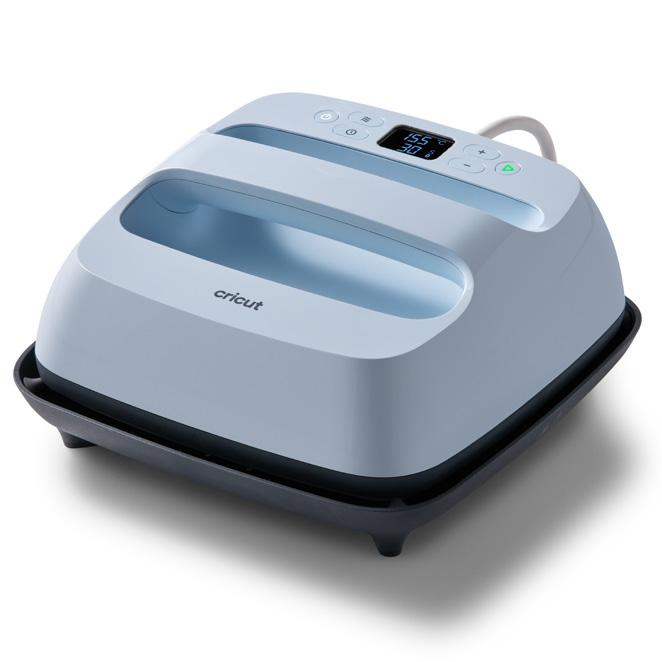
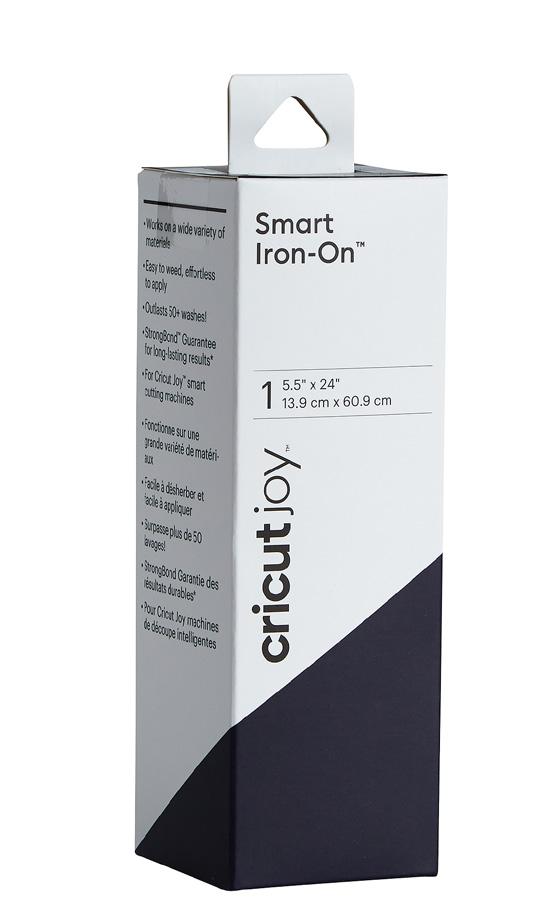
To start your journey to making curstom and eprsonalized Iron-On you will need: Maker 3, EasyPress 3, Iron-On
Easter Hop Along Sign.

Make this cute Easter Bunny Sign using your Maker and Basswood.
Add a touch of whimsy using Stencil vinyl and paint. The perfect activity to get the family involved too.
Materials To Cut Everything Else
Basswood
Stencil Vinyl
Black Permanent Vinyl
Transfer tape
Kraftboard
StandardGrip Machine Mat - 12” x 12”
StrongGrip Machine Mat - 12” x 12”
Cricut® Knife Blade
Acrylic Paint, Paintbrush
Hot glue gun
Known for her Classic Clean and simple style of creating, Lee Dreyer knows her way around a Cricut machine and designed this Easter project specially for us.

This project makes one sign measuring approximately 29cm x 14cm. If you need to adjust the dimensions click Customize to open the project canvas.
Resize the image in the Edit tab before clicking Go.
In Design Space, create your basswood arrow base using shapes.
Create your plaid stencil using Stencil Vinyl. Cut the smaller pieces like eye and wording.
Make sure to use the correct setting for the materials being cut.
Paint the arrow white. Use a little bit of paint to prevent the basswood from warping.
Paint the two bunny parts with a light off-white colour. Use a little bit of paint to prevent the basswood from warping. Set aside to dry.
Weed all the parts you don’t want from the two stencil cuts and apply transfer tape to one piece. Apply the stencil to the base arrow, remove the transfer tape (apply this to the second stencil) and paint. Remove the stencil carefully and set the arrow aside for that layer to dry.
Paint the bunny nose pink and set it aside to dry. Paint pink on the ear parts of the bunny silhouette and set aside to dry.
Apply the second stencil to the base arrow and remove the transfer tape. Apply your next layer of paint. Once done, carefully remove the stencil and set the arrow aside to dry.
Apply the nose stencil to the pink nose and use the darker off-white colour to make the accent on the nose. Remove the stencil.
Take the two bunny faces and adhere them together. Weed the negative area from the eyes and apply the transfer tape. Remove the backing and place the eyes in position on the bunny’s face. Adhere the nose in position.
Adhere the four layers of text together and adhere in place on the base arrow. Use one of the long straight off-cuts of the arrow cu for the “stake” of your sign. Glue it in position on the back of your sign.

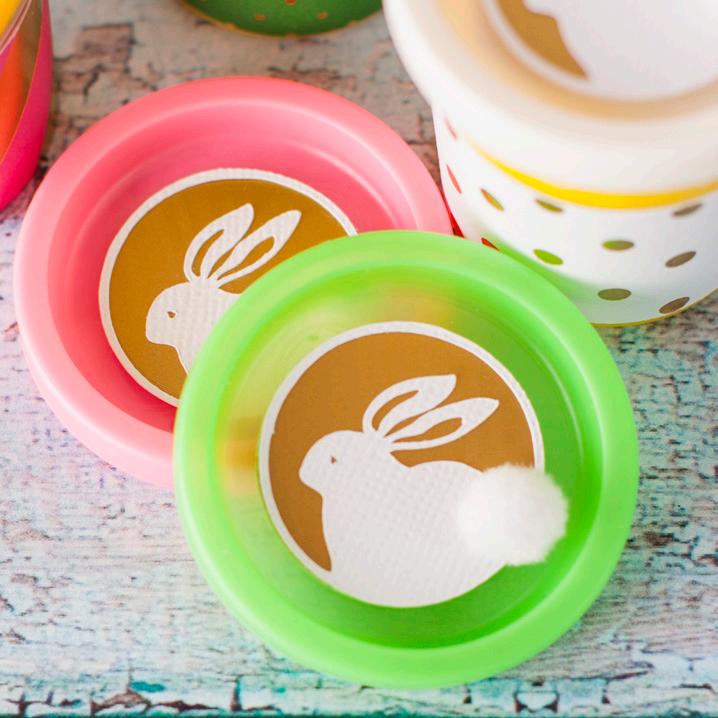
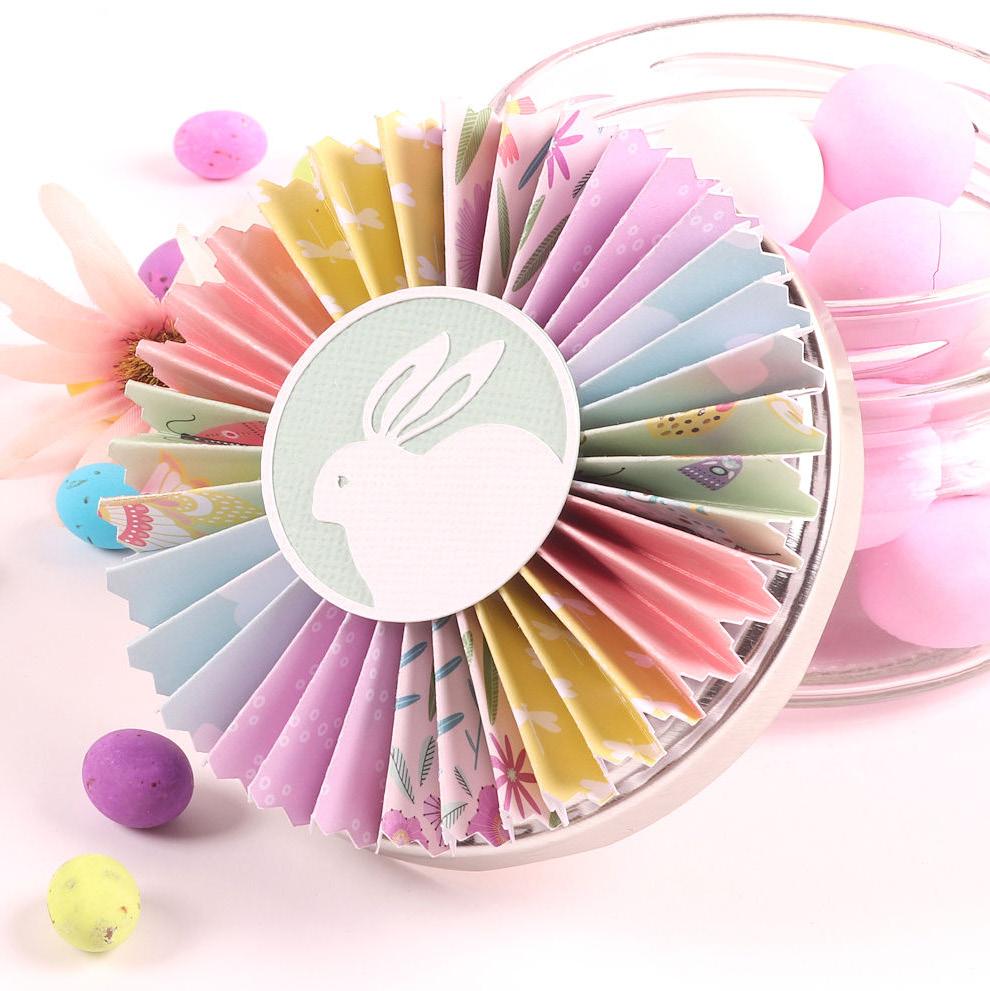
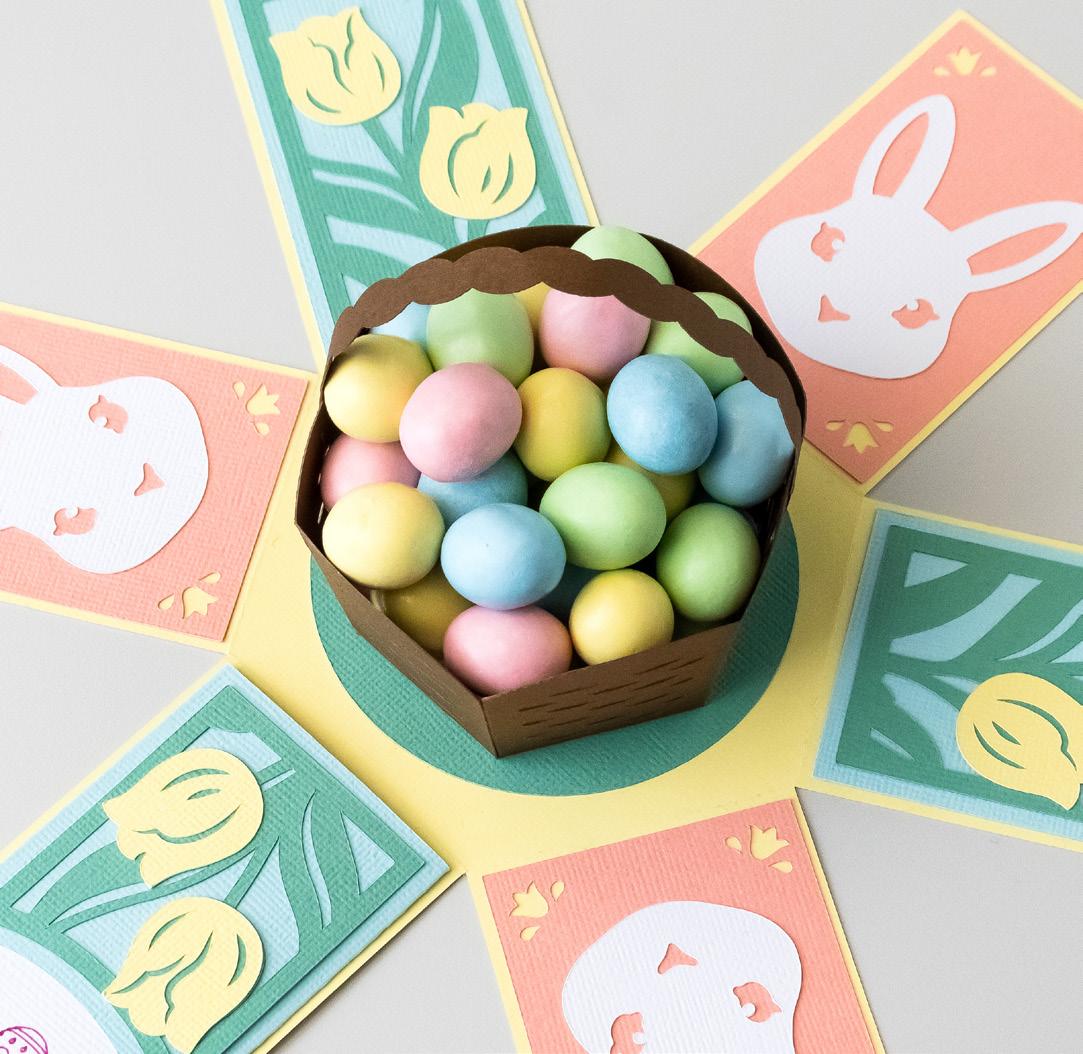
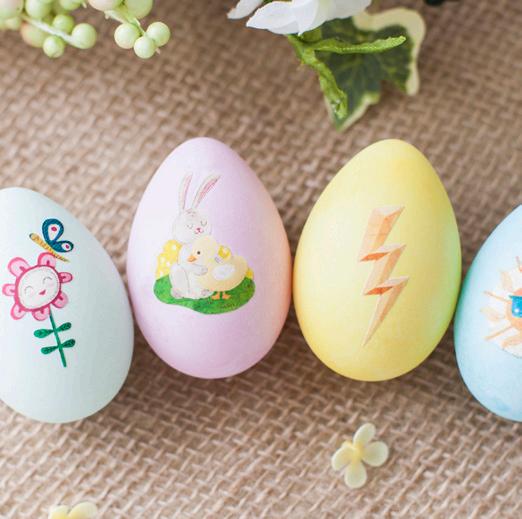
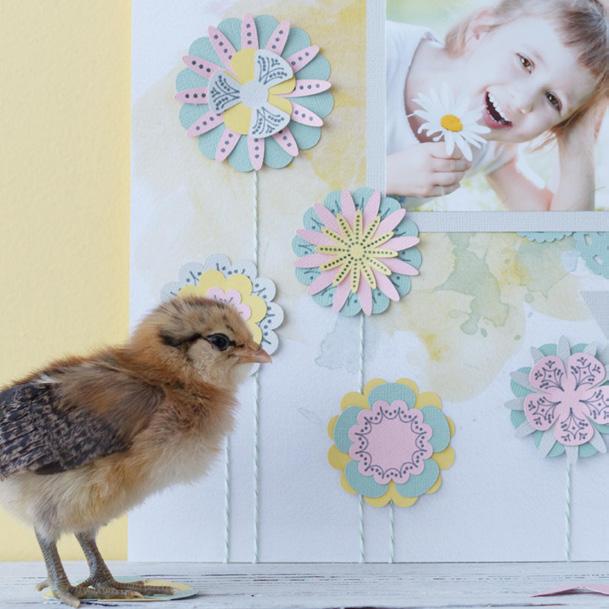
Bunnies galore on Design Space make for easy crafting. Be inspired by this bright and fun palette mimicking sunshine and carrots - this bolder palette offers loads of opportunity teamed with pink and brown for perfect holiday crafting. Make it all with a Cricut® cutting machine, colorful materials, plus images and fonts in Design Space®.


Anywhere
BFC Blueberry Pancake
Double Whipped
Orange Bright Green Sage Green YellowDesign Inspiration:

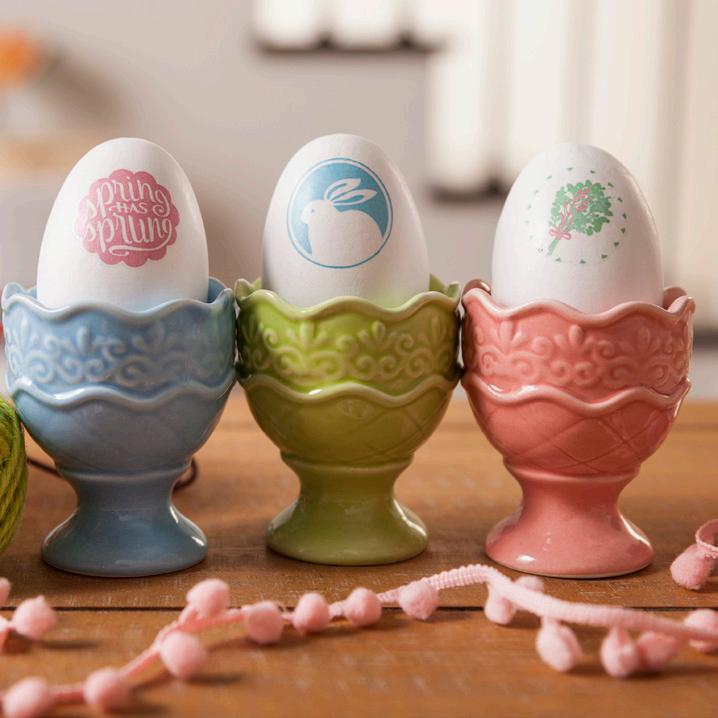
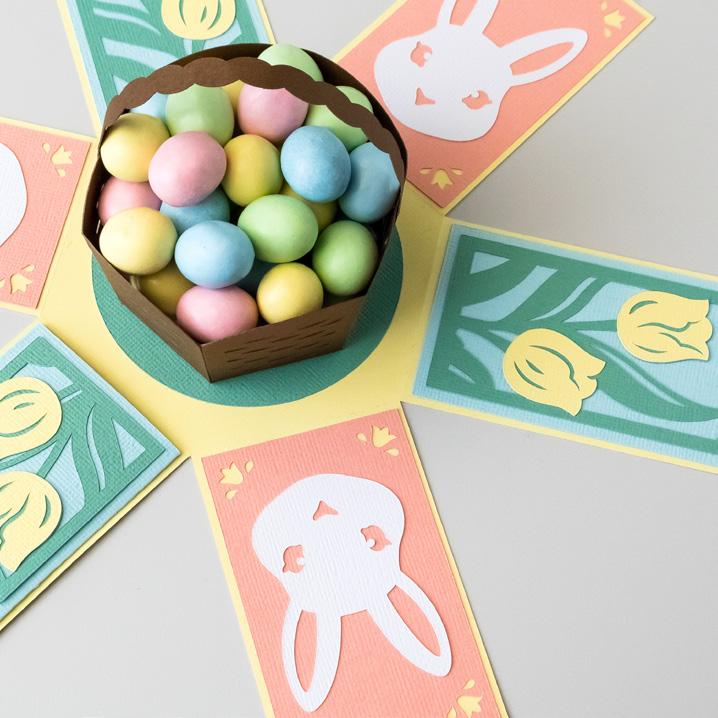
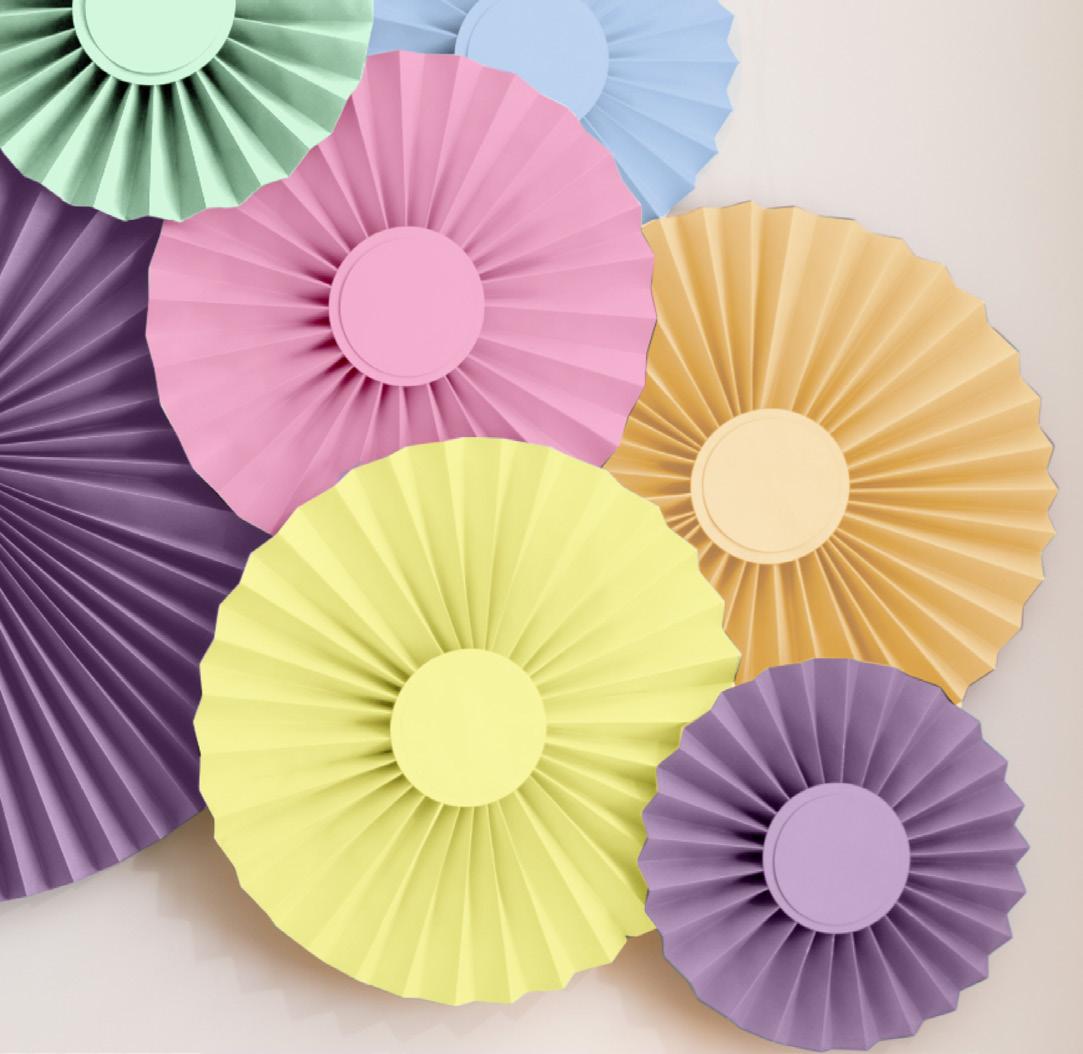
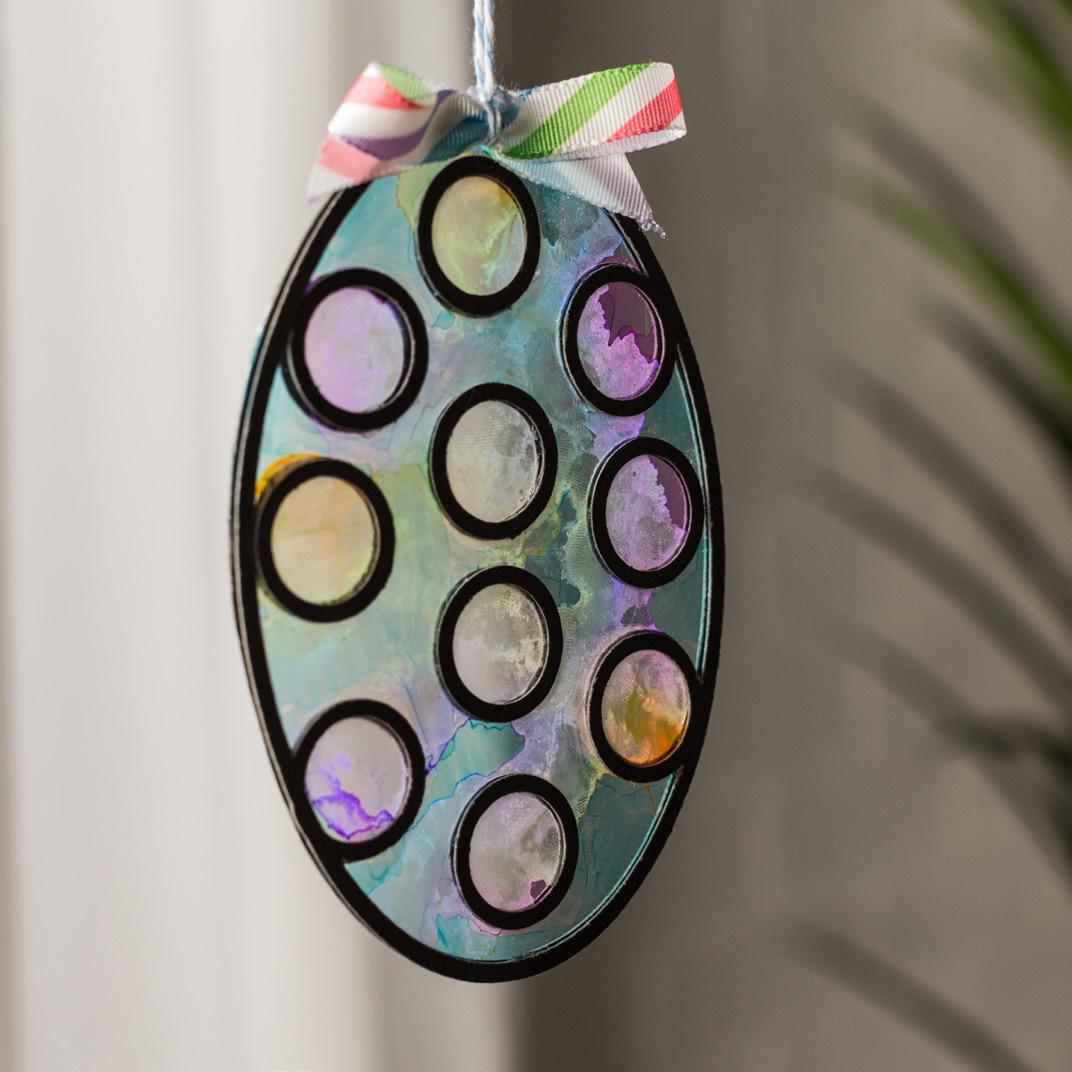
Make Easter Eggstra special in this beautiful Pastel colour palette. Make these projects with easy to follow project instructions and a Cricut® cutting machine, colorful materials, plus images and fonts found in Design Space®.

Fonts
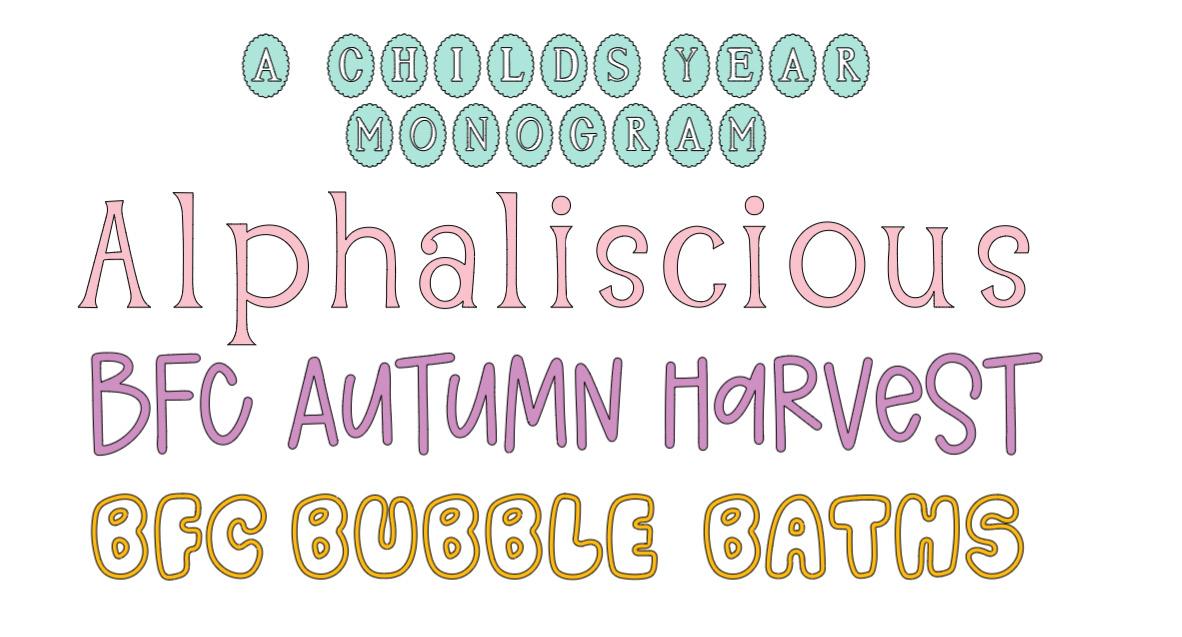
A Child’s Year - Monogram
Alphaliscious
BFC Autumn Harvest
BFC Bubble Baths
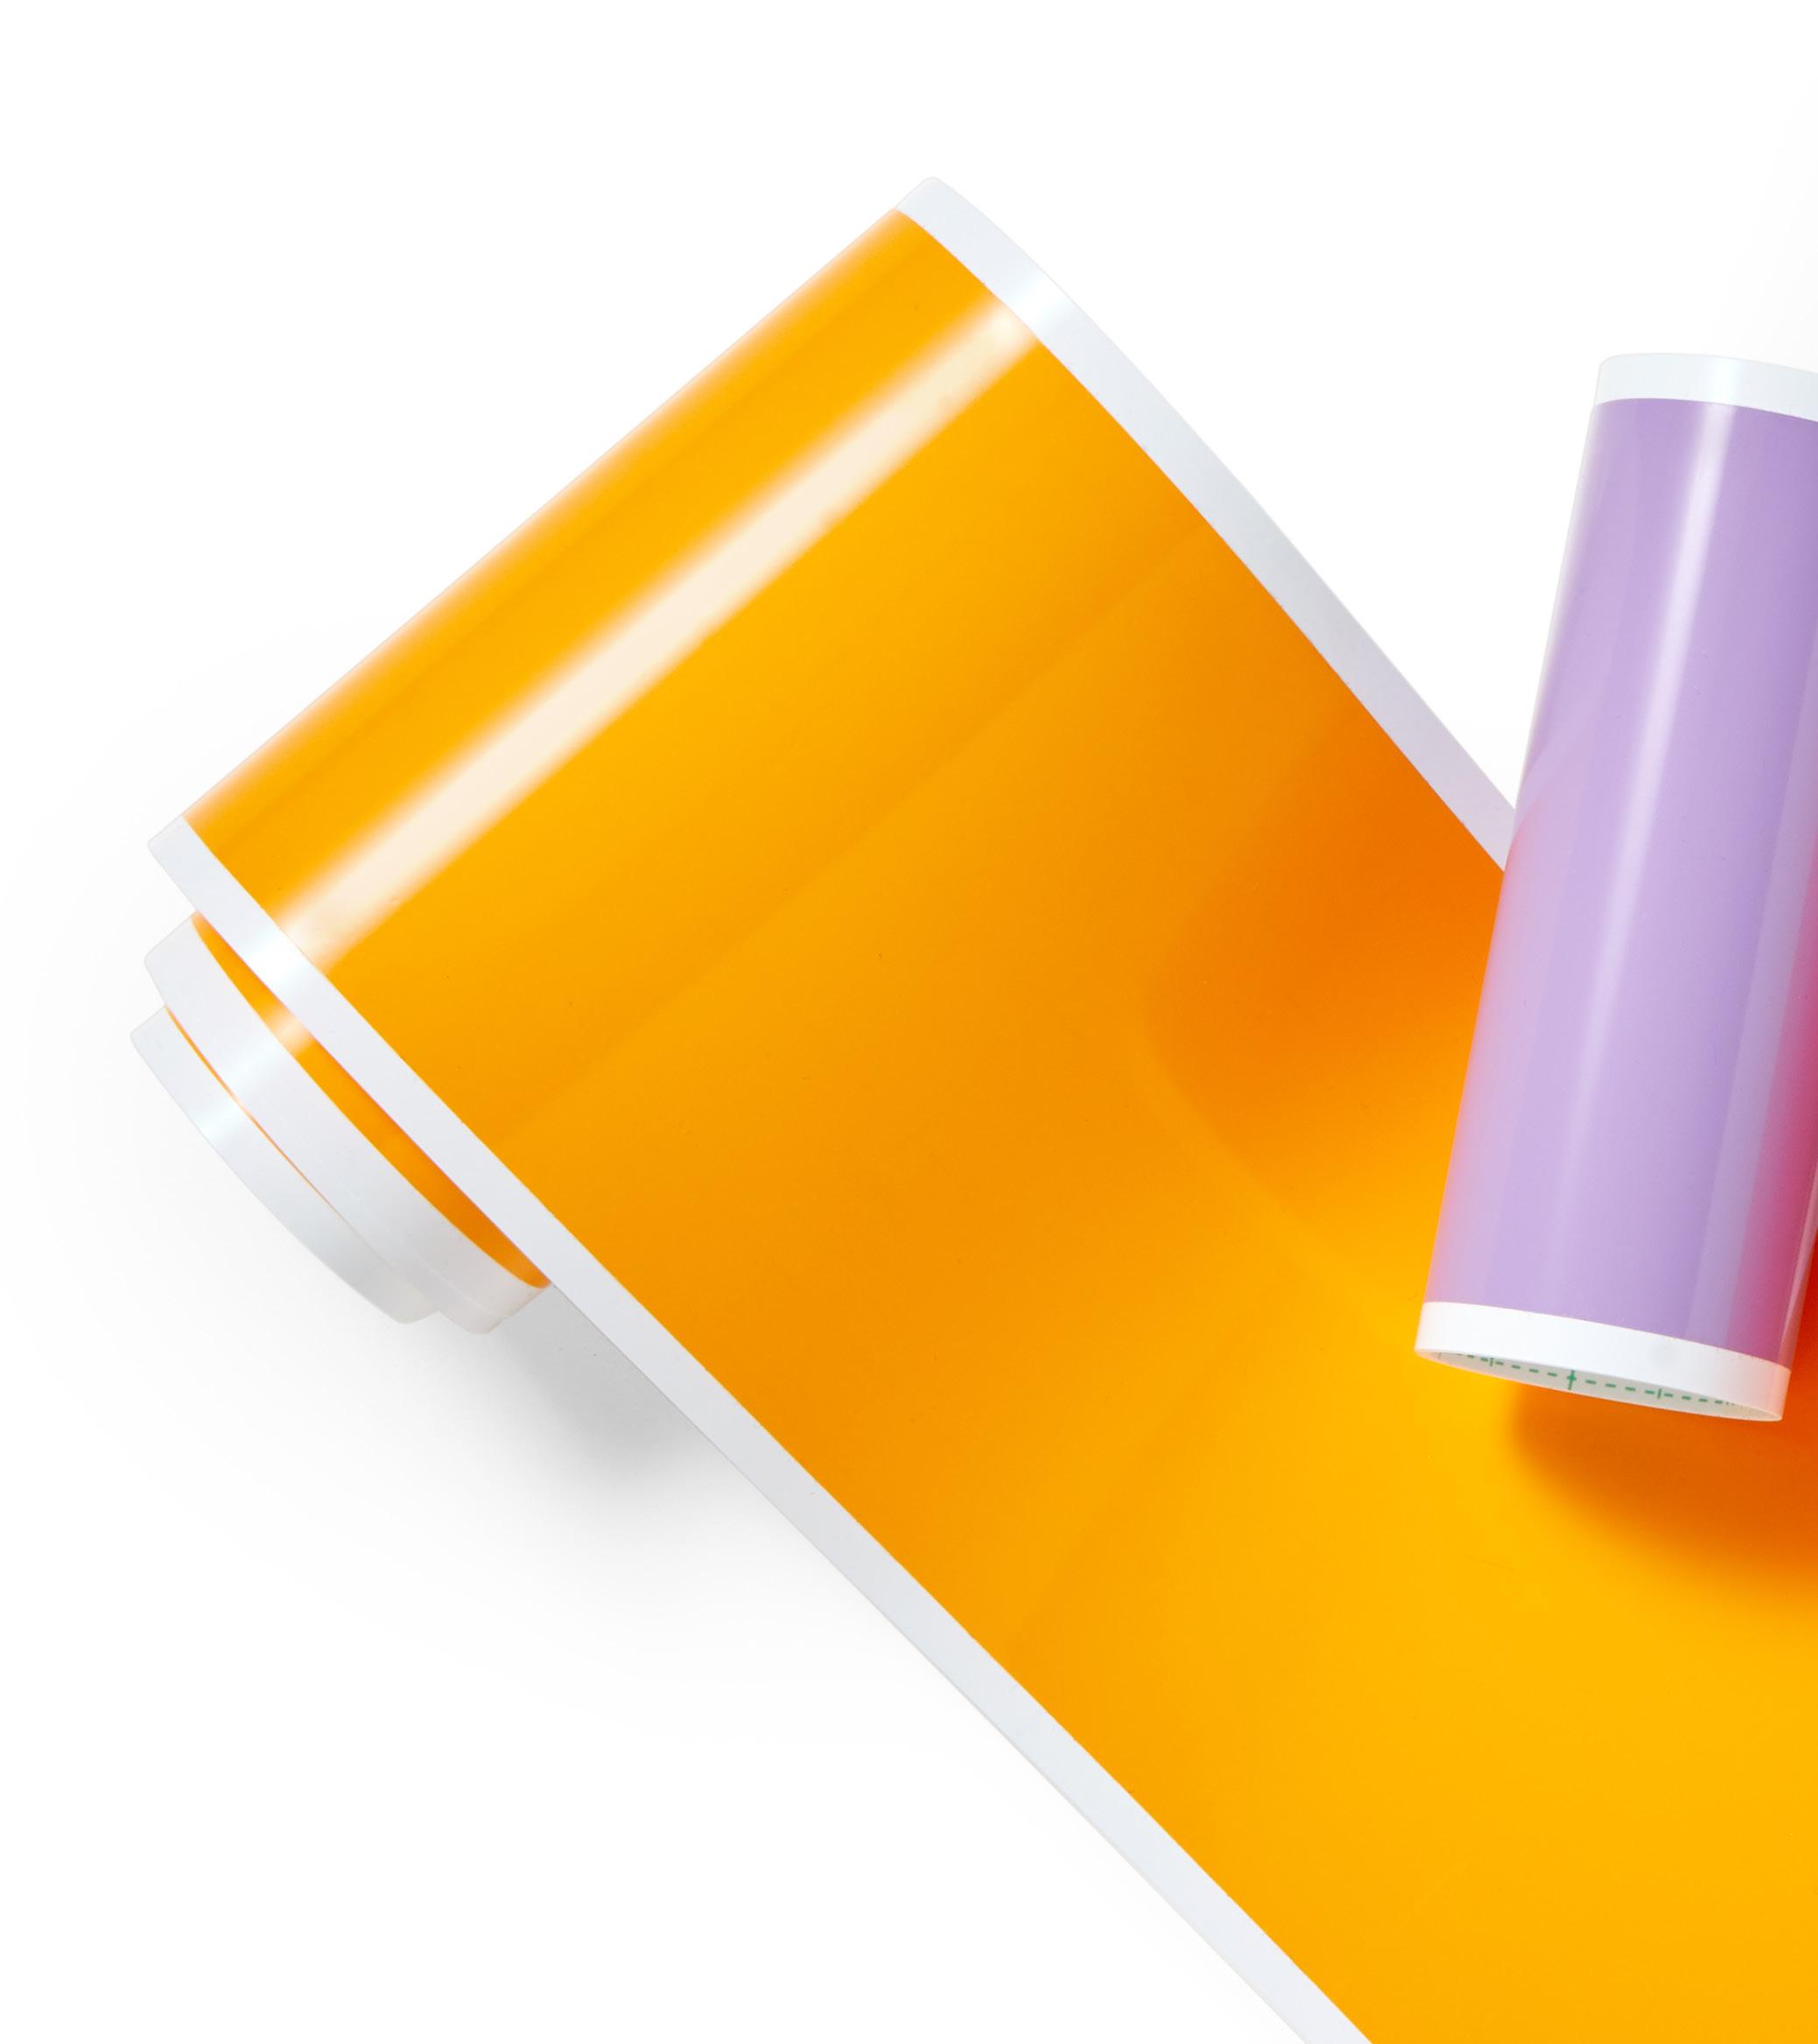
Lavender Party Pink Mint YelowCardstock projects where adhesive is a thing of the past. Create amazing cardstock projects with Smart Paper™ Sticker Cardstock. Available in Pastels & Brights, 13x13”, compatible for matless cutting with Explore 3 & Maker 3. Also available in 5.5” x 13” for Cricut Joy.
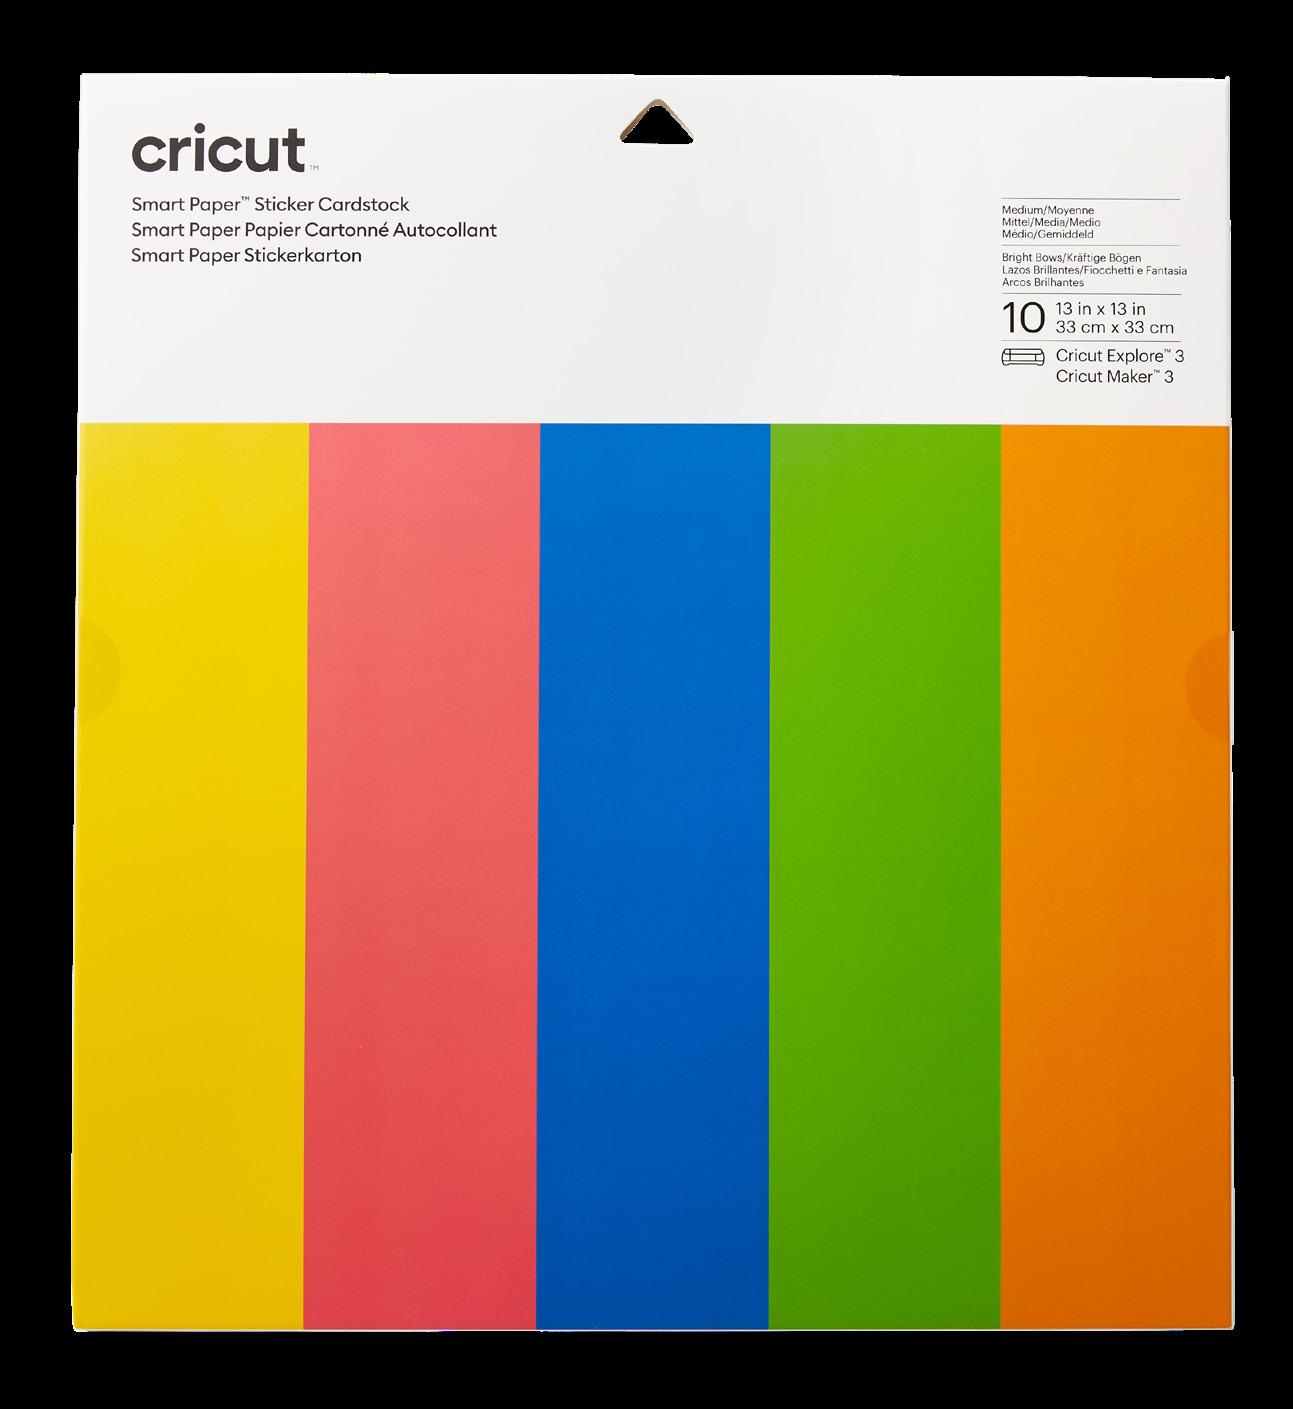
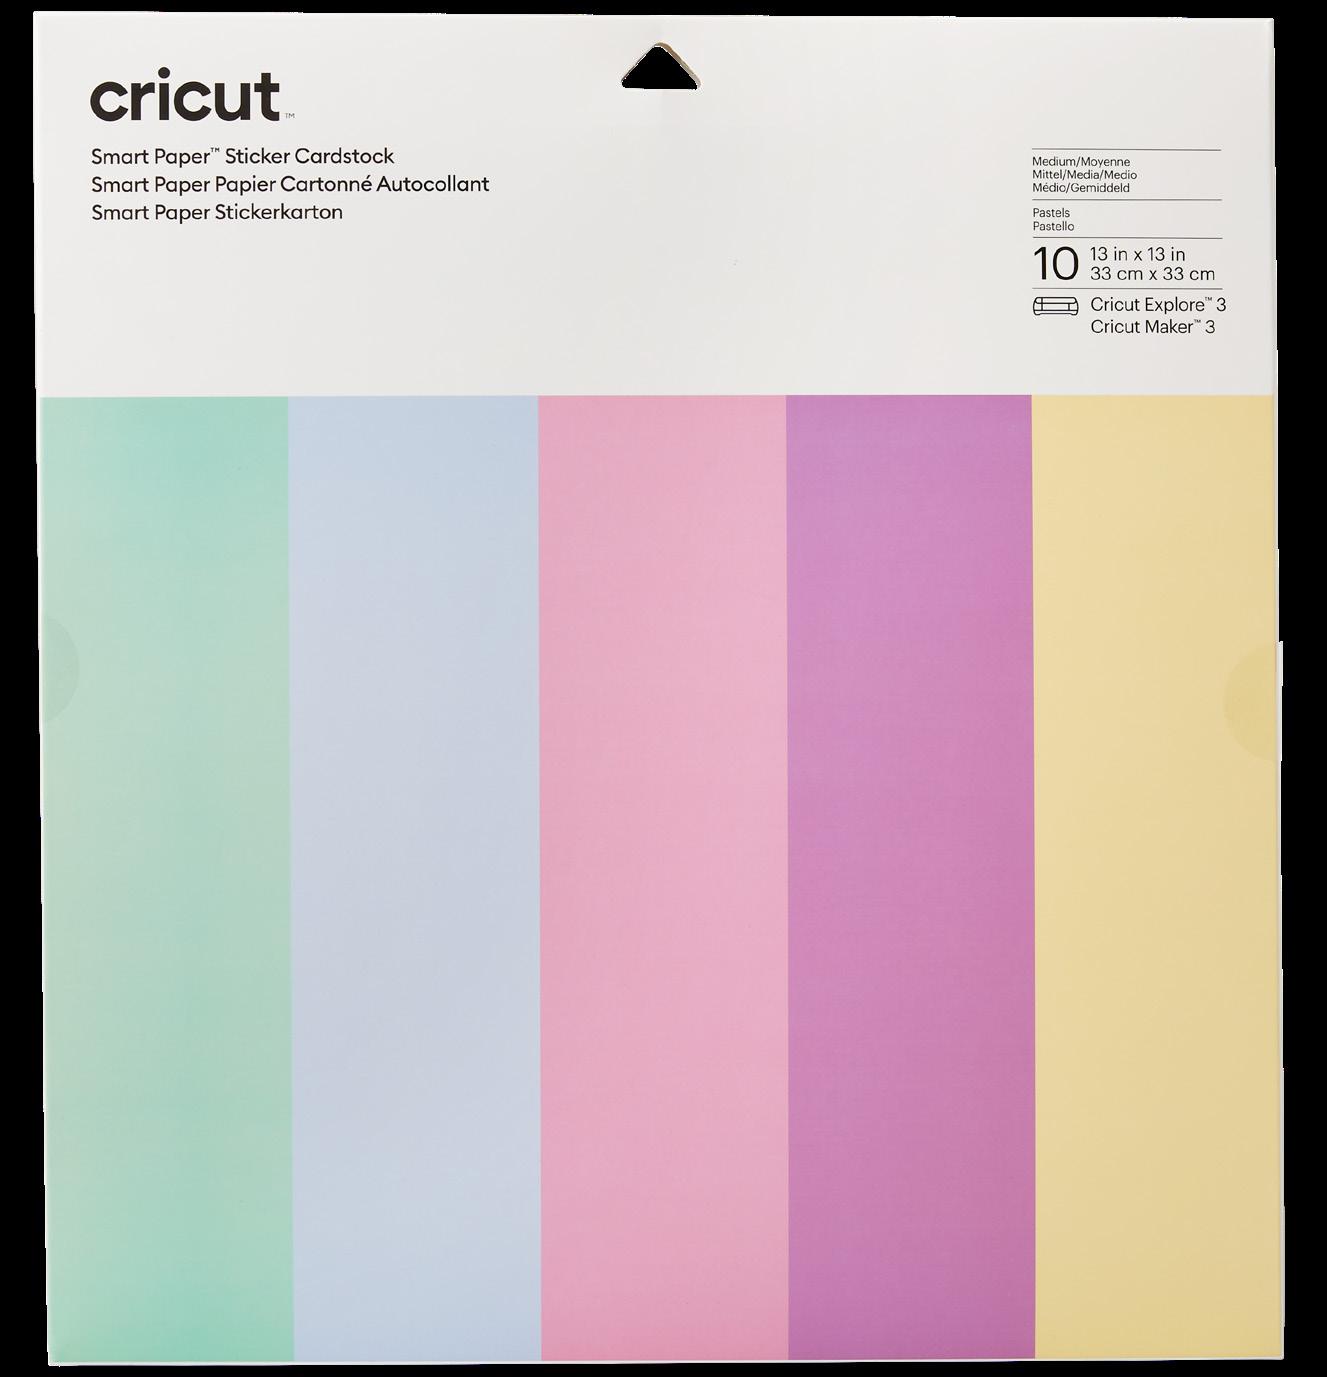

 Smart Paper™ Sticker Cardstock

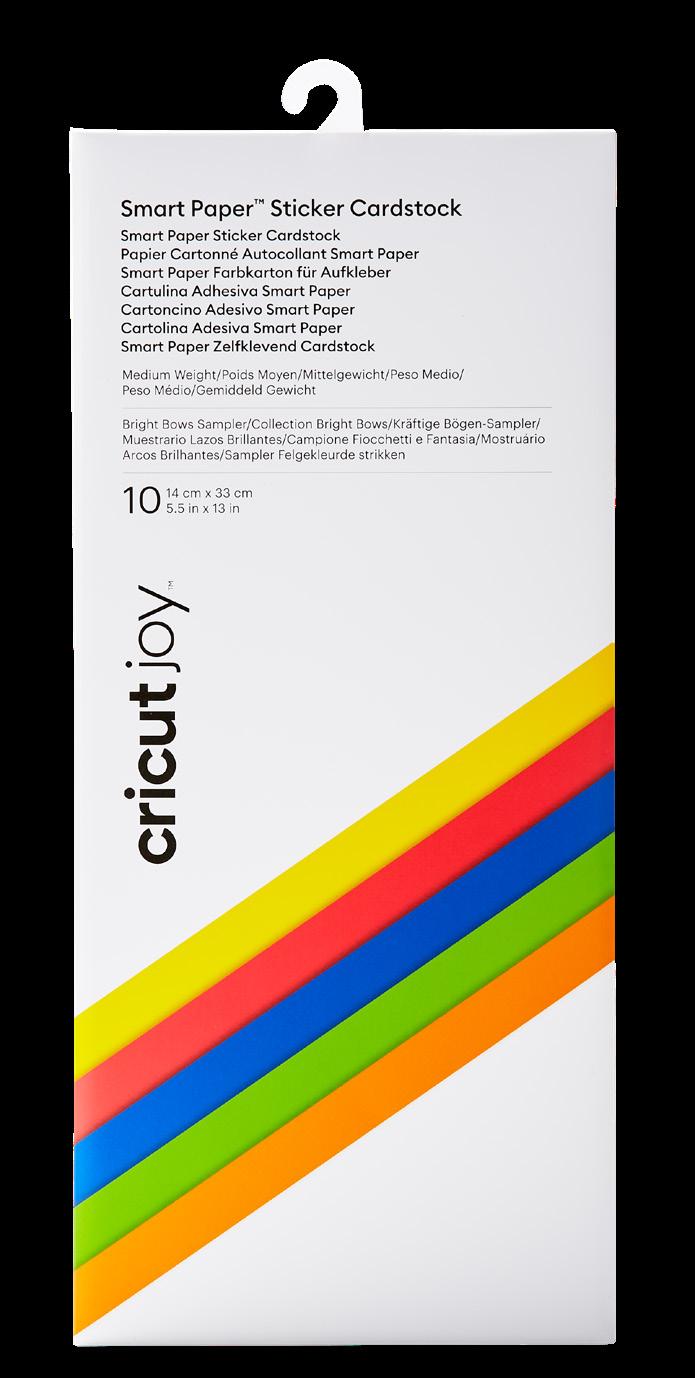
Woo-hoo, no need for glue! This clever adhesive-backed paper works without a cutting mat, so you can just load and go. Just cut, peel, and stick to create fun cards, bold banners, attractive posters, and layered paper projects of all sorts. For use with Cricut Maker® 3 and Cricut Explore® 3 machines. Machine mat required for use with Cricut Maker, Cricut Explore, Cricut Explore One®, Cricut Explore Air®, Cricut Explore Air 2, and Cricut Expression machines. Also available for Cricut Joy.


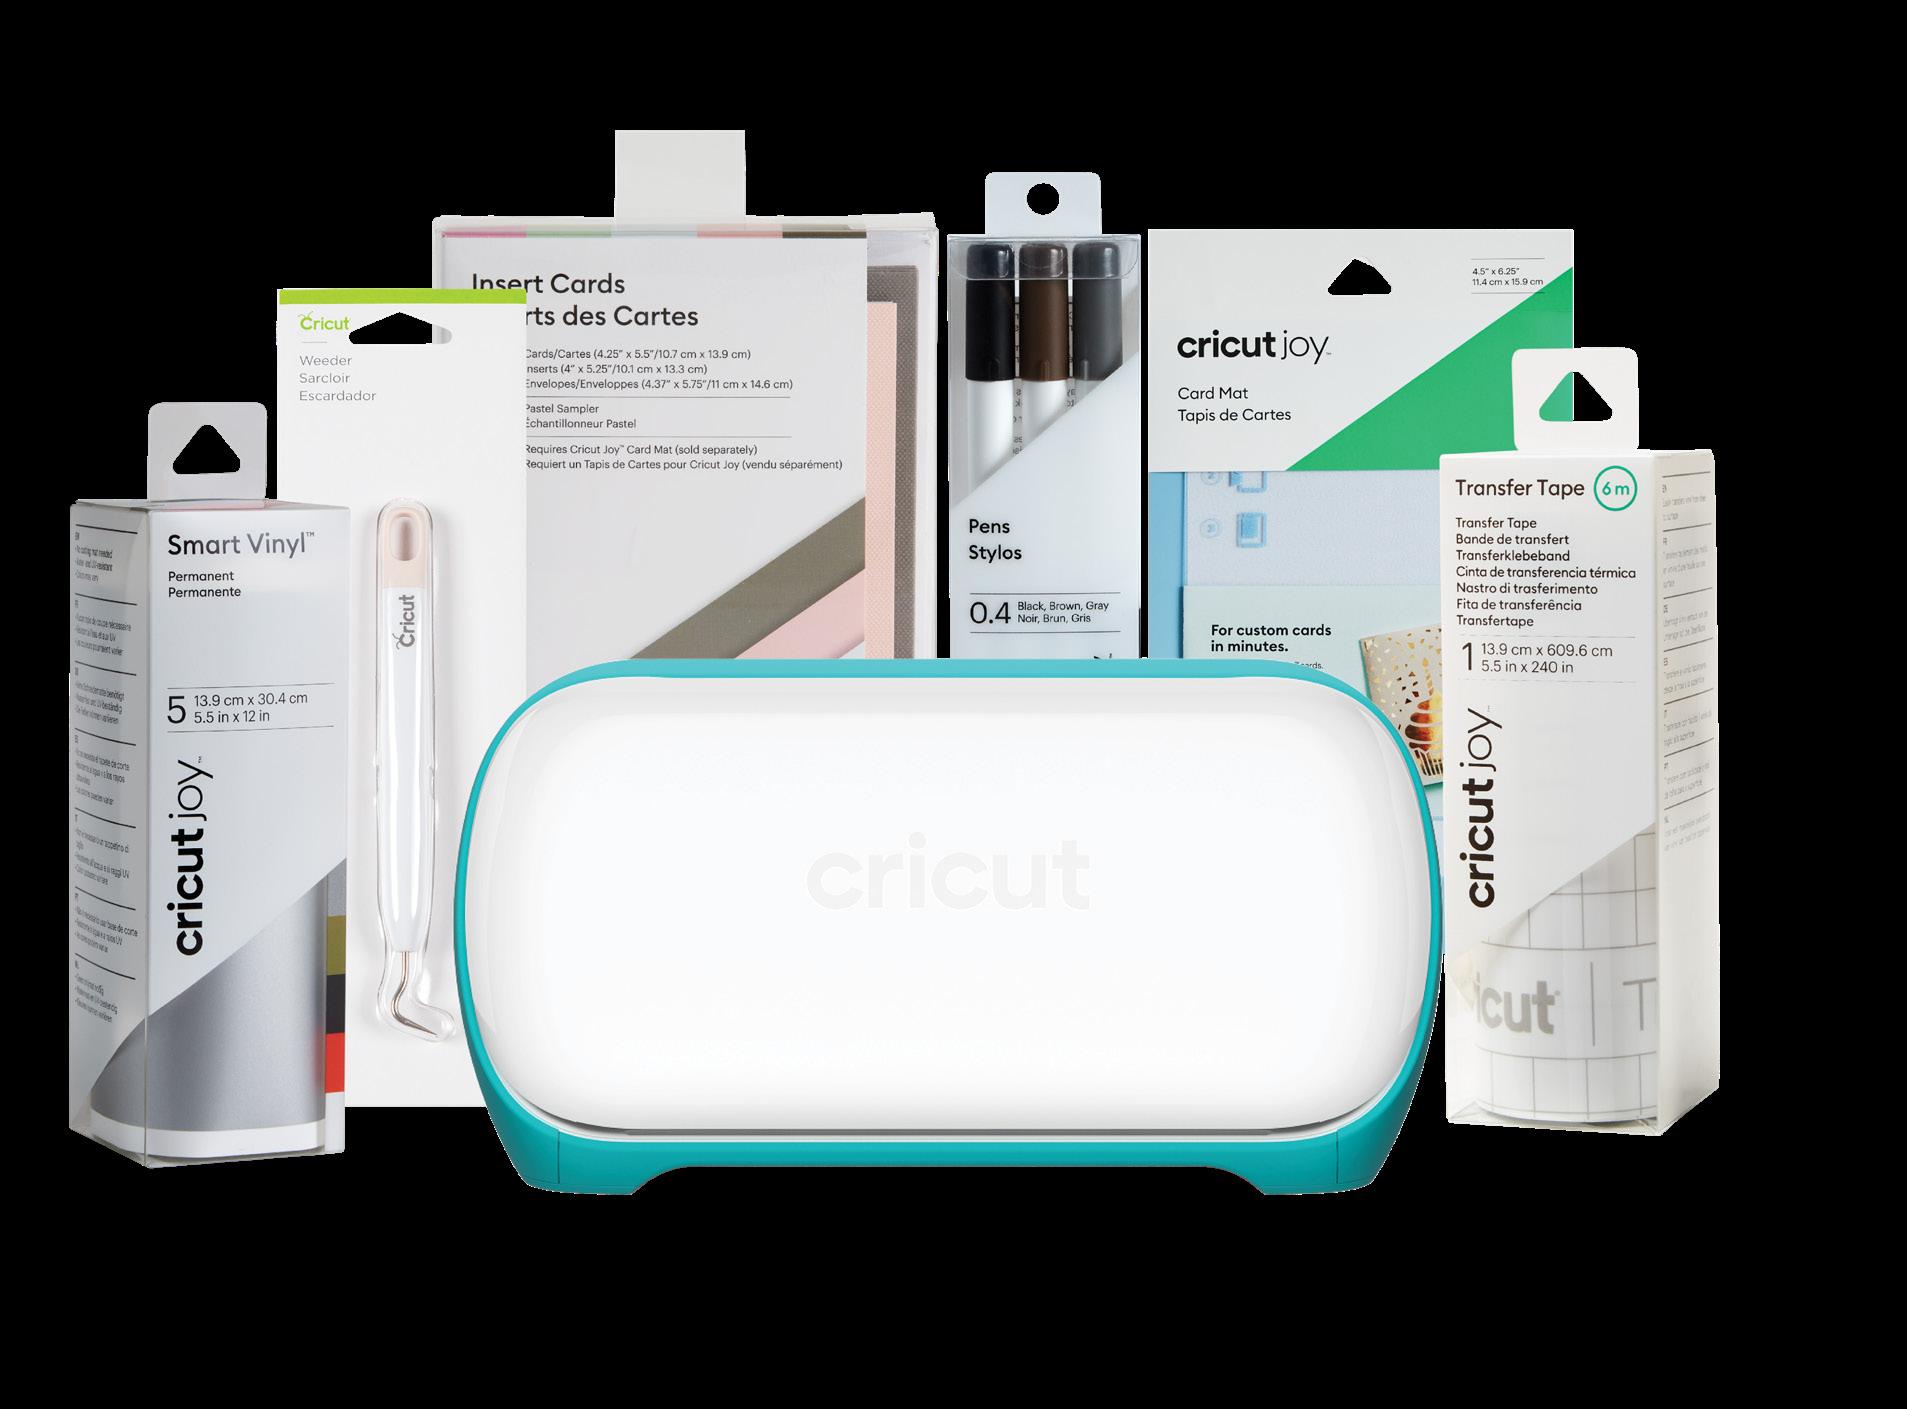
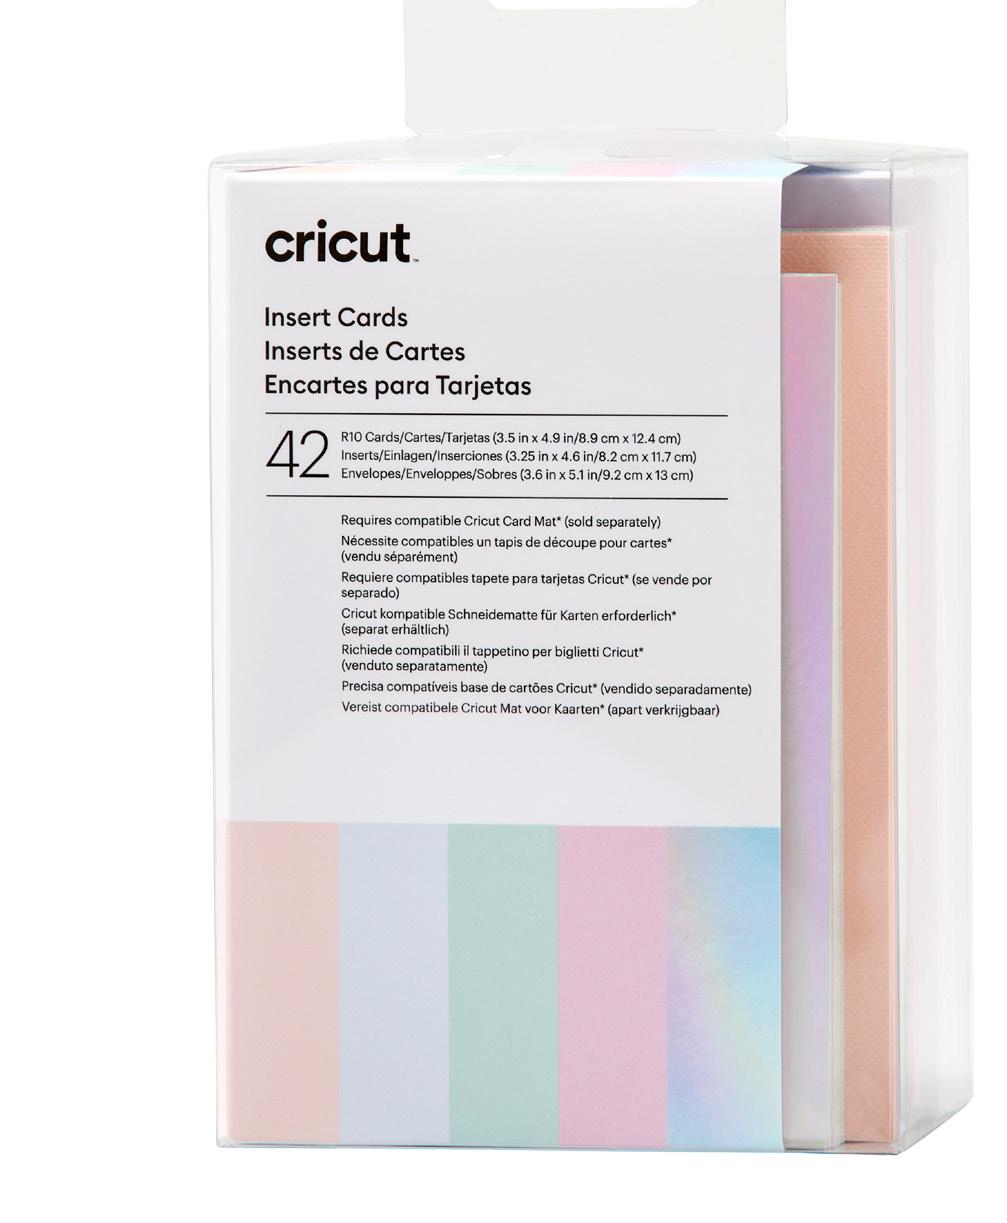
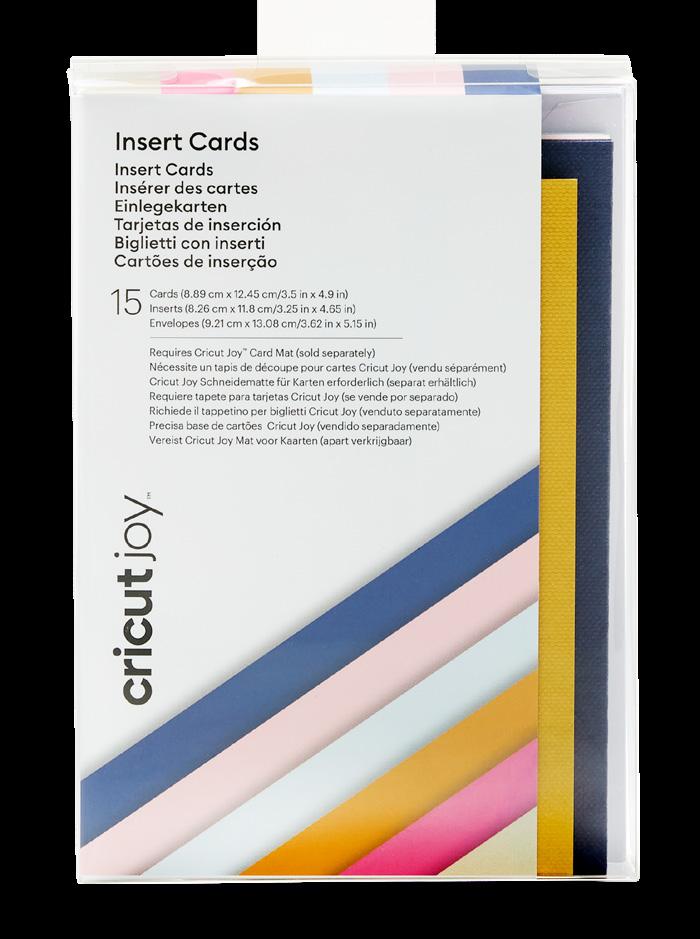
Quick, personalized greeting cards with big impact are at your fingertips with Insert Cards for your Cricut Joy cutting machine. The ingenious glue-free design allows for two-tone, depth-filled cards without mess or hassle. Cut intricate and meaningful words and images into the face of the card to let the beautiful insert color show through. These A2-size cards include white envelopes and come in a bounty of colors to please every card recipient on your list! For use with Cricut Joy. Requires Cricut Joy Card Mat (sold separately).
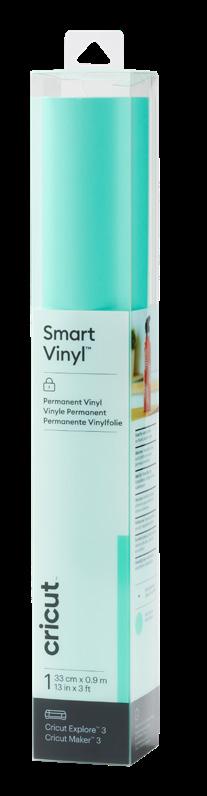
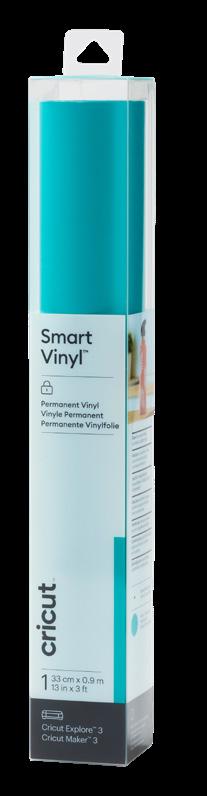
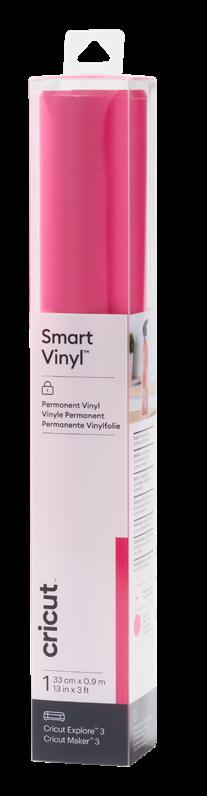
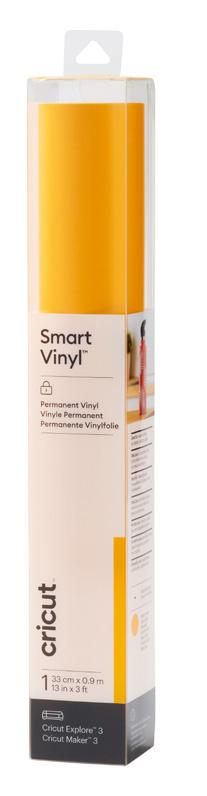
Make more in less time with Smart Materials™. This clever crafting material works without a cutting mat – just load and go. Now it’s no biggie to create a quick, removable decal for your laptop or make a statement for your wall to bring the room together. Apply designs to almost any surface. For ultimate flexibility, this vinyl removes without residue. Whether you’re all about tiny touches or shouting from the rooftops, you’ve got this. For use with Cricut Explore® 3 and Cricut Maker® 3. Machine mat required for use with Cricut Maker, Cricut Explore.
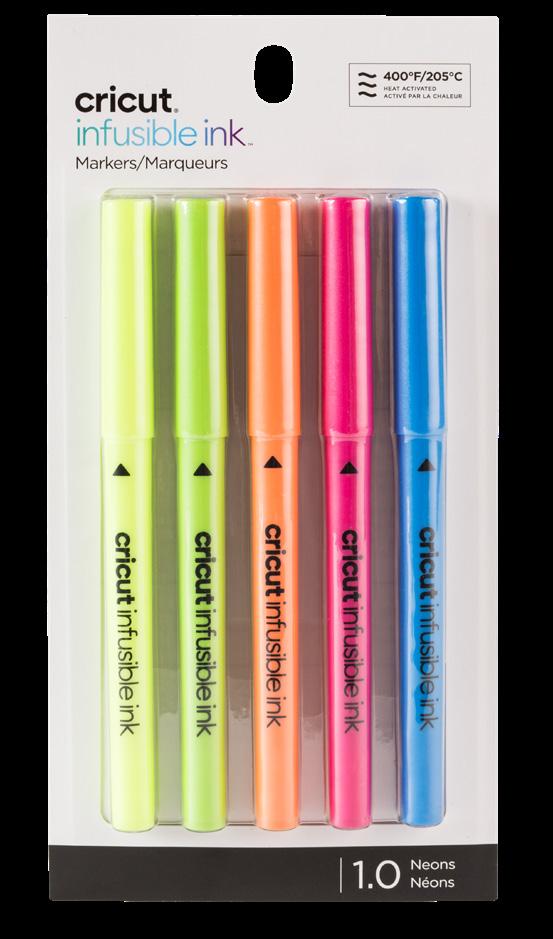
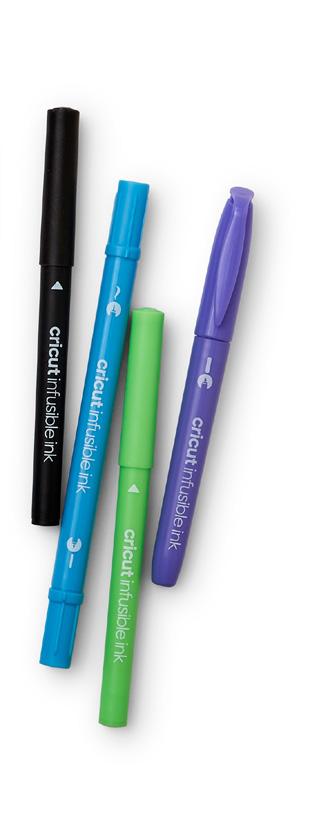
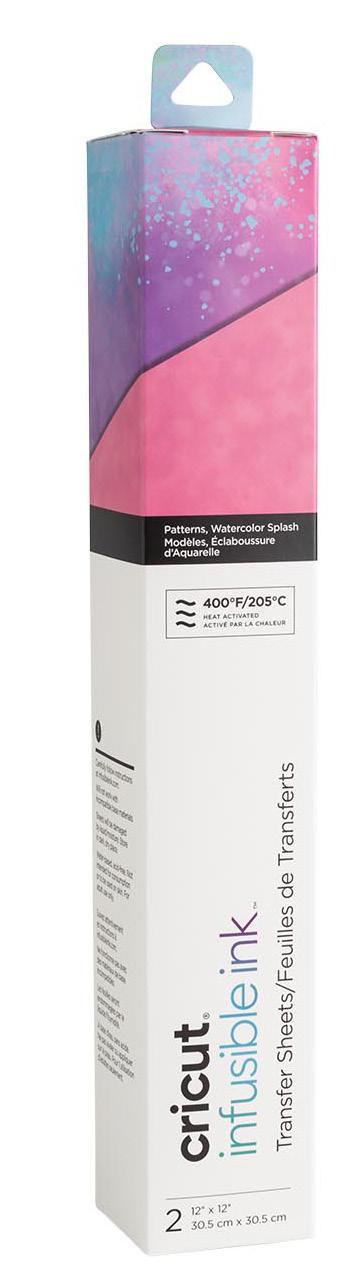
Watch your designs bloom into vibrant, permanent, pro-quality transfers on any compatible Infusible Ink blank when you create with these five neon heat press transfer markers. Draw your designs freehand or use your Cricut smart cutting machine to draw or write your custom design on plain laser copy paper. Available in variety of colors and two different line weights, Infusible Ink Pens & Markers bloom into rich, vibrant hues once transferred using high temperatures. The results are bright, beautiful, seamlessly smooth transfers that never flake, peel, wrinkle, or crack!
What is the Infusible Ink process? Unlike an ironon transfer or vinyl application, where artwork is attached on top of a base material using adhesive, an Infusible Ink heat transfer becomes one with the material itself.
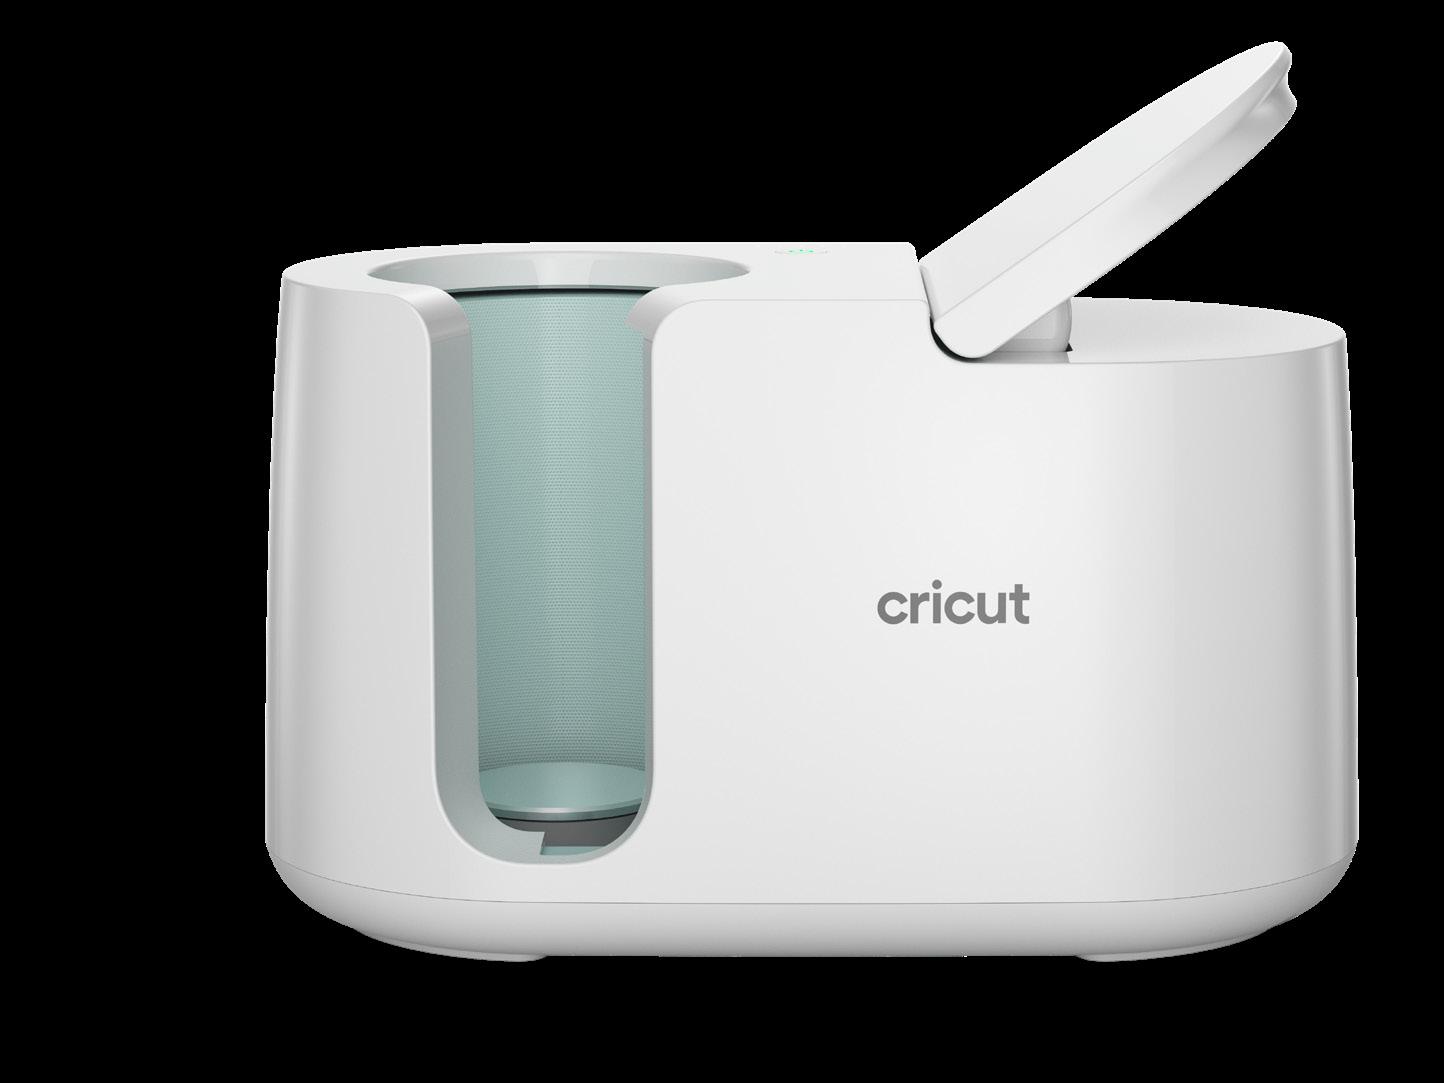
Give the gift of vibrant, professional-quality, personalized mugs with Cricut Mug Press. Just create your design using Cricut Infusible Ink materials, attach it to your mug, and let the press do the rest! With no manual temperature or pressure settings, it’s easy to customize Infusible Ink compatible mugs* with one-of-a-kind art or text. A patent-pending heat plate with zone heating creates excellent, consistent results. Perfect gifts for family, friends, teachers, neighbors, and coworkers have never been this easy. Optimized for Infusible Ink products, this unique mug press is the perfect complement to any Cricut cutting machine. Carefully follow instructions at cricut.com/make-mugs.